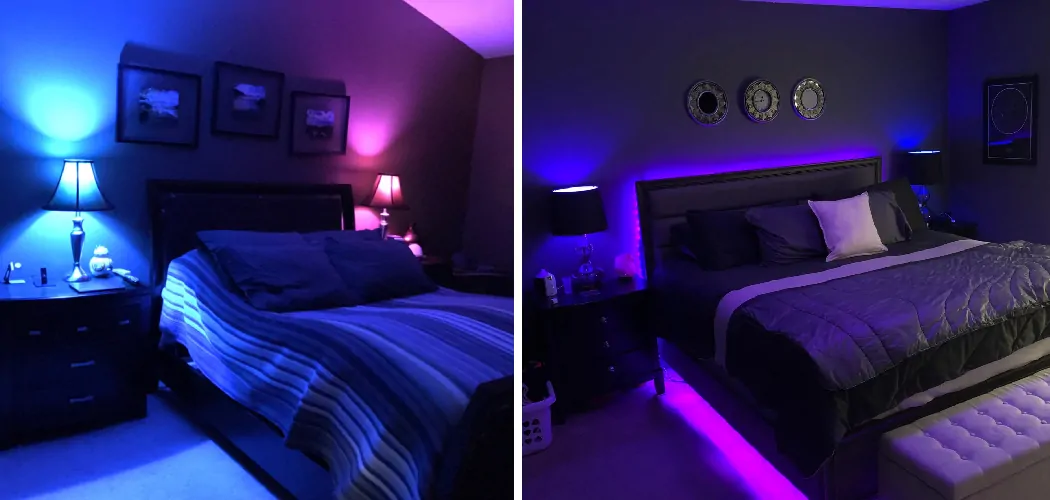
Hue lights are a popular choice for anyone looking to add some color and mood lighting to their home. These smart lights can be controlled using your smartphone, voice commands, or even with just the touch of a button on a wireless remote.
In this guide on how to set up hue lights, we’ll take you through the steps of setting up your Hue lights and getting them connected to your network.
Necessary Items
Before you get started, there are a few things you’ll need to have on hand:
- Hue light bulbs or light strips
- Hue bridge (this is the central hub that connects your lights to your network)
- Smartphone or tablet with the Philips Hue app installed
- Wireless remote (optional but recommended for convenience)
8 Things to Know Before You Start
1) Compatibility
Before purchasing any Hue lights, make sure they are compatible with your current home setup. Check the compatibility list on the Philips Hue website to ensure that your smart device or voice assistant is supported.
2) Number of Lights
Keep in mind how many lights you will need for the space you want to light up. A typical starter kit comes with three bulbs, but you can purchase additional bulbs or light strips separately. While there is no limit to the number of lights you can have connected to one bridge, it’s recommended not to go over 50 bulbs.
3) Placement
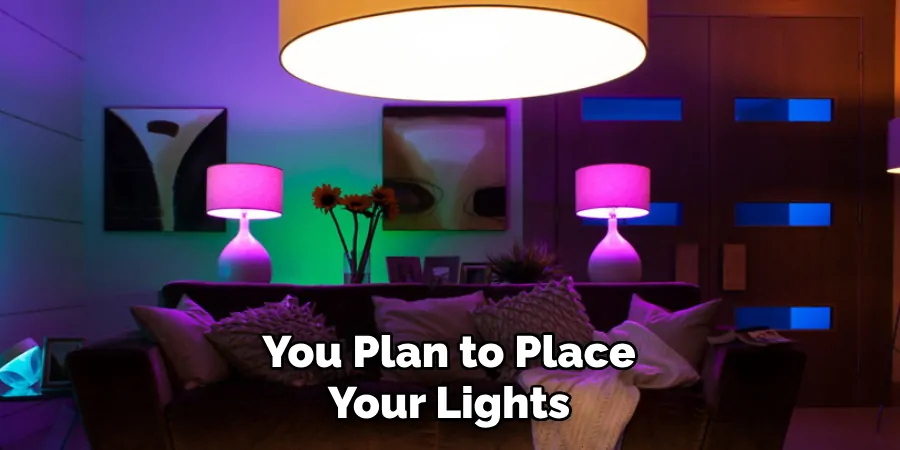
Consider where you want to place your Hue lights before setting them up. The bulbs and strips are designed for indoor use only, so make sure they are protected from outdoor elements and water. And don’t forget that the bridge needs to be plugged into an outlet and connected to your router with an Ethernet cable.
4) Wi-Fi Connection
Make sure your Wi-Fi network is stable and has a strong signal where you plan to place your lights. This will ensure a smooth connection and control of your Hue lights. But don’t worry, these lights work offline, too, so you can still control them manually if needed.
5) App Setup
Once you have all the necessary items and your Wi-Fi network is in order, download the Philips Hue app from the App Store or Google Play Store. Follow the instructions to set up an account and connect your bridge to your network.
6) Naming Lights
To avoid confusion when controlling your lights, it’s recommended to give each light a unique name in the app. This will also come in handy if you plan on setting up voice commands. So if you have a light in your living room, name it “Living Room Light” for easy control.
7) Create Zones
If you have multiple lights in one room or area, consider creating zones within the app. This will allow you to control all the lights in that particular zone with just one command. For example, create a zone called “Bedroom” and include all the lights in your bedroom.
8) Schedules and Routines
Now that everything is set up take advantage of scheduling and routines within the app. This will allow you to automate your lights to turn on or off at specific times or even adjust their colors throughout the day for a unique ambiance.
With these tips in mind, setting up your Hue lights should be a breeze. Just remember to have all the necessary items, plan out your placement and naming conventions, and take advantage of the app’s features for an optimal experience. Have fun creating beautiful and customizable lighting in your home with Hue! Happy lighting! So go on and give it a try; you won’t regret it.
12 Steps on How to Set Up Hue Lights
Step 1: Set Up the Bridge
The first step to setting up your Hue lights is to plug in the bridge and connect it to your router using an Ethernet cable. Then, power on the bridge and wait for all three lights to turn on. While you’re waiting, make sure your smartphone or tablet is connected to the same Wi-Fi network that the bridge will be connected to.
Step 2: Download the App
Next, download the Philips Hue app from the App Store or Google Play Store. Create an account if you don’t already have one, and follow the prompts to connect your bridge to your network. So far, so good!

Step 3: Connect Your Lights
Now, it’s time to connect your lights to the bridge. Make sure they are all screwed in or attached properly and powered on. In the app, go to “Settings” and then “Light Setup.” The app will then search for any new bulbs and add them to your network.
Step 4: Naming Your Lights
As mentioned before, it’s important to give each light a unique name for easy control. You can do this in the “Light Setup” section of the app. This is also where you can create zones if needed. This may take a few minutes, depending on how many lights you have.
Step 5: Test Your Lights
After naming your lights and creating zones, it’s always a good idea to test them out. Use the app to turn them on and off, change colors, or adjust brightness to make sure everything is working properly.
Step 6: Adding Remotes (Optional)
If you have purchased a wireless remote, you can add it to your network by going to “Settings” and then “Accessory Setup.” Follow the prompts to connect it to your bridge. This will allow for quick and convenient control of your lights without having to use your smartphone.
Step 7: Set Up Voice Commands (Optional)
If you have a voice assistant like Amazon Alexa or Google Assistant, you can set up voice commands to control your lights. In the app, go to “Settings” and then “Voice Assistants” and follow the prompts to connect your assistant.
Step 8: Set Up Schedules
As mentioned before, take advantage of scheduling within the app to automate your lights. This feature allows you to set specific times for your lights to turn on or off, making it ideal for when you’re away from home.
Step 9: Create Routines
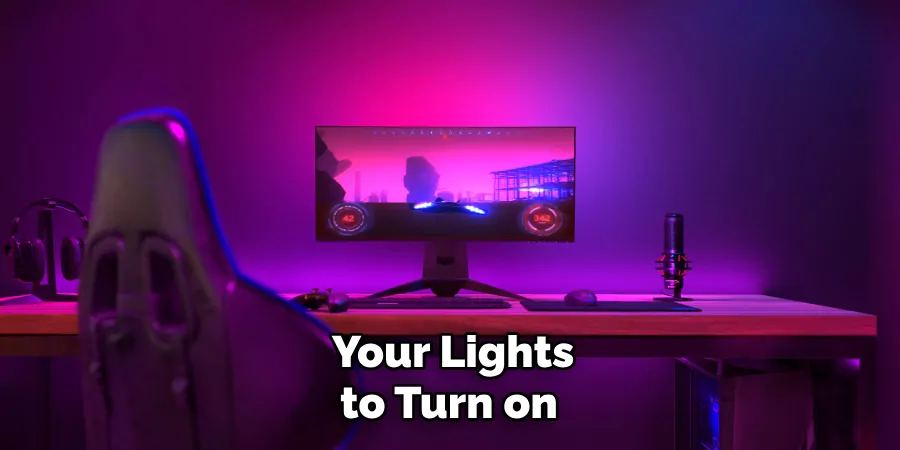
Similar to scheduling, routines allow you to automate your lights based on specific triggers. For example, you can set a routine for your lights to gradually dim and turn off at bedtime every night. To set up routines, go to “Settings” and then “Routines.”
Step 10: Explore Advanced Features
The Hue app has many advanced features that allow you to personalize your lighting experience even further. You can adjust the color temperature, create custom scenes, and even sync your lights with music or movies.
Step 11: Add More Lights (Optional)
If you want to add more lights to your network, simply repeat the steps for connecting and naming them. The app can handle up to 50 lights, but it’s recommended not to go over that limit for optimal performance.
Step 12: Have Fun!
Now that everything is set up, it’s time to have fun with your new Hue lights! Play around with different colors, scenes, and routines to create the perfect ambiance for any occasion. And don’t forget to show off your new smart lighting system to your friends and family! So go on and give it a try; you won’t regret it.
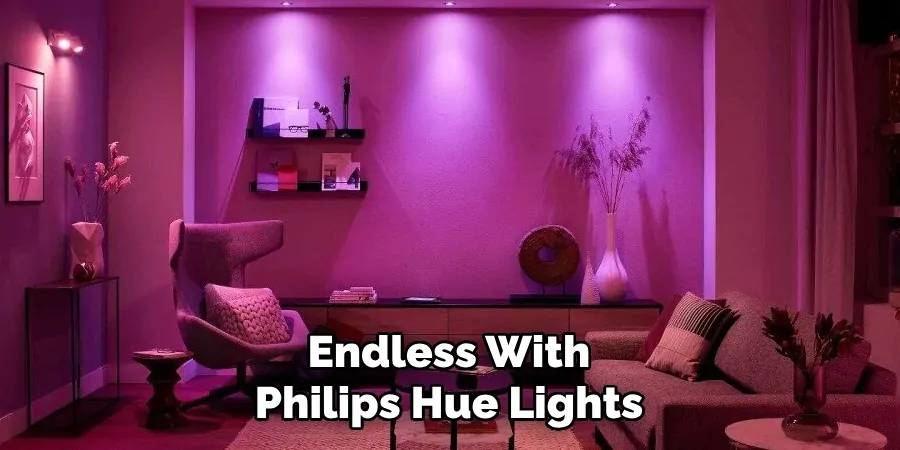
Happy lighting! The possibilities are endless with Philips Hue lights, so get creative and enjoy the convenience and beauty they bring to your home. Keep in mind that you can always refer back to the app’s instructions or online resources for any troubleshooting or additional tips. Have fun and happy lighting! So go on and give it a try; you won’t regret it.
8 Things to Avoid When Setting Up Hue Lights
Now that you have an idea of what to do when setting up your Hue lights, it’s also important to know what to avoid. Here are eight things to keep in mind when setting up your smart lighting system:
1) Don’t Skip the Bridge
The bridge is a crucial component of your Hue lights, so make sure to set it up properly and connect it to your router. Without the bridge, you won’t be able to control your lights through the app or use advanced features like scheduling.
2) Avoid Poor Placement
Be strategic when placing your lights. Don’t place them too close together or too far apart, as this can affect their performance and connectivity. Also, avoid placing them near other electronic devices that may cause interference.
3) Don’t Forget to Name Your Lights
Naming your lights is important for easy control and organization. Avoid generic names like “Light 1” or “Bulb A” and opt for more descriptive names like “Kitchen Island Light” or “Bedside Lamp.”
4) Avoid Using Too Many Third-Party Apps
While there are many third-party apps available for controlling Hue lights, it’s best to stick with the official Philips Hue app. Using too many different apps can cause confusion and may not offer the same level of control.
5) Don’t Ignore Updates
Make sure to regularly check for updates on the Hue app and your lights. Updates often include bug fixes, new features, and improvements to overall performance. As technology evolves, it’s important to keep your system up to date.
6) Avoid Overloading Your Network
Hue lights use a considerable amount of bandwidth on your Wi-Fi network. If you have a large number of lights or other devices connected to your network, it may cause lag or connectivity issues. Consider upgrading your internet plan if needed.
7) Don’t Forget About Maintenance
Just like any other electronic device, Hue lights require maintenance. Check for updates regularly, replace bulbs when needed, and clean the lights and their fixtures to ensure optimal performance. As with any electrical device, be cautious when handling them and always follow safety precautions.
8) Avoid Neglecting Your Privacy
While Hue lights offer convenience and fun, it’s important to keep your privacy in mind. Make sure to secure your network and only connect the bridge and app to trusted devices. Also, avoid using public Wi-Fi networks to control your lights.
With these tips on how to set up hue lights in mind, you can set up your Hue lights with ease and avoid any hiccups or complications. Happy lighting! Remember to always have fun and stay safe while using your smart lighting system. Enjoy the convenience and beauty it brings to your home! So go ahead and get creative – the possibilities are endless with Philips Hue lights.
8 Additional Tips for Maximizing Your Hue Lighting Experience
While setting up your Hue lights and avoiding common mistakes is important, there are also some additional tips you can keep in mind to fully maximize your lighting experience. Here are eight tips to help you get the most out of your smart lights:
1) Experiment with Colors and Scenes
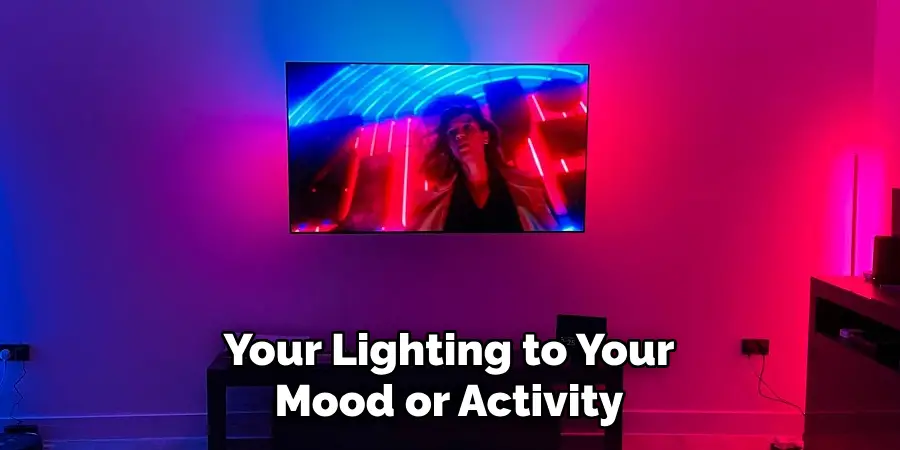
Don’t be afraid to play around with different colors and scenes to create the perfect ambiance for any occasion. You can even match your lighting to your mood or activity. As you use your lights more, you’ll discover which colors and scenes work best for you.
2) Utilize Voice Control
If you have a smart home assistant like Amazon Alexa or Google Home, make sure to connect it to your Hue lights for hands-free control. This can be especially useful if your hands are full or if you’re away from your phone.
3) Take Advantage of Routines
As mentioned earlier, routines allow you to automate your lights for added convenience. Experiment with different routines and schedules to find what works best for you. For example, you can set your lights to turn on at a certain time in the morning to help you wake up.
4) Use Multiple Bridges for Larger Homes
If you have a larger home with multiple floors or rooms, consider using multiple bridges to evenly distribute the workload and improve connectivity. You can also use different bridges for different areas of your home if needed.
5) Connect with Other Smart Home Devices
You can take your smart home to the next level by connecting your Hue lights with other compatible devices like thermostats and security systems. This can enhance your overall home automation experience.
6) Set Personalized Scenes for Each Room
Each room in your home has a different purpose, so it makes sense to have personalized lighting scenes for each one. Consider the activities and tasks that take place in each room and create scenes accordingly.
7) Use Third-Party Apps for Additional Features
While it’s best to stick with the official Hue app, there are some third-party apps that offer additional features like music synchronization or custom animations. Explore different apps and see what they have to offer.
8) Have Fun and Get Creative!
At the end of the day, Hue lights are meant to be enjoyable and enhance your living space. Don’t be afraid to get creative and have fun with your lighting. Use it as a way to express yourself and make your home truly unique.
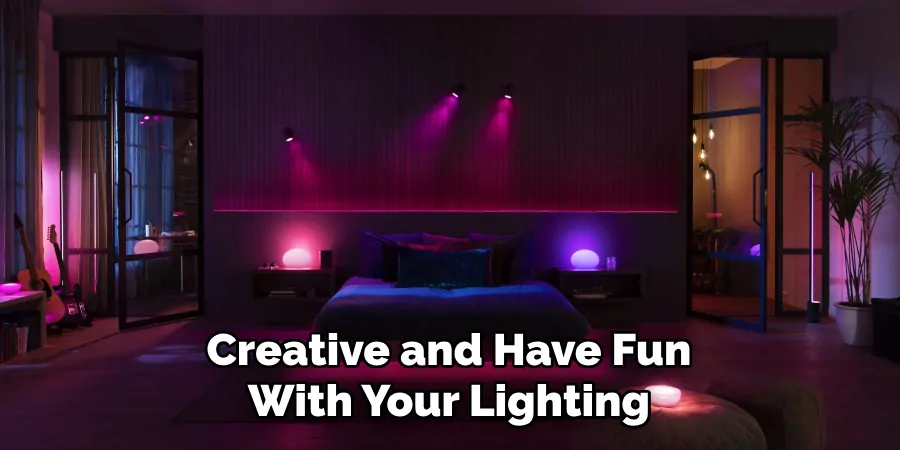
By following these tips on how to set up hue lights, you can fully maximize your Hue lighting experience and enjoy all the features and benefits it has to offer. Happy lighting! Remember to always have fun and stay safe while using your smart lighting system. Enjoy the convenience and beauty it brings to your home!
Frequently Asked Questions About Philips Hue Lights
Still have some questions about Philips Hue lights? Here are some commonly asked questions and their answers:
Can I Use My Hue Lights Without an Internet Connection?
Yes, you can still control your Hue lights on a local network without an internet connection. However, to access advanced features like remote control and voice control, an internet connection is required.
How Long Does Hue Bulb Last?
Hue bulbs are designed to last for approximately 25,000 hours or around 22 years with average use. This may vary depending on usage and environmental factors.
Can I Use Hue Lights Outdoors?
While there are some outdoor-rated options available, most Hue lights are not suitable for outdoor use as they are designed for indoor use only. It’s important to check the specifications before using Hue lights outdoors.
Can I Use Traditional Dimmer Switches with My Hue Lights?
No, traditional dimmer switches are not compatible with Hue lights as they may cause damage or interfere with their functionality. You can instead use the official Hue Dimmer Switch or control your lights through the app.
Do I Need to Have the Hue Bridge to Use Hue Lights?
Yes, the Hue Bridge is necessary for controlling your lights through the app, connecting to voice assistants, and accessing advanced features. Without it, you can still use basic functions like on/off and dimming with a compatible remote.
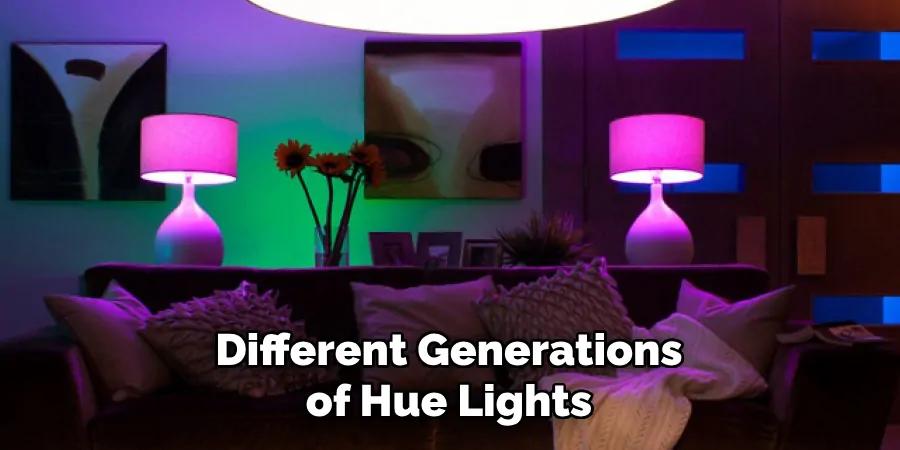
Can I Mix Different Generations of Hue Lights?
Yes, different generations of Hue lights are compatible with each other. However, some advanced features may not be available when using different generations together. It’s recommended to use lights from the same generation for optimal performance.
Conclusion
Philips Hue lights offer convenience, customization, and fun for your home lighting needs. By following these tips on how to set up hue lights and staying mindful of privacy and safety precautions, you can fully maximize your Hue lighting experience and make your home truly unique.
Have fun experimenting with different colors, scenes, and integrations to create the perfect ambiance for any occasion. And remember, always have fun and stay safe while using your smart lighting system. Enjoy the convenience and beauty it brings to your home! So go ahead and get creative – the possibilities are endless with Philips Hue.

