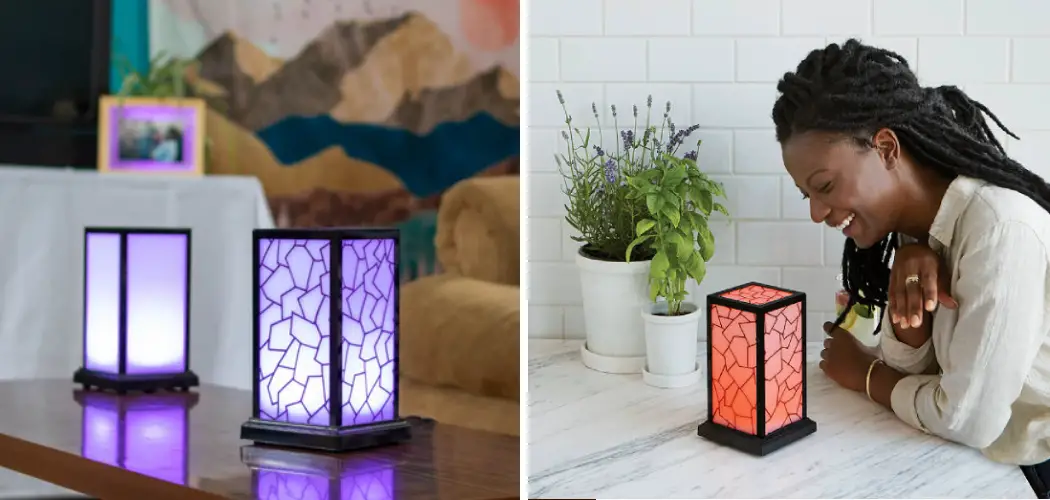
Are you looking to make a meaningful connection in your life? Do you want to experience the joy of knowing someone is close, even when they aren’t physically by your side? If so, then friendship lamps are the perfect solution for you. These small technological marvels create light-based connections between individuals who are far apart, no matter how great the distance might be. Whether it’s across town or an ocean, these lamps can help keep two people connected.
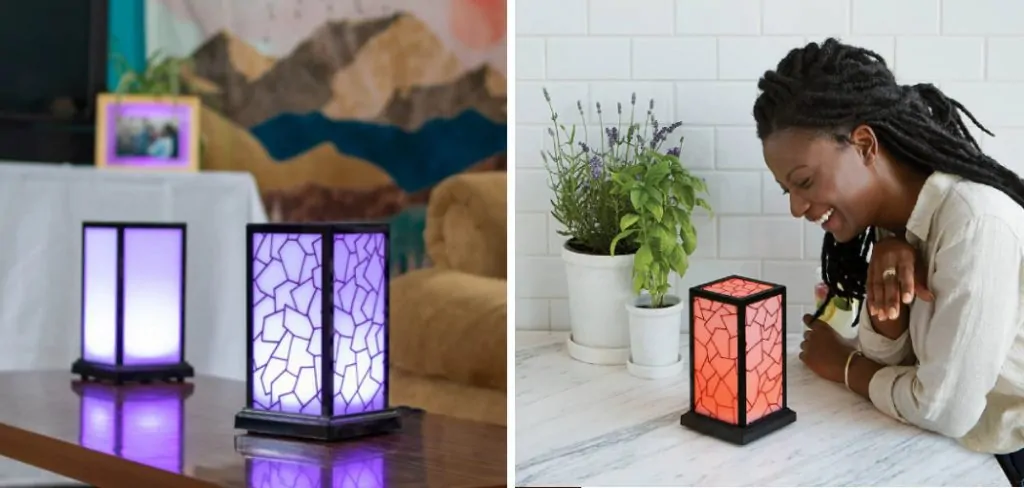
If you have recently purchased a friendship lamp and are wondering how to set it up, then you’ve come to the right place.
In this guide, we will walk you through the simple steps on how to set up friendship lamp. Keep reading to find out how you can set up your friendship lamp and start experiencing the joy of being connected with the people who matter most to you.
What Will You Need?
Before diving into the steps, let’s review what you’ll need to get started. The good news is that you don’t need much at all! There are only two things required:
- A stable internet connection
- Your friendship lamp(s)
That’s right, setting up a friendship lamp requires nothing more than these two items. So what are you waiting for? Let’s get started!
10 Easy Steps on How to Set Up Friendship Lamp
Step 1: Plug in Your Lamp
The first thing you will need to do is plug in your friendship lamp. This requires nothing more than a standard power outlet, so make sure you have one nearby. Once plugged in, your friendship lamp should light up. If it doesn’t, don’t worry – the next few steps will help you troubleshoot the issue.
Step 2: Connect to Wi-Fi
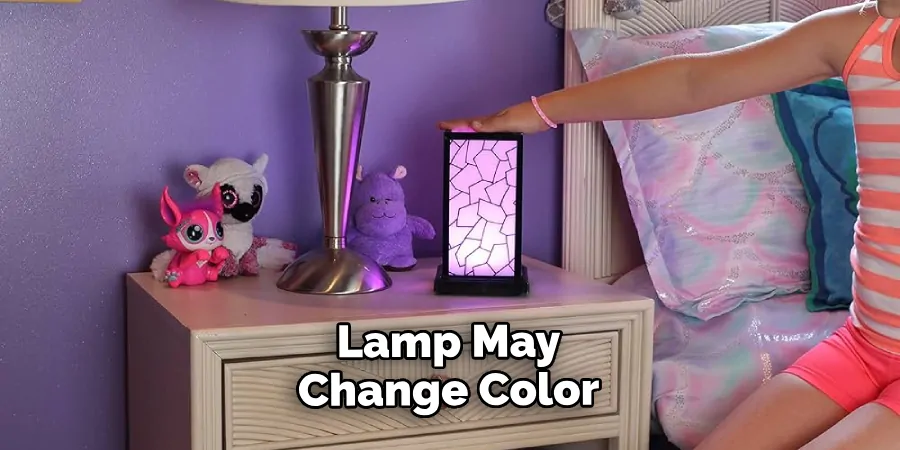
Next, you will need to connect your friendship lamp to a stable internet connection. If your lamp is not connected, it should search for available networks automatically. Once connected, the light on your lamp may change color or blink, indicating that it has successfully joined the network.
Step 3: Download the Mobile App
To control and customize your friendship lamp, you will need to download the manufacturer’s app on your smartphone. You can find this app in the Google Play or Apple App Store. After downloading and installing the app, open it and follow the on-screen instructions to create an account. Remember to keep your login credentials safe, as you will need them to use the lamp.
Step 4: Pair Your Lamp
After setting up your account, the next step is to pair your Friendship Lamp with your mobile app. Look for an option on the app to ‘Add Device’ or ‘Pair New Device’. Click on it, then follow the prompts to connect your lamp. This usually involves scanning a QR code or entering a device ID given on the lamp or its packaging. Once the pairing is successful, your lamp should appear on the app’s home screen.
Step 5: Set Your Color
Now it’s time to personalize your friendship lamp. Go to your lamp settings in the mobile app and select your preferred color. This color will light up the other person’s lamp when you touch your lamp. You can generally choose from a wide spectrum of colors, so pick a color that is meaningful to you and your friend. After choosing the color, you can test the lamp by touching it. If everything is correctly set up, your lamp color should change to the one you selected.
Step 6: Repeat the Process for the Second Lamp
Now, you must repeat the entire process for the second friendship lamp. Make sure that this lamp is also connected to a stable internet network. The color choice for this lamp should be different from the first one to distinguish who is reaching out. After setting up, test the lamp by touching it. If everything is properly set, the first lamp should light up in the color you chose for the second lamp. This confirms that both lamps are successfully paired and synced.
Step 7: Install the Lamp in the Desired Location
After successfully pairing and testing both lamps, installing them at their respective locations is time. Choose an easily visible location to ensure that when the lamp lights up, it grabs your attention. It can be a bedside table, a living room shelf, or a workspace. Ensure the location is near a power source to keep the lamp plugged in and connected at all times.
Step 8: Configure Additional Settings
Once you have installed the lamp, you can configure additional settings for a customized experience. This could include setting the lamp’s brightness, setting a sleep mode to avoid disturbance during night hours, or even setting up a sequence of colors for fun. To do this, go back to the app, select your lamp, and explore the various options. Make sure to save your settings before exiting the app.
Step 9: Start Using Your Friendship Lamp
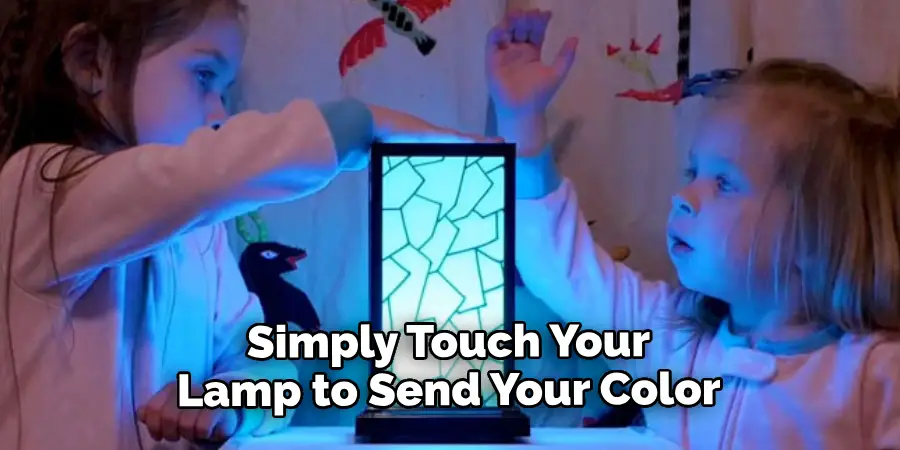
Now that everything is set up, it’s time to start using your friendship lamp. Simply touch your lamp to send your color to the other lamp. Remember, your friend’s lamp will light up in the color you have selected for your lamp. Similarly, when your friend touches their lamp, your lamp will light up in the color they have chosen. It’s a beautiful, simple way to let your loved ones know you’re thinking of them, no matter the distance.
Step 10: Troubleshooting
If you encounter any difficulties or if the lamps aren’t working as expected, don’t panic. Check your internet connection and ensure both lamps are connected to the network. If the problem persists, try resetting your lamp or reinstalling the app. If you still can’t resolve the issue, don’t hesitate to contact the manufacturer’s customer support. They are there to help you make the most out of your friendship lamp.
By following these simple steps, you can set up your friendship lamp and connect with your loved ones in a whole new way.
5 Additional Tips and Tricks
- Choosing the Right Location: When setting up your friendship lamp, choose a suitable location where both parties can easily see and access it. This way, you can easily turn on and off your lamps whenever you want to connect with your friend.
- Syncing Multiple Lamps: If you have more than one friendship lamp, you can sync them all together using the same Wi-Fi network. This way, when you touch one lamp, all the other lamps will light up simultaneously, creating a synchronized connection between you and your friends.
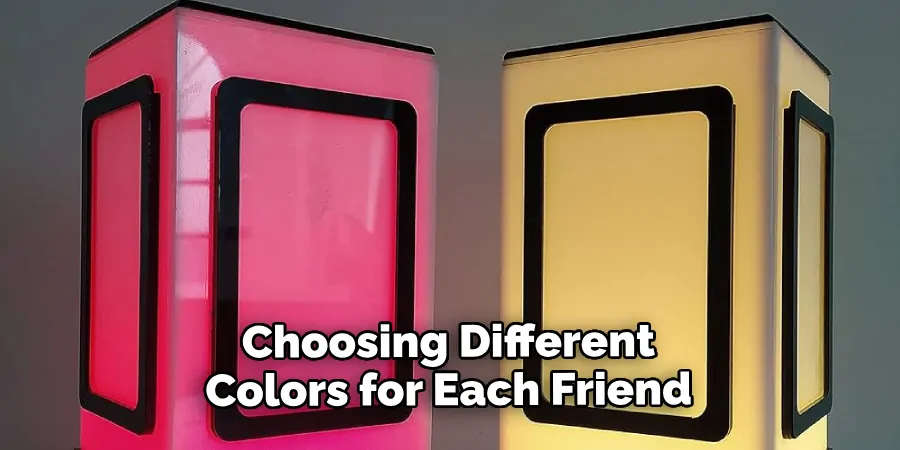
- Personalizing Your Lamp: You can personalize your friendship lamp by choosing different colors for each friend. For example, you can assign blue to represent your best friend and red to your significant other. This way, you can easily know who is trying to reach out to you by the lamp’s color.
- Setting Up Reminders: You can use your friendship lamp as a reminder for important events or meetings with your friends. Simply set a specific color code for these reminders, and when the lamp lights up with that color, you’ll know it’s time for your scheduled meetup.
- Using the Lamp as a Mood Indicator: You can also use your friendship lamp to indicate your current mood to your friend. For example, you can assign green to represent happy, yellow for neutral, and red for sad. This way, when your friend sees the lamp’s color, they’ll know how you’re feeling without having to exchange words.
By following these additional tips and tricks, you can make the most out of your friendship lamp and strengthen your bond with your friends.
5 Things You Should Avoid
- Avoid Placing the Lamp Near Wi-fi Interference: Keep your friendship lamp away from devices that can cause Wi-Fi interference, such as microwaves and cordless phones, to ensure a stable connection.
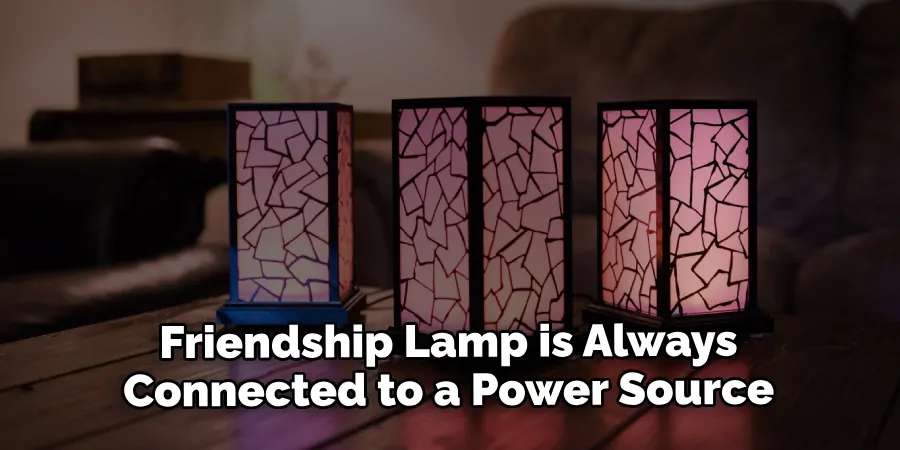
- Remember to Connect It to Power: Ensure the friendship lamp is always connected to a power source to avoid disruption in its operation.
- Avoid Misuse: The friendship lamp is not a toy, and misuse can lead to damage. Don’t allow it to be played with, especially by children.
- Avoid Extreme Conditions: Do not expose your friendship lamp to extremely hot or cold temperatures, as it can cause damage. Keep it in a safe, room temperature environment.
- Pay Attention to Updates: Regularly updating your friendship lamp’s firmware ensures proper functioning. Avoid ignoring these updates when they appear.
By avoiding these common pitfalls, you’ll ensure your friendship lamp functions optimally and lasts long.
Conclusion
Installing a friendship lamp is as easy as following the steps outlined above. The possibilities of connecting with those with a special place in your heart are endless. From a constant reminder that someone cares to facilitate shared experiences, the connection and bond created by the lamp can bring joy to two people and even more when it’s connected to all their friends and family.
With its unique ability to join two people, regardless of distance or time zone, it’s an ideal gift for anyone far away from those they love most. Intensify your relationships by taking the time to install a friendship lamp today!
Hopefully, the article on how to set up friendship lamp has been helpful to you and provided some valuable insights. Good luck!

