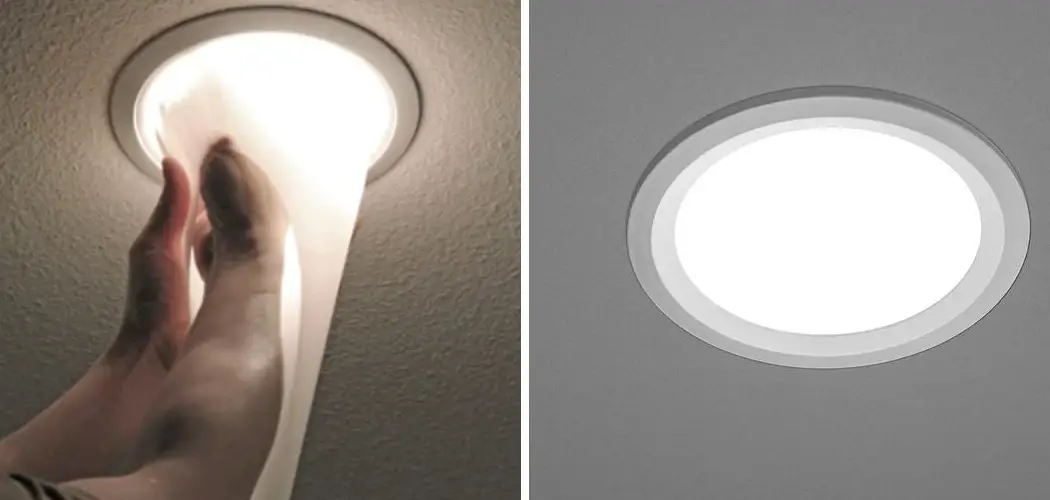
Sealing recessed lights is an important step in achieving energy efficiency and maintaining indoor air quality. Without proper sealing, warm or cool air can escape through the gaps around the light fixture, leading to higher energy bills and potential drafts. Additionally, unsealed recessed lights can allow dust and other pollutants to enter your home, affecting your indoor air quality.
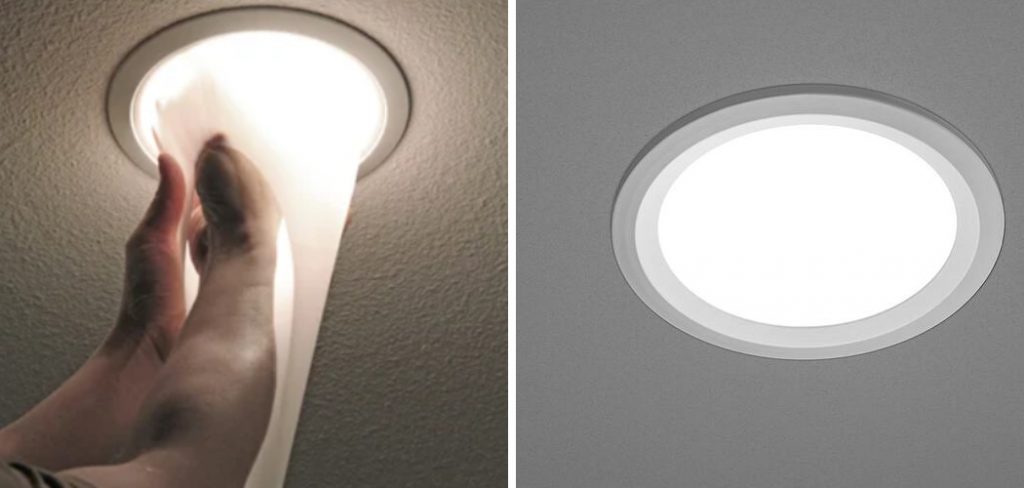
The main advantage of properly sealing recessed lights is improved energy efficiency. By preventing air leakage, your heating and cooling systems can work more effectively, leading to lower energy bills.
Sealing recessed lights also helps to maintain a consistent temperature throughout your home and reduces the strain on your HVAC system. You can find step-by-step instructions on how to seal recessed lights in this blog article.
Tools and Materials Needed for Sealing
- Caulk gun
- Silicone caulk or spray foam insulation
- Putty knife
- Screwdriver (if needed for removing light fixtures)
- Ladder (if lights are installed in a ceiling)
- Safety glasses and gloves
- Tarp or drop cloth (to protect floors and furniture)
- Damp cloth or sponge (for cleaning up any excess caulk)
- Electrical tape (for sealing any gaps around wiring)
- Masking or painter’s tape (to protect surrounding surfaces from caulk)
By having these tools and materials ready, you can ensure a smoother and more efficient process for sealing your recessed lights. With proper installation and sealing, you can enjoy the benefits of your recessed lights without any potential risks or issues.
Types of Recessed Lights
There are several types of recessed lights available on the market today. Each type offers a different look and function, so it’s important to understand the differences before deciding which ones to install in your home.
1. Standard Recessed Lights
Standard recessed lights, also known as “can” or “pot” lights, are the most commonly used type of recessed light. They have a cylindrical shape and are typically installed in a ceiling or wall. These lights are versatile and can be used for general lighting or to highlight specific areas.
2. Baffle Trim Recessed Lights
Baffle trim recessed lights have a ribbed interior that helps reduce glare and creates a softer, more diffused light. These lights are ideal for areas where you want a more subtle and ambient lighting effect.
3. Wall Wash Recessed Lights
Wall wash recessed lights are designed to illuminate a large area of a wall, creating a soft and even glow. They are commonly used in living rooms, dining rooms, and other spaces where accent lighting is desired.
4. Adjustable Trim Recessed Lights
Adjustable trim recessed lights allow you to change the direction of the light beam, making them perfect for highlighting specific objects or areas in a room. They are often used in galleries and museums to showcase artwork.
5. Eyeball Trim Recessed Lights
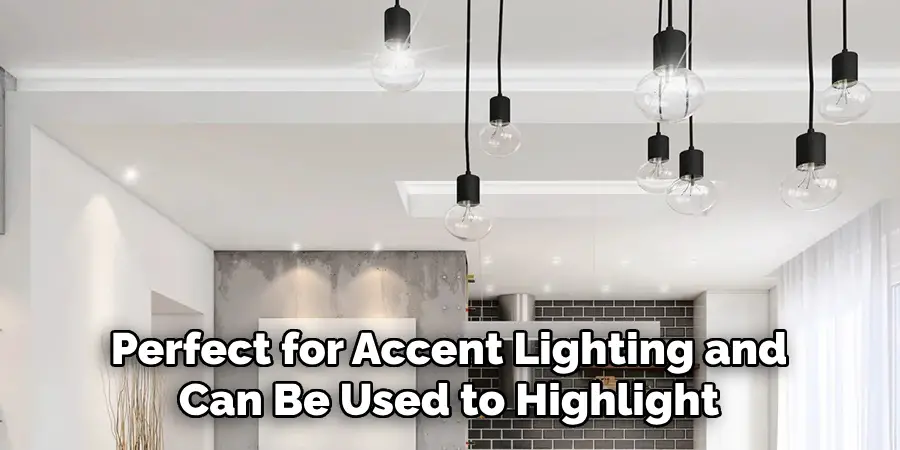
Eyeball trim recessed lights have a movable inner casing that can be angled to direct the light in different directions. They are perfect for accent lighting and can be used to highlight artwork or architectural features.
6. Shower Trim Recessed Lights
Shower trim recessed lights are designed specifically for use in wet areas such as bathrooms and showers. They have a sealed housing that protects the light from moisture, making them safe and durable in these spaces.
7. Pinhole Trim Recessed Lights
Pinhole trim recessed lights have a small opening that creates a narrow beam of light, making them perfect for task lighting in areas such as kitchens and workspaces.
8. Retrofit LED Recessed Lights
Retrofit LED recessed lights are energy-efficient options that can easily replace traditional incandescent or fluorescent bulbs. They come in various shapes and sizes and can provide significant cost savings on energy bills.
9. Low Profile Recessed Lights
Low profile recessed lights are designed for rooms with low ceilings or spaces where a standard recessed light may not fit. They are slim and compact, making them perfect for installation in tight spaces.
10. Decorative Trim Recessed Lights
Lastly, decorative trim recessed lights offer a more stylish and decorative touch to a room. They come in various designs, including beveled, fluted, or textured trims, making them perfect for adding a touch of personality to any space.
When choosing the type of recessed lights for your home, consider the function and overall aesthetic you want to achieve. It’s also important to consult with a professional electrician to ensure proper installation and safety. With the variety of recessed lights available, you can easily find the perfect option to elevate your home’s lighting design.
Preparing Before Sealing Recessed Lights
There are a few important steps that need to be taken before sealing recessed lights. Here’s what you need to do:
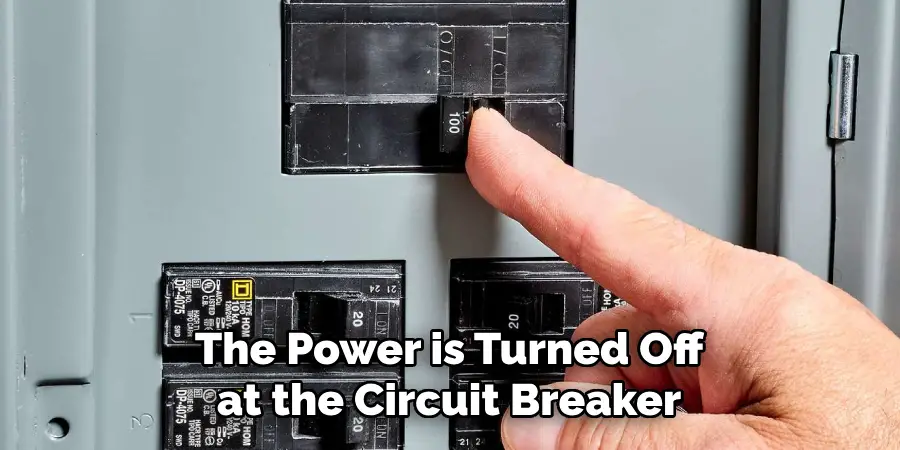
- Turn Off the Power: This should go without saying, but it’s always worth double-checking. Make sure the power is turned off at the circuit breaker before you start working on your recessed lights.
- Remove the Light Bulbs: Before you can seal the recessed lights, you need to remove the light bulbs. This will prevent any damage to them and make your job easier.
- Clean the Fixtures: It’s important to clean the inside of the fixtures before sealing them. This will ensure that there is no dust or debris inside which could potentially cause a fire hazard once sealed.
- Check for Leaks: Inspect the fixtures for any signs of leaks. If you find any, make sure to fix them before proceeding with sealing.
- Apply Fire-rated Sealant: Now it’s time to apply the fire-rated sealant around the edges of the recessed lights. This will provide a barrier against air and moisture, as well as help prevent fires from spreading through the ceiling.
- Replace Bulbs and Trim: Once the sealant has dried, you can replace the light bulbs and trim to finish off your sealed recessed lights.
By following these steps, you can ensure that your recessed lights are properly sealed and safe to use.
Step-by-step Instructions for How to Seal Recessed Lights
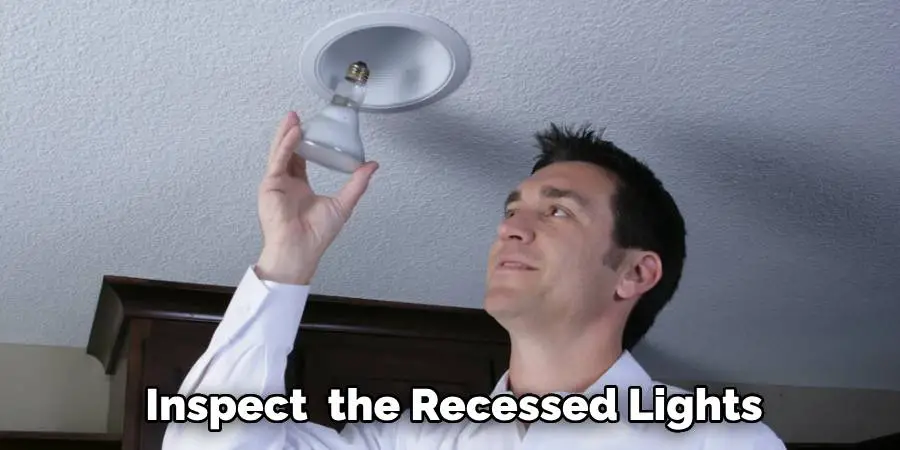
Step 1: Inspect the Recessed Lights
Inspect the recessed lights to ensure that they are functioning properly. This is important because if there are any problems with the lights, such as loose wires or damaged fixtures, these should be addressed before proceeding with sealing.
Step 2: Gather Necessary Materials
Before you start sealing the recessed lights, make sure you have all the necessary materials on hand. This includes fire-rated caulk, a caulking gun, a putty knife, and a ladder.
For safety purposes, it is important to turn off the power to the recessed lights before you begin. Locate the circuit breaker that controls the power to the lights and switch it off. Double check that the power is off by testing the lights.
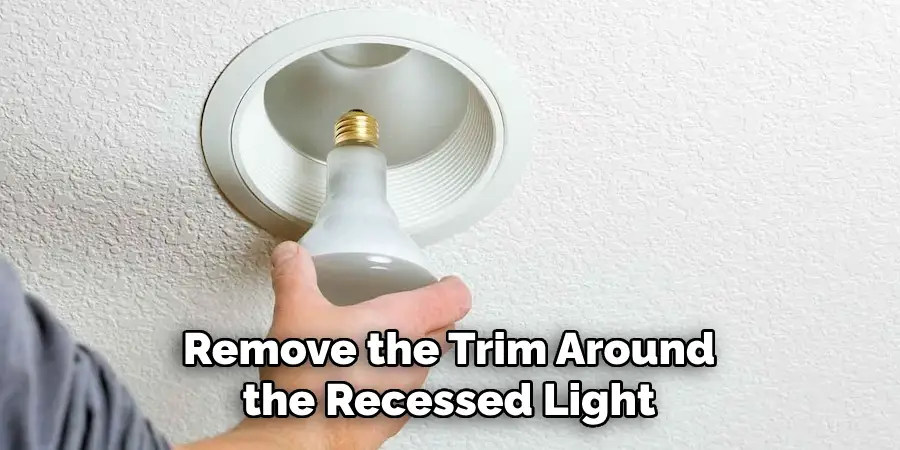
Step 3: Remove Trim
Using a putty knife, carefully remove the trim around the recessed light. Be gentle to avoid damaging the ceiling or the trim itself. Once the trim is removed, use a clean cloth to wipe away any dust or debris from around the recessed light. This will ensure a clean surface for the caulk to adhere to.
Step 4: Apply Caulk
Using the caulking gun, carefully apply fire-rated caulk around the perimeter of the recessed light fixture. Be sure to cover any small gaps or cracks that may exist. Using a damp sponge or your finger, smooth out the caulk to create a clean and even seal. This will also help to prevent any cracks or gaps from forming in the caulk as it dries.
Step 5: Let Caulk Dry
Allow the caulk to dry completely before proceeding. Refer to the instructions on your specific product for drying times, but typically it should take around 24 hours. Once the caulk is dry, carefully reattach the trim to the recessed light fixture. Make sure it is securely in place and that there are no gaps between the trim and the ceiling.
Step 6: Test Lights
Finally, turn the power back on and test the recessed lights to ensure they are functioning properly. If everything looks good, then you have successfully sealed your recessed lights and can enjoy a more energy-efficient home.
By following these simple steps, you can ensure that your recessed lights are properly sealed and safe for use. Remember to always prioritize safety and double check your work before turning the power back on. With a few basic materials and some careful attention, you can easily complete this task in no time.
Safety Precautions for How to Seal Recessed Lights
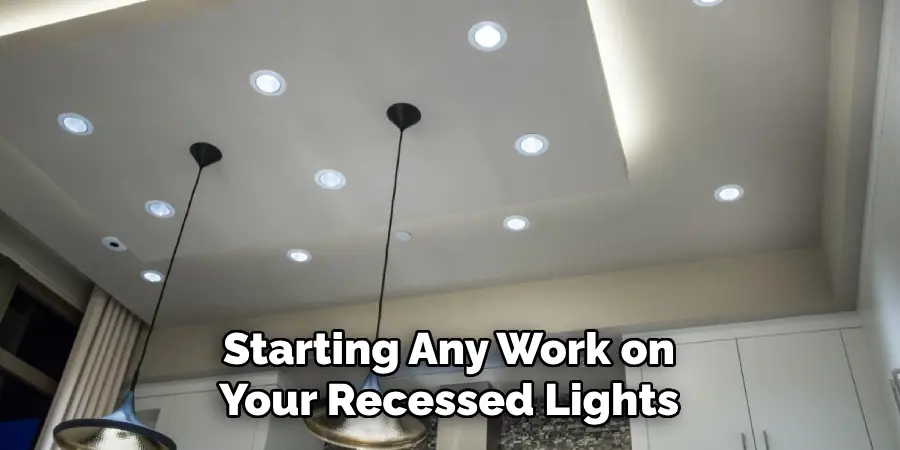
- Check the Power Supply: Before starting any work on your recessed lights, it is important to ensure that the power supply to the light fixture is turned off. This will prevent any electric shocks or accidents while working with electrical components.
- Use Protective Gear: It is always recommended to wear protective gear such as gloves and safety glasses when handling any kind of electrical equipment. This will help protect you from any potential hazards and ensure your safety while working on the recessed lights.
- Check for Fire Hazards: Recessed lights can be a major cause of fire hazards if not properly installed or sealed. Before sealing the lights, make sure that there are no flammable materials near or touching the light fixture. This will reduce the risk of any potential fires.
- Use the Right Sealing Material: It is important to use the correct type of sealant or caulk when sealing recessed lights. Make sure to read the instructions and choose a waterproof, fire-resistant sealant that is suitable for use with electrical components.
- Keep the Area Clean: Before sealing the recessed lights, make sure that the surrounding area is clean and free of any debris or dust. This will ensure that the sealant adheres properly to the surfaces and creates a secure barrier.
- Allow for Proper Ventilation: It is crucial to allow proper ventilation around recessed lights, as they can generate heat. Make sure that there is enough space between the light fixture and any insulation material to prevent overheating and potential fire hazards.
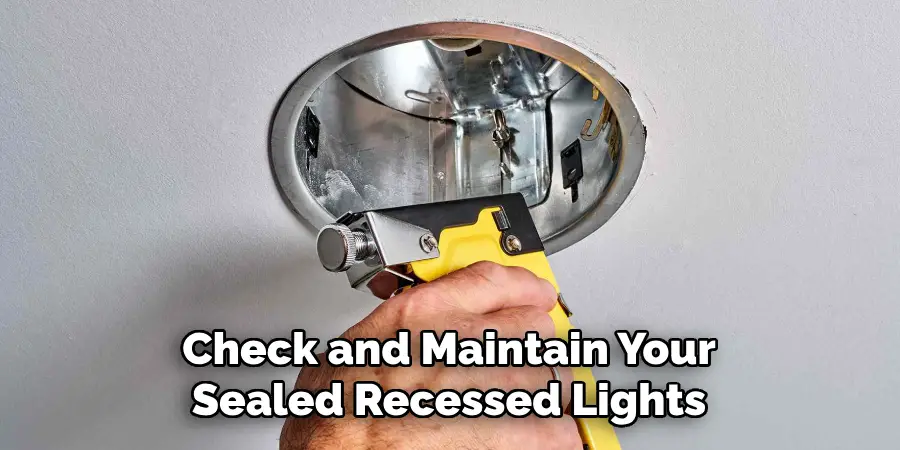
- Regular Maintenance: It is important to regularly check and maintain your sealed recessed lights to ensure they are functioning properly. Inspect the sealant for any cracks or damage, and clean the fixtures regularly to prevent buildup of dust or debris.
By following these safety precautions, you can ensure a safe and efficient way to seal recessed lights in your home. It is always better to be cautious and take the necessary steps to prevent any accidents or hazards while working with electrical equipment. Remember to always prioritize your safety above all else.
Importance of Sealing Recessed Lights
In addition to choosing the right type of recessed lights, it’s important to properly seal them during installation. This is crucial for several reasons.
1. Energy Efficiency
Sealing your recessed lights can help improve energy efficiency in your home. Unsealed recessed lights can allow air to escape or enter, causing drafts and making it difficult for your heating or cooling system to maintain a consistent temperature. By sealing the lights, you can prevent air leakage and potentially save money on your energy bills.
2. Fire Safety
Unsealed recessed lights can also pose a fire hazard. If insulation or other combustible materials come into contact with the hot surface of an unsealed light, it can lead to a potential fire. Properly sealed recessed lights help prevent this risk and ensure the safety of your home.
3. Moisture Protection
As mentioned earlier, some types of recessed lights are specifically designed for use in wet areas like bathrooms or showers. However, even if you have a shower trim recessed light, it’s important to properly seal it to prevent any moisture from seeping into the electrical components. This can prevent potential short circuits and ensure the longevity of your lights.
4. Pest Prevention
Sealing your recessed lights can also help keep out unwanted pests, such as insects or small animals. These creatures may be attracted to the warmth of unsealed lights and can potentially cause damage or disruption to your home’s electrical system.

It’s important to properly seal all recessed lights, regardless of their location or type, to ensure energy efficiency, fire safety, moisture protection, and pest prevention. Consult with a professional electrician for proper installation and sealing techniques to maximize the benefits of your recessed lights.
Troubleshooting Tips for Sealing Recessed Lights
Even with careful preparation, sometimes things can go wrong when sealing recessed lights. Here are some common problems and tips for troubleshooting them:
- Sealant not drying: If the sealant is taking longer than expected to dry, make sure that the room is well-ventilated and consider using a fan to circulate air.
- Bulb Not Fitting: If the light bulb doesn’t fit back into the fixture after sealing, try wiping off any excess sealant from the socket or using a wire brush to clean out any debris.
- Visible Gaps: If there are visible gaps around the edges of the recessed lights after sealing, make sure that you applied enough sealant and consider adding another layer if necessary.
- Leaks: If you notice leaks after sealing, make sure to fix them immediately and reapply sealant as needed.
- Inadequate Fire Rating: It’s important to use a fire-rated sealant specifically designed for recessed lights. If you have used the wrong type of sealant, it may not provide adequate protection against fires.
Remember to always be cautious when working with electricity and if you are unsure about anything, consult a professional electrician. With proper preparation and troubleshooting, you can safely seal your recessed lights and improve the overall safety of your home.
Maintenance and Care for Sealed Recessed Lights
Sealed recessed lights are becoming increasingly popular due to their sleek and modern design. However, just like any other type of lighting fixture, they require maintenance and care to ensure that they last for a long time. In this guide, we will discuss the various ways you can maintain and care for sealed recessed lights.
Cleaning Tips
Cleaning your sealed recessed lights is an important aspect of maintenance. Dust and dirt can accumulate on the surface, reducing the light output and making your lights look dull. Here are some tips to keep your sealed recessed lights clean:
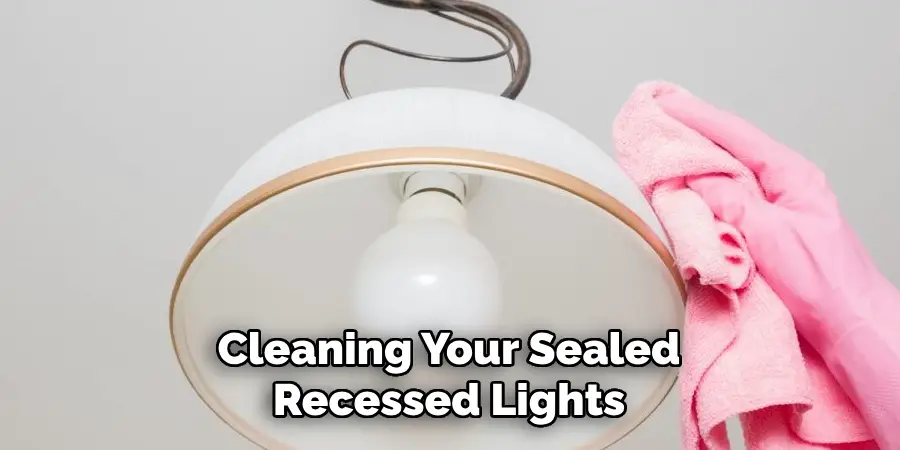
- Use a soft cloth or feather duster to gently wipe away any dust or cobwebs from the surface of the light fixture.
- Avoid using harsh chemicals or abrasive cleaners as they can damage the finish of your lights.
- If there are tough stains or grime, mix a gentle soap solution with warm water and use a soft cloth to gently wipe it away. Rinse with clean water and dry with a soft cloth.
- Make sure to turn off the power before cleaning to avoid any accidents.
Bulb Maintenance
The bulbs in sealed recessed lights play a crucial role in their performance and longevity. Here are some tips to maintain your bulbs:
- Make sure to use the correct wattage for your sealed recessed lights. Using higher wattage bulbs can cause overheating and damage the fixture.
- Check regularly for any burnt out or flickering bulbs and replace them immediately.
- Dust off any accumulated dirt or debris from the bulbs to ensure maximum light output.
- Consider using LED bulbs as they are more energy-efficient and have a longer lifespan compared to traditional incandescent or fluorescent bulbs.
General Care
Apart from cleaning and maintaining the bulbs, here are some general care tips for your sealed recessed lights:
- Avoid placing flammable objects near or on top of your lights to prevent any fire hazards.
- Do not use your lights as a support for hanging objects as it can damage the fixture and cause it to fall.
- In case of any electrical issues or damaged components, always seek professional help instead of trying to fix them yourself.
Taking good care of your sealed recessed lights is essential to maintain their beauty and functionality. Regular cleaning and proper bulb maintenance can significantly extend the lifespan of your lights. Additionally, following general care tips can ensure their safety and prevent any accidents.
Conclusion
In conclusion, sealing recessed lights is an important step in ensuring energy efficiency and improving indoor air quality in your home. By properly sealing these fixtures, you can prevent unwanted drafts, dust, and moisture from entering your living space.
Remember to first turn off the power before attempting to seal any recessed lights. You should also check for any existing insulation around the fixture and remove it if necessary.
There are various methods for sealing recessed lights, including using caulk or foam sealant, installing an airtight cover, or creating a barrier with fire-resistant materials.
It’s important to research and choose the best method for your specific type of recessed light and insulation. I hope this article has been beneficial for learning how to seal recessed lights. Make Sure the precautionary measures are followed chronologically.

