Are the lights in your car failing to give you the bright and clear glow they used to? Interior car lighting can start to fade over time, but fortunately, it is relatively easy to replace them.
Interior car lights are essential for visibility and safety when driving at night or in low light conditions. It is essential to regularly check and replace interior car lights to avoid any potential hazards while on the road. Additionally, replacing interior car lights can also enhance the overall appearance of your vehicle’s interior.

In this blog post, you will learn how to safely remove and replace interior car lighting fixtures without taking your vehicle to a mechanic. With our simple step-by-step instructions on how to replace interior car lights, anyone with basic automotive knowledge will be able to refresh their interior car space without breaking the bank!
What Will You Need?
Before diving into the replacement process, ensure you have all the necessary tools and materials. Here’s a list of what you will need:
- New interior car lights (make sure they are compatible with your vehicle)
- Screwdriver
- Pliers
- Gloves
- Safety glasses
Let’s get started once you have all your tools and materials ready!
10 Easy Steps on How to Replace Interior Car Lights
Step 1: Locate the Interior Lights
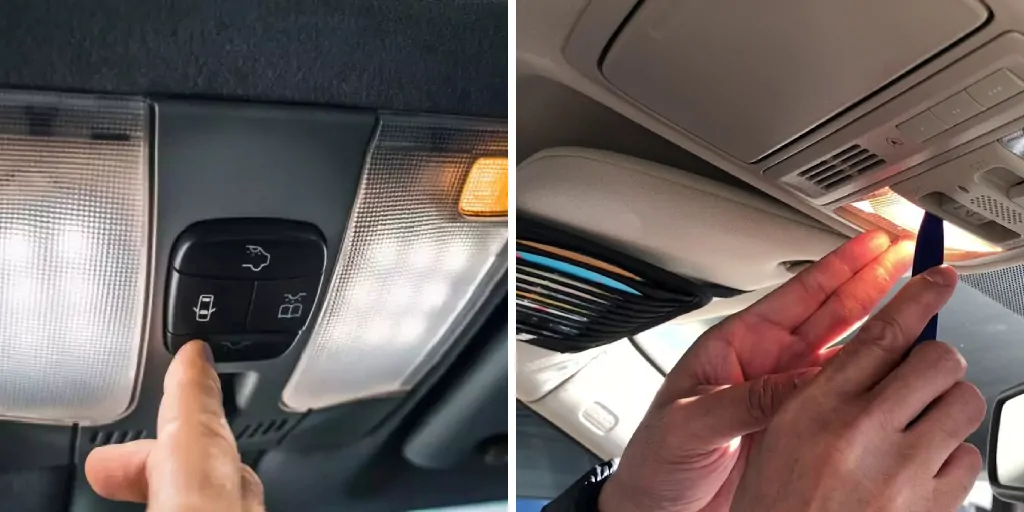
Firstly, you will need to locate where the interior car lights are located. They can typically be found on the ceiling of your car near the windshield or attached to the rearview mirror. Be careful not to touch the light fixture while it is still hot.
Step 2: Remove the Light Cover
After identifying the interior light location, your next step is to remove the light cover. Most interior car light covers can be removed by gently prying them off with a screwdriver. Ensure to use gloves for safety and to avoid leaving fingerprints on the inside of the cover. Be careful not to use excessive force, which can break the cover. Once removed, keep the cover in a safe place to avoid misplacing it.

Step 3: Remove the Old Light Bulb
Now, it’s time to remove the old light bulb. First, turn off the light to avoid burning your fingers. Using your gloves, gently grasp the light bulb and turn it counterclockwise until it comes free from the socket. If the bulb is stuck, you can use pliers to twist it gently. Be careful not to shatter the bulb. Once you’ve successfully removed the bulb, dispose of it safely. Remember, it’s important not to touch the new bulb with your fingers, as the oil can shorten its lifespan.
Step 4: Insert the New Light Bulb
Once you’ve safely removed the old bulb, it’s time to insert the new one. Wearing your gloves, carefully take the new bulb out of its packaging. Before you insert it, double-check that it’s the correct size and type for your car’s interior light fixture. Once you’re sure, gently insert the bulb into the socket and twist it clockwise until it’s secure. Remember, not touching the bulb with your fingers is crucial, as the oils can cause it to burn out faster. Be sure not to force the bulb in, as this could cause it to break.
Step 5: Test the New Light Bulb
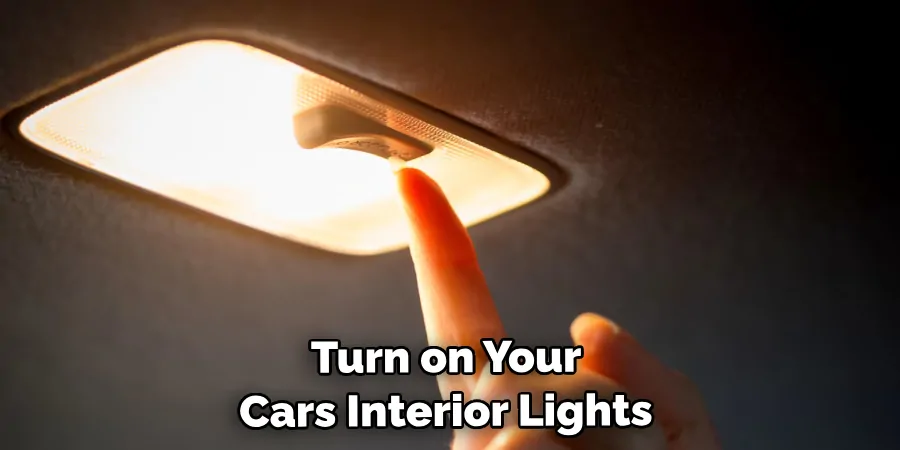
Now that the new bulb is in place, it’s time to test it. Turn on your car’s interior lights to verify that the newly installed bulb is working correctly. If the light turns on, you have successfully replaced your interior car light. However, ensure the bulb is properly inserted and secured if it doesn’t light up. If it still doesn’t work, the bulb may be faulty, or there might be an issue with the car’s electrical system, and you might need to consult a professional.

Step 6: Reattach the Light Cover
After ensuring that your new light bulb is working correctly, the next step is to replace the light cover. Carefully align the cover with its original position over the light fixture, and gently apply pressure until it clicks into place. Make sure the cover is adequately secured to avoid it from falling off while driving. Once the light cover is back on, your job is almost done. Congratulations, you are one step closer to achieving a brighter and safer driving experience with your newly replaced interior car lights!
Step 7: Clean Up and Dispose of Old Materials
With your new interior car light successfully installed, it’s time to clean up your workspace. Gather all your tools and put them away in their respective places. Remember to dispose of old light bulbs responsibly, as some bulbs may contain harmful substances. If in doubt, check with your local waste disposal facility for guidance on properly disposing of old car light bulbs. With everything tidied up, you can enjoy the improved visibility and safety of your vehicle’s new interior lighting.
Step 8: Double-Check Your Work
Once you have cleaned up your workspace, it’s important to double-check your work. Go back to your car’s interior and test the new light bulb a couple of times, making sure it turns on and off as it should. Also, check the light cover to make sure it is fully secured. If everything is in order, you have successfully learned how to replace interior car lights! Now, not only will your drive be safer, but your car’s interior will also look fresher with the new lighting.
Step 9: Regular Maintenance
After successfully replacing your car’s interior lights, check and maintain them regularly. Regular maintenance ensures your interior lights function correctly and dramatically extends their service life. Keep an eye out for any flickering or dimming, which may indicate it’s time to replace the bulb again. In addition, always have spare bulbs on hand in case of unexpected malfunctions. This way, you can always maintain the safety and comfort of your car’s interior lighting.

Step 10: Enjoy Your Newly Upgraded Interior Car Lights
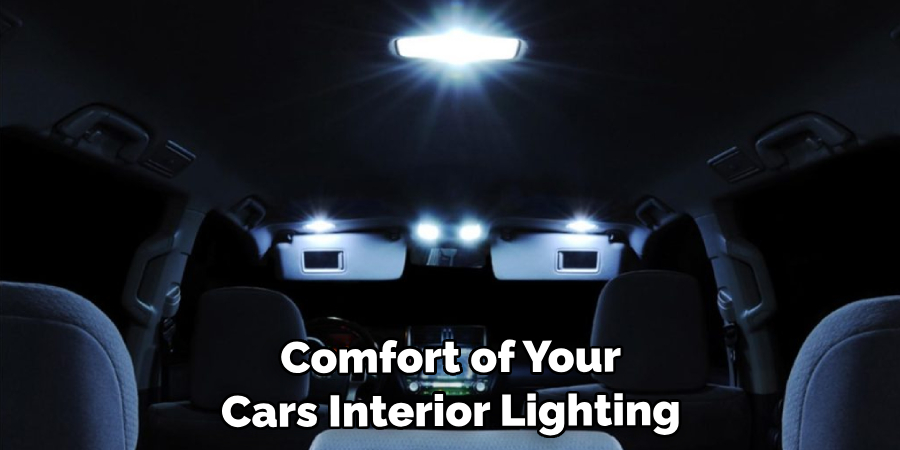
Finally, the process of replacing your interior car lights is complete. Now, it’s time to enjoy the fruits of your labor. Turn on your newly installed lights and observe the difference they make to the overall ambiance of your car’s interior.
Not only does good interior lighting improve visibility, but it also enhances the overall aesthetic of your vehicle. So, sit back, relax, and take a moment to appreciate your newly upgraded interior lighting. Safety and comfort should always be the top priority when driving, and a well-lit car interior significantly contributes to both.
By following these simple steps and regularly maintaining your car’s interior lights, you can ensure your drives are always well-lit and stress-free.
5 Additional Tips and Tricks
- Understand Your Vehicle’s Manual: Before you start replacing the interior car lights, consult your vehicle’s manual to understand the type of bulb used and the process to replace it.
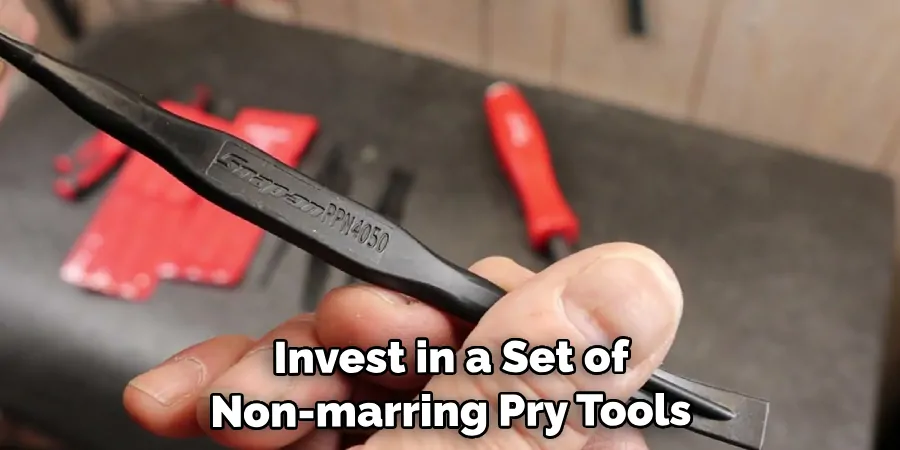
- Use the Right Tools: Invest in a set of non-marring pry tools. These plastic tools are essential to remove lens covers and access bulbs without scratching your interior.
- Check the Bulb’s Polarity: LED bulbs have polarity, meaning they need to be inserted the correct way to work. If a new LED doesn’t light up, try flipping it around.
- Test Before Reassembling: After replacing the bulb, turn on your car’s interior lights to ensure the new bulb works before reassembling everything.
- Consider Upgrading: If replacing an old bulb, consider upgrading to LED for longer life, better brightness, and cooler operation.

With these additional tips and tricks, you can ensure a successful and hassle-free replacement of your interior car lights.
5 Things You Should Avoid
- Avoid Using Wrong Bulbs: The wrong bulb type can cause damage or simply not work. Always check your vehicle’s manual for the correct bulb type.
- Avoid Applying Excessive Force: Be gentle when removing the old bulb or installing the new one. Applying too much force can break the bulb or damage the socket.
- Avoid Touching the Bulb with Bare Hands: Oils from your skin can cause bulb hot spots and decrease lifespan. Use gloves or tissue paper when handling new bulbs.
- Refrain from Neglecting Polarity for LED Bulbs: Forgetting to check the polarity of LED bulbs can lead to them not working. Always remember that LED bulbs have a positive and a negative side.
- Avoid Assembling Without Testing: Only reassemble everything after first testing the new bulb. Doing so can save you from having to disassemble everything again if the bulb is defective or not inserted correctly.
By avoiding these mistakes, you can save time and effort during the replacement process. Always consult your vehicle’s manual and be careful when handling the bulbs.
Conclusion
How to replace interior car lights may seem daunting, but with the right tools and knowledge, it can make upgrading to something brighter or more modern much simpler. Not only will this improvement increase the aesthetics of your vehicle, but it’ll also make seeing at night easier for any passengers inside.
Take the time to research the type of lights you’d like in your car and find a quality installation instruction guide so you’re prepared for when you order. With that said, why not give your interior lighting upgrade a go? You definitely won’t regret it!
So don’t hesitate – gather your supplies today and start fresh with your new set of interior lights.


