Integrated LED lights are becoming increasingly popular for their energy efficiency and long lifespan. However, when an integrated LED light fixture fails, replacing it can be a daunting task. Unlike traditional light fixtures, integrated LED lights often require specialized tools and expertise to replace. In this blog post, we will provide a step-by-step guide on how to replace integrated led light fixtures, making the process simple and accessible.
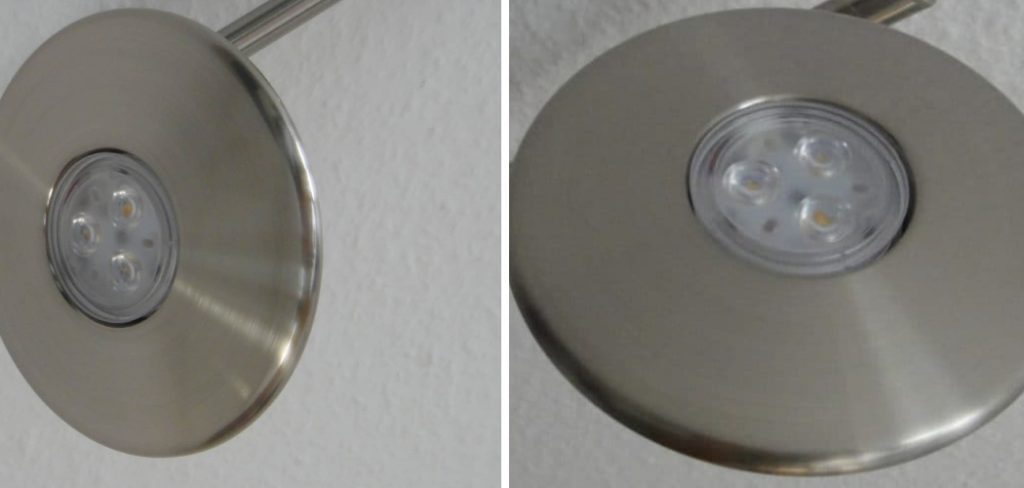
Can You Replace the Integrated Led Light?
The integrated LED light has become a go-to option for many homeowners, offering an energy-efficient and long-lasting lighting solution. However, what happens when you need to replace it? Contrary to popular belief, replacing an integrated LED light is not impossible. It can be done with the right tools and some replacement know-how.
While it may take more effort than simply screwing in a new light bulb, the benefits of having a sustainable lighting solution make it well worth the time and effort. So, to answer the question, yes, you can replace the integrated LED light, and it’s easier than you may think.
Why Should You Replace the Integrated Led Light?
You may be pondering whether or not it’s worth replacing the integrated LED light in your home. However, the benefits of doing so are numerous. For starters, integrated LED lights can be more energy-efficient than their traditional counterparts, so you’ll likely save money on your electricity bill. Additionally, newer models of integrated LED lights can produce a brighter, more natural light that’s easier on the eyes.
And if you’re concerned about the environment, switching to LED lights can reduce your carbon footprint since they last longer and are recyclable. So don’t wait any longer – upgrade your integrated LED lights and start enjoying all their benefits!
How to Replace Integrated Led Light: A Step-by-Step Guide
Step 1: Turn Off the Power Supply
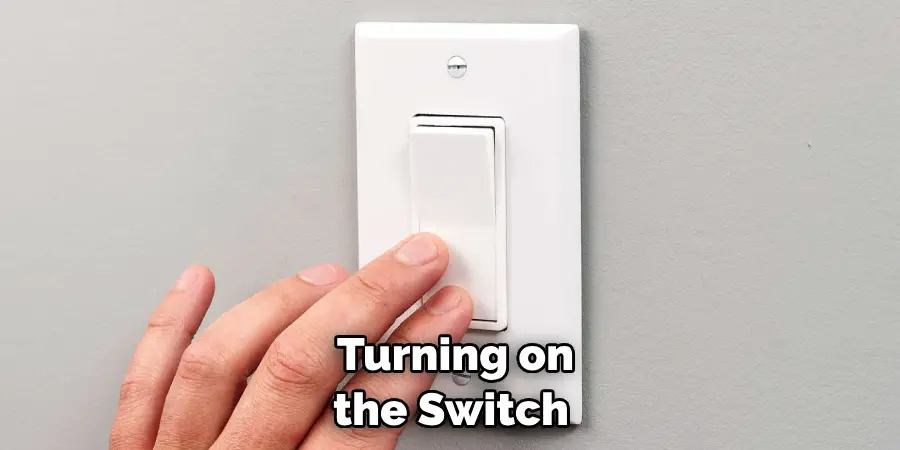
Before you begin replacing the integrated LED light, make sure to turn off the power supply at the circuit breaker. This will prevent any electrical shocks or accidents during the installation. Test the fixture to ensure the electricity is completely cut off by turning on the switch and checking if the light doesn’t turn on.
Step 2: Remove the fixture
Most integrated LED lights are installed in a fixed headrail or are directly screwed into the ceiling. Check your specific type of fixture to determine how it can be removed safely. Ensure you are using the proper tools required to dismantle the unit, such as a screwdriver or pliers.
Remove any screws holding the fixture in place, and gently pull the fixture out of the socket. Before proceeding further, check the wires to see if they are well-connected to avoid interferences if they need repair.
Step 3: Install the new LED light
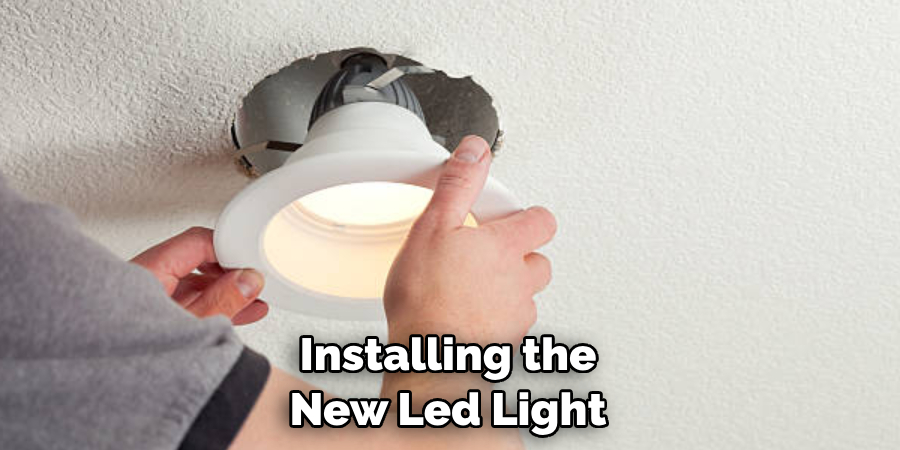
Most of the newer integrated LED lights have a similar installation process. Check the instructions manual on making wiring connections if you’re unfamiliar with how to connect the circuit correctly. To attach the new LED light, align it with the holes in the ceiling to ensure a stable fit into the socket. Make sure that all wires of the LED light are attached correctly for safe installation.
Step 4: Finish the installation
After installing the new LED light, test the light switch. Reconnect the power supply at the circuit breaker and turn on the switch to ensure the new light is functional. If the light does not turn on, double-check the wiring and ensure the LED light is well-connected by following the instructions carefully. Once the new integrated LED light is installed and functioning correctly, dispose of the old fixture properly and safely.
Step 5: Maintain the light fixture
To keep your newly installed integrated LED light fixture in good condition, it’s best to conduct routine maintenance. Clean the fixture frequently to ensure the longevity of the LED bulbs.
It would be best if you also cleaned the surrounding area, such as the ceiling or housing bracket, so that dust doesn’t accumulate under the fixture, which will reduce the lighting efficiency.
Step 6: Check for faults
If you notice any electrical issues, such as flickering or dimming of the LED light, check the wiring and ensure all connections are securely made. If there’s no issue with the wiring, try replacing the bulbs to ensure they work correctly. If none of these solutions work, contact a professional electrician to help you safely fix the issue.
Step 7: Enjoy Your New Lighting
Now that you’ve successfully replaced your integrated LED light fixture sit back and enjoy the beautifully lit space. You can also take this opportunity to rearrange any furniture or fixtures near the newly installed light for maximum comfort and convenience! Congratulations on completing the installation process – now bask in the glow of your new lighting.
5 Considerations Things When You Need to Replace Integrated Led Light
1. The first thing you need to consider when replacing an integrated LED light is the wattage of the new light. The wattage measures the amount of power the light uses, and you want to ensure that the new light uses no more power than the old one.
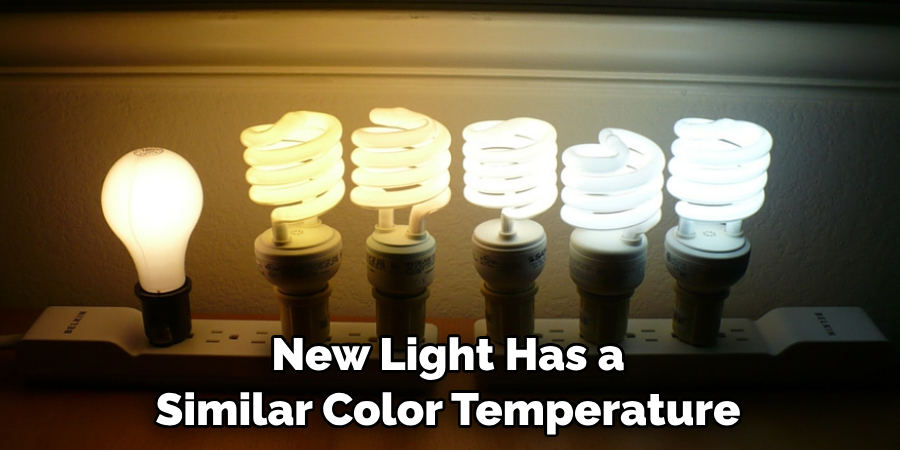
2. You also need to consider the color temperature of the new light. The color temperature measures how “warm” or “cool” the light appears, and you want to ensure that the new light has a similar color temperature to the old one.
3. Another consideration is the beam angle of the new light. The beam angle is the angle at which the light is emitted, and you want to ensure that the new light has a beam angle similar to the old one.
4. You also need to consider the lumen output of the new light. The lumen output measures how bright the light is, and you want to ensure that the new light has a similar lumen output to the old one.
5. Finally, you need to consider the warranty of the new light. Most manufacturers offer a product warranty, and you want to ensure the new light has a similar warranty to the old one.
5 Benefits of Replace Integrated Led Light
1. Increased Efficiency
One of the primary benefits of LED lighting is that it is much more efficient than traditional lighting options, such as incandescent bulbs or fluorescent lights. LED lights use much less energy than traditional lights, which can help to reduce your energy bills. Additionally, LED lights last much longer than traditional lights, so you won’t have to replace them as often.
2. Improved Light Quality
Another benefit of LED lighting is that it provides a higher quality of light than traditional lighting options. LED lights produce a brighter, whiter light closer to natural sunlight. This light is easier on the eyes and can help improve visibility.
3. Safer for the Environment
LED lighting is also safer for the environment than traditional lighting options. LED lights do not contain harmful chemicals such as mercury, which can be released into the environment when traditional lights are disposed of in landfills. Additionally, LED lights do not produce ultraviolet radiation, which can harm humans and animals.
4. More Durable
LED lights are also more durable than traditional lighting options. LED lights are not susceptible to breakage like traditional bulbs and can withstand extreme temperatures and vibrations without damage. This makes them ideal for use in outdoor applications or industrial settings.
5. Lower Maintenance Costs
Because LED lights last longer and are more durable than traditional lighting options, they can help to reduce your maintenance costs. You won’t have to replace your LED lights as often as traditional bulbs, and you won’t have to worry about them being damaged by rough handling or extreme conditions. This can help to save you money over the long term.
Considering all these considerations and benefits, you can ensure that you get the best possible LED light for your needs when you replace an integrated LED light. With the right choice of LED lights, you can enjoy improved efficiency and better lighting quality while also helping to reduce your energy bills and
Some Common Mistakes People Make When Trying to Replace Integrated Led Light
Replacing an integrated LED light may seem simple, but it’s surprisingly easy to make mistakes that can cause frustration and even damage to the light. One common mistake is not turning off the power before attempting to replace the light. This can lead to electrical shock or short-circuiting. Another mistake is not properly identifying the type of LED light needed.
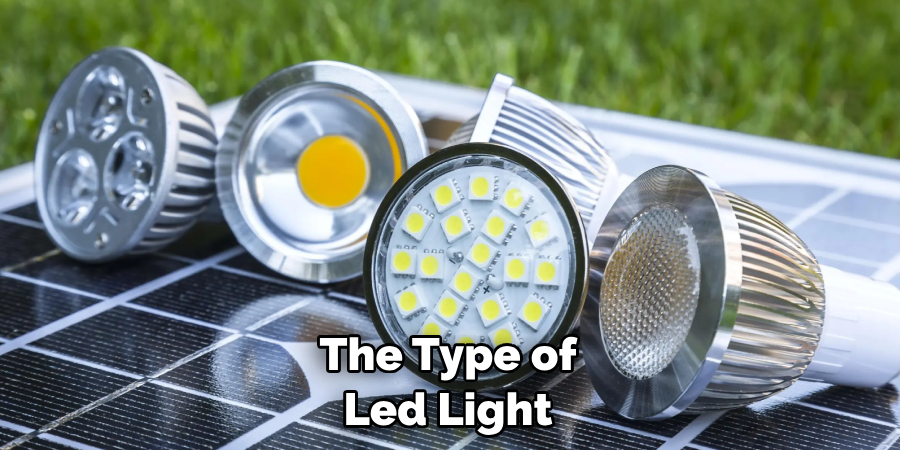
It’s important to double-check the model number and specifications before purchasing a replacement to ensure it’s compatible with your fixture. Lastly, not installing the new light correctly can cause it to malfunction or not work. Make sure to follow the instructions carefully and securely attach the connections. By avoiding these common mistakes, you can successfully replace your integrated LED light and brighten your space.
Conclusion
Replacing an integrated LED light fixture doesn’t have to be a complicated process. With the steps outlined in this blog post, you can easily change the light without needing expensive professional labor.
However, always follow safety precautions when handling electricity and ensure all instructions are read thoroughly before installing. So replace your old integrated LED light and enjoy the energy efficiency and brighter lighting of a new fixture! Thanks for reading our post about how to replace integrated led light.

