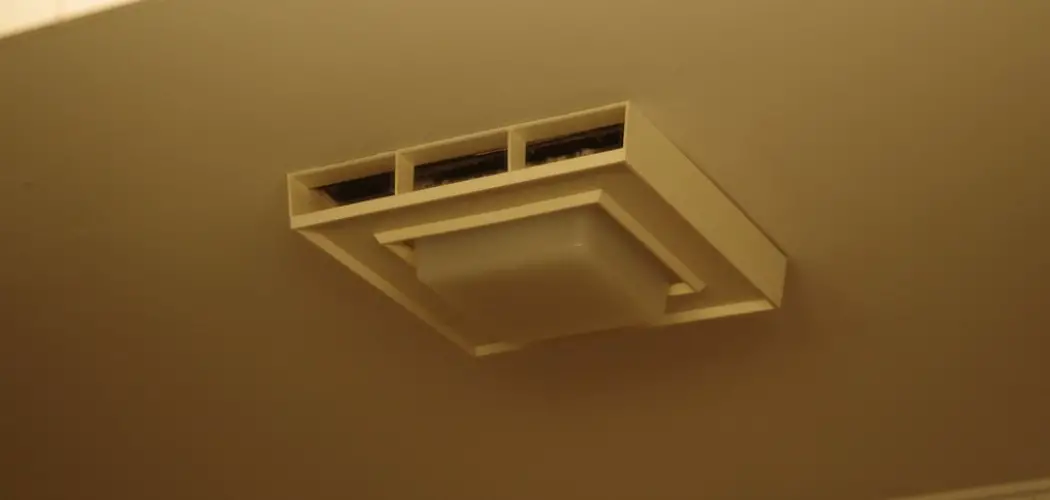
Replacing a bathroom light with a fan is a practical upgrade that enhances both functionality and comfort. A bathroom fan helps to ventilate moisture-laden air, preventing the growth of mold and mildew, while simultaneously improving air circulation. This guide is designed to help you with
how to replace bathroom light with fan. Before undertaking this task, it is essential to gather the necessary tools and materials, such as a new fan unit, a screwdriver, wire connectors, and possibly a drywall saw.
It’s advisable to review the specific installation instructions for the fan model you choose, as well as ensure all electrical connections are handled safely. By following the proper steps, you can successfully replace your bathroom light with a fan, resulting in a more pleasant and hygienic environment.
Why Replace Your Bathroom Light with a Fan?
Replacing your bathroom light with a fan offers numerous advantages that can significantly enhance the overall environment of this frequently used space. First and foremost, a fan improves ventilation by efficiently expelling moisture from the air. This reduction in humidity helps prevent the growth of mold and mildew, which can be harmful to both your health and the structural integrity of your bathroom.
In addition to combating moisture, a fan also helps eliminate odors and stale air, contributing to a fresher and more inviting space. Furthermore, modern bathroom fans often come with integrated lighting options, allowing you to maintain or even improve the illumination in your bathroom without sacrificing functionality. By replacing your traditional bathroom light with a fan, you’re making a smart investment in both the comfort and longevity of your home.
Importance of Proper Ventilation
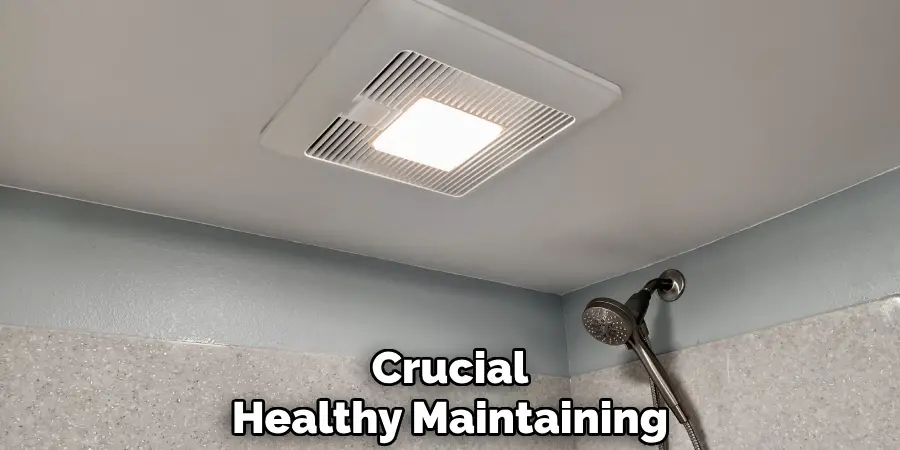
Proper ventilation in a bathroom is crucial for maintaining a healthy and pleasant environment. Without adequate ventilation, moisture from showers and baths can accumulate, leading to significant problems like mold and mildew growth. These issues not only cause unpleasant odors and damage to walls, ceilings, and fixtures but can also contribute to health concerns for the home’s occupants, such as respiratory issues and allergies.
Furthermore, proper ventilation aids in controlling humidity levels, reducing the likelihood of peeling paint or wallpaper, and protecting structural elements from rot and decay. An efficient bathroom fan is key to ensuring that excess moisture and odors are effectively removed, thus maintaining indoor air quality and prolonging the lifespan of bathroom materials.
10 Methods How to Replace Bathroom Light with Fan
1. Select the Right Fan and Light Combination
The first step in replacing a bathroom light with a fan is to choose the right fixture. Consider the size of your bathroom and the airflow requirements, typically measured in cubic feet per minute (CFM).
A general rule of thumb is to select a fan that can move at least one CFM for each square foot of bathroom space. Additionally, look for a fan with an integrated light fixture for convenience and aesthetics. Pay attention to the fixture’s design, style, and wattage to ensure it complements your bathroom decor. Energy-efficient LED lights are a great option, as they consume less electricity while providing adequate brightness.
2. Turn Off the Power at the Breaker
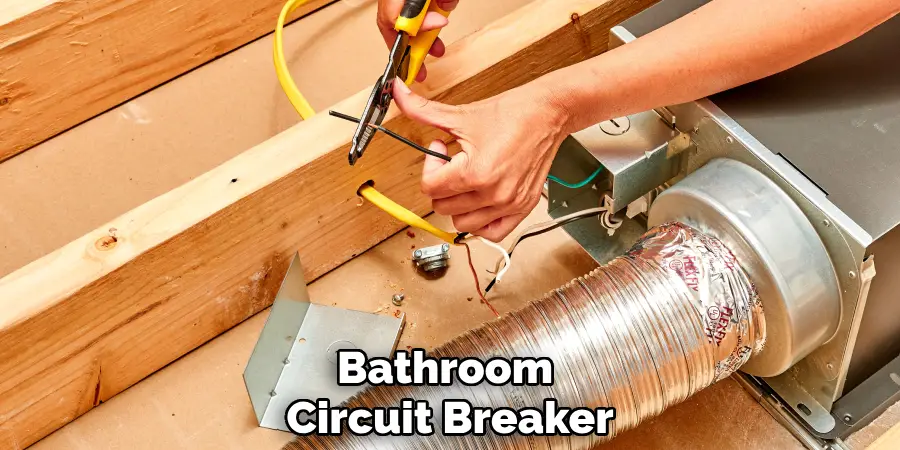
Safety is crucial when working with electrical fixtures. Begin the replacement process by turning off the power to the existing bathroom light at the circuit breaker. Never rely solely on the light switch, as it may not fully cut off the power. To ensure safety, use a voltage tester to confirm that the wires are not live. This precaution prevents electrical shock and ensures a safer working environment throughout the installation process.
3. Remove the Existing Light Fixture
Once the power is off, begin removing the existing light fixture. Start by unscrewing any decorative covers or glass shades to expose the mounting screws. Next, unscrew the fixture from the electrical box and gently pull it away from the wall to reveal the wiring.
Take note of how the wires are connected (typically black to black, white to white, and green or bare copper to ground) so you can replicate the connections with the new fan fixture. After disconnecting the wires, set the old fixture aside, ensuring to keep any mounting hardware that may be compatible with the new fan.
4. Inspect and Prepare the Electrical Box
With the old fixture removed, check the electrical box for any damage or loose connections. Ensure that the box is securely attached to the ceiling and is rated to support the weight of the new fan.
Many fans are heavier than standard light fixtures, so it’s crucial that the box is adequately secured. If the existing box is not suitable, consider replacing it with a ceiling fan-rated box designed to support the added weight and vibration from the fan. These boxes typically come with additional support brackets to secure them properly.
5. Assemble the New Fan Fixture
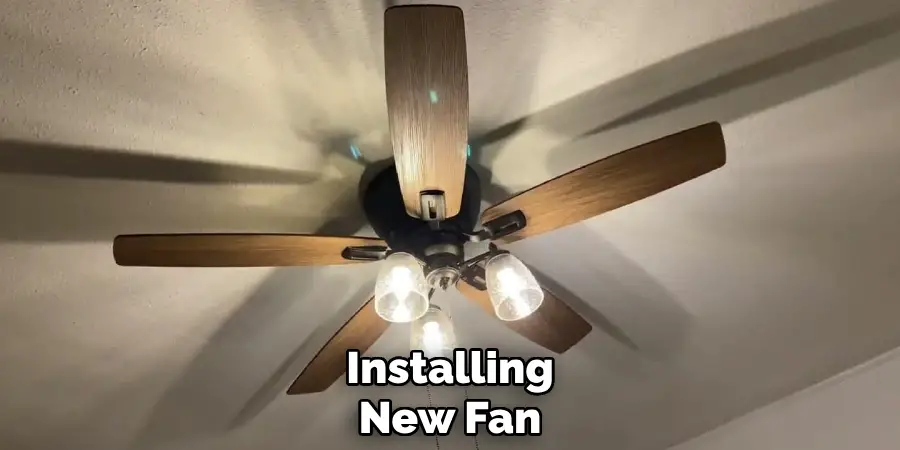
Before installing the new fan, follow the manufacturer’s instructions to assemble the fixture as needed. Most fans come with separate components, including the motor, blades, and light fixture. Begin by attaching the blades to the motor according to the instructions, ensuring they are securely fastened to prevent wobbling during operation. If the fan includes a light kit, install it according to the manufacturer’s directions, making sure all components are correctly aligned and securely tightened.
6. Attach the Mounting Bracket
Most ceiling fans require a mounting bracket for installation. Position the mounting bracket over the electrical box, ensuring it is aligned properly and level. Use the provided screws to secure the bracket to the electrical box. Many modern fan brackets come with a hook feature that allows you to temporarily hang the fan motor while you make the wiring connections. This feature can be particularly useful, as it frees up your hands to work on the wiring without needing to hold the entire fixture in place.
7. Connect the Wiring
Once the mounting bracket is securely in place, it’s time to connect the wiring. Refer to the manufacturer’s instructions for the specific wiring diagram for your fan. Generally, you’ll connect the black wire from the fan to the black (or red) live wire from the ceiling. Then, connect the white wire from the fan to the white neutral wire in the ceiling.
If your fan has a ground wire (typically green or bare copper), attach it to the ground wire in the ceiling or to a green grounding screw on the mounting bracket. Use wire nuts to secure the connections and ensure they are insulated. It’s vital to ensure that each wire is connected correctly to prevent any electrical issues.
8. Secure the Fan to the Mounting Bracket
With the wiring properly connected, it’s time to attach the fan motor to the mounting bracket. Align the motor with the bracket and secure it according to the manufacturer’s instructions, typically by tightening screws or locking mechanisms. Ensure that the fan is level and that all connections are tight. If the fan has a canopy that covers the mounting bracket, install it as well, as this will conceal the wiring and provide a polished look to your installation.
9. Install the Fan Blades and Light Fixture
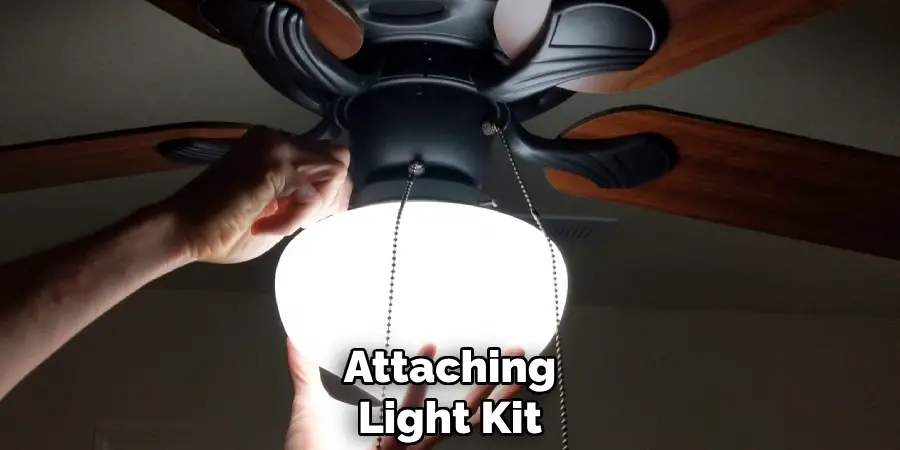
Once the motor is securely mounted, attach the fan blades if you haven’t done so already. Make sure each blade is fastened tightly to prevent any wobbling during operation. Next, install the light fixture if it is separate from the fan motor. Follow the manufacturer’s instructions for attaching the light kit, ensuring that all screws and connections are secure. After everything is attached, check to ensure that there are no loose wires or parts that could affect the fan’s operation.
10. Test the Installation and Restore Power
The final step in replacing a bathroom light with a fan is to test your work. Before restoring power, take a moment to ensure that all components are securely fastened and that the installation looks neat and tidy. Once satisfied, turn the power back on at the breaker.
Flip the light switch to check that the fan and light operate correctly. Test the fan speeds and light settings to ensure everything functions as intended. If the fan does not work as expected, turn off the power and double-check the wiring connections. Once everything is functioning properly, enjoy the improved airflow and illumination in your bathroom.
Conclusion
Upgrading a bathroom light fixture to a ceiling fan with an integrated light can significantly enhance both functionality and aesthetics. With careful planning and attention to detail, this installation process can be manageable for individuals with a basic understanding of electrical systems and handy skills.
By following the outlined steps, from turning off the power and removing the old fixture to testing the new installation, you ensure a safe and successful project. Thanks for reading, and we hope this has given you some inspiration on how to replace bathroom light with fan!

