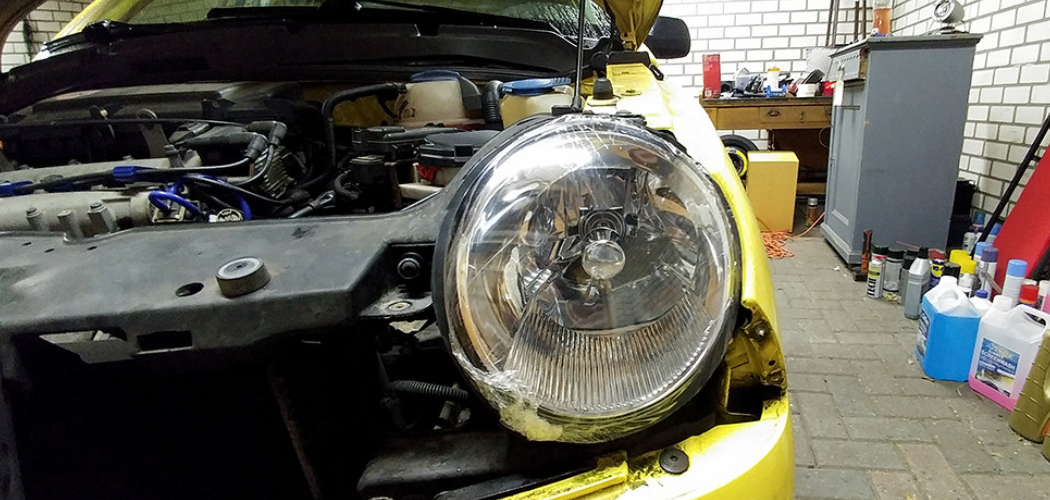
If your car’s headlights are looking dull and discolored, or you’ve just purchased a used vehicle with tinted headlights, you may be wondering how to restore them back to their former glory. Removing the tint from headlights can seem like an intimidating job at first, but it isn’t too difficult if you have the right supplies and know the correct technique.
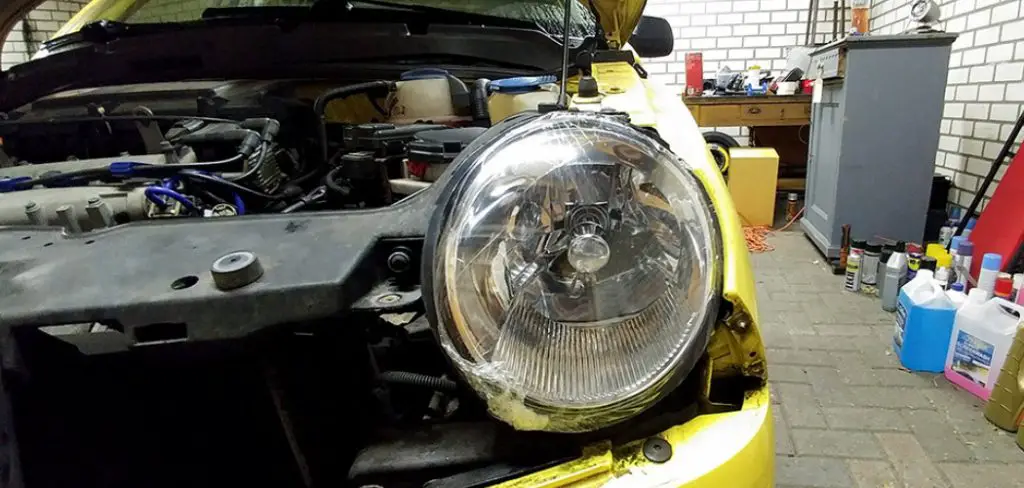
In this blog post, we will explain what materials and tools you need for successful headlight restoration, go over some important safety tips, from protection against eye injury to avoiding chemical damage on other parts of your vehicle’s surface, and finally discuss in detail the step by step instructions for restoring your vehicle’s headlight lenses.
So get ready—by following our simple guide on how to remove tint from headlights you’ll soon have brighter headlights that look brand new!
Can You Peel off Headlight Tint?
The short answer to this question is no. Headlight tints are made using a type of film that has been specially designed to adhere to the lens of your headlights and cannot be peeled off like regular window tinting. This means that the only way to remove headlight tints is through a process of scraping, sanding, and polishing.
When attempting to scrape the tint from your headlights, it’s important to be extremely careful, as even a small amount of pressure can cause permanent damage to the lens by scratching or scuffing them up. To avoid any potential damage, use a razor blade scraper instead of other tools such as steel wool or sandpaper.
When using a razor blade scraper you should always make sure it is not too sharp and that you keep your movements slow and light in order to achieve the best possible results.
Once you have scraped away as much of the tint as possible, you should then move on to sanding and polishing the lens. To do this, use fine-grit sandpaper, such as 2000 grit or higher, along with a polishing compound.
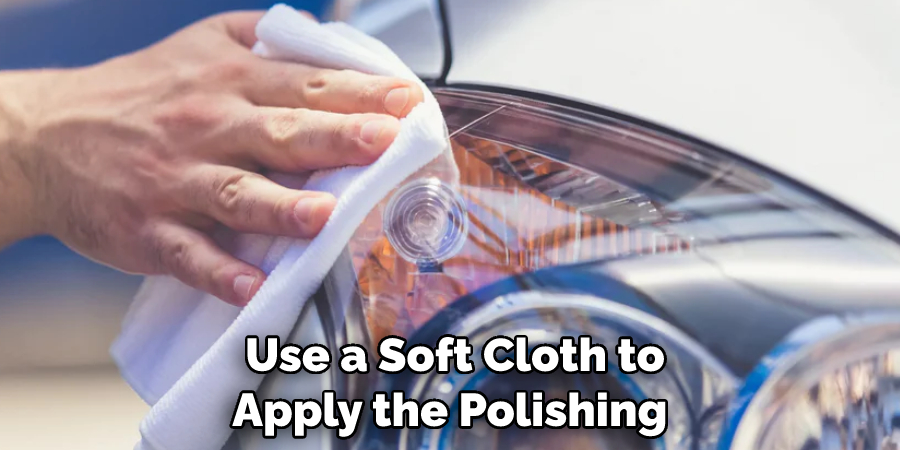
Afterward, use a soft cloth to apply the polishing compound to help restore any damaged areas caused by scraping or sanding. Once finished, use a clean cloth to buff out any excess product and reveal your newly restored headlights.
As you can see, the process of removing the headlight tint is not an easy one and requires a lot of patience and precision. However, with careful attention to detail and a bit of elbow grease, you should be able to get your headlights looking like new again in no time.
10 Methods on How to Remove Tint from Headlights
1. Sandpaper
One of the quickest and easiest ways to remove tint from headlights is to use sandpaper. Simply wet a piece of sandpaper and sand the tinted area in a circular motion until the tint is removed. Be sure to use fine-grit sandpaper so as not to damage the headlight.
It’s also important to wear protective gloves while sanding. If you notice any scratches, use a polishing compound to remove them after the tint is gone. However, sandpaper is not ideal for large areas and can take some time to remove. To speed up the process, consider using a buffer.
2. Vinegar
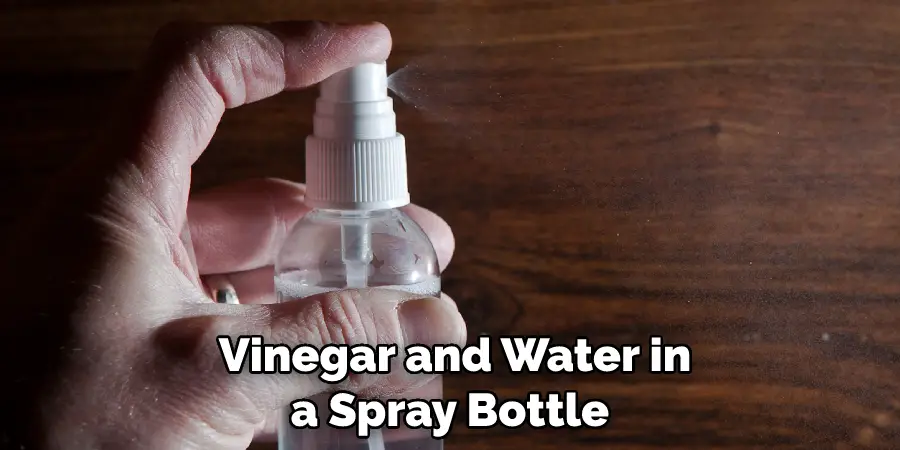
Vinegar is another household item that can be used to remove tint from headlights. Simply mix equal parts vinegar and water in a spray bottle and spray the solution onto the tinted area. Let it sit for a few minutes before wiping it away with a clean cloth. For stubborn tint, you may need to repeat the process a few times.
Be sure to dry the headlights with a cloth after each application. After all the tint has been removed, you may need to polish your headlights with a car care product to restore their shine. If using vinegar, be sure to wear gloves and protective eyewear. Vinegar is a powerful cleaning agent, so it should be used with care.
3. Baking Soda
Baking soda can also be used to remove tints from headlights. Simply make a paste out of baking soda and water and apply it to the tinted area. Let it sit for a few minutes before scrubbing it off with a clean cloth. You may need to repeat this process several times to completely remove the tint.
Be sure to clean off any of the baking soda residues before driving your car. If you find that the baking soda isn’t strong enough, then you can use a stronger abrasive such as steel wool or sandpaper, to remove the tint. Be sure to use the steel wool or sandpaper very carefully, so you don’t damage the headlight lens.
4. Rubbing Alcohol
Rubbing alcohol is another effective way to remove tint from headlights. Simply soak a clean cloth in rubbing alcohol and rub it over the tinted area until the tint comes off. Be sure to use gloves when handling rubbing alcohol, as it can be drying to the skin.
If you have any excess residue left after rubbing, use a damp cloth to remove it. It is important to remember that rubbing alcohol can damage the coating on plastic headlights, so be sure to use it sparingly. Be aware that the rubbing alcohol method may take a few attempts before the tint is fully removed.
5. WD-40
WD-40 is another product that can be used to remove tint from headlights. Simply spray WD-40 onto the tinted area and let it sit for a few minutes before wiping it away with a clean cloth. You may need to repeat this process several times to completely remove the tint.
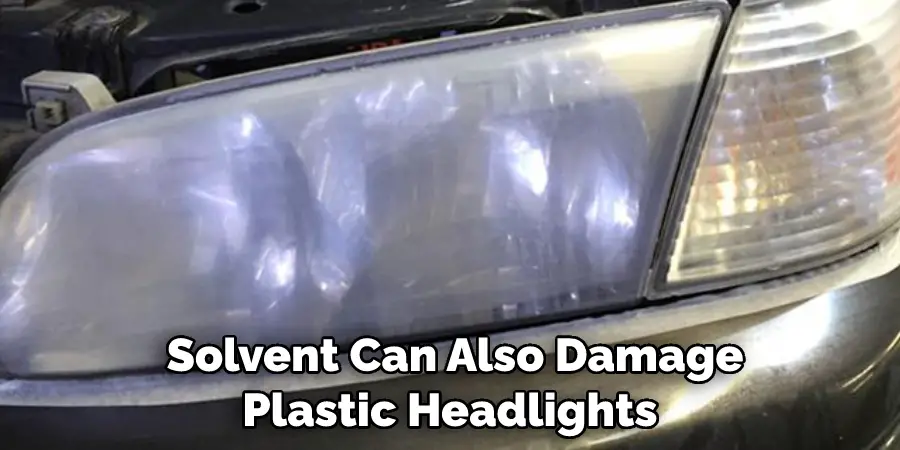
Be careful not to spray too much of the WD-40 onto your headlight, as it can cause damage. Additionally, use caution when wiping the area, as the solvent can also damage plastic headlights. If you have any questions, consult a professional before attempting to use WD-40 to remove the tint.
6. Goo Gone
Goo Gone is a product that is specifically designed to remove adhesives and other sticky substances from surfaces. It can also be used to remove tint from headlights. Simply apply Goo Gone to the tinted area and let it sit for a few minutes before wiping it away with a clean cloth.
You may need to repeat this process several times to completely remove the tint. If you are having trouble removing the tint, you can use an old toothbrush to gently scrub away any remaining residue.
7. Hair Dryer
A hairdryer can also be used to remove tint from headlights. Simply set the hair dryer on its highest heat setting and hold it about two inches away from the headlight, moving it around in a circular motion. The heat should help to loosen the tint and make it easier to remove.
Be sure to be careful when using a hair dryer, as the headlight can become very hot and cause potential damage if not cooled down properly afterward. After removing the tint, be sure to wipe away any residue with a microfiber cloth.
8. Heat Gun
Heat guns are powerful tools that emit a concentrated beam of hot air. These can be used to remove tint from headlights, but they need to be used with caution. The heat gun should be held at least 6 inches away from the headlight lens and should never be pointed directly at the plastic surface.

Heat guns can cause serious damage if used incorrectly, so this method is not recommended for inexperienced users. Begin by heating up the area of tinted film closest to one edge of the headlight.
9. Paint Remover
If all else fails, paint remover can be used to remove tint from headlights. Simply apply a generous amount of paint remover with a paintbrush or foam applicator over the area of tint. Make sure to cover all areas that need to be stripped, including the innermost parts. Allow the paint remover to sit on the surface for 10-15 minutes, then use a plastic scraper or razor blade to scrape off the tint and product residue.
10. Razor Blade Scraper
A razor blade scraper is a tool that can be used to scrape away the tint from headlights. This method is often more effective than a cloth and is sometimes necessary for the toughest tints. Before using this method, make sure to wear eye protection and gloves since there is a potential for flying particles. Start by lightly scraping away small sections of the tint at a time until the entire film has been removed.
Conclusion
All in all, removing tint from headlights is a straightforward task that any person can do with the right materials and instructions. Removing tint from headlights enables you to keep your car looking its best and ensure your safety on the road.
Clean headlights improve visibility in foggy, dark, or rainy conditions and help you see the road more clearly. So, if your headlights are starting to look a bit dimmer than usual due to tint, follow these steps and get back to feeling safe on the road! Try out how to remove tint from headlights today and get back behind the wheel with clarity at night.
You Can Check This Out to Keep Led Lights on when TV Is off

