Are you looking for a way to replace your kitchen’s fluorescent light box? Are you wondering how this task can be accomplished, and what sort of tools are needed? You don’t have to worry— replacing a fluorescent light box in your kitchen is simpler than it might seem. With the right set of instructions and some basic home repair skills, anyone can successfully remove an old fluorescent light fixture and install a new one in no time.
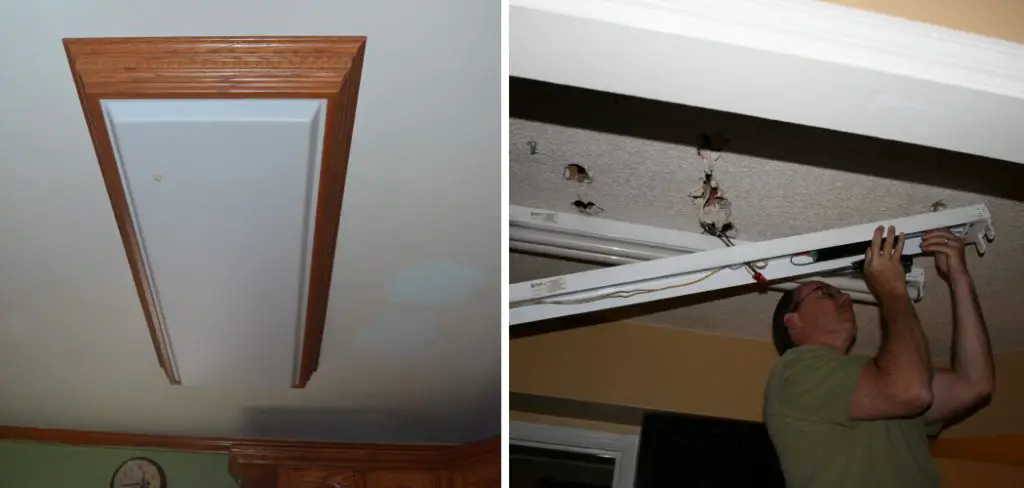
This blog post will provide the steps you need to take the required materials for disassembly as well as helpful information about selecting the best replacement lights for your needs. So let’s get started!
In this blog post, we will give you an easy-to-follow step-by-step guide on how to remove fluorescent light box in kitchen. We’ll be covering how to safely remove it, what supplies you need, and how to replace it with a more energy-efficient lighting option. So whether you’re looking for some tips on upgrading your home décor or want to improve energy efficiency in this often-utilized room of the house — read through our guide today!
Why May You Want to Remove the Fluorescent Light Box in Kitchen?
1. To Replace with a Different Lighting Fixture
One of the most common reasons for removing a fluorescent light box in the kitchen is to replace it with a different lighting fixture. This could be an overhead chandelier, or perhaps you want to go for something more modern like recessed LED lights.
2. For Renovation Purposes
If your kitchen has seen better days and you’re looking to give it a much-needed facelift, then it may be time to remove the fluorescent lighting box. The new fixture that you choose can play a big role in setting the atmosphere of your newly renovated kitchen.
3. To Create More Space
Sometimes removing the lightbox is necessary for practical purposes. Maybe there are cupboards and shelves that need to fit into the area around the lightbox, or you want to open up the space in your kitchen. Whatever the reason, removing the fluorescent light box can be a great way to create more space in your kitchen.
How to Remove Fluorescent Light Box in Kitchen in 5 Easy Steps
Now that we know why you may want to remove the fluorescent light box in your kitchen, let’s dive into how to actually get it done.
Step 1: Gather All The Tools
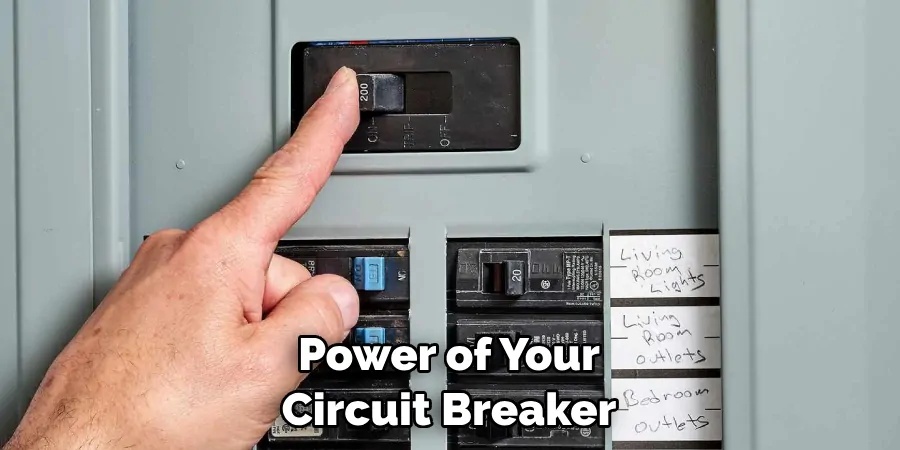
The very first step is to gather all the tools you’ll need in order to get the job done. The most important thing is to remember to switch off the power of your circuit breaker before you begin working. You will also need some basic tools like a screwdriver, pliers, and a wire stripper/cutter.
Step 2: Locate The Power Source
Next, you’ll need to locate the power source for the lightbox. This will be either a wiring junction box on the wall or ceiling, or it may be behind the light itself. Once you’ve located it, switch off the power at your circuit breaker and unscrew the cover plate of the junction box.
Step 3: Disconnect The Wires
You will then need to disconnect the wires connected to the fluorescent light box. This can be done by removing the screws that are holding them in place and carefully pulling out the wires from their terminals. Make sure you note where each wire is connected so you’ll know how to reconnect them later.
Step 4: Remove The Light Box
Once all of the wires have been disconnected, you can go ahead and remove the light box. It should just slide out of its mounting bracket. If it doesn’t come out easily, check to make sure all the screws have been removed.
Step 5: Clean Up & Reconnect Wires
Finally, once the fluorescent light box is completely removed, clean up any debris or dust that may have accumulated in the area. You can then reconnect all of the wires to their original locations and replace the junction box cover plate. Once that’s done, you can turn your power back on and enjoy your newly renovated kitchen!
Some Additional Tips to Remove Fluorescent Light Box in Kitchen
1. Avoid Damaging the Ceiling by Using a Box Cutter
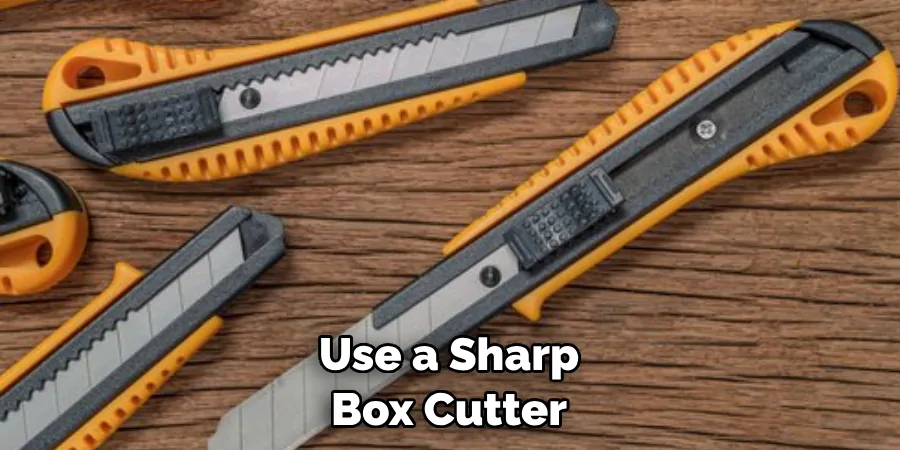
This is especially important if you plan to patch the ceiling after removing the lightbox. Use a sharp box cutter to gently cut through any paint or caulking that is sealing the edges of the fluorescent light box. Cut around all four sides of the light and then carefully pry it away from the ceiling with a putty knife being careful not to cause any damage to the surrounding area.
2. Disconnect the Wires From the Light Box
Once the lightbox is free from the ceiling, there will be two wires connected to it that need to be disconnected. Turn off the power for safety, then carefully unscrew each wire and remove them from the lightbox. If you plan on replacing the fluorescent light fixture with a different type of lighting, make sure you take note of the wiring configuration before removing it.
3. Replace or Repair the Ceiling After Removing Lightbox
Now that the lightbox is free from the ceiling, you can decide if you want to repair the ceiling or replace it with new sheetrock. Be sure to fill any holes or cracks in the ceiling with spackling and sand it down before painting. Depending on the type of lightbox and the age of your home, you may also need to rewire the ceiling and install a new electrical box.
The process of removing a fluorescent light box in your kitchen is a delicate one that requires patience, care, and attention to detail. By following these steps, you can ensure that your kitchen is free of any potential hazards and you can continue to enjoy a safe and well-lit space. Good luck!
Frequently Asked Questions
What Precautions Should I Take When Removing a Fluorescent Light Box in My Kitchen?
When removing a fluorescent light box in your kitchen, it is important to take additional safety precautions. Before starting the process, make sure that you have shut off the circuit breaker for the area of the house where you will be working.
Additionally, wear protective eyewear and gloves when handling fluorescent bulbs as their glass can be easily broken and may contain hazardous materials. Finally, always keep your hands away from the electrical components of the lightbox to avoid electric shock.
What Tools Will I Need to Remove a Fluorescent Light Box in My Kitchen?
To remove a fluorescent light box in your kitchen, you will need several basic tools: a flat-head screwdriver, a Phillips-head screwdriver, and a ladder. With these tools, you will be able to remove the screws that hold the lightbox in place on your ceiling or wall. Depending on the type of light box you have, additional tools may be needed to properly disconnect the electrical components.

Can I Remove a Fluorescent Light Box in My Kitchen Without Professional Help?
Yes, you can remove a fluorescent light box in your kitchen without professional help. Before beginning the process, make sure that the electricity to the area is turned off and read all instructions carefully. If you are not comfortable working with electrical components of the lightbox, it may be best to contact a professional electrician for assistance.
What Should I Do With the Fluorescent Light Box After Removing It From My Kitchen?
Once you have removed a fluorescent light box from your kitchen, dispose of it according to local laws and regulations. Some municipalities may require that these items are brought to a hazardous waste disposal site, so check with your local government before disposing of the light box. Additionally, it is important to recycle fluorescent bulbs in order to keep them out of the landfill and reduce environmental waste.
How Much Does it Cost to Have a Professional Remove a Fluorescent Light Box in My Kitchen?
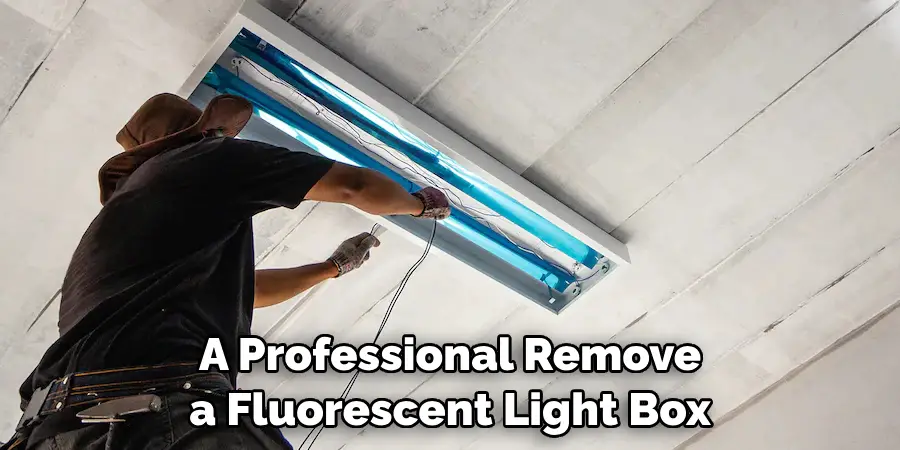
The cost of having a professional remove a fluorescent light box in your kitchen will vary depending on the complexity of the job and the rate of the electrician. Generally speaking, you can expect to pay between $50 and $100 for labor costs. This does not include any parts or materials necessary for the job. Make sure to ask your electrician in advance for an estimate of the total cost before beginning any work.
Conclusion
Now you know how to remove fluorescent light box in kitchen! Removing a fluorescent light box in your kitchen can be an intimidating task, but with the right approach and set of tools, it’s really not that difficult. With care and caution, you can manage the project on your own, saving yourself time and money.
Be sure to keep safety in mind at every step of the way – keep everyone out of the work area and don’t forget eye protection. If you run into any problems or feel overwhelmed at any point, remember that a professional electrician is only a call away! Taking the time to think through this project is worth it when you reap the benefits of a bright new LED light in your kitchen. Good luck!

