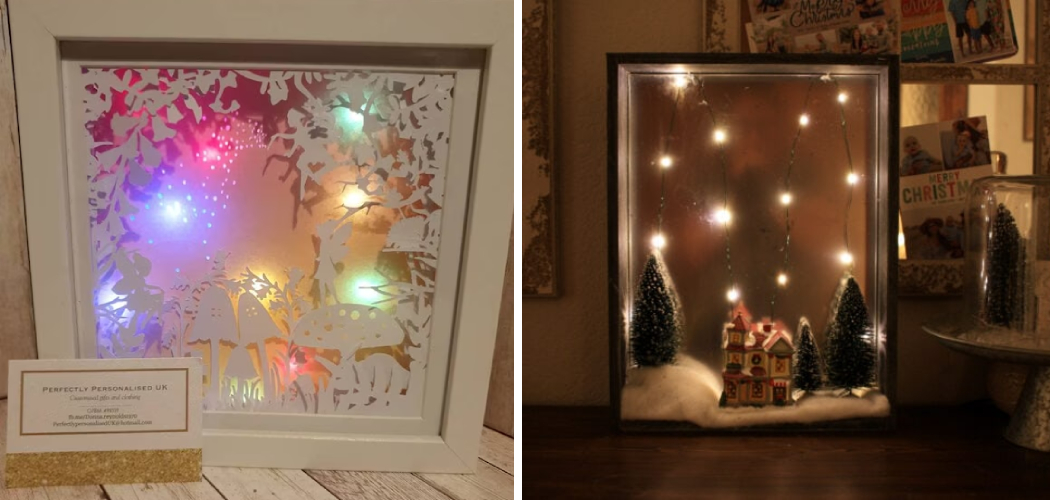
Introducing an ethereal charm to your living space, fairy lights in a shadow box create a captivating blend of light, art, and ambiance. The concept of integrating delicate fairy lights into a shadow box might seem intricate, but this article is your guide to effortlessly achieving this enchanting display.
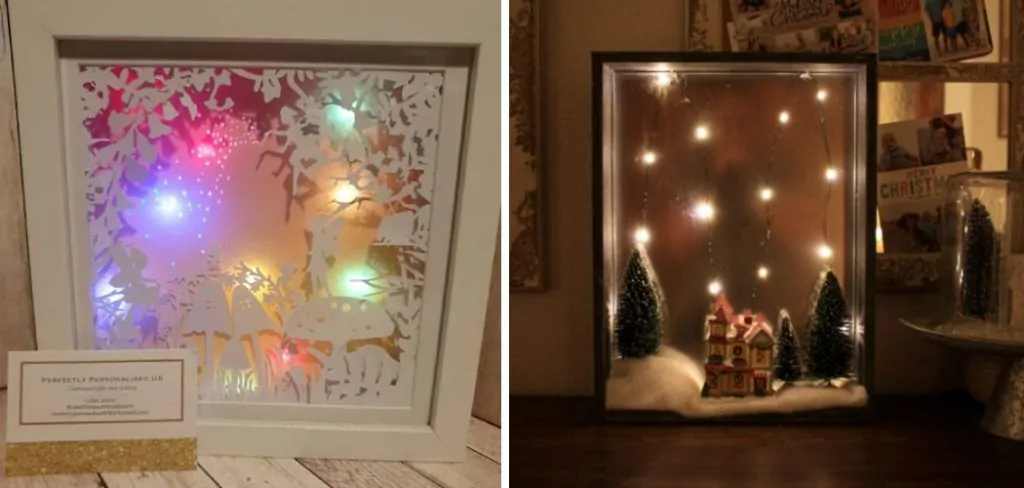
With a focus on creativity and aesthetics, this comprehensive guide unveils the art of placing fairy lights within a shadow box.
From selecting the right shadow box to arranging the lights artistically, you’ll find step-by-step instructions how to put fairy lights in a shadow box. Whether you aim to accentuate a cherished memento or craft a whimsical focal point, these insights will empower you to harness the magic of fairy lights and shadow boxes, bringing a touch of enchantment to any corner of your abode.
The Enchanting Effect of Combining Fairy Lights with Shadow Boxes
Adding fairy lights to a shadow box can create an enchanting effect that is both captivating and eye-catching. Whether you’re looking for a unique way to display your favorite photographs, special souvenirs, or handmade crafts, this craft project is sure to make any room in your house feel magical! Read on for more information about how to put fairy lights in a shadow box.
First, you’ll need to purchase a shadow box of your desired size and material. The size should be determined by how many items you will be placing in the box as well as the type of item—a larger item may require more space. Select a frame that is easy to open and offers enough depth for all of the items you intend to display.
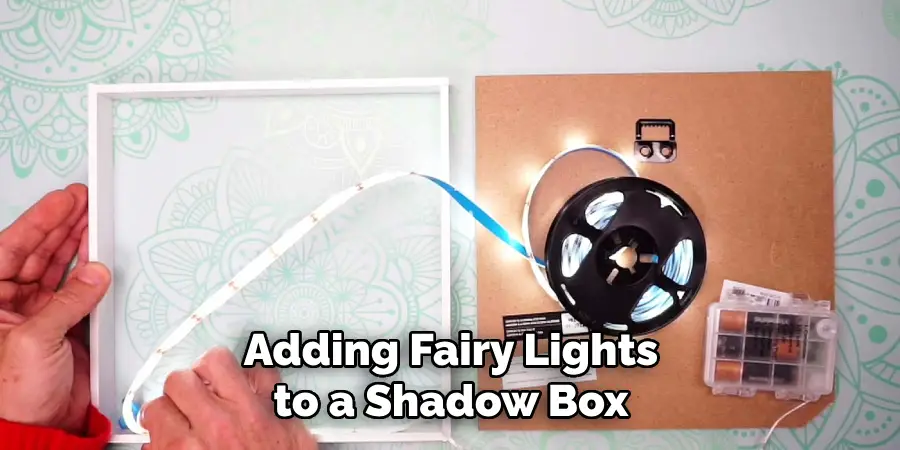
Once you have your shadow box, it’s time to gather the materials for your project. You’ll need fairy lights, batteries, and a power source such as an extension cord or USB cable. Make sure that the length of cord you purchase is long enough to reach the power source from the shadow box without showing. You will also want to get some craft glue to secure your items.
The Appeal of Creating Personalized Decorative Displays with Fairy Lights
Adding fairy lights to a shadow box can create a unique display that adds a bit of sparkle and light to your room. Whether you choose to arrange the lights in fun patterns, or perhaps add some small trinkets that glimmer as they reflect off of the light, using fairy lights in this way will bring out your creative side!
Not only is it great for making a one-of-a-kind display, but fairy lights are also incredibly versatile. You can use them to create a warm and inviting atmosphere in your home, or add an extra layer of decorations for special occasions like weddings or anniversaries.
Fairy lights come with many benefits as well. They’re often very easy to install, and many come with a remote control that allows you to adjust the brightness and color of the lights.
Additionally, they’re usually quite affordable, so you can have your personalized display up and running without breaking the bank! Although they often come in a variety of colors, fairy lights are especially beautiful when combined with white.
So the next time you’re looking for a fun way to spruce up your home, try adding some twinkling fairy lights to a shadow box! With just a few simple steps and supplies, you can create an unforgettable display that will bring light and life to any room.
12 Steps How to Put Fairy Lights in a Shadow Box
Step 1: Igniting Imagination – Choose Your Theme
Initiate your journey by delving into your imagination. Contemplate the ambiance you wish to conjure with your fairy light-shadow box creation. Whether it’s an ethereal starlit spectacle, an enchanted forest scene, or a tribute to a cherished memory, selecting a theme sets the tone for your artistic endeavor.
Step 2: Gather the Essentials
Collect your artistic arsenal: a shadow box with a glass front, battery-operated fairy lights (opt for LED lights for their energy efficiency and minimal heat emission), decorative elements aligned with your chosen theme (like figurines, artificial flowers, or miniatures), and a hot glue gun for secure attachments.
Step 3: Choose the Right Shadow Box
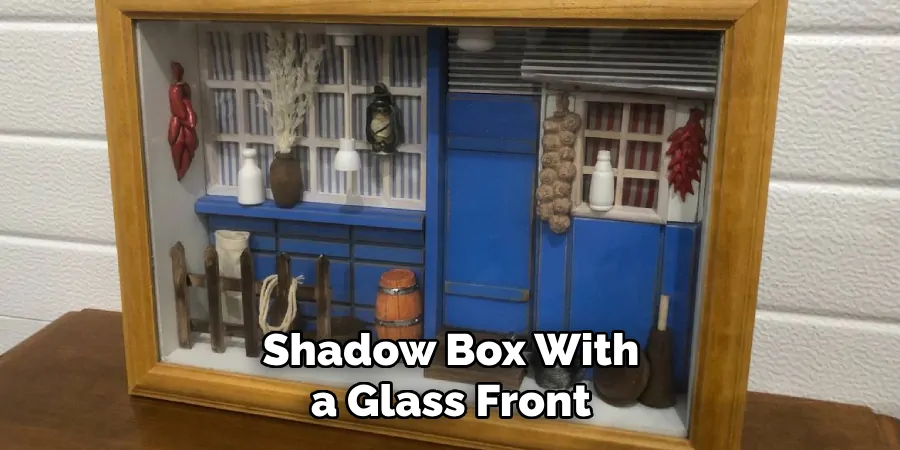
The shadow box serves as the canvas for your vision. Opt for a shadow box with a glass front to provide a clear view of the captivating interior. Ensure that it offers sufficient depth to accommodate both the fairy lights and the decorative elements.
Step 4: Craft with Intention – Positioning and Planning
Lay out your selected decorative elements within the shadow box without committing to a fixed arrangement. Experiment with different placements until you achieve a composition that resonates with the envisioned aesthetic.
Step 5: String the Magic – Weave the Fairy Lights
Gently thread the battery-operated fairy lights inside the shadow box. Artfully intertwine the lights around your chosen decorative elements, ensuring an even distribution that promises a harmonious and balanced illumination.
Step 6: Conceal with Finesse – Position the Battery Pack
Strategically position the battery pack for the fairy lights within the shadow box. Ensure that it remains inconspicuous and does not obscure the view of the arrangement. Affix it securely using adhesive or small hooks, guaranteeing convenient access for toggling the lights on and off.
Step 7: Crafted Attachments – Secure the Decorative Elements
Methodically secure each chosen decorative element within the shadow box using a hot glue gun. Approach this step with precision and care, safeguarding delicate items and the shadow box itself from any potential damage. Allow the glue to fully dry before proceeding.
Step 8: Play of Light – Experiment with Light Placement
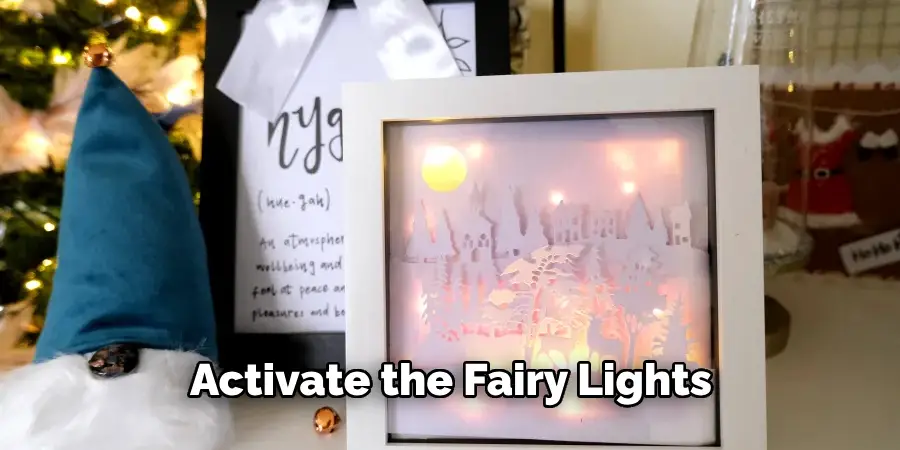
Activate the fairy lights and observe the interplay of light within the shadow box. Fine-tune the positioning of both the lights and the decorative elements to achieve the desired visual effect, ensuring that each facet contributes to the enchanting ambiance.
Step 9: Personal Touches – Customize and Perfect
Infuse your creation with personalized touches that infuse it with sentiment. Incorporate miniature photographs, handwritten notes, or small tokens that hold special meaning. These additions add depth and individuality to your fairy light-shadow box.
Step 10: Culmination of Artistry – Seal the Shadow Box
With your arrangement taking shape, gently close the shadow box, ensuring that any latches or fasteners are secure. Give the shadow box a gentle shake to confirm that all components remain in place as envisioned.
Step 11: Admiration and Appreciation – Display and Enjoy
Find a prominent location to showcase your completed fairy light-shadow box creation. The gentle luminosity of the lights combined with the artistic arrangement will form an enchanting centerpiece that elevates the ambiance of any space it graces.
Step 12: Sustaining the Magic – Maintenance and Refreshment
As time passes, a delicate layer of dust might settle on the glass of the shadow box. Tenderly cleanse the glass with a soft, lint-free cloth to maintain its clarity. Regularly inspect the battery pack, replacing batteries as necessary to ensure uninterrupted illumination.
Some Common Mistakes When Putting Fairy Lights in a Shadow Box
When attempting to put fairy lights in a shadow box, you should be aware of some common mistakes you may make.
One mistake is not securing the fairy lights properly within the frame of the shadow box. This can cause your light display to look sloppy or uneven and may even interfere with other decorations inside the box. Make sure that all of your lights are secured firmly and evenly distributed throughout the frame.
You should also check to make sure that all of your lights are working properly before setting them up in the shadow box. If one or more of your lights is not functioning, it will have an adverse effect on the entire display. Additionally, you should be aware of any power source issues and take special precautions to avoid potential hazards.

Finally, when installing the lights in your shadow box, it’s easy to become overwhelmed by the task and overlook important details. Make sure that you take a few minutes to check all of your work and double-check for any details that may have been missed before hanging up or displaying your shadow box.
Conclusion
Creating a fairy lights shadow box is a great way to add some sparkle and beauty to any room. It’s so easy to make one, too – if you can put together a box and hang up some lights, you can craft this lovely look yourself.
Just decide on the size and proportions of your shadowbox, use your imagination when placing the lights within, and wait for that ethereal glow! You could even embellish it with some extra decorations for an extra special touch.
This project won’t break the bank either, as all of the items required are very inexpensive. It’s such an easy way to brighten up your home in style – why not create your own today?
And always remember: fairy lights may be small, but they can make a big impact when it comes to bringing happiness into our lives. Now that you know how to put fairy lights in a shadow box, what are you waiting for – go get started!

