Are you looking to update the look of your home? Are you tired of the same old, boring light switches? Painting them is a great way to give any room an instant facelift. Here’s how to paint light switches in just a few steps.
Giving your home a quick refresh is easier than you think, and one of the simplest ways to update your decor is by sprucing up light switches. Painting the switches can add just the right finishing touch to any room, whether you opt for a single color or a unique design.

From what type of paint to use and prepare before starting to applying techniques specific to this project—we have all the tips you need to give ordinary light switches an exciting new look!
What Will You Need?
Before you begin your project, ensure you’ve gathered all the necessary supplies. You’ll need:
- Paint appropriate for use on plastic surfaces
- A paintbrush or small foam roller
- Painter tape (optional)
- Clean rags
Once you’ve collected all of your materials, you’re ready to begin!
10 Easy Steps on How to Paint Light Switches
Step 1. Preparing Your Light Switches
Start by preparing the area. Remove the switch from the wall and place it on a covered surface. This will make painting easier and also allow you access to areas that may be difficult to reach if the switch is still in the wall.
Step 2. Cleaning the Light Switches
Once the light switch is removed, you’ll want to ensure it’s clean before applying any paint. Remove any dust, dirt, or grime using a clean rag and warm soapy water. Make sure it’s thoroughly dried before moving on to the next step. This step is crucial as a clean base will ensure the paint adheres properly.

Step 3. Applying Painter’s Tape
If you’ve chosen to keep the switch on the wall or if there are areas on the switch that you want to spare from the paint, applying painter’s tape is a good idea. Carefully cover any components or edges you don’t want to be painted with the tape, ensuring it fits snugly to prevent any paint seepage. This step helps to keep edges neat and lines clean in your final result.
Step 4. Applying the Primer
A primer serves as an undercoat that allows the paint to adhere better to the light switch. Apply a thin, even layer of primer designed for use on plastic surfaces. Allow the primer to dry fully according to the manufacturer’s instructions before painting. This step is critical as it lays a foundation for the paint, enhancing its durability and longevity.
Step 5. Applying the Paint
Now that your light switch is primed and ready, it’s time to apply the paint. Choose a paint that’s suitable for plastic surfaces for best results. Use a small foam roller or paintbrush to smoothly apply your chosen paint onto the switch, being careful to avoid drips or pooling.
If you’re applying multiple coats, ensure each fully dries before applying the next. This patience will pay off with a smooth, professional-looking finish.
Step 6. Letting the Paint Dry
After applying the paint, give it ample time to dry. Depending on the type of paint you’ve used, this could take anywhere from a few hours to an entire day. Resist the temptation to hurry this process, as touching or reassembling the switch before it’s scorched can result in smears, smudges, or sticky buttons.
Step 7. Removing the Painter’s Tape
Once the paint is completely dry, carefully remove the painter’s tape if you’ve used any. Pull the tape back on itself and remove it slowly to avoid peeling off any paint. If you notice any minor imperfections or spots that need touch-ups, use a small brush to correct them carefully.
Step 8. Reassembling and Installing the Light Switch
If you removed the light switch initially, now’s the time to reinstall it. Make sure you turn off the power at the circuit breaker before doing so for safety. Once the switch is back in place, you can marvel at your newly painted light switch and how it enhances your room’s aesthetic!

Step 9. Clean Up
After reassembling and installing the light switch, it’s time for the cleanup process. Dispose of painter’s tape, clean your brushes or rollers with warm, soapy water, and remove any leftover paint. Remember to store paint in a cool, dry place for future touch-ups. This step ensures your workspace returns to its original state, and you’re ready for the next DIY project.
Step 10. Enjoy Your Newly Painted Light Switch
Congratulations, your newly painted light switch is ready to use! A fresh splash of color or new design can really change the feel of a room. Feel free to experiment with different colors or patterns in other rooms of your home. Each switch is a small canvas waiting for your creativity. Enjoy your revitalized space and the satisfaction of a job well done.
By following these simple steps, you can easily update your home light switches. So don’t be afraid to get creative and let your imagination run wild! With just a few supplies and some patience, you can upgrade the look of any room in no time at all.
5 Additional Tips and Tricks
- Preparation is Key: Before you start painting, make sure to clean the light switch thoroughly. This will ensure the paint adheres better and lasts longer.
- Use Quality Paint: Opt for a good quality, non-chip paint. This is especially critical for light switches as they are high-contact areas.
- Taping Off: Use painter’s tape to protect the surrounding wall area from accidental paint smudges. Remember to remove the tape while the paint is still wet to avoid peeling.
- Use a Small Brush: For intricate areas and precision, it is advisable to use a small brush. This helps in maintaining neatness and achieving a professional finish.
- Allow Sufficient Drying Time: Don’t rush to reinstall the switch. It’s important to let it dry completely for a durable finish. A recommended drying time would be at least 24 hours.
With the right tools, preparation, and technique, you can easily achieve a professional look when painting light switches. Following these tips should help make the job easier for you.

6 Things You Should Avoid
- Avoid Using Dirty Brushes: Make sure to clean your brushes before starting. Dirt or old paint can cause streaks and uneven application.
- Don’t Skip the Primer: Using a primer can enhance the color of your paint and provide better adhesion. Skipping this step can result in a lackluster finish.
- Avoid Painting Over Loose Paint: If there’s peeling or loose paint on the switch, make sure to remove it first. Painting over it may cause the new paint to peel off.
- Don’t Rush the Process: It’s important to allow each coat of paint to dry thoroughly before applying the next. Rushing this process can lead to a poor-quality finish.
- Avoid Touching the Wet Paint: Once the paint is applied, avoid touching or using the switch until it’s completely dry. This will prevent smudges and fingerprints.
- Don’t Use Oil-Based Paint: Oil-based paint is not suitable for light switch covers as it can cause discoloration and warping. It’s best to stick with a water-based paint.
By avoiding these common pitfalls, you can ensure that your painted light switches look neat and professionally done.
What Kind of Paint Do You Use on Light Switches?
When it comes to light switches, you should use high-quality, non-chip paint. Make sure the finish of the paint is appropriate for the switch type and environment (interior or exterior). For interior switches, choose an eggshell or satin finish that will help protect against fingerprints and smudges.
For exterior switches, opt for a semi-gloss or high-gloss sheen that will be able to withstand outdoor conditions. In either case, make sure the paint is rated for use on metal surfaces.
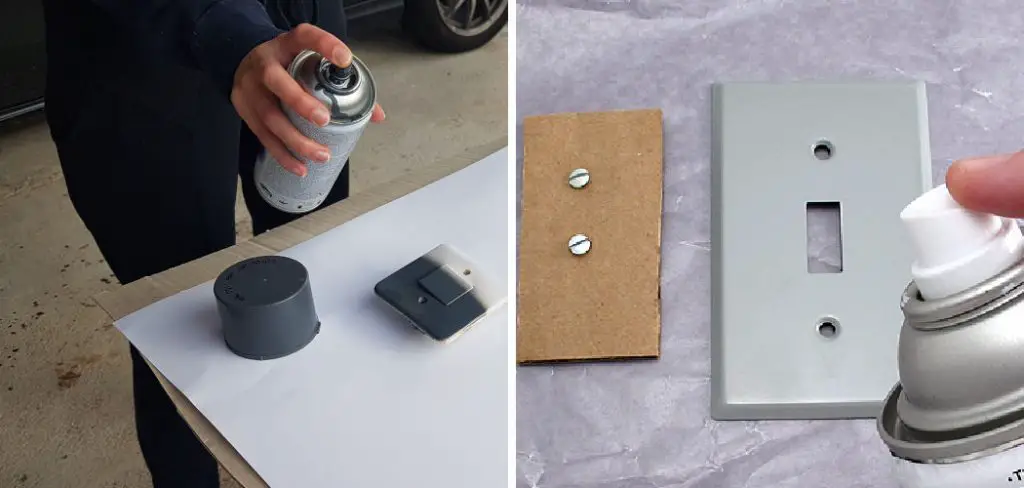
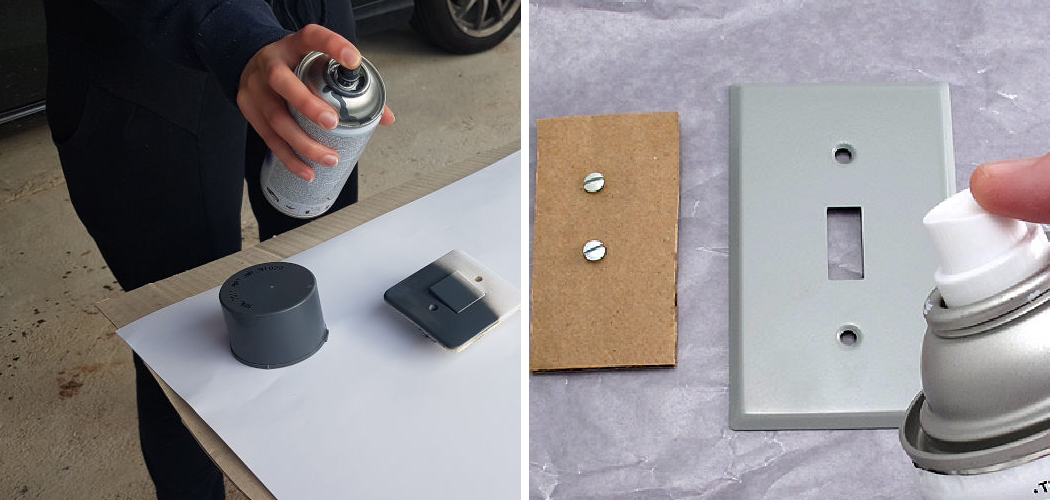
Additionally, you can also consider using spray paint. This is an easy and fast way to get a professional finish on your light switch. Just make sure the area is well-ventilated, as the fumes may be toxic.

Finally, opt for a quality paint that is designed to resist fading and chipping over time. This will ensure your light switch looks great for years to come.
Conclusion
After considering these tips, you should have the ability to paint your light switches in no time at all professionally. With practice and patience, you can also get truly creative with painting them. From inspiration from a favorite painting to free hand designs, nothing is off-limits with a little know-how.
Don’t forget to experiment with various paints, too—from traditional satin paint to chalk or gloss paint. The options are almost endless when it comes to painting light switches.
Hopefully, these tips have helped you in understanding how to paint light switches. Don’t forget to share your results with us! We’d love to see what creative ideas you come up with. Good luck and happy painting!

