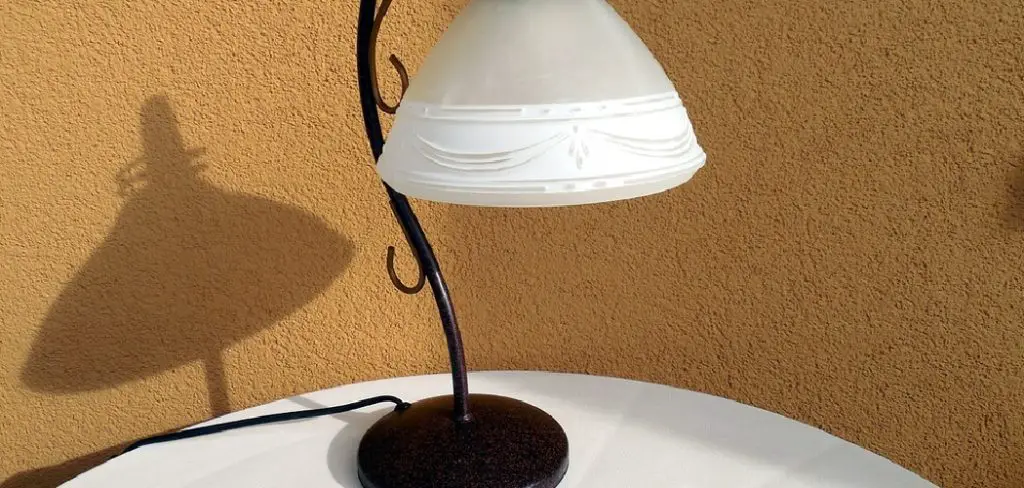
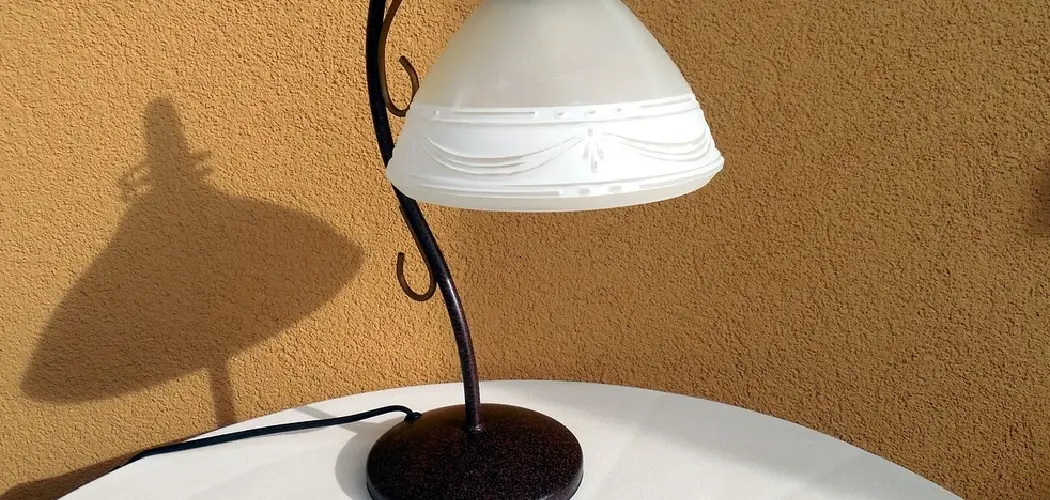
Painting a ceramic lamp is a fun and creative way to personalize your home décor. Whether you want to update an old lamp or create a unique piece from scratch, the process is both satisfying and rewarding.

With the right materials, a bit of patience, and some inspiration, you can transform an ordinary lamp into a stunning work of art that complements your style. This guide will walk you through the steps of how to paint ceramic lamp.
Why Paint a Ceramic Lamp?
Painting a ceramic lamp allows you to add a personal touch to your home while expressing your creativity. It’s an affordable way to refresh an old lamp or customize a new one to match the colors and themes of your space. Unlike store-bought designs, a painted lamp can reflect your unique taste, making it a one-of-a-kind piece that stands out.
Additionally, the process of painting can be therapeutic and enjoyable, giving you an opportunity to explore new artistic techniques. Whether you’re upcycling an existing lamp or creating something entirely original, painting ceramic lamps provides endless possibilities to showcase your style and transform your décor.
Supplies and Tools Needed
To begin painting your ceramic lamp, you’ll need a few essential supplies and tools. Here’s a list to help you get started:
- Ceramic lamp (clean and dry)
- Acrylic paint (in your choice of colors)
- Paintbrushes (various sizes for detailed and broad strokes)
- Painter’s tape (for masking off areas you don’t want to paint)
- Sandpaper (fine-grit, for smoothing the surface if necessary)
- Primer (suitable for ceramics, to ensure better paint adhesion)
- Sealer or varnish (to protect the finished design)
- Palette or plate (for mixing paint)
- Lint-free cloth (for cleaning the surface)
- Drop cloth or newspaper (to protect your workspace)
Having these supplies ready will ensure a smooth and enjoyable painting experience while helping you achieve professional results.
Choosing the Right Paint for Ceramic
Selecting the correct type of paint is crucial for achieving durable and visually appealing results when working with ceramics. Acrylic paint is a popular choice due to its versatility and vibrant color options. Look for acrylic paints specifically labeled as suitable for ceramics or multi-surface use to ensure proper adhesion and long-lasting coverage.

For a glossy or water-resistant finish, you can opt for enamel-based paints, which are ideal for projects that may come into contact with moisture. Additionally, some ceramic pieces may require heat-set paints, which need to be baked in an oven to permanently bond to the surface. Always consider the nature of your ceramic project—decorative versus functional—to choose paints that best meet your needs.
10 Methods How to Paint Ceramic Lamp
1. Clean and Prep the Surface Thoroughly
Before you begin painting, it’s essential to give your ceramic lamp a thorough cleaning. Dust, oils, or residues from past polishes or handling can prevent paint from adhering properly. Begin by wiping the surface with a damp cloth to remove loose dirt, then follow with rubbing alcohol or a mixture of warm water and mild dish soap to break down any greasy spots.

Use a soft-bristled brush or toothbrush to get into crevices, and allow the lamp to dry completely before moving forward. If your lamp has a glossy glaze, you may want to lightly sand it using 220-grit sandpaper—this helps the paint adhere better by creating a rougher surface.
2. Choose the Right Type of Paint for Ceramic
The type of paint you choose plays a huge role in how your finished lamp looks and holds up over time. Acrylic paint is a popular option for painting ceramics because it’s widely available, easy to use, and comes in endless color options. If you want a more permanent, glossy finish, ceramic or enamel paints designed specifically for glass or ceramics are ideal.
These paints typically require curing, either by air-drying or baking, so be sure to read the manufacturer’s instructions. Chalk paint is another trendy option, giving a matte, rustic look that’s easy to distress for a vintage feel.
3. Apply a Primer for Better Adhesion and Color Vibrancy
Although not always required, priming your ceramic lamp is highly recommended—especially if you plan to use acrylic paint or change the color significantly. A white or neutral-colored primer will help your paint stick better and appear more vibrant. Use a spray primer labeled for ceramics for an even coat, or brush it on carefully with a foam brush.

Allow it to dry completely—usually several hours—before applying your main paint. Skipping primer can result in patchy color, flaking paint, or a less durable finish over time.
4. Decide on a Painting Technique: Solid, Patterned, or Artistic
Before diving in with a brush, decide how you want your final lamp to look. Are you going for a solid color, a two-tone dip, a stencil design, or freehand painting? Planning ahead will help you gather the right materials and avoid messy re-dos. Solid color finishes create a modern, uniform appearance, while stencils allow for patterns like florals, geometrics, or words. If you enjoy painting by hand, you can turn your ceramic lamp into a canvas for brushstroke art, watercolor effects, or even faux finishes like marble or stone. Tape off areas you want to leave unpainted for crisp edges.
5. Paint the Base Coats in Thin, Even Layers
When it comes to painting, thin layers are key. Using a foam brush or soft paintbrush, apply the first coat of paint smoothly and evenly. Let it dry completely—usually about an hour—before adding another layer. Rushing this process or laying on thick coats can result in streaks, bubbling, or long dry times. Two to three coats are usually sufficient for full coverage, but it depends on the color and type of paint you’re using. If you’re applying multiple colors or a detailed design, let each section dry fully before layering the next to avoid smudging or bleeding.
6. Add Design Details or Accents
Once your base coat is fully dry, now’s the time to get creative with detail work. Use stencils for intricate designs like Moroccan patterns, art deco motifs, or classic florals. Painter’s tape is useful for creating sharp stripes or color-blocked sections. If you’re painting freehand, use small artist brushes for precision and opt for a steady hand—resting your wrist on the table or lamp base helps. You can also use paint pens designed for ceramics to write words, outline shapes, or draw fine details. Consider metallic accents, dots, or swirls to give the lamp a bit of glamour or texture.
7. Seal the Paint for Durability and Shine
To protect your painted design and make it last, apply a sealant once all the paint is fully dry. For a matte finish, use a clear matte spray sealant; for a glossy look, use a high-gloss acrylic sealer or varnish. Spray options are typically easiest for even coverage on curved surfaces.

Hold the can about 10–12 inches away and apply two to three light coats, allowing each to dry in between. If your lamp is purely decorative, a light sealing may be enough, but for daily-use lamps that get handled often, sealing is essential to prevent chips, scratches, or fading.
8. Add Texture with Fabric, Rope, or Gold Leaf (Optional)
For those looking to go beyond paint, mixed materials can elevate your ceramic lamp into something truly artistic. Wrap the neck or base in jute rope or velvet ribbon for a boho or elegant touch. Apply adhesive and layer on gold or silver leaf for a luxurious, gilded accent. If you prefer an earthy, textural vibe, try decoupage using tissue paper, rice paper, or fabric scraps. These embellishments should be added after painting but before your final sealant layer. Just be sure they’re fully adhered and smooth to the surface to prevent peeling.
9. Refresh or Replace the Lampshade to Match
Once your lamp base is painted and sealed, take time to evaluate whether your current lampshade complements the new look. A freshly painted base deserves a coordinated shade—consider recovering it with fabric, painting it, or buying a new one altogether. A minimalist lamp base pairs beautifully with a patterned or bold-colored shade, while a highly decorative base may be best accented with a simple linen or burlap option. Keep in mind the lamp’s purpose, whether it’s meant for task lighting or soft ambiance, and choose a shade that diffuses or directs light appropriately.
10. Light It Up and Enjoy Your One-of-a-Kind Lamp
Finally, reassemble your lamp (if it was disassembled), install a bulb, and plug it in to admire your work. Turn it on and see how the painted finish transforms under different lighting conditions. Take note of how shadows play on textures or how glossy finishes catch the light. Whether you’ve restored an old ceramic lamp from a thrift store or updated a hand-me-down to match your décor, the result is a one-of-a-kind functional piece of art. With care and creativity, a painted ceramic lamp can last for years and serve as a beautiful testament to your DIY skills.
Conclusion
A painted ceramic lamp is more than just a lighting fixture; it’s a reflection of your personality and creativity. By taking the time to transform an ordinary object into something uniquely yours, you add character and warmth to your space. Whether you’re a seasoned DIY enthusiast or a beginner exploring your artistic side, this project proves that even the simplest items can become meaningful works of art. Thanks for reading, and we hope this has given you some inspiration on how to paint ceramic lamp!

