Revamping the look of your living space can be as simple as giving your lamp base a fresh coat of paint. Whether you’re aiming for a bold pop of color to accentuate your decor or a subtle neutral tone for a sophisticated touch, painting a lamp base is a budget-friendly and creative way to update your lighting fixtures. However, achieving a smooth and professional finish requires careful preparation and execution.

In this comprehensive guide, we will walk you through the step-by-step process of how to paint a lamp base, from selecting the right paint and primer to properly prepping the surface and applying the final strokes. Unleash your inner artist and breathe new life into your home’s aesthetic as we explore the transformative power of a well-painted lamp base. Get ready to illuminate your space with style and flair, one brushstroke at a time.
Importance of Updating or Personalizing a Lamp Base
Lamp bases, or the bottom part of a lamp where the lightbulb sits, are often overlooked when it comes to home decor. However, these seemingly small pieces play an important role in tying together the overall look and feel of a room. While purchasing a new lamp base is always an option, personalizing or updating an existing one can bring a unique touch to your home and save money in the process.
Personalization can range from a simple coat of paint to a complete transformation with different materials. One popular way to update a lamp base is by using spray paint. This allows for easy application and a smooth finish, making it perfect for DIY projects.
Another option for personalizing a lamp base is by using decoupage. This technique involves gluing paper or fabric onto the surface of the lamp base and sealing it with a protective coating. This allows for endless possibilities in terms of design, as any type of paper or fabric can be used to create a one-of-a-kind piece.
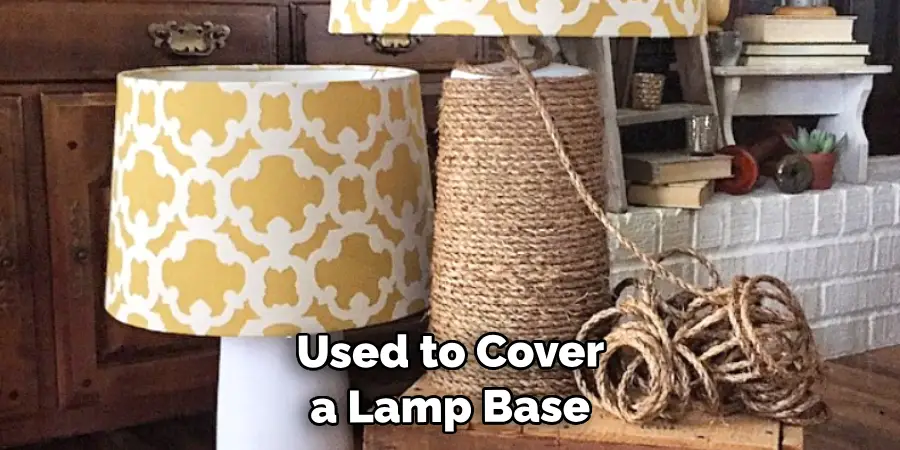
For those looking for a more unique approach, materials such as rope, twine, or even driftwood can be used to cover a lamp base, giving it a natural and rustic touch. This type of transformation requires more time and effort, but the end result can be truly stunning.

Updating or personalizing a lamp base not only adds character to your home decor, but it also allows for creativity and self-expression. It’s a simple yet effective way to freshen up any room without breaking the bank.
In addition, lamp bases can also be updated to match a specific theme or color scheme. This is particularly useful when redecorating a room or for special occasions such as holidays or parties. With just a few materials and some creativity, you can give an old lamp base new life and make it the focal point of any room.
10 Methods How to Paint a Lamp Base
1. Preparing the Lamp Base
The first step in painting a lamp base is to prepare the surface. This involves cleaning the lamp base with a damp cloth and removing any dust or dirt from it. Once the surface is clean, use sandpaper to lightly sand down any rough areas or imperfections on the lamp base. This will create a smooth surface that is ready for painting.
2. Applying Primer
Once the lamp base is prepped, it’s time to apply primer. Primer helps to ensure that paint adheres properly to the surface of the lamp base and prevents chipping and fading over time. Use a brush or roller to apply an even coat of primer, making sure to cover all surfaces of the lamp base. Allow the primer to dry completely before moving on to the next step.
3. Choosing Paint
When choosing paint for your lamp base, you should consider both color and finish. For a more traditional look, go with a matte finish painted in classic colors such as black, white, or gray; for something more modern, opt for a glossy finish in bolder hues like red or blue.

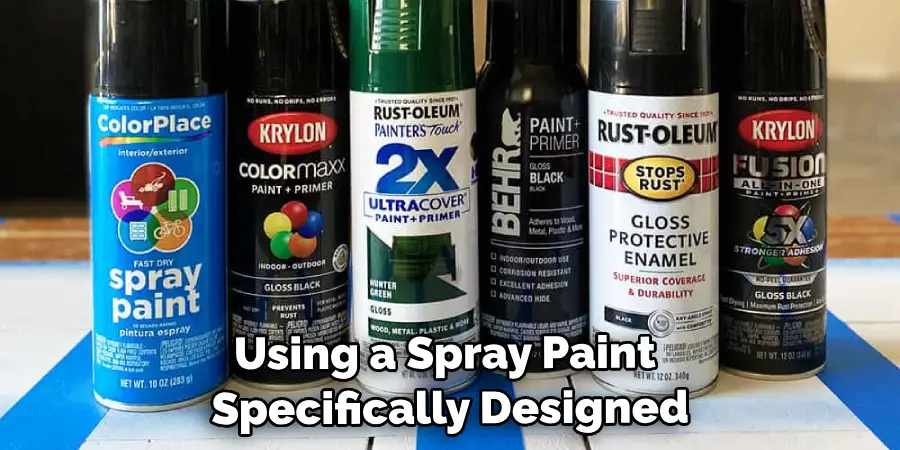
Make sure you choose paint that is specifically designed for use on lamps or other metal surfaces so that it won’t chip or fade easily over time.
4. Painting
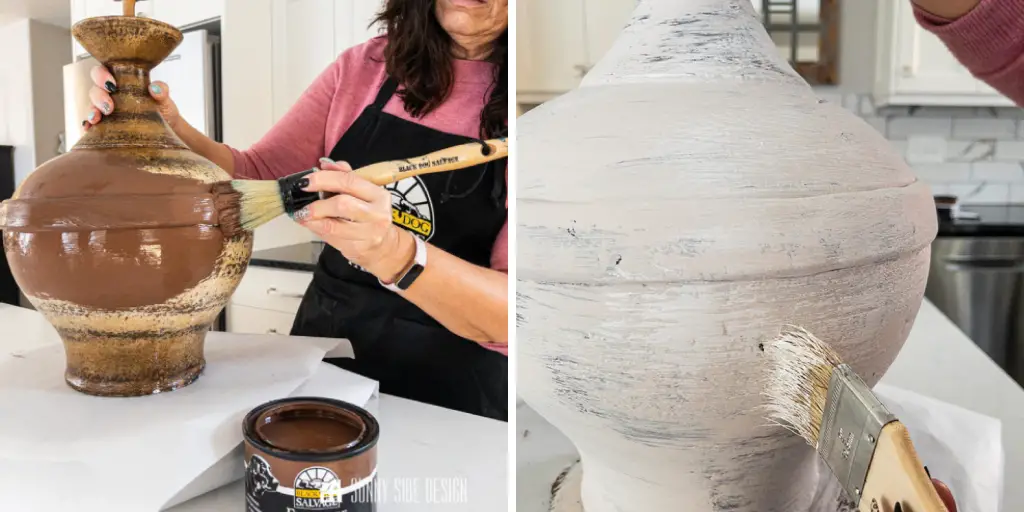
Once you have chosen your paint and allowed your primer to dry completely, it’s time to start painting! Use a brush or roller to apply an even coat of paint onto your lamp base, making sure not to leave any drips or streaks behind. Allow each coat of paint to dry completely before applying additional coats if necessary; three coats are typically enough for most projects, but feel free to add more if desired!
5. Finishing Touches
Once you have finished painting your lamp base, it’s time for some finishing touches! If desired, you can add decorative accents such as stencils or decals onto your painted surface for extra flair; alternatively, you can also seal your painted surface with a clear sealant such as polyurethane for extra protection against wear and tear over time.
6. Sanding Between Coats
If you want an extra smooth finish on your painted lamp base, try sanding between each coat of paint with fine-grit sandpaper before applying additional coats of paint! This will help remove any bumps or imperfections in the surface of your painted project and create an ultra-smooth finish that looks professional and polished when done correctly!
7. Clean Up After Painting
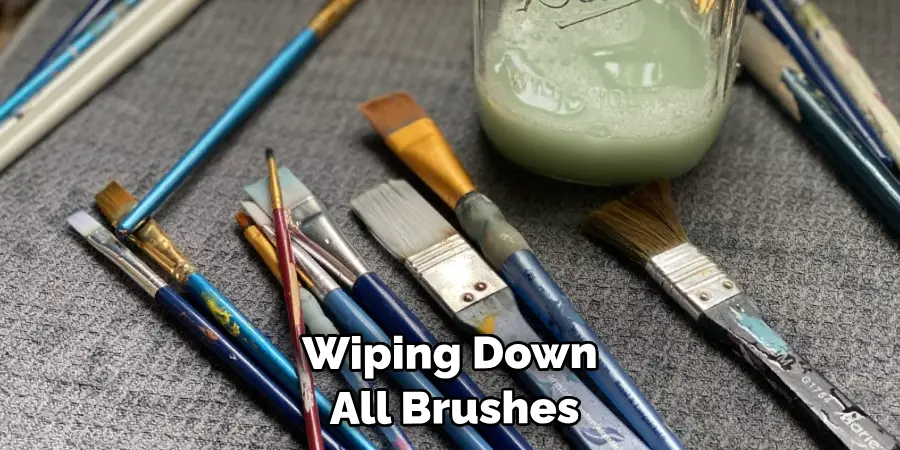
Once you have finished painting your lamp base, make sure you clean up after yourself! This means wiping down all brushes with soap and water (or mineral spirits if using oil-based paints) and disposing of any leftover materials safely into designated containers so they don’t end up in landfills or clogging drains!

8. Letting Paint Fully Dry Before Use
Once you have finished painting your lamp base, make sure that you let it fully dry before using it again! Depending on what type of paint was used, this could take anywhere from 24 hours up to several days; be patient and wait until everything has had plenty of time to fully cure before plugging in your newly painted project!
9. Properly Store Leftover Paint & Supplies
Finally, once everything has been cleaned up, make sure that all leftover paints & supplies are stored properly away from heat & moisture so they don’t spoil over time! If possible, try storing them in airtight containers away from direct sunlight & extreme temperatures so they stay good until their next use!
10. Enjoy Your Finished Project!
Now comes the best part – enjoying your finished project! Whether used as decor around your home, gifted as presents, or simply admired by friends & family, your newly painted lamp base can bring endless joy & satisfaction! So take pride in knowing that every stroke, swish, and dab was made with love & care – now bask in its beauty!
Things to Consider When Painting a Lamp Base
When it comes to painting your lamp base, there are a few key factors to keep in mind before you begin. Ensuring that you properly prepare and choose the right materials will make all the difference in achieving a professional-looking finish. Here are some things to consider when painting a lamp base:
Material Selection
The type of material your lamp base is made of will determine the type of paint you should use. For example, if your lamp base is metal, using a spray paint specifically designed for metal surfaces would be the best option.

If your lamp base is ceramic or wood, using a primer before painting with acrylic or latex paint would be ideal. Make sure to do some research on the material of your lamp base and choose a compatible paint for best results.
Surface Preparation
Before starting to paint, it is important to properly prepare the surface of your lamp base. This means cleaning off any dust, dirt or grime that may have accumulated on the surface. For metal lamp bases, sanding the surface lightly with fine-grit sandpaper can help the paint adhere better.
For ceramic or wood bases, using a degreaser or sanding the surface lightly can help create a better bond between the paint and the base. Make sure to also cover any areas you do not want to be painted.
Color Choice
When selecting a color for your lamp base, consider the overall aesthetic of the room it will be in. A bold and vibrant color may make a statement, but it may not necessarily complement the rest of your decor. Neutral colors such as white, black or gray are safe options that can easily blend in with any design theme. You can also consider adding a pop of color by painting just the base or choosing a patterned paint for added visual interest.

Painting Technique
The key to achieving an even and professional-looking finish is in the painting technique. For spray paint, make sure to use light and even strokes, keeping the can at a consistent distance from the surface. For brush-on paint, start with a thin layer and build up as needed, making sure to use smooth and even strokes. You can also try different techniques such as dry-brushing or sponging for added texture.
Common Mistakes to Avoid When Painting a Lamp Base
When it comes to painting a lamp base, there are some common mistakes that can be easily avoided with the right knowledge and preparation. Here are some tips to help prevent these mistakes and ensure a successful paint job on your lamp base:
- Not properly preparing the surface: One of the most common mistakes when painting a lamp base is not preparing the surface properly. This includes not cleaning the base thoroughly, removing any old paint or finish, and sanding down any rough areas. Without proper preparation, the paint will not adhere well to the surface and may peel or chip off easily.
- Skipping primer: Another mistake is skipping the primer step. Primer helps create a smooth and even base for the paint to adhere to, as well as providing better coverage and durability. It is especially necessary if you are painting over a dark or glossy surface.
- Using the wrong type of paint: Not all paints are created equal, and using the wrong type of paint can lead to a failed paint job on your lamp base. Make sure to use a paint specifically designed for furniture or multi-surface use, as these will adhere well and provide a durable finish.
- Rushing the drying process: Patience is key when it comes to painting a lamp base. Rushing the drying process by using a hairdryer or placing the base in direct sunlight can cause the paint to bubble or crack, ruining your hard work. It’s important to follow the recommended drying time on the paint can and allow for proper ventilation in the room.

- Forgetting to seal the paint: Once your lamp base is painted and fully dried, it’s crucial to seal the paint with a topcoat. This will provide extra protection against scratches and stains, as well as give a professional-looking finish. Make sure to choose a sealer that is compatible with the type of paint used.
- Not properly storing leftover paint: After completing your project, make sure to properly store any leftover paint and supplies. This includes sealing the cans tightly, storing them away from heat and moisture, and keeping them out of direct sunlight. This will help preserve the quality of the paint for future touch-ups or projects.
Conclusion
Painting a lamp base is an exciting and fun way to update the look of your home. It requires patience and attention to detail, but the results are worth it in the end. You can choose any color palette you’d like and get creative with the design to give your lamp some character. Now that you know how to paint a lamp base, why not take on this project with some enthusiasm and determination and show off your finished piece?
Whether you go for something classic or avant-garde, adding pops of color to your decor will definitely brighten up any room. With just a few simple steps, you can transform your boring old lamp base into something truly unique! So what are you waiting for? Grab those supplies and get creative!

