Painting a chandelier may seem like a daunting task, especially if you have to take it down and rehang it afterwards. However, there are some instances where taking the chandelier down is not possible or too difficult. This is where learning to paint a chandelier without taking it down comes in handy.

Painting a chandelier without taking it down might seem like a daunting task, but it can actually have many advantages. This method can save you time, effort, and potentially money compared to removing the chandelier entirely. In addition, painting a chandelier while it is still hanging can also give you more control over the final outcome of your project. In this blog post, You will learn in detail how to paint a chandelier without taking it down.
Tools You Will Need
- Screwdriver
- Sandpaper (medium and fine grit)
- Drop cloths or newspaper
- Painter’s tape
- Spray paint primer
- Spray paint in desired color/finish
- Clear coat spray sealer
- Rubbing alcohol or white vinegar
- Microfiber cloth or lint-free cloth
- Ladder or step stool
Step by Step Processes for How to Paint a Chandelier Without Taking It Down
Step 1: Inspect the Chandelier
Before you begin painting, it’s important to inspect your chandelier for any damage or loose parts. Make sure all bulbs are functioning properly and there are no cracks or broken pieces. To successfully paint your chandelier, you will need some basic supplies such as painter’s tape, drop cloths, sandpaper, primer, and paint. Make sure to choose the appropriate type of paint for your chandelier material.
Step 2: Prepare the Area
To avoid any accidental splatters or spills, it’s important to prepare the area where you will be painting. Lay down drop cloths to protect your floor and furniture, and use painter’s tape to cover any nearby surfaces that you don’t want to get paint on.
Step 3: Remove Any Fragile or Detachable Parts
If your chandelier has any delicate or detachable parts such as crystals or glass shades, it’s best to remove them before painting. This will make the painting process easier and ensure that these pieces are not damaged. Using a mixture of warm water and mild soap, gently clean the surface of your chandelier to remove any dust, dirt, or grime. This will ensure that the paint adheres properly to the surface.
Step 4: Sand the Chandelier
Using fine-grit sandpaper, lightly sand the entire surface of your chandelier. This will create a rough texture for the primer and paint to stick to, ensuring a long-lasting finish. Priming your chandelier is an important step as it will help the paint adhere better and prevent any rust or corrosion. Follow the instructions on your primer and apply a thin, even coat to the entire surface of the chandelier.

Step 5: Let Dry
Allow the primer to dry completely before moving on to the next step. This can take anywhere from 1-2 hours depending on the type of primer used. Once the primer is dry, it’s time to paint your chandelier. Apply thin, even coats of paint and allow each coat to dry completely before applying the next one.
Once the final coat of paint is dry, reattach any detachable parts and hang your chandelier back in its place. Step back and admire your newly painted chandelier without ever having to take it down! Remember to clean any brushes or tools used with warm water and soap before storing them away for future use.
Tips for How to Paint a Chandelier Without Taking It Down
- Use proper protective gear such as goggles, gloves, and a face mask to avoid any contact with paint or chemicals.
- Ensure the room is well-ventilated by opening windows or using fans. This will help prevent inhaling fumes from the paint and chemical cleaners.
- Cover the surrounding area with drop cloths or plastic sheets to protect floors and furniture from accidental spills or drips.
- Use a sturdy and stable ladder to reach the chandelier. Ensure it is correctly positioned and secured before climbing up.
- Make sure the chandelier is turned off and unplugged from any electrical source before starting the painting process.
- If using spray paint, do so in a well-ventilated area away from other objects as overspray can easily travel and cause damage.
- Follow the manufacturer’s instructions for any paint or cleaners being used and dispose of them properly after use.

How Do You Prevent the Paint From Dripping or Running When Painting a Chandelier Without Taking It Down?
When it comes to painting a chandelier without taking it down, one of the biggest concerns is preventing paint from dripping or running. This can be a tricky task, but with the right techniques and tools, you can achieve a smooth and drip-free finish.
Firstly, make sure to choose the right kind of paint for your chandelier. It’s best to opt for a high-quality enamel paint as it dries faster and is less likely to drip or run. Also, consider using a paint with a thicker consistency to minimize the chances of drips.
Secondly, preparation is key when it comes to preventing dripping or running of paint. Cover the area around your chandelier with drop cloths or newspapers to protect your floor and furniture from any potential spills.
You can also use painter’s tape to cover any parts of the chandelier that you don’t want to get painted. Next, it’s important to use the right painting techniques. Start by applying a thin coat of paint on your chandelier using a small brush or foam roller. This will help prevent excess paint from building up and dripping. Once the first coat is dry, you can apply a second coat for a more even and smooth finish.
What Are Some Common Mistakes to Avoid When Painting a Chandelier Without Taking It Down?
When it comes to painting a chandelier without taking it down, there are a few common mistakes that people tend to make. These mistakes can lead to an uneven or unprofessional-looking paint job, which defeats the purpose of giving your chandelier a fresh new look. To ensure that you achieve the best results possible, here are some key mistakes to avoid when painting a chandelier without taking it down:
1. Not Prepping the Surface Properly
One of the biggest mistakes people make when painting a chandelier without taking it down is not prepping the surface properly. It’s important to clean the surface of your chandelier thoroughly before you begin painting. Use a gentle degreaser and a soft cloth to remove any dirt, dust, or grime that may be on the surface. If you skip this step, your paint may not adhere properly and could start peeling or chipping off.
2. Using the Wrong Type of Paint
Another mistake to avoid is using the wrong type of paint for your chandelier. Make sure to use a high-quality spray paint specifically designed for metal surfaces. This type of paint will adhere better and provide a more durable finish. Using the wrong type of paint can also lead to uneven coverage or a splotchy appearance.

3. Not Protecting the Surrounding Area
Before you start painting, it’s important to protect the surrounding area from overspray. This includes any furniture, flooring, or walls near your chandelier. Use drop cloths or newspapers to cover these areas and prevent any accidental paint splatters or spills.
4. Not Taking Your Time
Painting a chandelier without taking it down can be a time-consuming process, but it’s important to take your time and do it right. Rushing through the process can lead to mistakes and an uneven finish. Make sure to apply thin, even coats of paint and allow each coat to fully dry before moving on to the next one.
5. Not Properly Sealing the Paint
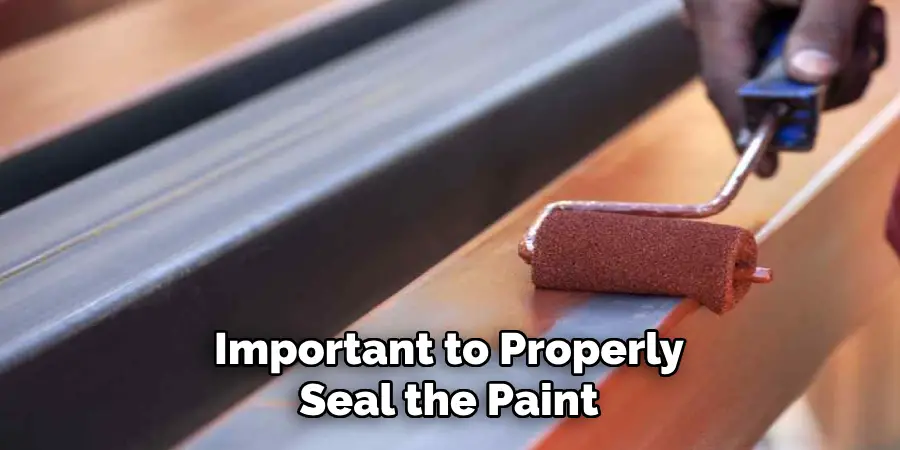
To ensure that your newly painted chandelier stays looking fresh and vibrant, it’s important to properly seal the paint. Use a clear metal sealer or topcoat to protect the paint from chipping or fading over time. This will also make it easier to clean your chandelier in the future.

By avoiding these common mistakes, you can achieve a professional-looking finish when painting your chandelier without taking it down. With proper preparation and attention to detail, your chandelier will be transformed into a stunning focal point in any room.
Conclusion
In conclusion, painting a chandelier without taking it down is a simple and cost-effective way to update the look of your home. The process may seem daunting at first, but with the right tools and techniques, anyone can achieve professional-looking results. One important thing to keep in mind when tackling this project is safety. It’s essential to turn off the electricity to the chandelier before beginning any work.
Another crucial aspect is preparation. Cleaning the chandelier thoroughly and sanding any rough areas will ensure that the paint adheres properly and results in a smooth finish. Don’t rush this step as it can make a significant difference in the final outcome. I hope this article has been beneficial for learning how to paint a chandelier without taking it down. Make Sure the precautionary measures are followed chronologically.

