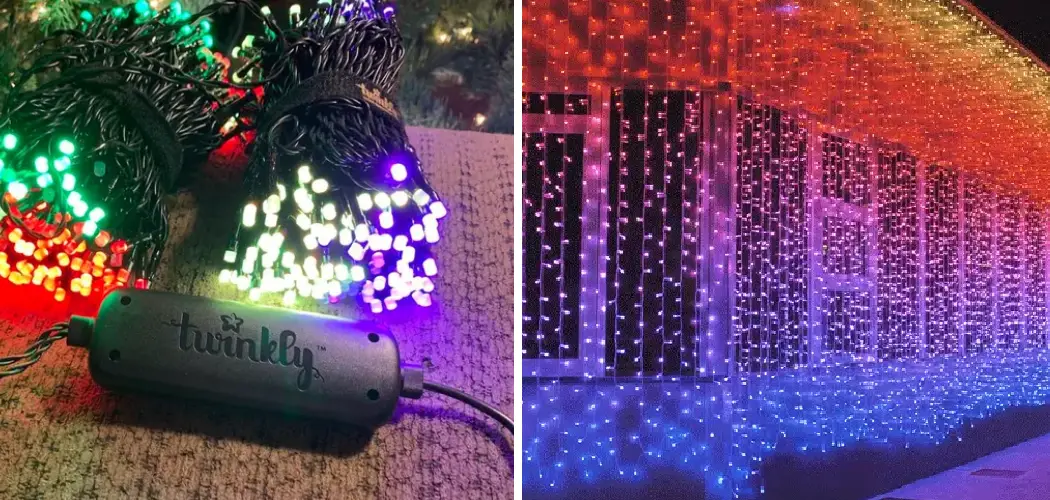
Mapping your Twinkly lights can help you create stunning light show effects that will bring your holiday displays and decorations to life. With just a few simple steps, you can craft intricate scenes and animations with the look of professional-grade lighting designs. So if you’re looking for an easy way to take the wow factor up a notch this year – mapping Twinkly Lights is the perfect solution.
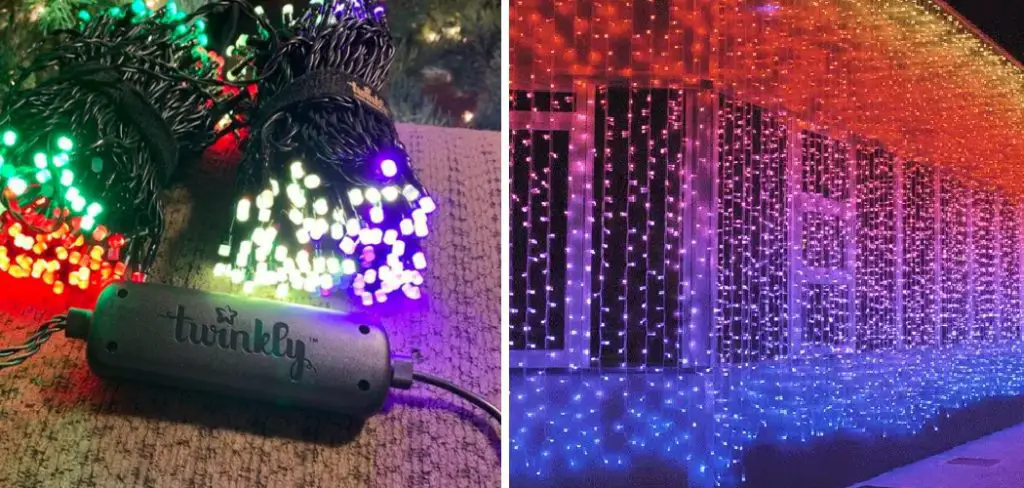
Mapping twinkly lights can give you so much more than just a few extra points of light in your home. With the right tools and approach, you can create unique and dynamic lighting displays that will wow all who see them. In this blog post, You will learn how to map twinkly lights.
Step-by-step Instructions for How to Map Twinkly Lights
Step 1: Inspect Your Lights
Before you start mapping your Twinkly lights, it’s important to take a moment and inspect the bulb connections. Make sure each group of lights is connected securely in an uninterrupted pattern. Once you have inspected the bulbs, it’s time to plug in your lights and connect them to power. After doing this, you should see the lights light up continuously.
Step 2: Install the App on Your Device
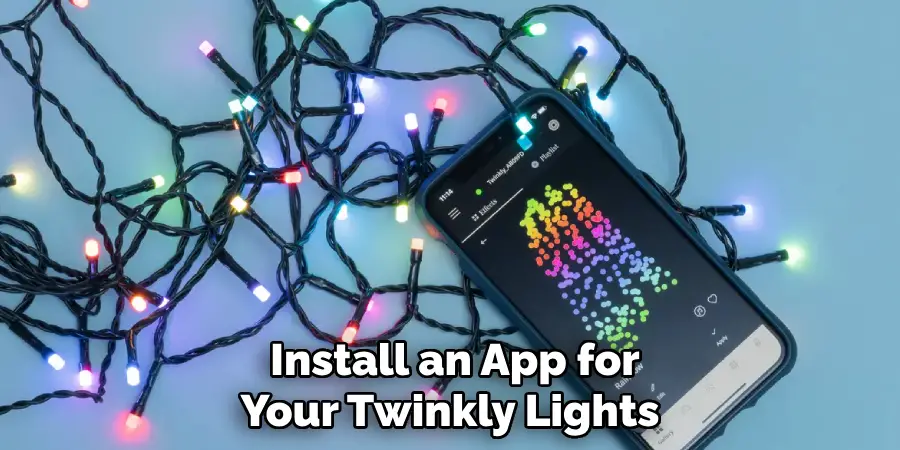
You’ll need to install an app for your Twinkly lights on your device (Android or iOS). Once this is done, open the app and follow the instructions provided. The next step is connecting your device to the lights. To do this, you’ll need to enter the Wi-Fi credentials for your Twinkly lights into the app. Then press “Connect” when prompted.
Step 3: Choose an Animation or Pattern to Map
Once you’re connected, it’s time to choose an animation or pattern. You can customize your own patterns with the app and preview existing ones. After selecting your animation/pattern, it’s time to map your lights. To do this, move the “Mapping” cursor over each light and select it. This will map the lights in the order you want them to glow.
Step 4: Test Your Animation/Pattern
Once you have mapped your lights, it’s time to test out your animation/pattern. Press “Play” and watch as the Twinkly lights come to life. If you want to customize your animation/pattern further, you can do so with the app. You can change things such as speed, color, and other aspects of the pattern.
Step 5: Save Your Settings
Once you’re happy with your animation/pattern, you can save it for future use. Press “Save,” and your settings will be stored in the app for easy access later. The last step is to enjoy your lights! Sit back and take in the beauty of your newly mapped Twinkly lights. Share your pattern with friends and family, or keep it to yourself.
No matter how you decide to use your Twinkly lights, the possibilities are endless.
Safety Tips for How to Map Twinkly Lights
- Always ensure sufficient lighting in the area before connecting your lights to the power grid.
- Ensure all cords and plugs are firmly secured and not exposed or loose.
- Check for any potential fire hazards and safety risks near your lights before proceeding with mapping them out.
- Pay attention to where you place the lights and ensure they are outside an area where someone might trip over them.
- Familiarize yourself with the power cord before connecting it to your lights and the wall socket.
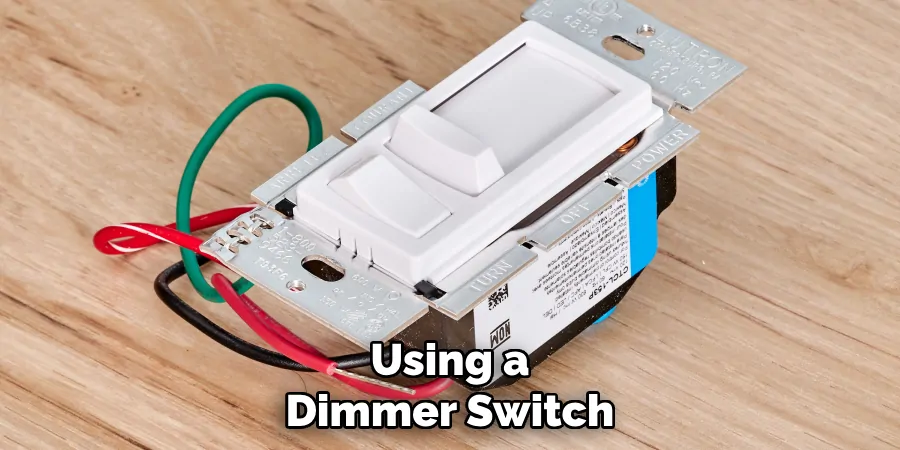
- If you are using a dimmer switch, read the manufacturer’s instructions and test it before attempting to map the lights.
Mapping your twinkly lights can be a fun and exciting activity, but it is important to take precautions to ensure your safety during the process. Following these simple steps will ensure you can enjoy your twinkly light mapping experience without worrying about any potential hazards or safety risks.
What is the Best Way to Attach Twinkly Lights to a Surface?
Attaching Twinkly lights to a surface is important in setting up your light display. The best way to do this is using adhesive tape or velcro strips. Adhesive tapes are easy to apply and remove, while velcro strips provide a secure fit that can be reused often.
Use a strong adhesive, such as E6000 glue if you want something more permanent. Just read the instructions on the container before use and apply it in a well-ventilated area.
When attaching Twinkly lights to any surface, ensure you do not pull too tightly or overstretch the light strands. This can damage them and cause them to malfunction. You should also avoid placing them in areas that are too damp or hot, as this can cause them to malfunction.
Once the lights are securely attached, you can then begin the process of mapping your Twinkly lights. This relatively simple process involves connecting each light strand with its corresponding controller and app.
Is It Necessary to Waterproof Your Light Fixtures Before Mounting Them Outdoors?
When mounting Twinkly lights outdoors, taking any necessary steps to waterproof the fixtures is important. This is especially true if you use traditional light strands and controllers instead of outdoor-specific models designed for damp climates. To waterproof your light fixtures, you should first cover them with a layer of sealant or water-resistant tape, such as Gorilla Tape or Eternabond.
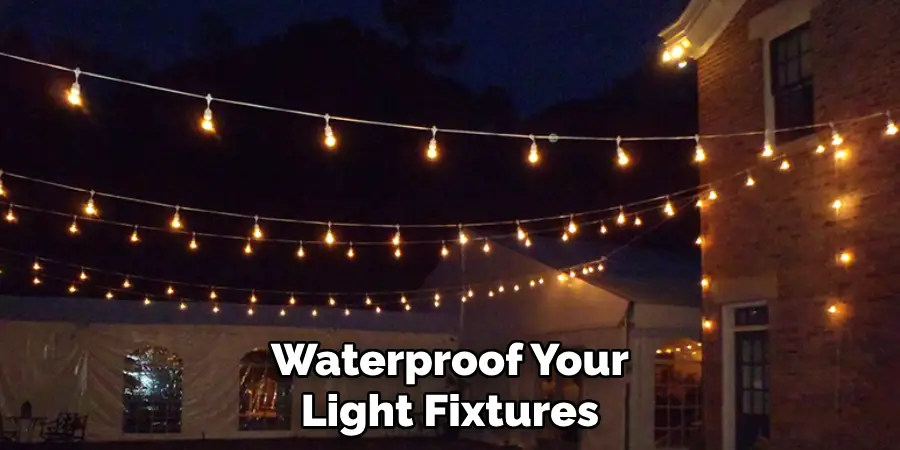
This will help to protect your lights from water damage. Additionally, you should avoid mounting them directly onto surfaces prone to condensation or ice build-up, such as wood or plastic. If necessary, mount them on a level surface using screws so they don’t move around when exposed to heavy winds and rain.
How Do You Troubleshoot Any Issues With Your Twinkly Light Setup?
If you’re having any issues with your Twinkly light setup, the first thing to do is check all your connections and ensure everything is properly connected. This includes ensuring each controller is correctly connected to its corresponding light strand.
If a light strand or controller isn’t working, try resetting them by unplugging them from the power source and plugging them back in. If this doesn’t solve the issue, you can reset the device’s connection to its mobile app or controller by rebooting both.
If all of these steps fail, it’s possible that your light strand is defective and needs to be replaced. If this is the case, contact Twinkly customer service for support. They can provide you with a replacement light strand or help troubleshoot any other technical issues you may be experiencing.
Are Any Additional Accessories or Tools That May Be Helpful When Mapping Twinkly Lights?
When mapping Twinkly lights, a few additional accessories and tools may be helpful. These include wire cutters, extension cords, and power strips. Wire cutters can precisely trim any excess length from the light strands or wires when setting up your display.
Extension cords are handy for connecting multiple lights with one controller and providing extra length if needed. Lastly, power strips are great for consolidating multiple controllers and light connections into a single outlet.
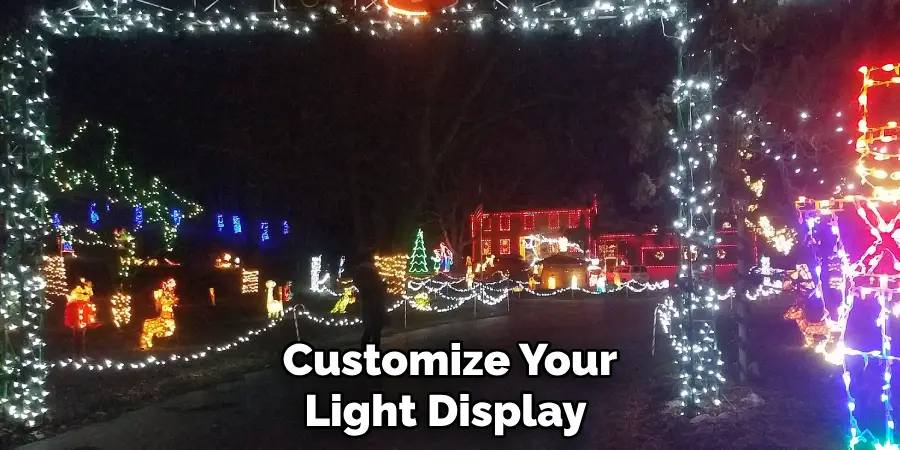
Additionally, consider purchasing a Twinkly Extension Kit, including connectors and extensions for creating customized light displays. This kit makes it easy to customize your light display by adding extra lights or increasing the length of existing ones without purchasing additional components. All these accessories and tools will help ensure you get the most out of your Twinkly light setup.
Conclusion
Although mapping twinkly lights is a great way to add to the ambiance of any space, there are some drawbacks. For one, it can be quite costly as lights need to be purchased for each light. Additionally, if they’re not properly mapped out, the result may not look right or coordinate with the surrounding space correctly.
In conclusion, mapping Twinkly lights is a great way to add special lighting effects and sparkle to your home. It’s an easy process that can be mastered with practice, and the results are stunning!
Whether you’re just decorating for the holidays or creating a custom light show to dazzle your friends, Twinkly Lights offer endless possibilities. Reading this post has helped you learn how to map twinkly lights. Make sure the safety precautions are carried out in the order listed.

