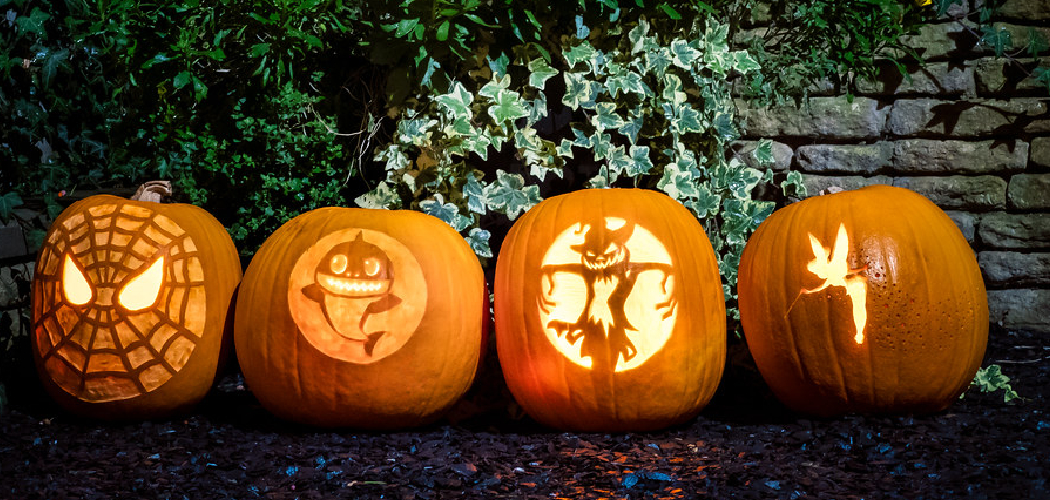
Halloween is a fun time for family and friends to come together to celebrate the spookiest night of the year. It is the time to dress up in costumes, carve pumpkins, and create decorations for your home. One of the most popular Halloween decorations is a lantern. Here’s how to make your own festive Halloween lantern!
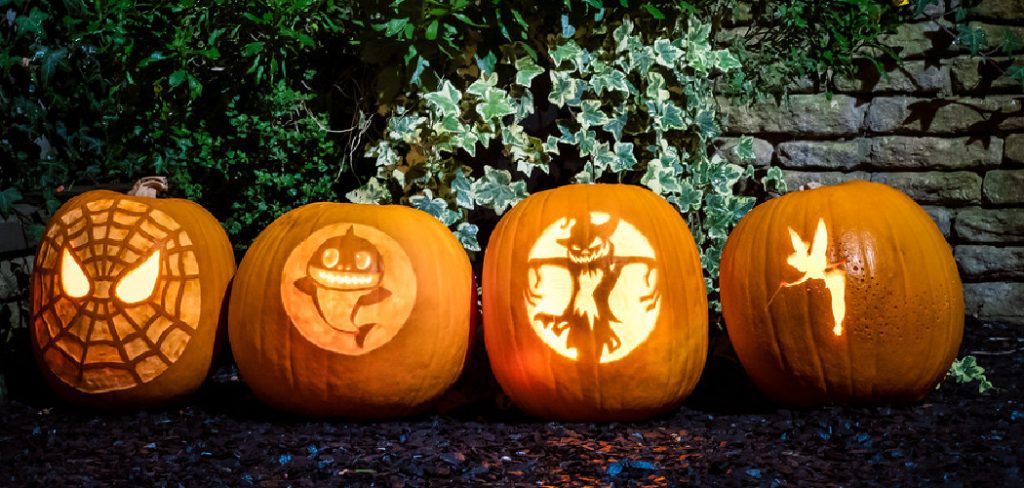
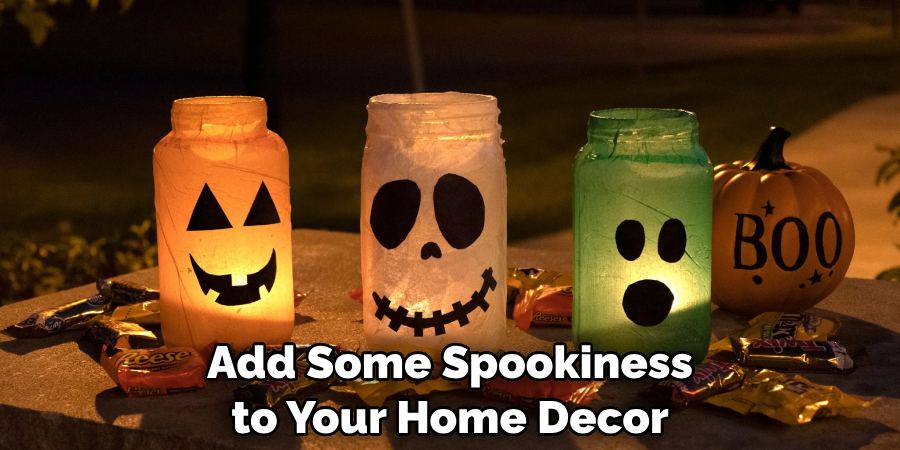
Making your own Halloween lanterns can be an easy and fun activity to do with kids and adults alike! Making Halloween lanterns is a great way to add some unique decorations to your home or outdoor space before the spooky night. Here are some tips on how to make Halloween lanterns.
Required Items
- Glass jar
- Battery-powered light or candle
- Glue gun and glue sticks
- Halloween images, such as a witch, bats, skulls, etc. (colored construction paper or cardstock works well)
- Scissors
10 Steps on How to Make Halloween Lanterns
Step 1: Gather Your Supplies
Before you begin, make sure that you have all the necessary supplies. You’ll need a glass jar, battery-powered light or candle, glue gun and glue sticks, Halloween images (from paper or cardstock), and scissors.
Step 2: Prepare Your Jar
Start with a clean, dry glass jar and remove the label. If there is any residue from the label remaining on the jar, use rubbing alcohol to remove it.
Step 3: Cut Out Your Halloween Images
Choose your favorite Halloween images – such as witches, bats, skulls, or spiders – and trace them onto construction paper or cardstock. Using the scissors, cut out your desired Halloween images from either construction paper or cardstock. This is a great activity for kids as it’s easy and fun!
Step 4: Glue the Images onto the Jar
Using the glue gun, begin gluing each of your images around the outside of the glass jar. Make sure to place the images close enough together so that there are no gaps between them.
Step 5: Add a Light Source
Once you have finished gluing all of your images around the jar, it’s time to add a light source. You can either use a battery-powered light or a candle. Carefully place your light source inside the jar and make sure it is secure.
Step 7: Seal the Jar
Once you have placed the light source inside, use a hot glue gun to seal the jar shut. Make sure to go around the edges of the lid with glue, as this will help keep the lid firmly in place. After adding your light source, place the lid back onto the jar. This will help keep the light securely in place and protect it from any spills or knocks.

Step 8: Hang Your Lanterns
Once your lantern is complete, it’s time to hang it up! You can either hang the lanterns by themselves or add some string or twine and create a Halloween garland.
Step 9: Add Some Finishing Touches
If you’d like to add some finishing touches to your lanterns, you can always add some glitter, feathers, or paint to make them stand out even more. And don’t forget to have fun with it – the possibilities are endless!
Step 10: Show Off Your Creation
Now that your Halloween lanterns are complete, show off your creations by displaying them proudly in your home during the Halloween season. You can also share your ideas with friends and family by posting photos of your handmade lanterns on social media or sending them in a homemade card.
Have fun this Halloween season by creating some unique decorations with your own homemade lanterns! Show off your creativity, and let the spooky vibes begin! Happy crafting!
Now that you’ve finished your Halloween lanterns, it’s time to enjoy them! Light up the jar and place it in a prominent spot in your home – either indoors or outdoors. Your Halloween lanterns will add some spooky atmosphere to your home and can be enjoyed for years to come.
8 Mistakes You Might Make While Making Halloween Lanterns
1. Not using the right materials
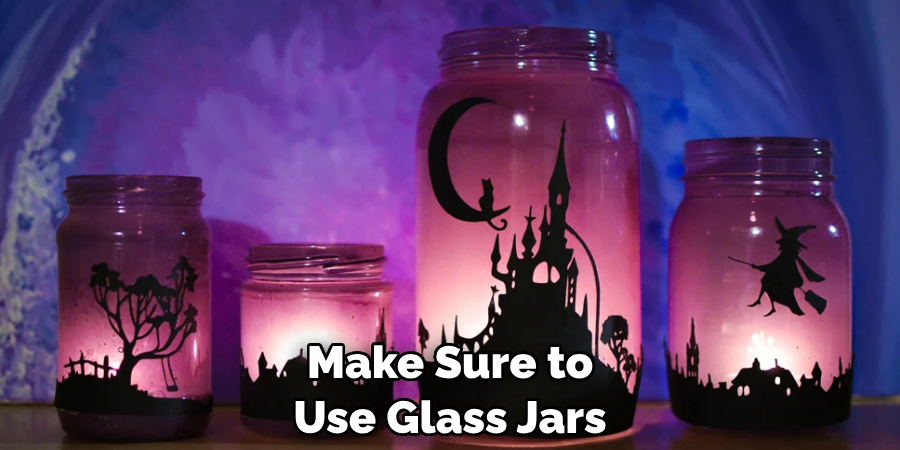
Make sure to use glass jars and battery-powered lights or candles for your lanterns. Using real candles can be dangerous, and using plastic jars can cause the lanterns to melt. Using a glass jar will give you the scope of multiple uses.
2. Not having a sturdy base
If you want your lantern to be stable and strong, use thick paper or cardstock for the bottom of the jar. This will help support the weight of the jar and prevent it from tipping over.
3. Not using the right paint
When painting your Halloween lanterns, make sure to use water-based paints that are designed specifically for glass. This will ensure that the paint won’t bubble or chip off after a few uses.
4. Not having enough batteries
If you’re planning on using battery-powered lights or candles inside your lanterns, make sure to buy enough batteries. You don’t want your lanterns to go out in the middle of a trick-or-treating session!
5. Not using the correct wicks
If you’re using real candles inside your Halloween lanterns, make sure to use long, heat-resistant wicks that won’t easily burn or melt. This will ensure your lanterns stay lit and won’t be a fire hazard.
6. Not allowing for enough drying time
When painting your Halloween lanterns, make sure to let the paint dry completely before adding any decorations or lighting. This will ensure that the paint doesn’t run or smudge when you’re using it.
7. Not securing all parts
Make sure to secure all the pieces of your Halloween lanterns with glue or tape. This will ensure that they stay together and don’t come apart at any time during use.
8. Not testing them first
Before you take your Halloween lanterns out for trick-or-treating, make sure to test them out in a safe environment first. This will ensure that they are working properly and won’t be a safety hazard.
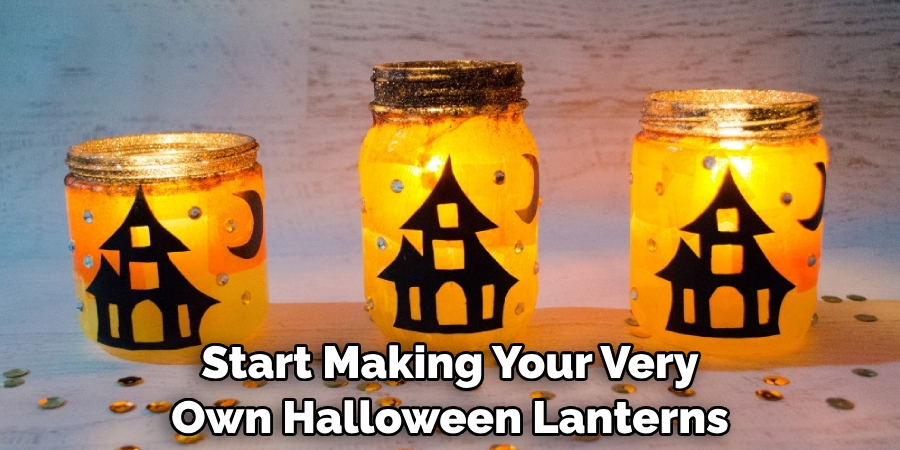
Now that you know the common mistakes to avoid, you’re ready to start making your very own Halloween lanterns! With these tips and tricks in mind, you’ll be able to create beautiful and safe lanterns for a spooky night of trick-or-treating. Have fun!
Frequently Asked Questions
1. What Type of Paint Should I Use for My Lanterns?
Make sure to use water-based paints that are specifically designed for glass. This will ensure that the paint won’t bubble or chip off after a few uses. Before buying paint, check the label to make sure it is “safe for glass.” You can also use acrylic paint if you want more vibrant colors and a longer, longer-lasting finish.
2. How Long Does It Take For The Paint To Dry?
This depends on how thickly the paint was applied. Generally, water-based paints will take anywhere between 15 minutes and 2 hours to dry completely. However, it is always best to let the paint dry overnight before attempting to use the lanterns. This will ensure a quality finish and longer-lasting results.
3. Can I Make Lanterns Out of Other Materials?
Yes! You can make lanterns out of almost any material, such as wood, paper, or even fabric. For wooden lanterns, you can use a wood-burning tool to create intricate designs on the surface. Paper lanterns are great for creating colorful and whimsical effects, while fabric lanterns are perfect for adding texture to your décor.
4. How Do I Assemble My Lanterns?
The assembly process varies depending on the type of material you are using. For paper lanterns, you will need to cut out the shapes and glue them together. Wooden lanterns typically require some drilling and/or cutting in order to fit all the pieces snugly together. Fabric lanterns can be sewn together with basic hand-sewing skills.
5. How Do I Hang My Lanterns?
You can hang your lanterns in a variety of ways. For paper and fabric lanterns, you can use string or twine to hang them from the ceiling. Wooden lanterns are typically too heavy for this method, so they should be hung with a hook directly into a wall stud to ensure they don’t fall down.
If you’re hanging multiple lanterns, it’s best to create an even spacing between each one. This will create a cohesive look and make sure your lanterns don’t overlap or bump into each other.
Making your own Halloween lanterns can be a fun and creative way to add some spookiness to your home decor. With the right materials, tools, and instructions, you can create beautiful lanterns that will last for years to come. So have fun this season by crafting some unique decorations with your homemade lanterns! Enjoy your creation, and let the spooky vibes begin!
Conclusion
Making Halloween lanterns is a fun and creative activity that the whole family can enjoy. With these steps on how to make Halloween lanterns in mind, you’ll be able to make beautiful and safe lanterns for your spookiest night of the year.
It is best to let the paint dry overnight before adding any decorations or embellishments. This will give the paint enough time to cure and create a stronger, longer-lasting finish. Take care when storing your lanterns to ensure they aren’t damaged or broken. With proper care, your Halloween lanterns can be used year after year for spooky décor that will last.
If you want to take your lantern-making skills one step further, why not try making your own stencils or patterns for the glass jars? This will add an extra special touch to your lanterns and make them truly unique. You can also use glow-in-the-dark paints to create a spooky effect! Whatever you choose to do, have fun and be creative.
You Can Also Check This Out to Keep Glass Light Fixtures From Getting Foggy

