Getting your Christmas lights to hang perfectly straight can transform your holiday décor, making it look polished and professional. Whether you’re decorating the exterior of your house or setting up a tree indoors, neatly arranged lights add a magical touch to the festive season.
This guide on how to make christmas lights straight will provide simple and effective tips to ensure your Christmas lights shine bright and straight, creating a stunning holiday display that will impress family, friends, and neighbors alike.
Why Straight Christmas Lights Matter?
Before we dive into the tips for making your lights straight, let’s discuss why it actually matters. While some may think that a few crooked lights won’t make much of a difference, trust us, it does! Neatly arranged lights create a more cohesive and visually pleasing display. It also prevents any distracting or unsightly gaps between the lights, ensuring that each bulb is evenly spaced and contributing to the overall aesthetic.
Furthermore, when hanging lights outside, straight lights are less likely to get tangled or caught in trees and bushes, making it much easier to remove and store them after the holiday season. Overall, taking the time to make your Christmas lights straight will result in a more beautiful and hassle-free display.
8 Step-by-step Guidelines on How to Make Christmas Lights Straight
Step 1: Plan and Measure
Before you start hanging your Christmas lights, take some time to plan and measure the areas you intend to decorate. Decide where you want the lights to go, whether it’s along the roofline, around windows, or wrapped around a tree, and visualize your desired layout. Use a measuring tape to determine the exact lengths required for each section, ensuring you have enough string lights to cover the space evenly without excess slack or shortage.

This step will help you avoid unevenly spaced bulbs and minimize adjustments later on. Additionally, make a note of nearby power outlets so you can ensure your lights reach a source conveniently. Careful planning and measuring set the foundation for a clean and professional-looking display.
Step 2: Use a Level
A level is a useful tool for ensuring straight lines. Place it across your roofline or along the surface you’re hanging lights on to make sure your strings of lights are even. If you don’t have a level, use a yardstick or any other straight object as a guide.
You can also use a level for wrapping lights around trees or columns by placing it vertically against the trunk or post. This will ensure that your lights are evenly spaced and straight as you wrap them around.
Step 3: Create Tension
To prevent drooping lights, it’s essential to create tension in the string before attaching it to an anchor point. This will keep your lights taut, eliminating any sagging areas. You can do this by holding onto one end of the light and walking towards the opposite side while pulling gently on the string. Repeat this process until all slack is removed, then secure the ends with clips or hooks.
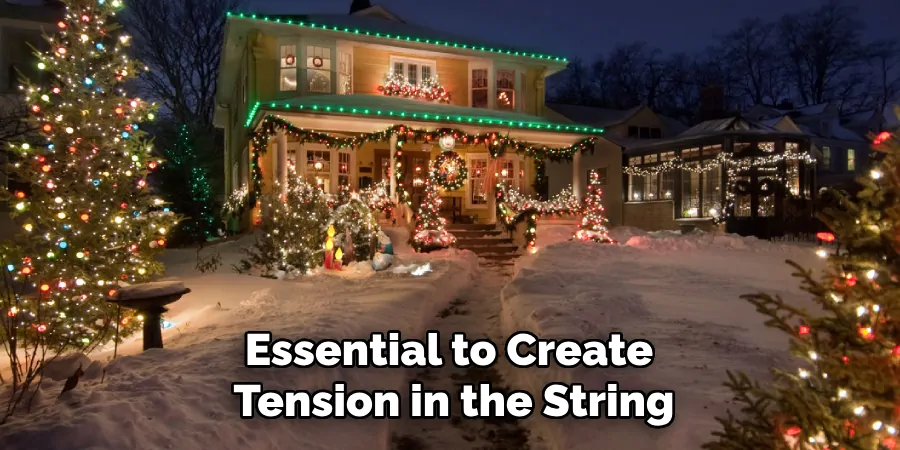
Be careful not to pull too hard, as this could cause the lights to snap or damage the surface they’re attached to.
Step 4: Use Hooks or Clips
Using hooks or clips specifically designed for hanging Christmas lights will make your job much easier and produce better results. These tools help keep your lights in place and prevent them from slipping or drooping over time due to weather conditions.
For exterior decorations, choose sturdy, weather-resistant hooks that can withstand wind and rain. For indoor displays, opt for smaller clips that can blend in with your décor and won’t damage walls or furniture.
Step 5: Secure Lights at Regular Intervals
To ensure even spacing between bulbs, it’s crucial to secure your lights at regular intervals along their length. This will prevent any sagging or drooping, creating a more polished and professional look.
For example, if using hooks to hang lights along your roofline, place them every 1-2 feet to keep the string taut and straight.
Step 6: Adjust as You Go
As you’re hanging your lights, periodically step back to assess the overall look and make adjustments as needed. If you notice any bulbs that are out of place or sections that appear uneven, reposition them accordingly. It’s better to fix these issues early on rather than wait until all the lights are hung.
It’s also helpful to have a second person assist you with this step, as they can provide a different perspective and help spot any problem areas that you may have missed.
Step 7: Use Light Clips for Gutters
For hanging lights along gutters or similar surfaces, consider using light clips specifically designed for this purpose. These clips attach to the gutter and hold the string of lights in place, providing a clean and secure solution without damaging your home’s exterior.
It’s important to use the right type of clip for your particular gutter type, as there are different options available for various materials and sizes.
Step 8: Test Before Finalizing
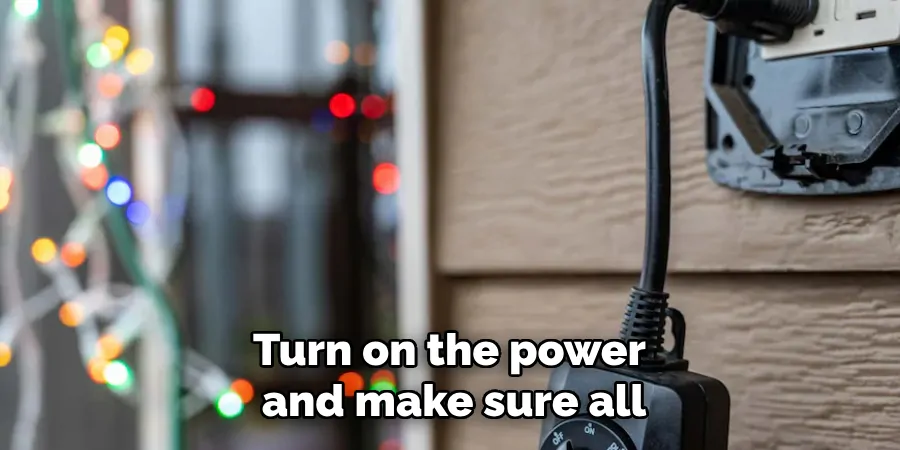
Once you’ve finished hanging all your lights, it’s essential to test them before calling it a day. Turn on the power and make sure all the bulbs are working correctly. This will save you from having to go back and fix any issues later on.
If you notice any faulty bulbs, replace them immediately to maintain the straight and uniform look of your display.
Following these guidelines on how to make christmas lights straight will result in beautifully straight Christmas lights that will impress all who see them. Taking the time to plan, measure, and properly secure your lights will ensure a polished and professional look for your holiday display. So go ahead and make your home shine this holiday season with perfectly straight Christmas lights! Happy decorating!
Tips for Making Your Christmas Lights Straight
Measure First:
Before you start hanging your lights, it’s important to measure both the length of your desired area and the string of lights. This will give you an idea of how many sets of lights you will need and where they should be placed for optimal spacing.
Use a Ladder:
For hanging lights along high surfaces, such as rooflines or tall trees, using a ladder is essential for safety and precision. Make sure the ladder is securely positioned and always have someone spotting you while using it.
Consider Using a Laser Level:
For an extra level of precision, consider using a laser level to ensure perfectly straight lines. This tool projects a laser onto the surface you are hanging lights on and can be adjusted for different lengths and angles.
Use Different Colors or Sizes:
To add dimension and visual interest to your light display, consider using different colors or sizes of lights in the same area. This will create depth and texture, making your decorations even more eye-catching.
Take Your Time:
Rushing through the process of hanging Christmas lights can lead to mistakes and uneven displays. Take your time and make adjustments as needed along the way for a professional-looking result. Enjoy the process and have fun decorating your home for the holidays!
Frequently Asked Questions
Q1: How Do You Hang Christmas Lights on a Roofline?
A: To hang Christmas lights on a roofline, first measure the length of the roof and the string of lights. Then, use a ladder to reach the roof and secure the lights using clips or hooks at regular intervals. Use a level to ensure the lights are straight and make any necessary adjustments as you go.
Q2: Can You Use Regular Hooks for Hanging Christmas Lights?
A: Regular hooks may work for hanging Christmas lights, but they may not be as secure or weather-resistant as ones specifically designed for this purpose. It’s best to use clips or hooks made for hanging lights to ensure a safe and polished display.
Q3: How Do You Prevent Christmas Lights from Drooping?
A: To prevent Christmas lights from drooping, create tension in the string before attaching it to an anchor point. Also, regularly check and adjust the lights as needed while hanging them, and secure them at regular intervals with clips or hooks. Using light clips designed for gutters or rooflines can also help prevent drooping. So, it’s recommended to follow the above-mentioned steps for a perfectly straight display. Happy decorating!
Conclusion
In conclusion, hanging Christmas lights doesn’t have to be a daunting or frustrating task. With some careful planning, proper tools and techniques, and attention to detail, you can achieve a beautifully straight and uniform display that will impress all who see it.
Remember to take your time, measure correctly, and adjust as needed for the best results. And most importantly, have fun decorating your home for the holiday season! Thanks for reading this article on how to make christmas lights straight.

