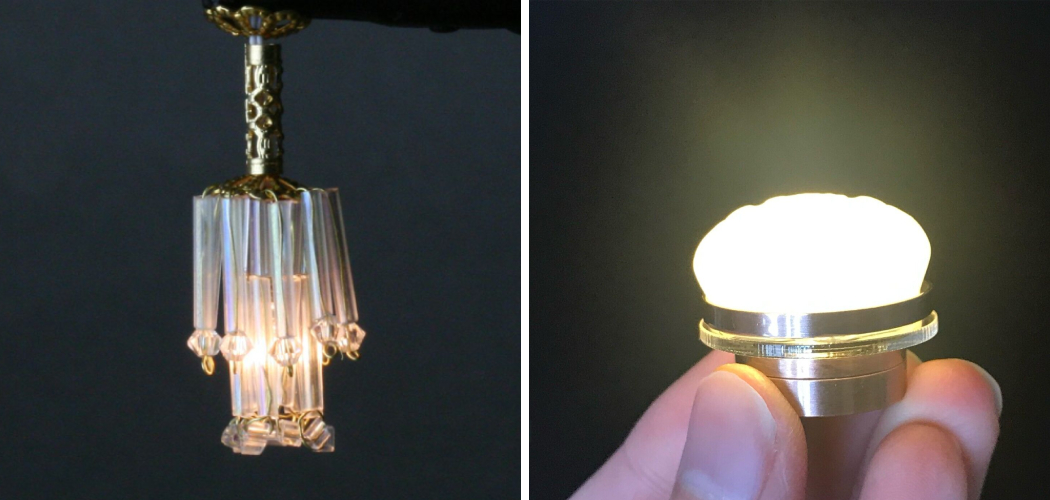
Are you looking for the perfect way to complete your dollhouse? Or maybe you’re just looking to spruce up a room with some extra lighting. Well, have we got a project for you! Battery operated dollhouse lights are an easy and affordable way to give your house or room that special something – especially when it comes to holidays, anniversaries, and other special occasions.
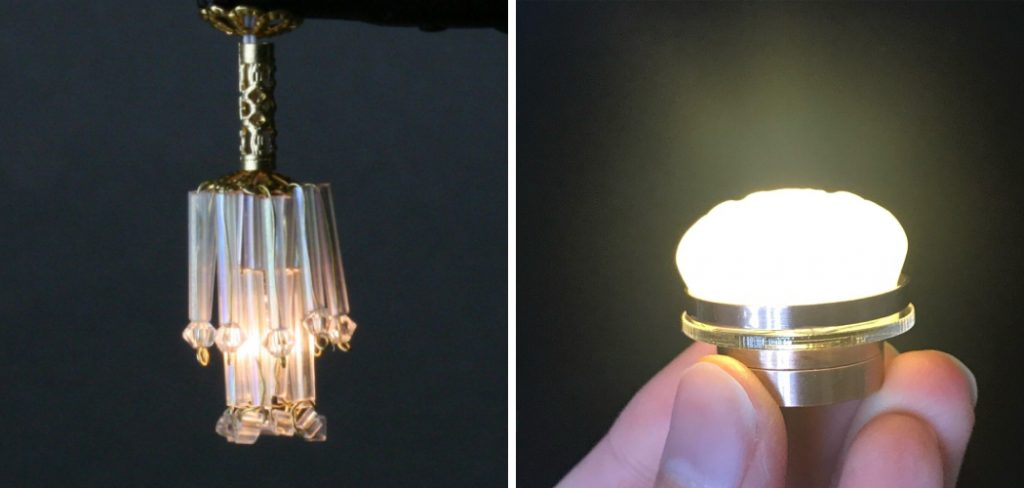
Not only do they provide an interesting aesthetic touch, but no wires are required! You’ll be able to craft custom lamps and other types of light fixtures that work with small batteries.
With step by step instructions and all the necessary materials available at local craft stores, adding battery operated lights is both fun and simple. So keep reading as we walk you through everything about how to make battery operated dollhouse lights!
What Will You Need?
Before you get started, here’s a list of what supplies you’ll need to make battery operated dollhouse lights:
- Light bulbs and bulb holders
- Battery holder
- Small batteries(such as AAA)
- Plastic or brass tubing (for covering wires)
- Wire cutters/strippers
- Electrical tape
- Soldering iron and solder
- Hot glue gun (optional)
- Crafting wire, pipe cleaners, or twine (optional)
Once you’ve acquired all the supplies, you’re ready to start!
10 Easy Steps on How to Make Battery Operated Dollhouse Lights
Step 1. Gather the Plastic or Brass Tubing
Start by gathering the plastic or brass tubing, and cut it to the desired length. You can either use a mini hack saw or an electric tube cutter. Be careful not to cut too much, as you can always trim it down later.
Step 2. Attach the Wires
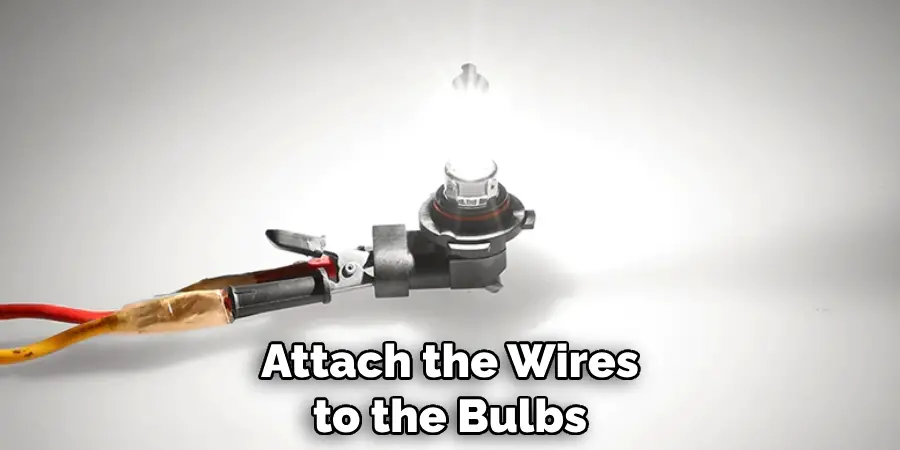
Now attach the wires to the bulbs and bulb holders. Use wire cutters or strippers to strip off a small portion of each wire’s insulation, then twist it around the terminals of the bulb holder. Finally, secure them using electrical tape.
Step 3. Solder the Connections
Next, solder the connections together at each point where the two pieces are connected. Be sure to use a soldering iron with enough heat for melting metal–otherwise, you won’t be able to make strong and stable connections between materials. If you’re not sure how to solder, check out this tutorial.
Step 4. Prepare the Battery Holder
Now prepare your battery holder by connecting one end of a red (positive) wire to its terminal and another end to one of the leads on the bulb holder. After that, do the same with a black (negative) wire and its terminal. Try to keep the length of each wire as short as possible.
Step 5. Attach the Battery Holder
Attach your battery holder to the other end of the bulbs by using electrical tape or hot glue gun if desired. This will secure your lights in place and prevent them from moving around when you’re done. As you can see, this is the perfect way to power up your dollhouse lights without having to rely on any wires or outlets!
Step 6. Cover Your Wires
Once all connections have been made, cover your wires with plastic or brass tubing for protection against dust and moisture buildup. You can also use crafting wire, pipe cleaners, or twine for this purpose–just make sure they are securely fastened in place. You can also use hot glue to ensure the tubing stays in one place.
Step 7. Insert Batteries
Now it’s time to insert the batteries. Make sure you use small ones such as AAA and correctly install them in their holder. This will ensure that your lights stay lit for an extended period of time. Don’t forget to remove the batteries when you’re done using them! Otherwise, it can lead to corrosion and other problems.
Step 8. Activate Your Lights
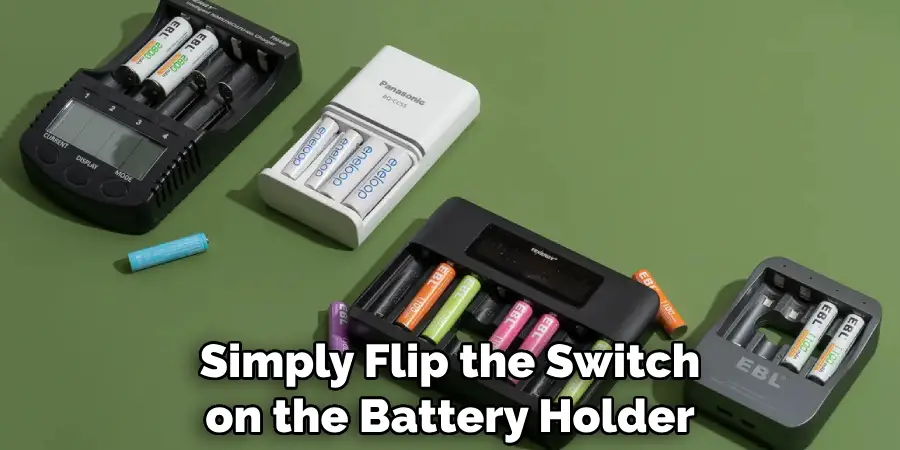
You’re almost done! To activate your lights, simply flip the switch on the battery holder. Your dollhouse lights should light up once it is in the “on” position! Be careful not to leave the lights on for too long, as this can cause damage to delicate parts.
Step 9. Secure Everything in Place
Secure everything in place with electrical tape or a hot glue gun if desired. This will prevent any loose wires from becoming exposed and possibly giving you an electric shock. It will also keep your lights from moving around too much when the switch is turned on and off.
Step 10: Enjoy Your Creation!
Now sit back and enjoy your creation – you did it! Battery operated dollhouse lights make for a great way to spruce up a room, and now you know exactly how to make them. Remember, if you ever need more batteries, they are available at most craft stores.
The possibilities for battery operated dollhouse lights are endless–from holiday decorations to nightlights in children’s rooms. Adding light fixtures with batteries can be fun and rewarding with the right supplies and instructions. So don’t wait any longer–start crafting your own battery operated dollhouse lights today!
5 Additional Tips and Tricks
1. If your dollhouse lights are exposed to the elements, use waterproof sealant to create a protective layer around the battery and wire connections.
2. Choose batteries based on the amount of time you need your lights to be illuminated. Some battery types last longer than others, so make sure to select the one that’s best for your project.
3. To maximize light output, place your lights in front of a reflective surface such as a mirror or white wall. This will help ensure all areas of the dollhouse are lit up evenly and brightly!
4. For increased safety, consider using LED lights instead of standard bulbs in your battery operated dollhouse lights setup. LEDs use less electricity and generate less heat, making them safer for small children who may come into contact with them.
5. If possible, try to have an accessible switch that allows you to turn off your dollhouse lights when they are not in use. This will help save battery life and can make it easier to ensure your lights do not stay on accidentally.
Creating battery operated dollhouse lights doesn’t have to be a daunting task! With these tips, you should be able to create beautiful lighting for any miniature home with ease.
5 Things You Should Avoid
- Avoid using too many lights in one area. This can drain battery life quickly and make it difficult to turn off the lights when they are not in use.
- Do not use light bulbs with a high wattage, as this can cause overheating and reduce the lifespan of your batteries.
- If possible, avoid connecting multiple lights on a single wire. This can create an unsafe situation and increase the risk of short-circuiting.
- Do not use exposed wires in your dollhouse light setup, as this could be hazardous to small children or pets who may come into contact with them.
- Avoid using any kind of metal housing for your batteries, as this can increase the risk of electric shock.
Following these tips will help you create a safe and efficient battery operated dollhouse lights setup! With the right preparation and materials, you should be able to light up your miniature home with ease.
Can You Make Plug in Lights Battery Operated?
Yes, you can make plug-in lights battery operated. This is done by replacing the electrical plug with a battery compartment and wiring in a switch to control when the light turns on and off.
You’ll need to use some basic electrical knowledge to do this properly, so it’s best to consult an expert if you don’t feel comfortable doing this yourself. Still, with the right know-how and materials, it’s possible to convert any plug-in light into a battery powered one!
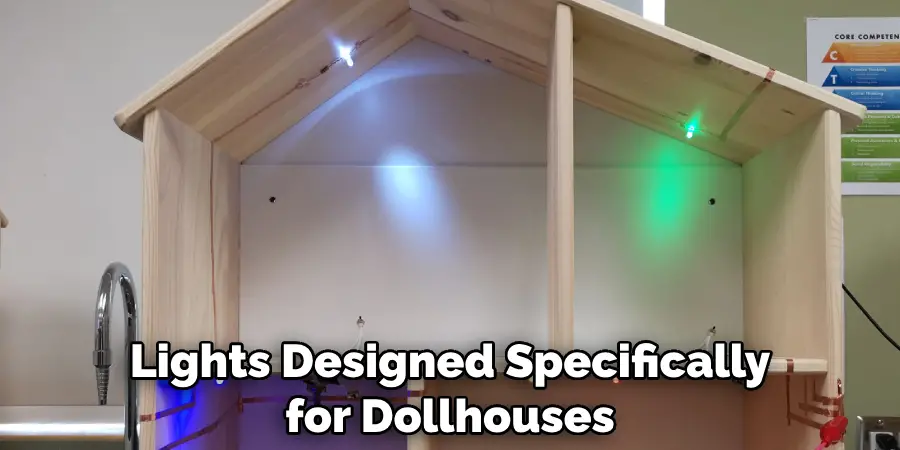
Additionally, you can buy pre-made battery-operated lights designed specifically for dollhouses. This is often the easiest and safest method, as these products typically come with all the necessary components and instructions for easy installation.
Hopefully, this guide has given you a better understanding of how to make battery operated dollhouse lights! With the right knowledge and materials, you can create a safe and efficient lighting system for your miniature home.
Conclusion
Making battery operated dollhouse lights is both a rewarding and fun activity. Not only does it bring enjoyment, but it also requires creativity and allows you to use your crafting skills in a unique way. Crafting with mini lights is an undeniably creative pastime that provides an opportunity for you to be creative as you design the perfect dollhouse light for your item.
With these step-by-step instructions, you can quickly make mini lights in no time and add that extra special touch to your craft item. Whether this is your first crafting experience or you’re an experienced crafter, Battery Operated Dollhouse Lights are a great way to enhance any craft item. Get out there and start building something awesome today!
Hopefully, this guide has given you a better understanding of how to make battery operated dollhouse lights. With the right knowledge and materials, you can create a safe and efficient lighting system for your miniature home. Good luck!
Happy Crafting!

