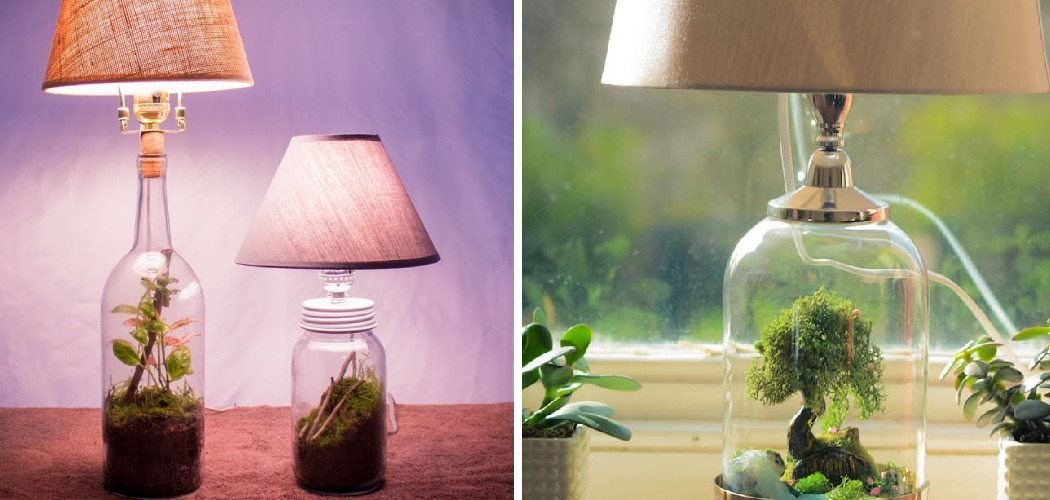
Do you want to add a fun and unique touch to your home decor? Look no further than the terrarium lamp! By creating your own terrarium lamp, you can create an eye-catching focal point that also adds a bit of light to any room.
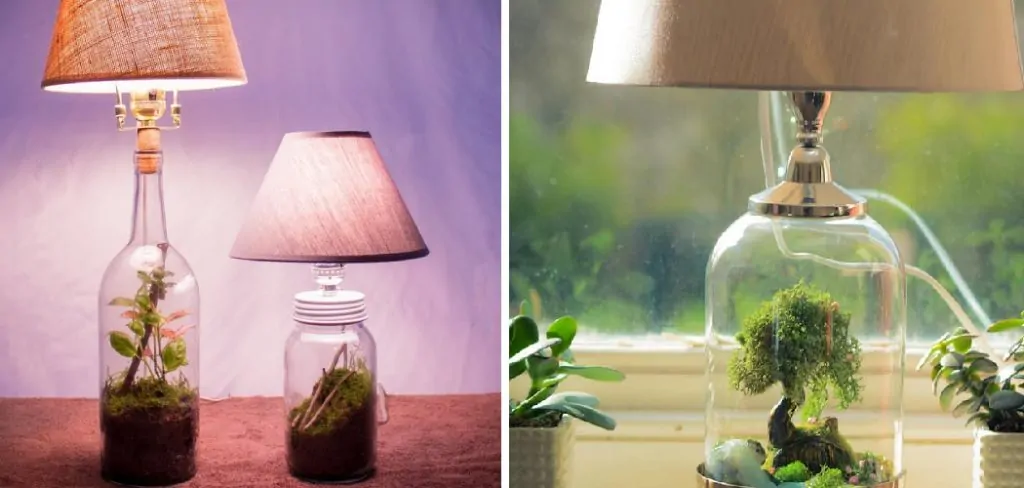
This project is surprisingly easy to do and requires just a few basic materials, so follow along with this guide and soon you’ll be able to show off your very own terrarium lamp! Read this blog post on how to make a terrarium lamp to know more.
What is Terrarium Lamp?
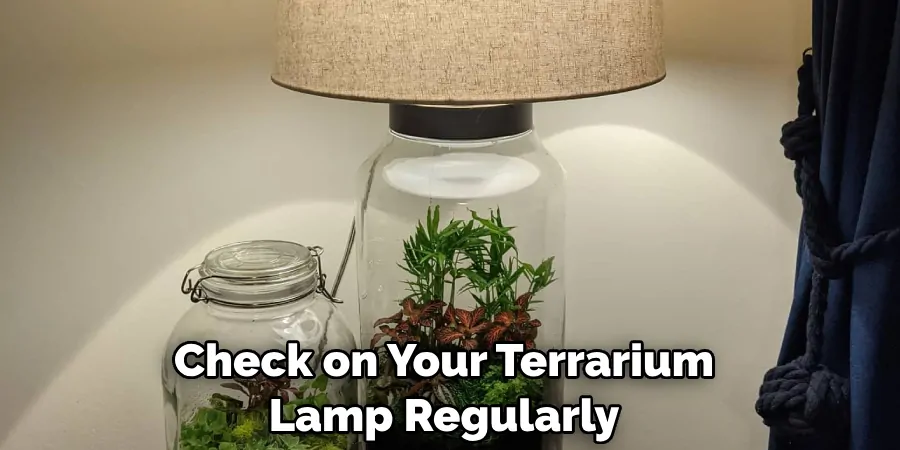
A terrarium lamp is essentially a combination of two things: a terrarium and a light. A terrarium is an enclosed glass container with openings that allow air to circulate, while the light provides illumination. The combination of the two elements creates an eye-catching display piece and can be used as a functional source of light. Terrarium lamps are great for adding ambiance to any room, while also providing a unique conversation piece.
Materials Needed
Given below is a list of the materials required to make a terrarium lamp:
- Glass Terrarium Container
- Lamp Cord With Switch and Plug
- Low Voltage Light Bulb
- Pebbles or Soil
- Succulents, Plants, Mosses (Optional)
Step-by-step Guidelines on How to Make a Terrarium Lamp
Step 1: Gather All the Materials
Make sure you have all the materials you need before starting the project. This includes a glass terrarium container, lamp cord with switch and plug, low voltage light bulb, pebbles or soil, as well as succulents, plants and mosses (optional). It is important to make sure you have the right type of bulb for your lamp.
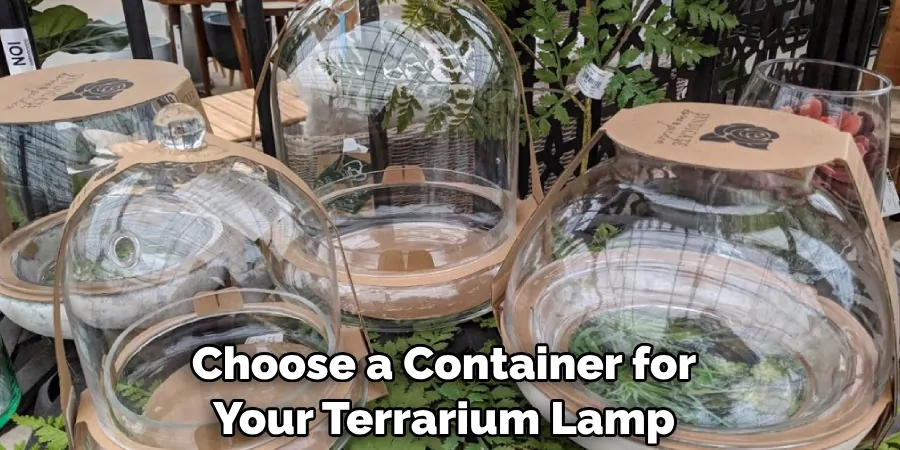
Step 2: Choose the Container
Choose a container for your terrarium lamp. It should be large enough to fit the light bulb and have an opening in the top so that you can access the inside. Glass containers work best because they do not block out any of the light, but many other types of containers can also be used. But make sure that the container is heat resistant.
Step 3: Prepare the Container
Once you’ve chosen your container, prepare it by washing it with warm water and soap to remove any dirt or debris. You may need to use a toothbrush or other similar cleaning tool if there is a sticky residue on the inside of the container. Once it’s clean and dry, set it aside for later use. However, do not add any water or other liquids at this time. Make sure that the container is completely dry before continuing.
Step 4: Add Pebbles/Soil
Begin by adding pebbles or soil to the bottom of the container. This will help create drainage and also give your plants something to grip onto. You may need to adjust how much you add depending on the size of your container but aim for a layer that is about 2 inches deep. If you are using soil, make sure to use a special terrarium soil mix that is specifically designed for terrariums.
Step 5: Add Succulents/Plants/Mosses (Optional)
If you’re using succulents, plants, or mosses in your terrarium lamp, now is the time to add them. Be sure to use plants that are suitable for terrariums and make sure to water them before placing them in the container. Once they are all arranged in their desired positions, set the container aside while you prepare the light. It is important that the plants are securely in place before installing the light bulb.
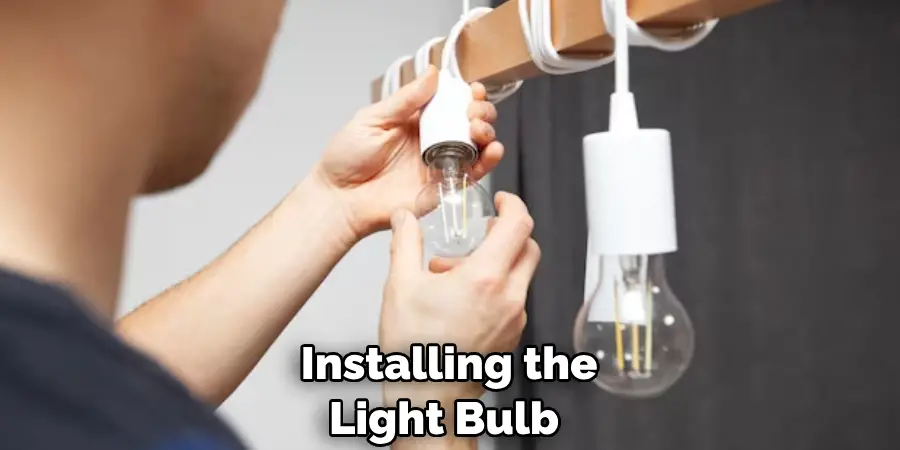
Step 6: Assemble the Light
For this step, you’ll need to assemble the lamp cord with a switch and plug. First, strip the end of the electrical cord and attach it to the base of the bulb according to your manufacturer’s instructions. Once it is secured, screw in the low-voltage light bulb. Finally, wrap a piece of tape around any exposed wiring and then set it aside for later use. Otherwise, be sure to keep the bulb away from any flammable materials.
Step 7: Place Light Inside Container
Carefully place your light inside your terrarium container. Make sure that all wiring is out of sight and that no part of the bulb is touching anything inside the container (this could cause a fire hazard). If everything looks good, you can now close the lid of the terrarium. It’s important to make sure that the lid is secured tight and that no light can escape.
Step 8: Test Light
Before you plug in your light, it’s important to test it to make sure that everything is working properly. Plug the cord into a source of power and turn on the switch. If all is well, the light should come on without any problems. You may need to adjust its position inside the container if it doesn’t seem bright enough or if it’s not lighting up evenly.
Step 9: Plug In and Enjoy!
Now that you know your light is functioning correctly, you can go ahead and plug it into an outlet. Once plugged in, you can enjoy the unique ambiance of your terrarium lamp as it provides a soft glow to any room in the house.
If you used succulents, plants or mosses, they should thrive in the warm environment of the terrarium and provide an eye-catching addition to your home decor. However, make sure to check on your terrarium lamp regularly to ensure that it is functioning properly.
Step 10: Maintenance
Terrarium lamps don’t require a whole lot of maintenance, but it is important to check on them every few weeks to make sure everything is still in working order. Check for loose wiring, worn-out bulbs, or other potential hazards and replace anything that needs to be replaced before using the lamp again. This will ensure that your terrarium lamp provides a safe and beautiful light for years to come.
Step 11: Enjoy!
Now that your terrarium lamp is all setup and running properly, enjoy it! This unique piece of home decor will surely become a conversation starter as well as a soothing source of light in any room. Always make sure to follow safety instructions when using your lamp and take care of it properly.
With the right amount of maintenance, your terrarium lamp can be enjoyed for many years to come. It’s the perfect addition to any home. Although the project does take some effort, it is well worth it in the end.
Following these steps on how to make a terrarium lamp will help you make a terrarium lamp at home with minimal difficulty and effort. If you’re feeling creative, feel free to add some other decorations or interesting elements to your terrarium lamp so that it fits in perfectly with the rest of your decor! Let us know if this blog post was helpful and how your terrarium lamp turned out in the comments below. We can’t wait to hear what you come up with!
Frequently Asked Questions
Q. What Kind of Plants Can I Use in a Terrarium Lamp?
A. Succulents, air plants, ferns, and mosses are all great options for terrarium lamps. Just make sure that they are suitable for terrariums and don’t require too much maintenance or light.
Q. How Long Do Terrarium Lamps Last?
A. Typically, the lifespan of a terrarium lamp will depend on how well it is maintained and if any of the components need to be replaced over time. If you take good care of your lamp, it can last many years without needing any repairs or replacement parts.
Q. Can I Add Other Decorations to My Terrarium Lamp?
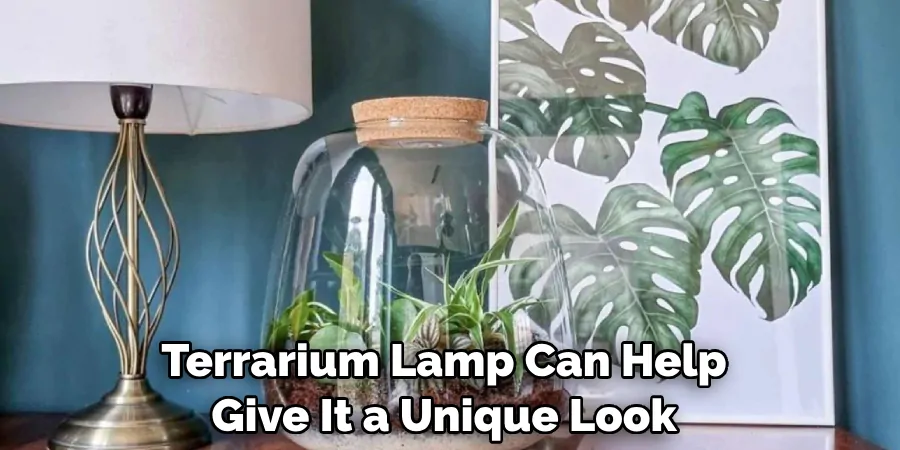
A. Absolutely! Adding interesting decorations and elements to your terrarium lamp can help give it a unique look that fits in perfectly with your home decor. From colorful stones to miniature figurines, there are so many options to choose from. Have fun and get creative!
Q. What Type of Light Bulb Should I Use?
A. Low voltage light bulbs are the best choice for terrarium lamps as they provide a soft, warm glow and won’t overheat your plants or other decorations inside the container. Make sure to read the manufacturer’s instructions carefully when choosing a bulb so that you get one that is safe and suitable for your lamp.
Conclusion
Crafting a terrarium lamp is an easy and fun project to do, that brings life into any room. Not only is it one of a kind but doesn’t have to be expensive either! Bringing terrariums indoors can be a fantastic way to explore biodiversity without going too far out of your comfort zone.
Using common house plants such as aloe vera, spider plants or ivy adds an extra level of attachment and consistency by creating your unique indoor oasis. It’s also not hard to maintain, requiring only minimal care every few weeks.
With simple guidance by following the steps outlined in this blog post on how to make a terrarium lamp, you can have your very own homemade terrarium lamp in no time! We would love to see your creations so tag us online when you’re finished and start basking in the beauty of bringing nature into your home.

