Do you remember the satisfaction of watching those mesmerizing lava lamps in the ’90s, their globules oozing up and down like clockwork? If you’d like to relive this experience with a modern twist, then making your very own lava lamp is undoubtedly the way to go. Crafting your own DIY lava lamp at home can be an incredibly fun project for all ages—and it won’t cost you an arm and a leg, either.
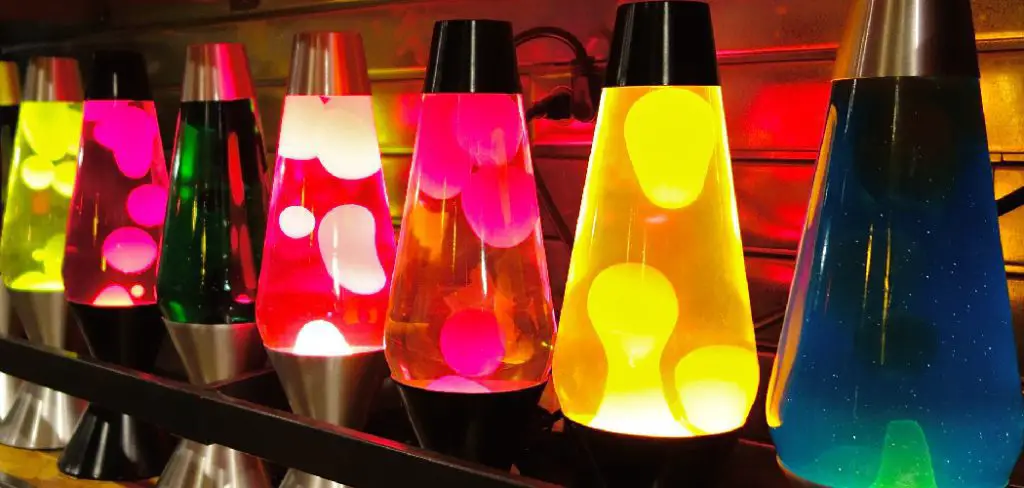
In this blog post, we’ll take a close look at what ingredients make a vintage-style glowing lava lamp and how easy it is to create one from scratch using everyday household items! So stick around; our creative guide on how to make a lava lamp that glows will give you everything that you need to know about making your very own retro-inspired, super cool homemade version of the much-cherished quirkiness of lava lamps!
What is a Lava Lamp?
A lava lamp is a decorative item that consists of colored blobs kept in suspension within an oil-water solution. When it’s plugged in and switched on, the heat from the lightbulb causes the wax to rise up and down inside the lamp again and again; this creates a mesmerizing effect that can be observed for hours on end. They are often used to decorate bedrooms, offices, and other living spaces.
Can You Make It Yourself?
Sure! Crafting your own DIY lava lamp at home is a breeze. All you need are some everyday household items and a little bit of creativity to get started on making your very own light-up lava lamp. With just a few simple steps, you can create an impressive piece of decor that will instantly add a vintage charm to any room!
The Benefits of Having a Lava Lamp That Glows
1. Soothing Quality
Besides their mesmerizing effect, lava lamps are also known for their calming and soothing qualities. Watching the globules move up and down like clockwork can be incredibly therapeutic—perfect for those days when you need a break from the hustle and bustle of everyday life.
2. Good Time With Kids
Moreover, making your own lava lamp is a great way to teach kids about the basic principles of science. Crafting a lava lamp gives them an opportunity to learn more about how heat and light can affect the density of liquids, as well as how colors interact with one another.

3. Aesthetic Appeal
Finally, lava lamps are simply beautiful pieces of decor that can add a touch of vintage flair and quirkiness to any room. They’re sure to be the talk of the town when all your friends come over!
Choosing the Best Light
When it comes to finding the right lightbulb for your DIY lava lamp, there are a few important things to consider.
- Firstly, you want to make sure that the bulb is bright enough to heat up the wax and create the mesmerizing effect of globules rising and falling inside the lamp.
- Secondly, you want to make sure that the bulb is of a suitable wattage—not too high, or else it might cause the wax to melt and leak out.
- Finally, you also want to make sure that the lamp is compatible with energy-saving bulbs, as these will help keep your electricity bills in check and be much kinder to the environment.
Materials Needed How To Make a Lava Lamp That Glows
- 2 liters of vegetable oil
- 500 ml water
- Dark food coloring
- Glitter or any other safe sparkling material desired
- A tall container or glass jar
- Alka Seltzer tablets (or any other fizzing tablets)
- Optional: small LED light/ battery powered
10 Tips on How to Make a Lava Lamp That Glows
1. Fill the Jar
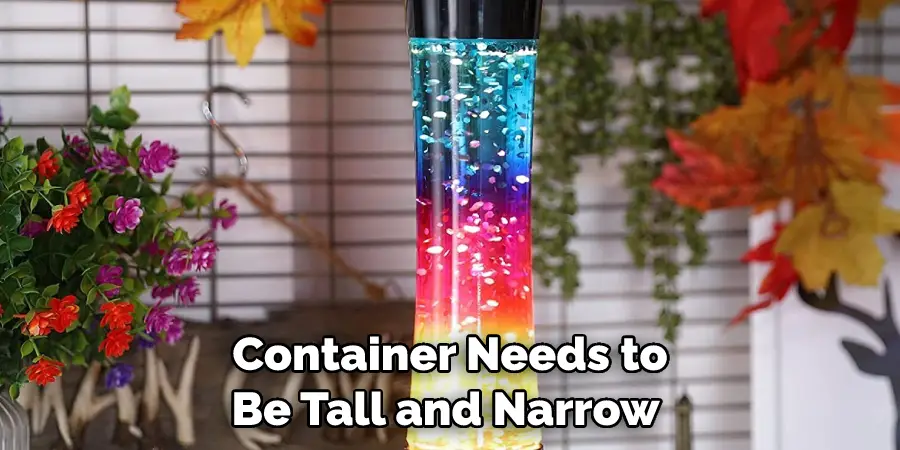
Fill the container/jar with vegetable oil and water in a 2:1 ratio. Remember, the container needs to be tall and narrow so that the oil and water can separate properly. Remember to leave some space at the top.
2. Add Glitter and Coloring
Once the oil and water have settled, it’s time to add glitter and food coloring. Start with a few drops of dark food coloring, then sprinkle in some glitter or other safe sparkling material desired into the jar.
3. Fizz It Up
Next, it’s time to get fizzy! Drop in a few Alka Seltzer tablets into the jar. These will create bubbles and cause the oil and water to interact with each other, thus creating the mesmerizing effect of a lava lamp.
4. Wait for It
Now for the fun part—all you have to do is wait for the lava lamp to start showing its full effect! The bubbles created by the tablets will slowly rise up and down, creating a mesmerizing show of sparkling colored blobs as they move through the oil and water.
5. Add Optional LED Light/Battery Powered
For an added wow factor, you can also add a small LED light or battery-powered light to your lava lamp for extra illumination. This will create an even more mesmerizing effect and make the colors appear brighter and more vibrant!
6. Turn It On/Off
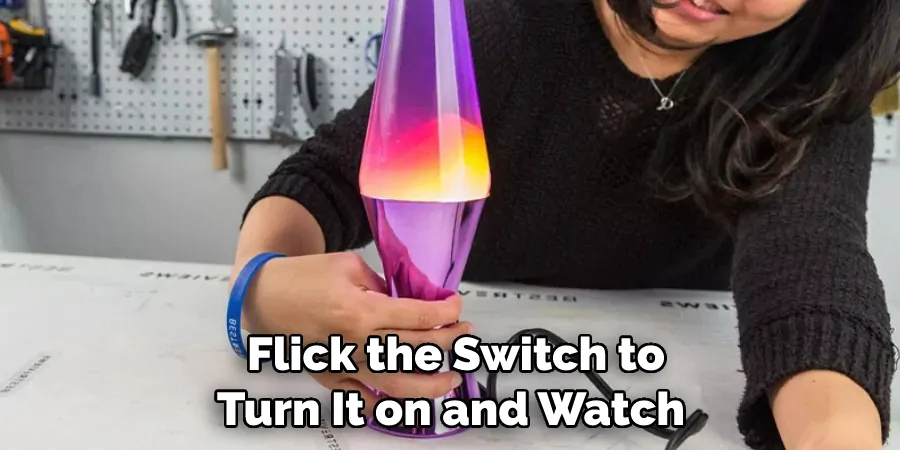
Once the lava lamp has been crafted, it’s time to switch it on! Flick the switch to turn it on and watch as your lava lamp comes to life. To turn it off, simply flip the switch again.
7. Enjoy Your Lava Lamp
Now you can sit back and enjoy your very own homemade lava lamp that glows! Watch as its mesmerizing effect captivates you and your guests.
8. Take Care of Your Lava Lamp
The best part about having your own lava lamp is that it’s low maintenance and easy to care for. All you have to do is make sure the jar is cleaned properly before and after every use and keep an eye out for any particles or dust that may accumulate over time.
9. Re-Fill When Necessary
If you notice that the effect of your lava lamp is not as intense as it once was, don’t worry! All you have to do is refill the jar with fresh ingredients and fizz tablets. This will give new life to your lava lamp and make it look brand new.
10. Be Creative!
Mix and match different colors or glitter to create your very own unique lava lamp! Get creative with the decorations and even try adding other materials, such as beads or sequins, for a more eye-catching effect. There’s no limit to what you can create, so have fun and be adventurous!
Creating a lava lamp is an easy, fun, and interactive way to bring some light and color into your home. With just a few simple ingredients, you can experiment with a variety of colors, lights, and glitter for interesting effects – all in the comfort of your own home.
8 Maintenance Tips to Keep the Glow Longer
1. Make sure to use the right bulb. Using a bulb with too high of wattage can cause the lamp to overheat and burn out quickly. The bulb should be a 15-20 watt halogen bulb.
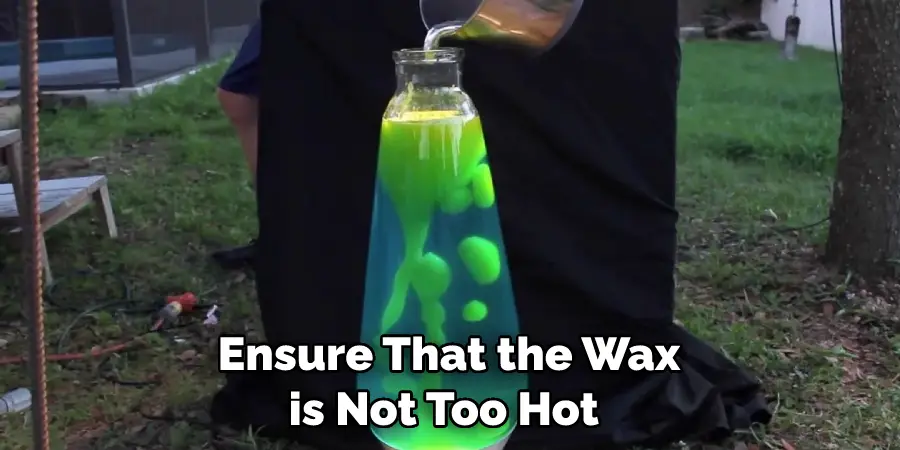
2. Ensure that the wax is not too hot when you fill the lamp, as this can cause the wax to start to melt too fast and clog up your lamp. The temperature should be around 125-140 degrees Fahrenheit.
3. Check your lamp regularly to make sure that it does not become overfilled with wax and oil, as this can cause the lamp to malfunction or even short circuit. The lamp should be filled no more than two-thirds full.
4. Clean the lamp occasionally to remove any excess wax or oil that may have built up on the inside of the lamp. This can also help to prevent clogging and other issues.
5. Change out your bulb regularly, as this will help to ensure it stays bright and glowing for as long as possible. Regularly changing out the bulb can also help to prevent any damage to your lamp due to overuse.
6. Make sure that you store your lava lamp in a cool and dry place, as this will help to preserve its quality and prevent any possible issues related to excessive heat or moisture. Lava lamps should never be stored near any direct heat sources.
7. If your lava lamp stops working, try replacing the bulb first before taking further steps to fix it. If changing bulb does not work, make sure to unplug the lamp and let it cool down for a few hours before reassembling it and trying again.
8. Keep the lamp away from any potential sources of danger, such as open flames or children. Lava lamps can be fragile and are easily damaged if mishandled. Therefore, it is important to take proper care when handling and storing your lava lamp. Following these tips will help you get the most out of your lava lamp and let its glow last longer!
5 Safety Measures
1. Make sure to use the right bulb. Using a bulb with too high of wattage can cause the lamp to overheat and burn out quickly. The bulb should be a 15-20 watt halogen bulb. The bulb can become very hot to the touch, so it should always be handled with caution.
2. Ensure that the lamp is unplugged when not in use and before cleaning or altering the bulb. This will reduce the risk of electric shock and damage to the lamp or its components. The lamp should never be plugged into an extension cord.
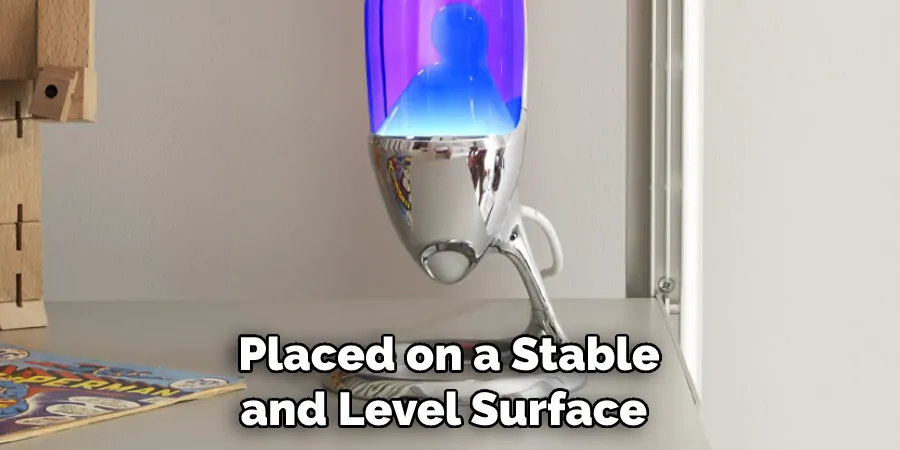
3. Make sure that the lamp is placed on a stable and level surface before turning it on, as this will help to prevent any unnecessary accidents or damage to the lamp or its components.
4. Keep sharp objects away from the bulb and shade of your lava lamp, as these could cause scratches and damage the aesthetic of your lamp.
5. Make sure to place the lamp out of direct sunlight or any other sources of excessive heat, as this can cause it to malfunction or overheat.
Conclusion
Crafting your own personalized lava lamp is an incredibly rewarding experience. You can fill the base with whatever colored liquid and glitter you wish, experiment with oils for the denser layer, and even adjust the overall shape of your lamp. Not only that, but by using a safe solution of dish soap and water, you can now make yourself a glow-in-the-dark lava lamp with these tips on how to make a lava lamp that glows that is sure to bring light and color to any corner of your home.
Interestingly enough, the invention of the lava lamp has remained a legendary symbol of ingenuity and creativity in modern pop culture — something that you can proudly say that you have accomplished! So go ahead and get creative with making your own recipe for this dreamy decoration; at the end of the day, you’ll end up with a personalized product that will be as unique as it is beautiful.

