Efficient insulation is a key component of maintaining a comfortable and energy-efficient home, but when it comes to recessed lights installed in the ceiling, proper insulation can be a challenge. Insulating recessed lights from below is crucial to prevent heat loss and maintain the integrity of your home’s thermal envelope. In this comprehensive guide, we will explore how to insulate recessed lights from below.
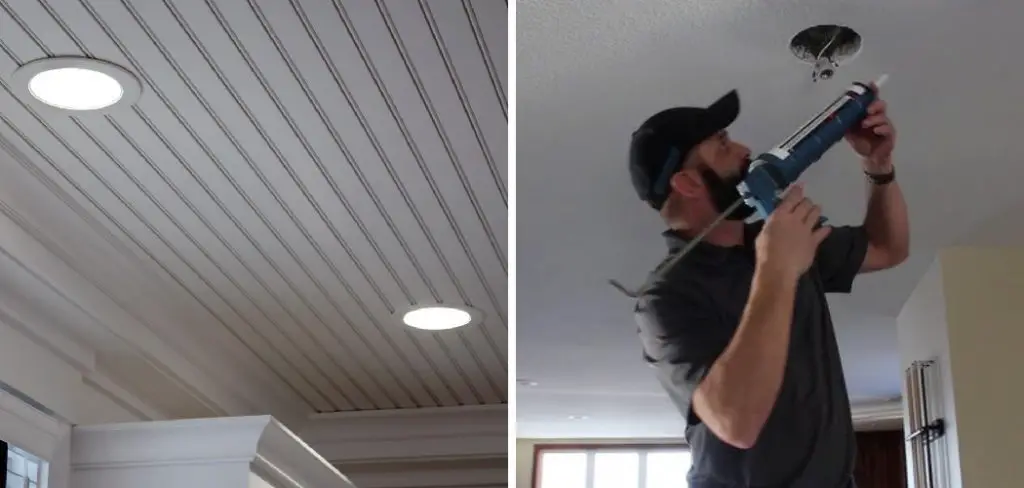
From selecting appropriate insulation types to ensuring proper ventilation around the fixtures, we will address the potential pitfalls and offer practical solutions. This article emphasizes the importance of maintaining insulation integrity while also ensuring the safety of your lighting fixtures. Discover how to strike the right balance between energy efficiency and proper illumination by mastering the art of insulating recessed lights from below.
Importance of Insulating Recessed Lights
Recessed lights, also known as can lights or pot lights, are a popular choice for homeowners due to their sleek and modern appearance. However, what many people don’t realize is that these lights can be a major source of heat loss in the home. This not only leads to discomfort but also results in higher energy bills.
Insulating recessed lights from below is a simple and effective solution to reduce heat loss and improve energy efficiency in your home. In this article, we will discuss the importance of insulating recessed lights from below and provide step-by-step instructions on how to do it.
Why Insulate Recessed Lights from Below?
The main reason to insulate recessed lights from below is to prevent air leakage. Recessed lights are installed in the ceiling, leaving a gap between the light fixture and the insulation above. This gap acts as a pathway for air to escape into the attic or crawl space, making your home feel drafty and causing your heating and cooling systems to work harder.
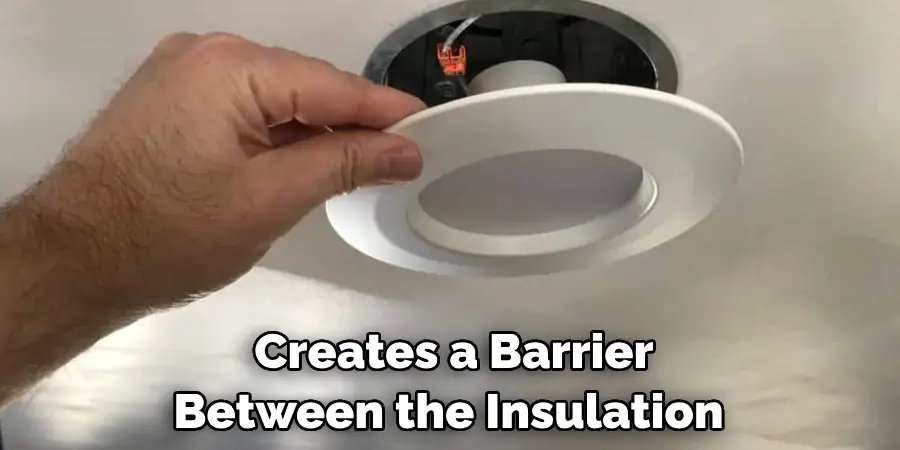
Furthermore, recessed lights generate heat when they are turned on, which can cause the surrounding insulation to become hot and potentially create a fire hazard. Insulating the lights from below creates a barrier between the insulation and the light fixtures, reducing the risk of overheating.
Types of Recessed Lights
There are several types of recessed lights available in the market, each with its own unique features and benefits. These include:
- Ic-rated Recessed Lights: These lights have been specifically designed to be in direct contact with insulation materials without posing any fire hazard risk. They are ideal for insulating from below.
- Non-ic-rated Recessed Lights: These lights cannot be in direct contact with insulation materials and require a minimum clearance of 3 inches. They are not recommended for insulating from below.
- Air-tight Recessed Lights: These lights have been designed to prevent air leakage, making them energy-efficient. They are suitable for use in areas with strict building codes.
- Shallow Recessed Lights: These lights have a shallower height and are ideal for use in areas with limited ceiling space.
- Wet Location Recessed Lights: These lights are designed to be used in wet or damp locations, such as bathrooms or outdoor spaces.
Materials and Tools
To properly insulate recessed lights from below, you will need the following materials and tools:
- Insulation (such as fiberglass batts or spray foam)
- Wire nuts
- Electrical tape
- Screwdriver
- Ladder
- Utility knife
- Safety goggles
- Dust mask
10 Methods How to Insulate Recessed Lights from below
1. Use Insulation Covers
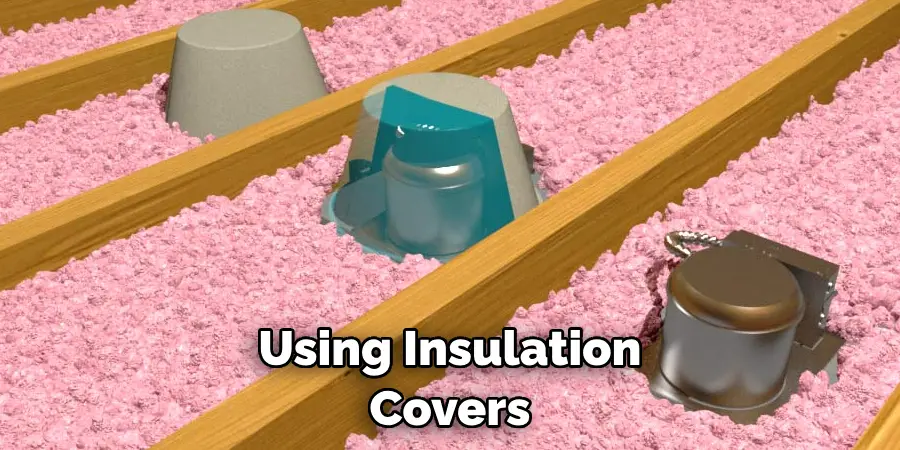
One of the most effective ways to insulate recessed lights from below is by using insulation covers specifically designed for this purpose. These covers are made of fire-resistant materials and can be easily installed over the light fixture, creating a barrier between the light and the insulation. This helps prevent heat and moisture from escaping through the fixture, reducing energy waste and potential fire hazards.
2. Install Draft Stoppers
Draft stoppers, also known as draft blockers or draft caps, are another great option for insulating recessed lights from below. These foam or plastic caps fit snugly around the opening of the light fixture and prevent air from escaping through it. This can help improve the energy efficiency of your home and keep your energy bills lower.
3. Seal Air Leaks
Before adding any additional insulation, it is crucial to seal any air leaks around the recessed light fixture. This can be done using caulk or expanding foam sealant, which will create an airtight seal and prevent warm air from escaping into the attic. Also, make sure to check for any gaps or holes in the drywall around the fixture and seal them as well.
4. Use Rigid Foam Insulation
Rigid foam insulation is a popular choice for insulating recessed lights because it is lightweight, easy to cut, and provides excellent thermal resistance. It can be placed directly over the light fixture and secured with adhesive or tape. Be sure to use spray foam insulation with a high R-value (thermal resistance) for maximum effectiveness.
5. Create a Box Around the Light Fixture
Another method for insulating recessed lights is by building a box around them using rigid foam insulation boards. This method works best for new construction or when access to the attic space above is possible.
6. Install Reflective Barriers
Reflective barriers are thin sheets of foil that reflect heat back into your living space instead of allowing it to escape into your attic. These barriers can be installed between the ceiling joists above your recessed lights to help keep warm air inside your home.
7. Add Loose-Fill Insulation
If you have access to your attic space, you can add loose-fill insulation on top of your existing insulation to provide extra protection around your recessed lights. Be sure not to cover any vents or exhaust fans, as this can create a fire hazard. Use a shovel or rake to spread the insulation evenly, making sure it is at least 3 inches deep around the lights.
8. Use LED Bulbs
Switching to LED bulbs can also help to insulate recessed lights from below. These bulbs produce less heat than traditional incandescent or halogen bulbs, reducing the amount of warm air that escapes into the attic. LED bulbs also have a longer lifespan, meaning you won’t have to replace them as often. Additionally, they are more energy-efficient, helping to reduce your overall energy costs.
9. Install a Vapor Barrier
A vapor barrier is a thin layer of plastic sheeting that helps to prevent moisture from entering your home’s living space. This barrier can be installed above your recessed lights in the attic to help keep warm air inside and prevent condensation from forming.

10. Hire a Professional
If you are unsure about how to properly insulate your recessed lights, it is best to hire a professional contractor who has experience with this type of work. They will be able to assess your specific situation and recommend the best method for effectively insulating your lights from below. Not only will hiring a professional ensure that the job is done correctly, it can also save you time and potential headaches in the long run.
Common Mistakes to Avoid When Insulating Recessed Lights from Below
Insulating recessed lights is an important step in improving the energy efficiency of your home. However, there are certain mistakes that many homeowners make when insulating their recessed lights from below. In this guide, we will discuss these common mistakes and how to avoid them.
Mistake #1: Using the Wrong Type of Insulation
One of the most common mistakes when insulating recessed lights from below is using the wrong type of insulation. Recessed lights generate a lot of heat, and if you use the wrong type of insulation, it can cause a fire hazard. The wrong type of insulation can also reduce the effectiveness of your insulation.
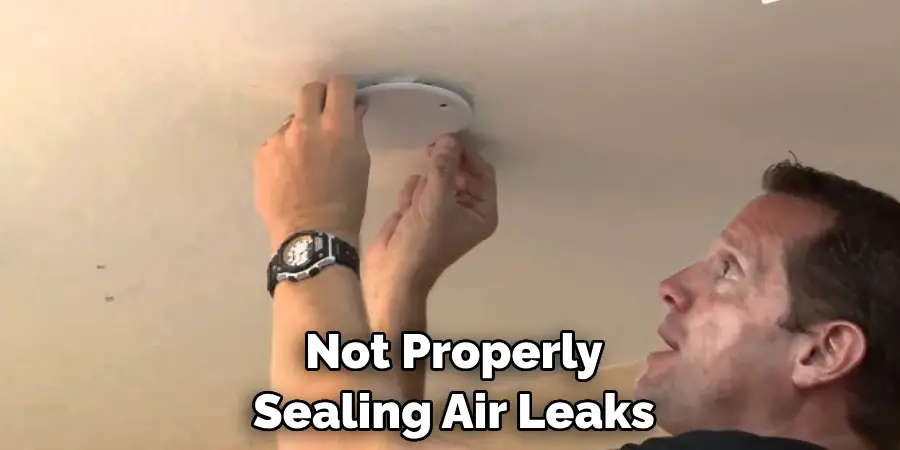
Mistake #2: Not Sealing Air Leaks Properly
Another mistake to avoid when insulating recessed lights from below is not properly sealing air leaks. Air leaks can occur when there are gaps between the light fixture and the ceiling or around the electrical box. These gaps can allow air to escape, reducing the effectiveness of your insulation.
Mistake #3: Not Providing Adequate Clearance
When insulating recessed lights from below, it is important to provide adequate clearance around the light fixture. This means leaving enough space between the insulation and the light fixture to prevent heat buildup. If there is not enough clearance, it can cause a fire hazard.
Conclusion
In conclusion, properly insulating your recessed lights from below is crucial for not only energy efficiency but also fire safety. Through the use of insulation covers and sealing any gaps, you can effectively prevent heat loss and reduce the risk of fires caused by overheating. It may seem like a simple task, but it’s one that can have a big impact on your energy bills and overall home safety.
So don’t overlook those small details – take the time to address any uninsulated or poorly insulated recessed lights in your home. Your wallet and your family will thank you in the long run.
Remember, every little effort towards energy efficiency adds up to make a significant impact on our planet. By learning how to insulate recessed lights from below and making other eco-friendly choices in our homes, we can all do our part to help preserve our environment for future generations.

