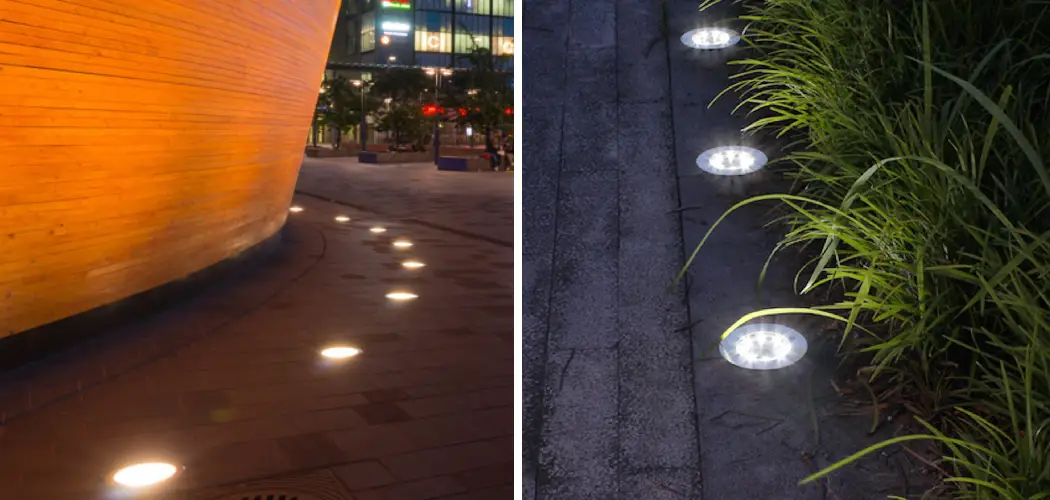
If you’re looking to upgrade your outdoor lighting with the sophisticated, modern look of well lights installed in concrete, you’ll be relieved to know it’s a relatively simple and straightforward project. Well, lights can instantly elevate the aesthetic appeal and safety of any outdoor landscape or hardscape.

Installing them is achievable in just one weekend if you have basic DIY skills – so roll up your sleeves and get ready for some illumination! In this blog post, we’ll walk through step-by-step instructions on how to install well lights in concrete safely, easily, and without breaking the bank.
The Benefits of Well Lights for Outdoor Illumination
Well lights, also known as inground lights, are a great way to bring bright, beautiful lighting to your outdoor space. When installed in concrete, they can provide an attractive and energy-efficient source of illumination for patios, walkways and other areas. Well lights also add a touch of sophistication and style to any outdoor area.
They come in various shapes, sizes and finishes so you can find the perfect light for your needs. Additionally, well lights are waterproof and durable enough to withstand the elements making them an ideal choice for long-term use. With a well light installation in your outdoor space, you will be able to enjoy beautifully illuminated evenings all year round!
Installing well lights in concrete requires careful planning and preparation. However, with the right tools and materials, you can easily install well lights in your outdoor space. This guide will provide step-by-step instructions on how to install well lights in concrete so that you can enjoy beautiful lighting for years to come. Read on to learn more!
First, determine the position of your well light installation and mark it with tape or chalk. Make sure that the location is not close to any power lines or other underground obstructions. You should also take into consideration the amount of sunlight that will reach this spot when choosing its location.

Once you have chosen a suitable spot, measure the depth at which the light should be placed using a torpedo level or similar tool. When you’re ready to start drilling, mark the spot with a stake or other marker.
Precautions and Safety Considerations
Before beginning the installation process, make sure to take precautionary measures for safety. First, be sure to wear protective eyewear and clothing to protect yourself from debris and dust that may be present during the installation process. Additionally, it is important to ensure that you have a working generator or other power source available in order to run your drill.
When installing well lights into concrete, it is also important to take into consideration the weather conditions before starting. If there has recently been rain or snow, let the ground dry first before proceeding with installation. Additionally, make sure you install your well lights at least 6 inches away from any flammable material such as furniture or carpets to reduce safety risks associated with heat transfer.

Lastly, when drilling holes in concrete for the purpose of installing well lights, make sure they are positioned correctly and evenly spaced apart so that all four wells will fit properly.
Following these safety precautions and considerations will help to ensure a successful installation process, allowing you to enjoy the added beauty of your well lights for years to come.
10 Steps How to Install Well Lights in Concrete
Step 1: Design and Plan
Before beginning the installation process, take some time to design and plan your well lights in concrete project. Consider the layout of your outdoor space, the desired lighting effect, and the locations where you want to install the well lights.
Create a sketch or diagram that outlines the placement of the lights and the wiring path. While designing and planning, also consider the different types of well lights available in order to choose one that best suits your needs. To learn more about the different types of well lights, read our article ‘Types of Well Lights for Concrete’.
Step 2: Gather the Necessary Tools and Materials
To install well lights in concrete, you will need a variety of tools and materials. These include well lights, a shovel or excavator, concrete mix, PVC conduit, electrical wires, wire connectors, a wire stripper, a utility knife, a trowel, a level, a hammer, a drill with a masonry bit, and a tape measure.
Make sure you have all the necessary tools and materials on hand before beginning the installation process. Although you may need additional items depending on the type of well light and the installation surface, these items represent a basic set of tools and materials that can help you complete the job.
Step 3: Prepare the Installation Area
Mark the locations where you plan to install the well lights in the concrete. Use a shovel or an excavator to dig holes at each marked location. The size of the hole should be slightly larger than the well light’s housing.
Ensure that the depth is sufficient to accommodate the light fixture and provide proper illumination. If you plan on burying the wires, make sure the holes are deep enough to do so. Additionally, lay the electrical wires in trenches between each marked location.
Step 4: Install the PVC Conduit
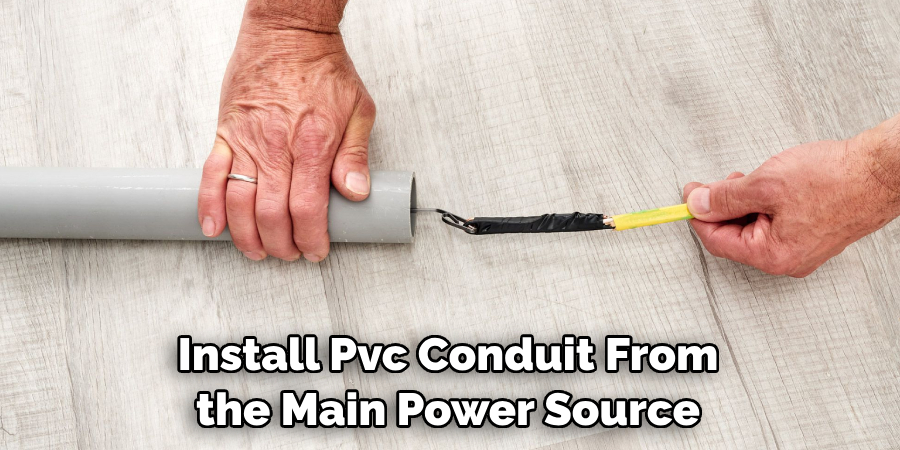
To protect the electrical wiring, install PVC conduit from the main power source to each well light location. Dig a trench connecting the holes and lay the conduit in the trench. Use PVC connectors and couplings to join the sections of conduit together. Secure the conduit to the ground using conduit straps or stakes. Once the conduit is properly installed, fill in the trench with dirt and tamp it down. If desired, top it off with grass seed.
Step 5: Run and Connect the Electrical Wiring
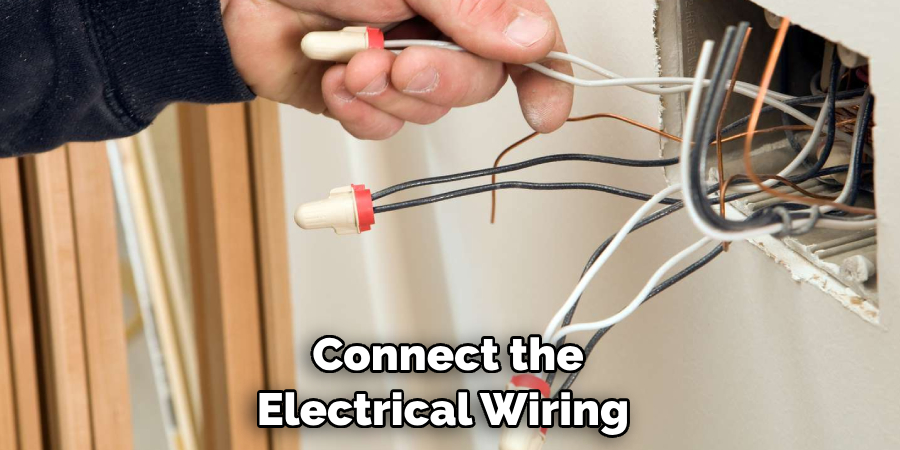
Carefully run the electrical wiring through the PVC conduit from the main power source to each well light location. Use wire connectors to make secure and proper connections between the wires. Strip the ends of the wires using a wire stripper and connect them according to the manufacturer’s instructions.
Make sure to connect the ground wire to a metal electrical box and tighten it with a screwdriver. Connect the black (hot) wire of the light fixture to the black power wire, and connect the white (neutral) wire of the light fixture to the white neutral wire.
Step 6: Install the Well Light Housings
Place the well light housings into the prepared holes in the concrete. Ensure that they are level and positioned at the desired height. Use a trowel or your hands to pack concrete mix around the housing, filling the hole completely.
Smooth the surface of the concrete with a trowel or float. Allow the concrete to dry before continuing. To prevent water from damaging the well lights, seal the area around them with a masonry sealant. Make sure to apply the sealant carefully so that it does not get into the well light housing. Allow the sealant to dry completely before using the lights.
Step 7: Connect the Well Light Fixtures
Attach the well light fixtures to the housings according to the manufacturer’s instructions. Make sure all connections are secure and tight. Test each light to ensure proper functioning before proceeding to the next step. Once all the well lights are functioning properly, you can proceed to the next step. However, if you have any issues with the lights not working or power not flowing through them, you may need to troubleshoot the wiring.
Step 8: Backfill and Finish
Fill any remaining space around the well light housing with soil, making sure it is tightly packed. Smooth the surface of the soil to create a uniform appearance. If desired, add decorative stones or mulch around the well lights to enhance the overall aesthetics.
Step 9: Connect to the Power Source
Connect the electrical wiring from the well lights to the main power source. Use wire connectors and follow the manufacturer’s instructions for proper wiring connections. Ensure that the connections are secure and well-insulated to prevent any electrical hazards. Make sure the power source is off before beginning this step.
Step 10: Test and Adjust
Once all the well lights are installed and connected, test the entire lighting system. Turn on the power and check that each light is functioning correctly. Make any necessary adjustments to the light direction or wiring connections to achieve the desired lighting effect.
Conclusion
Installing well lights into concrete can certainly be a tricky task. It takes a lot of preparation and specialized tools to do the job correctly. However, if you follow the steps outlined in this blog post, you should be able to confidently install your well lights. The best thing about having these lights installed is that it will allow you to enjoy your outdoor spaces more during the day and night.
If you have any questions about how to install well lights in concrete correctly, always consult a professional electrician for assistance. After all, electrical work should never be attempted by anyone without the proper experience, training, and expertise. So don’t wait – take control of your next lighting project today and learn how to install well lights into concrete quickly, safely, and effortlessly!

