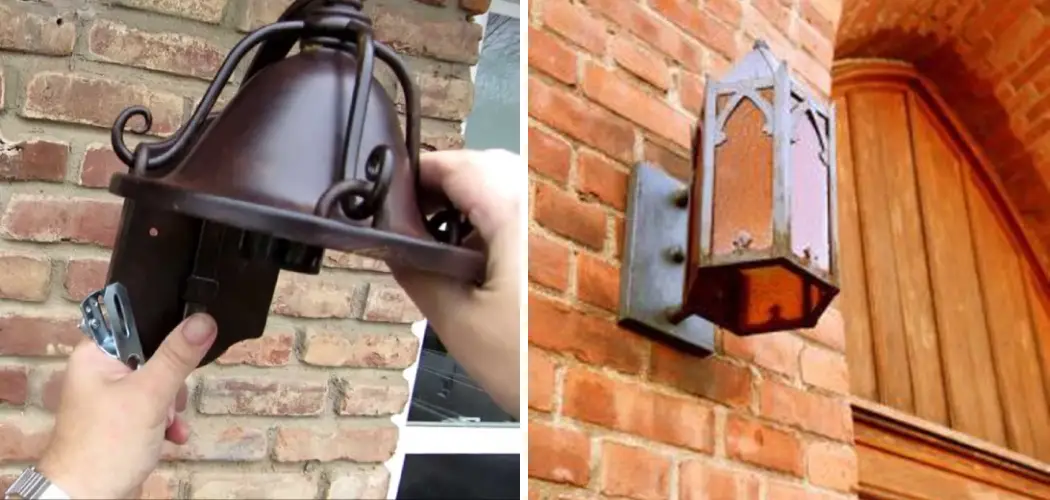
Brightening up the exterior of your home with an outdoor light fixture on brick can enhance both its aesthetic appeal and security. However, the task of installing a light fixture on brick can be daunting due to the material’s durability and density. Proper installation is crucial to ensure the safety and longevity of the fixture.
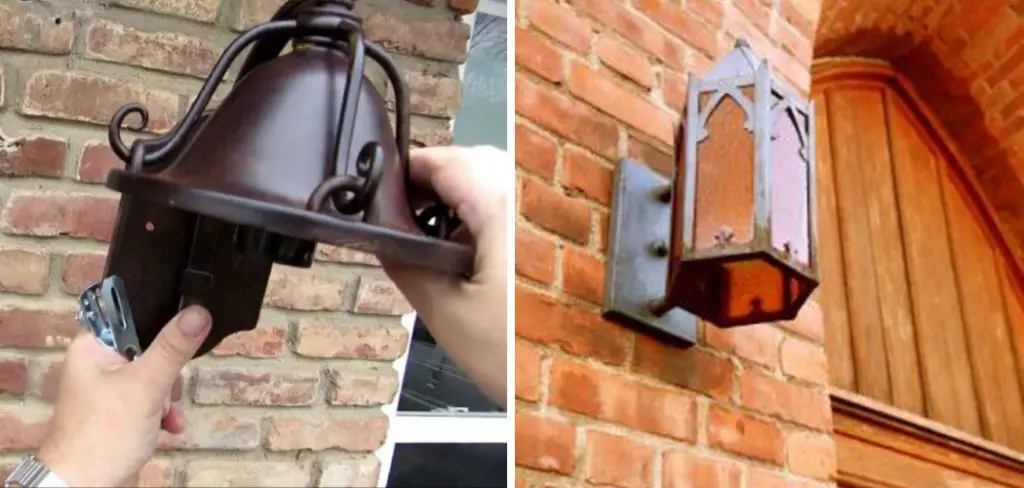
In this guide, we’ll unravel the steps and techniques of how to install outdoor light fixture on brick. From gathering the necessary tools and materials to understanding the intricacies of drilling into brick and securely mounting the fixture, we’ll provide you with a comprehensive approach to tackle this project. Let’s shed light on the process and help you illuminate your outdoor spaces with confidence and precision.
Importance of Outdoor Lighting on Brick Surfaces
Properly installed outdoor light fixtures are important for providing both style and safety to your home’s exterior. Outdoor lighting serves a number of purposes, from illuminating pathways and driveways to highlighting architectural features. It also ups the security factor of your home by deterring intruders who don’t want to be seen.
For brick surfaces in particular, installing light fixtures correctly is essential. If not done properly, it can lead to water and moisture seeping inside the brick, causing damage over time. Additionally, incorrect installation could lead to electrical shock or other risks if not done by a professional.
List of Required Tools and Materials
Here is the list of required tools and materials you will need to install an outdoor light fixture on brick:
- Outdoor Light Fixture
- Drill
- Masonry Drill Bit (the size will depend on your light fixture and mounting hardware)
- Hammer
- Screwdriver Set
- Wire Cutters
- Wire Strippers
- Mounting Screws (these often come with your light fixture)
- Wall Anchors (for added support)
- Electrical Tape
- Wire Nuts (or connectors)
- Safety Goggles
- Ladder (if needed)
11 Steps How to Install Outdoor Light Fixture on Brick
1. Gather the Necessary Tools and Materials
Before you begin installing an outdoor light fixture on brick, it is important to gather the necessary tools and materials. You will need a drill with a masonry bit, an extension cord, a screwdriver, wire cutters, electrical tape, a voltage tester, and an outdoor light fixture. Additionally, you may also need some mortar or cement to secure the fixture to the brick if needed.
2. Turn Off the Power
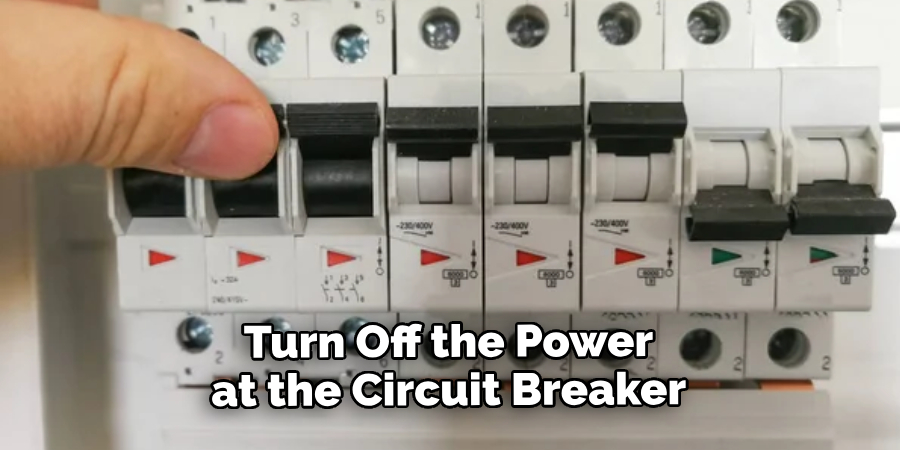
Before you begin any work on your electrical system, it is important to turn off the power at the circuit breaker or fuse box. This will ensure that you do not get shocked while working on the wiring. Once you have turned off the power, use a voltage tester to make sure that there is no electricity running through any of the wires in your system before proceeding.
4. Drill Holes for Wires
Once you have gathered all of your supplies and turned off the power, it is time to begin drilling holes for your wires. Use a masonry bit to drill two holes in the brick: one for the hot wire and one for the neutral wire. Make sure that both holes are large enough for your wires to fit through easily without pinching them when you pull them through later on.
5. Pull Wires Through Holes
Once you have drilled your holes in the brick, it is time to pull your wires through them. Start by threading one end of each wire through its respective hole from inside of your home or garage until both ends are sticking out into your yard or garden area where you plan on installing your outdoor light fixture. Be careful not to pinch or damage any of the wires as they come through their respective holes in the brick wall.
6. Connect Wires Together
Connecting together all of your wires correctly is essential for making sure that everything works properly once installed, so take your time with this step! Start by connecting together all of your black (hot) wires using wire nuts, and then follow up by connecting together all of your white (neutral) wires using more wire nuts. Once finished with this step, be sure to wrap each connection with electrical tape for added safety and protection from moisture or other elements outdoors.
7. Install Light Fixture Base
Now it’s time to install your light fixture base onto its mounting bracket, which should already be attached securely onto a wall surface such as brick or concrete block using screws and anchors provided with most fixtures these days. If needed, use some mortar or cement around each anchor point before securing down firmly into place.
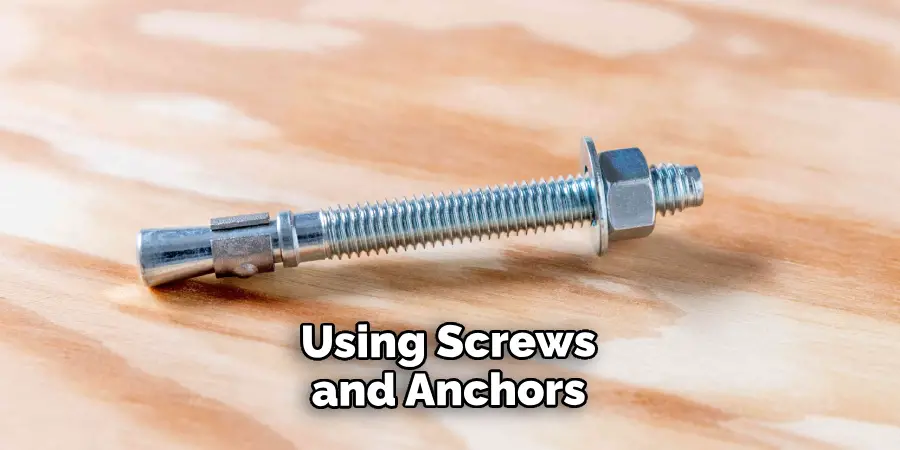
8. Connect Wires To Light Fixture Base
Once you have installed your light fixture base onto its mounting bracket, it’s time to connect all of our previously connected wiring from Step 5. Start by connecting together all of our black (hot) wires first, followed by our white (neutral) ones. Securely tighten down each connection using either wire nuts provided with most fixtures these days, or screw-type connectors, depending on what type came included in our kit.
9. Mount Light Fixture Onto Base
Now we can finally mount our light fixture onto its base plate, which should now be securely mounted onto our wall surface, such as brick or concrete block. Simply slide our light fixture into place over the top of its base plate, making sure that all connections are secure before doing so. Once in place, secure down firmly using screws provided with most fixtures these days.
10. Test For Proper Operation
We’re almost there! Now, let’s test out our newly installed outdoor light fixture by turning back on power at the circuit breaker/fuse box and flipping the switch located inside the house/garage area that controls this particular lighting circuit. If everything looks good, then congratulations! You just successfully installed an outdoor lighting fixture onto the brick!
11. Clean Up Area & Enjoy Your New Outdoor Lighting Fixture
Finally, let’s clean up any messes we made during installation, such as excess mortar/cement, bits & pieces from drilling, etc. After cleaning up the area, enjoy looking at & admiring the new outdoor lighting feature knowing that you did it yourself!
Things to Consider When Installing an Outdoor Light Fixture on Brick
When installing an outdoor light fixture on a brick surface, there are several considerations which should be taken into account. These include:

- The location of the install. It is important to make sure that the location is both safe and suitable for the installation. This may involve checking for any obstructions or hazards in the area.
- The type of brick and mortar used. Different types of bricks and mortars have different properties, so it is important to use the correct materials for installation.
- The type of fasteners which are used. It is necessary to ensure that the appropriate fastener is used to secure the fixture in place; for example, masonry screws may be required for brick surfaces.
- The wiring system and electrical safety measures. It is important to ensure that the correct wiring system and safety measures are in place prior to installation, as incorrect wiring can pose a hazard.
- Maintenance requirements. Outdoor light fixtures require regular maintenance, so it is important to plan for this ahead of time. This may include cleaning the fixture regularly or ensuring that any exposed wires or connections are secure.
By taking the time to consider these factors, it is possible to ensure a successful installation of an outdoor light fixture on brick.
Some Common Mistakes to Avoid when Installing Outdoor Light Fixture on Brick
- Not using the correct tools and materials: You will need a hammer drill, masonry drill bit, plug setting tool, and appropriate screws or anchors for attaching the light fixture to your wall. Make sure you have everything you need before starting your project.
- Not pre-drilling holes correctly: When drilling into a brick wall, you should pre-drill the holes in order to create an opening for the anchors or screws. It is important to drill straight and make sure you are using the right size masonry bit.
- Not tightening enough: If your light fixture is not securely attached, it may come loose over time and create a safety hazard. Make sure you tighten the screws or anchors enough so that your fixture is securely attached.
- Not following the instructions: Before installing an outdoor light fixture on a brick wall, make sure to read and follow the manufacturer’s instructions so that you can install it correctly and safely.

Conclusion
Finally, while installing an outdoor light fixture on a brick surface may seem like a daunting task at first, following the steps outlined in this blog post should make it an easy and straightforward process.
Start with gathering all of the necessary materials, ensure to have clear measurements on the position of your light fixture, and secure it well. You can then carefully prepare the area by drilling pilot holes if needed, cleaning away any dust created from drilling, and painting over cracks or imperfections.
Once everything is ready, mount the plate to the wall and securely attach your new light fixture. Now that you know how to install outdoor light fixture on brick, why not put this newfound knowledge into action? With thoughtful preparation and proper execution, you won’t have any problems with setting up your new lighting feature. With these tips in mind, you’ll be able to find just the right light fixture for your outdoor area!

