Installing off-road lights is a fantastic way to enhance visibility and safety during your outdoor adventures. Whether you’re into off-roading, camping, or hiking, off-road lights provide that extra illumination you need in challenging terrains and low-light conditions. In this guide, we’ll take you through the process of how to install off road lights, making sure you’re well-equipped to tackle the darkness.
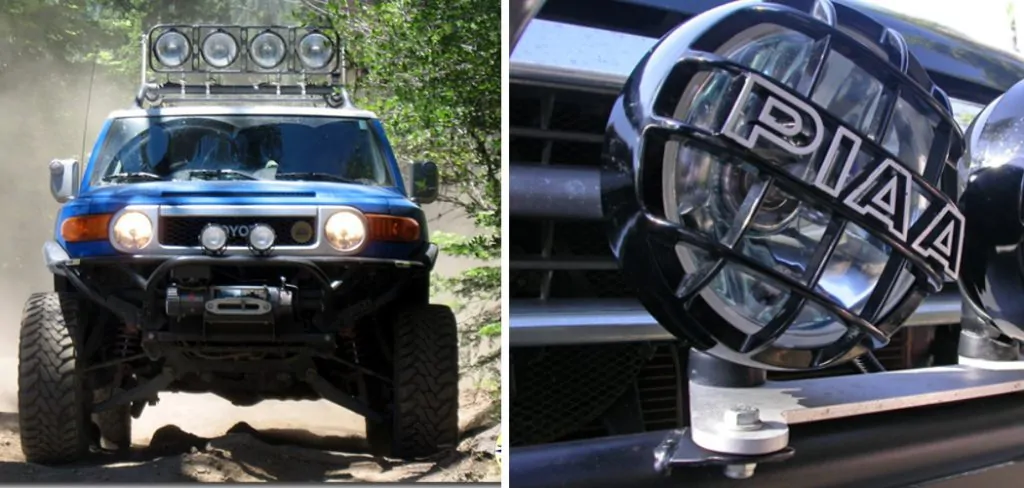
From understanding the types of off-road lights available to selecting the appropriate mounting location and wiring them correctly to your vehicle, we’ll cover all the essential steps. Illuminate your off-road escapades and explore the great outdoors with confidence by learning how to install off-road lights effectively and maximize your visibility during thrilling journeys.
Importance of Off-Road Lights
Off-road lights are an essential component for any avid off-roader. They provide additional lighting that is necessary when driving on trails or in remote areas with little to no light sources. Off-road lights not only increase your visibility but also help you navigate through rough terrain and avoid potential hazards.
One of the main reasons why off-road lights are so important is because they significantly improve your driving experience, especially when it comes to safety. With off-road lights, you can see much further ahead and to the sides of your vehicle, allowing you to spot potential obstacles or hazards in advance. This gives you more time to react and make necessary adjustments, preventing accidents and keeping you safe on your off-road adventures.
Moreover, off-road lights also enhance the overall look of your vehicle. Whether you are customizing your truck, Jeep, or SUV, off-road lights can add a cool and rugged aesthetic to your ride. They come in various shapes, sizes, and styles, allowing you to choose the ones that best fit your personal style.
10 Methods How to Install off Road Lights
1. Mounting the Lights
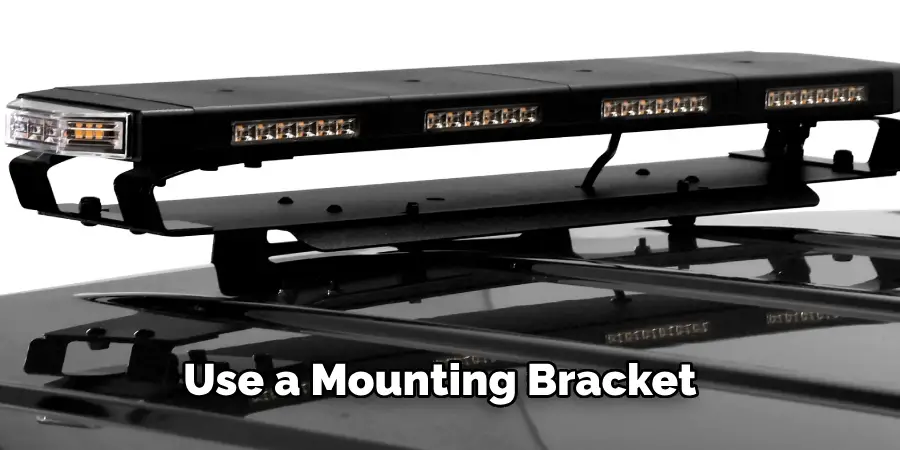
The first step in installing off-road lights is to mount them on your vehicle. The best way to do this is to use a mounting bracket that is designed specifically for your make and model of vehicle. This will ensure that you have a secure mount for your lights and will prevent any damage to your vehicle’s bodywork. If you are mounting the lights on a truck or SUV, you may need to drill holes in the bumper or grille in order to securely attach the bracket.
2. Wiring the Lights
Once you have mounted the off-road lights, you will need to wire them up. This involves connecting the power wires from the light to an appropriate power source, such as a 12V battery or other electrical system on your vehicle. Make sure that all connections are secure and correctly insulated before testing out the lights.
3. Connecting a Switch
In order to control when your off-road lights are turned on and off, it is necessary to install a switch into the wiring circuit. This can be done by connecting one side of the switch directly to a power source (such as a 12V battery) and then running two wires from either side of the switch into each light assembly. This will allow you to turn your off-road lights on or off at any time with just a flick of a switch!
4. Grounding Your Lights
It is important that all electrical components in an off-road lighting system are properly grounded in order for them to work safely and efficiently. To do this, connect one end of an appropriately sized wire cable directly onto the negative terminal of an appropriate power source (such as a 12V battery) and run it along with other wiring harnesses until it reaches each light assembly where it should be connected onto its corresponding negative terminal post.
5. Sealing Electrical Connections
In order to protect against water damage, it is important that all electrical connections between components in an off-road lighting system are properly sealed using waterproof heat shrink tubing or other suitable materials such as silicone sealant or marine grade electrical tape. This will help prevent corrosion over time, which can cause serious problems with your lighting system if left unchecked!

6. Testing Your Lights
Once all components have been installed and wired together correctly, it is important that they are tested prior to use in order to check that they are working properly and safely without any faults present in their wiring circuits or connections points.
To do this, simply turn on each light individually while observing its behavior closely for any signs of flickering or dimming which could indicate an issue with its wiring circuit or connection points which may require further investigation before use!
7. Adjusting Beam Patterns
Most modern off-road lights feature adjustable beam patterns, which allow you to adjust how wide/narrow their beams spread across terrain ahead of you when driving at night time – allowing you to customize how much visibility they provide depending upon conditions encountered during your journey!
To do this simply loosen/tighten screws located around the perimeter edge of each light assembly until desired beam pattern has been achieved – then tighten down screws again once satisfied with the results!
8. Setting Up Relays & Fuses
In some cases, particularly if using more powerful LED lamps (which draw more current than standard halogen bulbs), it may be necessary to set up relays & fuses within the wiring circuit so as to protect lamps from being overloaded by excessive current passing through them – potentially causing them burn out prematurely due their increased wattage rating compared traditional halogen bulbs!
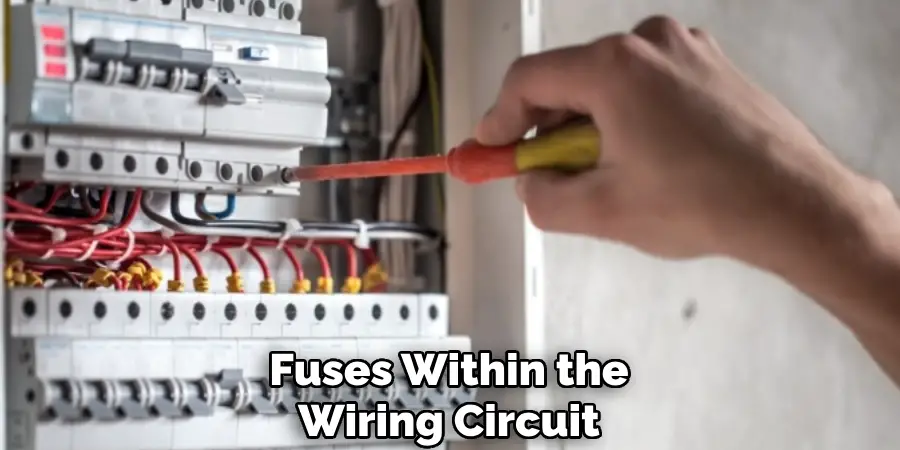
To do this, simply connect relay & fuse units between lamp assemblies & power sources so as to provide adequate protection against overloading/short circuiting occurring during operation – ensuring maximum longevity possible!
9. Installing Light Covers/Guards
To protect lamps from being damaged by debris kicked up while driving over rough terrain at night time, many people choose to install protective covers/guards around perimeter edges of each lamp assembly so as shield delicate internal components from potential impact damage caused by stones etc hitting them directly while driving!
These covers usually come pre-made but can also be custom-made using sheet metal ifto desired – ensuring the maximum protection possible during night time excursions!
10. Setting Up Timers/Switches For Automatic On/Off Operation
For added convenience when operating off-road lighting systems, many people choose to set up timers/switches so as automatically turn lamps on/off at predetermined times throughout the day – eliminating need to manually flick switches every time want to activate/deactivate lamps yourself!
These timers usually come preprogrammed but can also be easily customized via computer interface if desired – allowing customized settings according to personal preferences & requirements encountered during your night time adventures!
Common Mistakes to Avoid When Installing Off-Road Lights
Installing off-road lights is an exciting upgrade that many off-road enthusiasts look forward to. But, it can quickly turn into a frustrating and time-consuming task if not done correctly. To ensure a smooth installation process, there are some common mistakes you should avoid.
1. Not Having a Plan in Place
Before diving into the installation process, it’s important to have a well thought out plan. This includes selecting the right type of lights for your vehicle, determining the best placement and mounting options, and understanding the wiring required. Having a plan in place will save you time and headaches in the long run.
2. Using Incorrect Wiring
One of the most common mistakes when installing off-road lights is using incorrect wiring or not properly securing the wiring. This can result in shorts, fuses blowing, and even potential fires. Make sure to use the correct gauge wire for your lights and properly secure all connections.
3. Not Considering Legal Regulations
It’s important to research and understand any legal regulations regarding off-road lights in your area before installation. Some states have specific laws on the number of lights allowed and their placement on a vehicle. Failure to follow these regulations could result in fines or even having to remove the lights altogether.
4. Improper Mounting
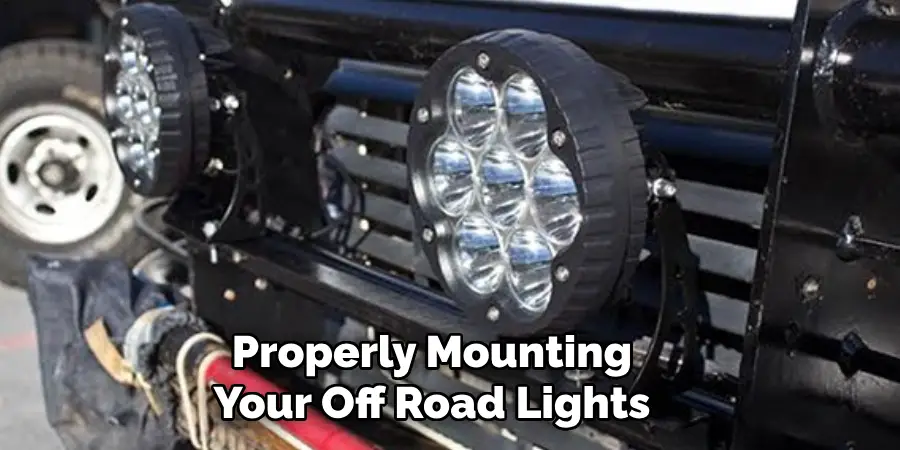
Properly mounting your off-road lights is crucial for both safety and longevity. Many people make the mistake of not using appropriate brackets or hardware, resulting in loose, unstable lights that can be dangerous while driving. Make sure to use sturdy mounting options that are suitable for your specific lights and vehicle.
Conclusion
To recap, installing off road lights isn’t as difficult as it may seem and is a great way to improve the safety of your vehicle. Not only does increased visibility make it easier for you to drive in low light situations, but with the right products, you can stay safer on your off road adventures.
Make sure to buy products from a reputable seller to ensure that your installation process goes smoothly, and don’t forget to double check that everything is hooked up correctly before taking your vehicle out onto the trails! With these tips in mind, you should be ready to tackle how to install off road lights with confidence.

