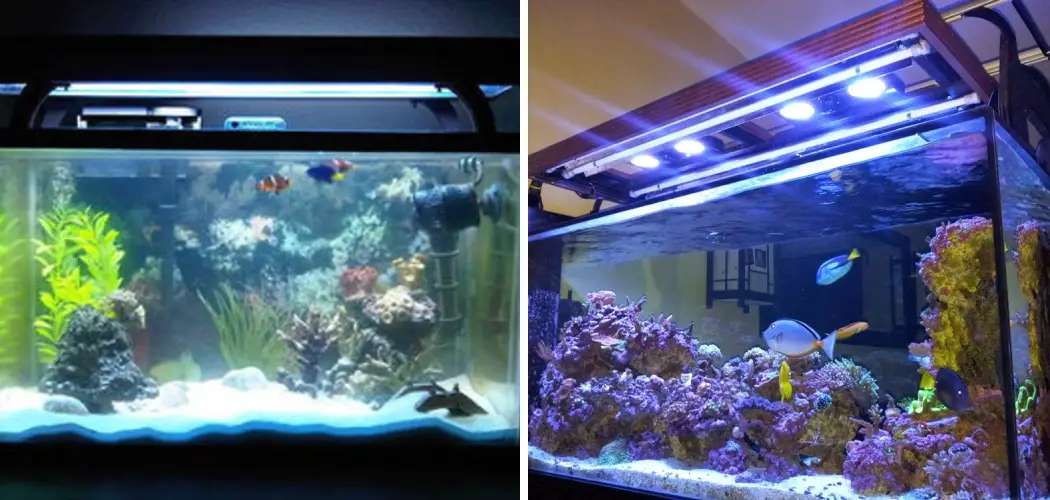
You should consider installing aquarium lights in your fish tank for several reasons. First and foremost, proper lighting is crucial for the health and well-being of your aquatic pets. It helps simulate natural daylight, essential for their growth and development.
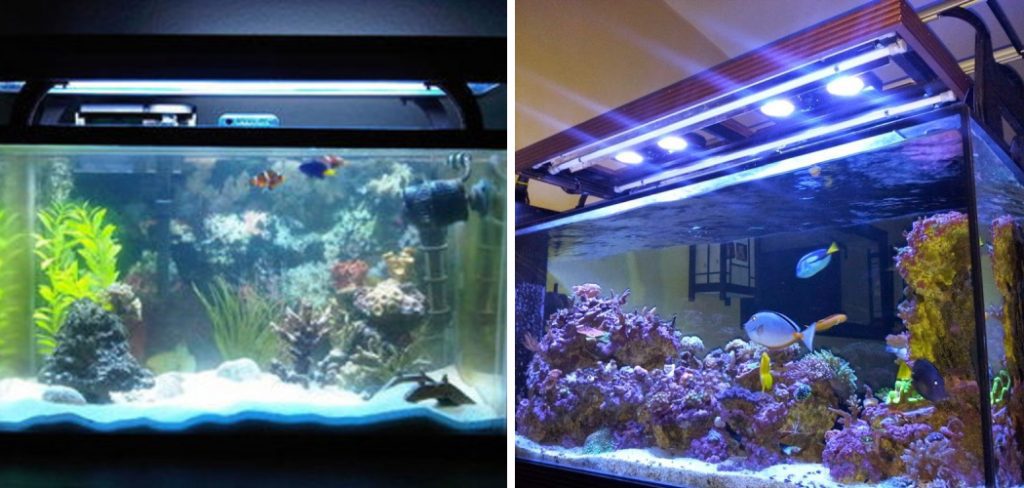
Installing aquarium lights is an essential step in setting up a successful aquascape. Not only do they enhance the aesthetic appeal of your aquarium, but they also provide vital light and energy for your aquatic plants and animals. In this blog post, You will learn how to install aquarium lights.
Tools You Will Need
- Aquarium light
- Power strip or timer
- Replacement bulbs
- Aquarium stand or light mount
- Screwdriver
- Electrical tape
- Scissors
- Drill (optional)
- Mounting hardware (optional)
- Safety glasses
When setting up an aquarium, lighting is one of the most important components. The proper lighting can help your fish thrive and enhance the visual appeal of your tank. If you are new to aquarium ownership, installing lights may seem daunting, but with the right tools and guidance, you can easily learn to install aquarium lights.
Step-by-step Instructions for How to Install Aquarium Lights
Step 1: Inspect Your Aquarium
Before you begin the installation process, ensure your aquarium is ready for lights. This includes checking for leaks or cracks and ensuring the tank is clean and debris-free.
Step 2: Gather Your Tools
As mentioned earlier, there are several tools you will need to install aquarium lights. It is important to gather all the necessary items before starting so that you can complete the process smoothly.
Decide on the type and placement of your lights. Different types of aquariums, such as freshwater or saltwater, may have different lighting needs. Also, consider the type of plants or fish in your tank, as some may require specific lighting conditions.
Step 3: Assemble Light Mounting System
If you have an aquarium stand or light mount, assemble it according to the manufacturer’s instructions. This will provide a secure place for your lights to be attached. Place your lights in the desired location on the mounting system. If using multiple lights, ensure they are evenly spaced and angled toward the tank for maximum coverage.
Step 4: Connect the Lights to the Power Source
Use a power strip or timer to plug in your lights. This will allow you to control the lighting schedule and avoid overloading any outlets. Using electrical tape, secure any loose wires to prevent them from falling into the tank, creating a potential hazard for your fish.

Step 5: Test Your Lighting
Before fully installing the lights, test them to ensure they function properly. Once everything works correctly, use screws or other mounting hardware to secure the lights to the stand or mount. Always wear safety glasses when handling electrical equipment and keep any sharp tools out of reach of children or pets.
Now that you know to install aquarium lights, it is important to maintain them and replace bulbs as needed. Regularly cleaning the lights and removing algae buildup will ensure they continue functioning at their best.
Tips for How to Install Aquarium Lights
- Make sure to unplug all electrical devices before handling any aquarium equipment.
- Read the instructions provided by the manufacturer carefully and follow them precisely.
- Do not use a damaged or malfunctioning light, as it may cause harm to both you and your fish.
- Ensure proper ventilation in the room where the aquarium is located to prevent overheating of the lights.
- Use a drip loop to prevent water from getting into electrical outlets.
- When handling bulbs, wear gloves or use a cloth to avoid direct contact as they can be fragile and break easily.
- If you need clarification on the installation process, seek help from a professional or someone with experience in aquarium lighting.
Following these steps and tips, you can successfully install aquarium lights and create a beautiful and healthy habitat for your fish. As you continue to care for your aquarium, remember that lighting plays a crucial role in the well-being of your aquatic pets. Regularly check the condition of your lights and replace them when necessary to maintain a happy and thriving aquarium.
Types of Aquarium Lights
There are various options available when it comes to choosing the right type of lighting for your aquarium. Each type has its benefits and is suitable for different types of tanks, plants, and fish.
- Fluorescent lights – These are the most common lights used in aquariums. They are energy-efficient and come in various colors to enhance the visual appeal of your tank.
- LED lights are becoming increasingly popular due to their long lifespan and customizable features such as color-changing capabilities.
- Metal Halide lights produce a more intense spectrum of light, making them suitable for tanks with corals or other light-loving aquatic plants.
- Incandescent lights are not typically recommended for aquariums as they emit a lot of heat and can harm fish and plants.
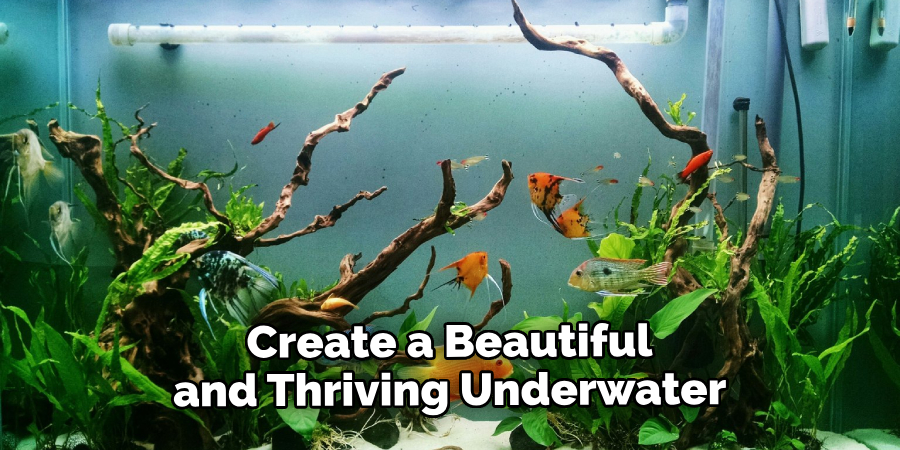
You can choose the best option for your specific aquarium needs by understanding the different types of lights available. Whether you have a freshwater or saltwater tank, with the right lighting setup and proper maintenance, you can create a beautiful and thriving underwater world for your aquatic pets.
How Do You Secure the Lights to the Tank?
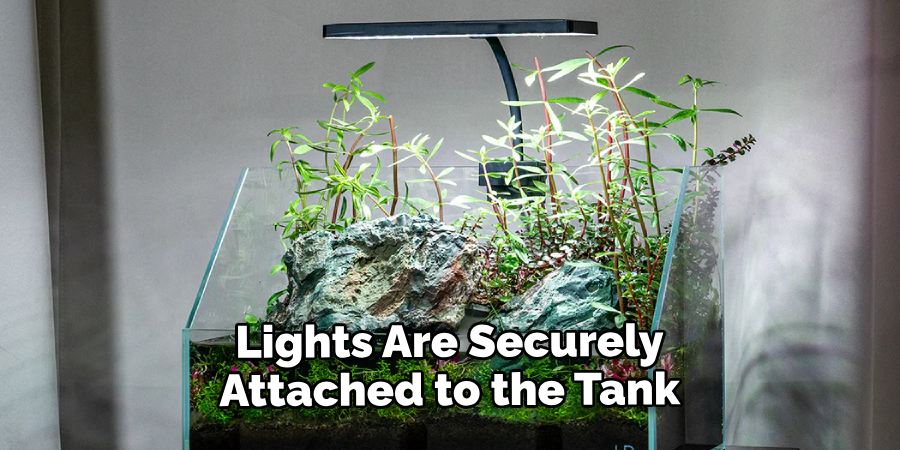
After successfully installing the aquarium lights, the next step is to secure them to the tank. This will ensure that they do not fall or move around while submerged in water. There are different ways to secure the lights, depending on the type of light fixture you have chosen for your aquarium. Here are some common methods for securing aquarium lights:
1. Clamps
Many light fixtures come with clamps that can be attached to the edges of the tank. Make sure to tighten them securely, but not so tight that they could damage the tank.
2. Suction Cups
Some lights have suction cups that can be used to attach them to the sides or back of the tank. These are ideal for smaller tanks or for more flexibility in positioning the lights.
3. Hanging Kit
For larger or heavier light fixtures, a hanging kit may be necessary. This usually involves suspending the lights from the ceiling or a stand above the tank. Follow the manufacturer’s instructions for proper installation and weight limits.
Whatever method you choose, ensuring the lights are securely attached to the tank before turning them on is important. This will avoid any accidents or damage to your tank and its inhabitants.
Maintenance Tips After Installing Aquarium Lights
Once the lights are installed and secured, it is important to regularly clean and maintain them to ensure they work properly and last longer. Here are some tips for maintaining your aquarium lights:
- Wipe down the lights with a damp cloth to remove any algae or buildup.
- Check for any loose screws or parts and tighten them if necessary.
- Replace any burnt-out bulbs to maintain proper lighting for your aquarium.
- Consider using a timer to regulate the amount of time the lights are on, as excessive lighting can lead to algae growth.
- If using LED lights, periodically check for any burnt-out diodes and replace them as needed.
- Avoid getting the lights wet when performing water changes or other maintenance tasks in the tank.
Following these steps, you can successfully install and maintain your aquarium lights. Always refer to the manufacturer’s instructions for specific guidelines and safety precautions.
What is the Recommended Distance Between the Lights and the Water Surface?
The recommended distance between the lights and the water surface varies depending on the type of light fixture and the size of your tank. Generally, it is recommended to have a distance of at least 5 to 6 inches between the water surface and the lights.
This distance helps prevent excessive heat from building up in the tank, which can harm aquatic plants and fish. It also reduces the risk of water splashing on the lights, which can cause damage.
However, it is important to refer to the specific guidelines from the manufacturer for your particular light fixture. Some fixtures may require a greater distance for safety reasons, while others may have built-in cooling systems that allow them to be placed closer to the water surface. In any case, it is always better to err on caution and have a greater distance between the lights and the water surface. Regularly checking for any signs of overheating or damage to the lights can also help ensure their proper functioning in the long run.
How Do You Clean and Maintain the Lights Once They Are Installed?
Cleaning and maintaining the lights is an important part of aquarium care. Not only does it keep your tank looking clean and bright, but it also helps to prolong the life of your lights.
To properly maintain your aquarium lights, follow these steps:
- Regularly wipe down the lights with a damp cloth to remove algae or buildup.
- Check for any loose screws or parts and tighten them if necessary.
- Replace any burnt-out bulbs to maintain proper lighting for your aquarium.
- Consider using a timer to regulate the amount of time the lights are on, as excessive lighting can lead to algae growth.
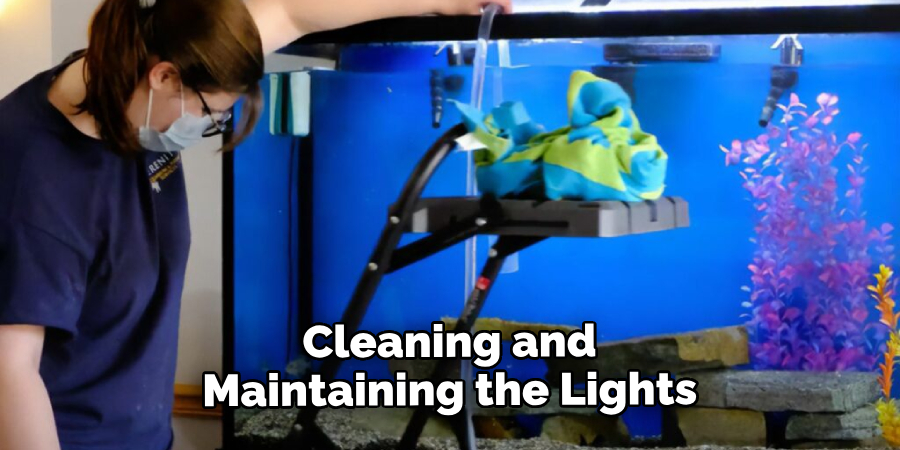
In addition, it is also important to regularly check for any signs of corrosion or damage on the light fixtures. If you notice any issues, contact the manufacturer for further guidance or consider replacing the lights if necessary.
Conclusion
Installing aquarium lights is crucial to maintaining a healthy and vibrant aquatic environment. However, like any other task, there are potential drawbacks that one needs to be aware of when installing aquarium lights. This section will discuss some common disadvantages associated with the installation process.
In conclusion, using aquarium lights is essential to maintaining a healthy and thriving aquatic environment for your fish. Whether new to the hobby or a seasoned aquarist, installing aquarium lights may initially seem daunting.
However, it can be a simple and easy process with the right knowledge and tools. This article has been beneficial for learning how to install aquarium lights. Make Sure the precautionary measures are followed chronologically.

