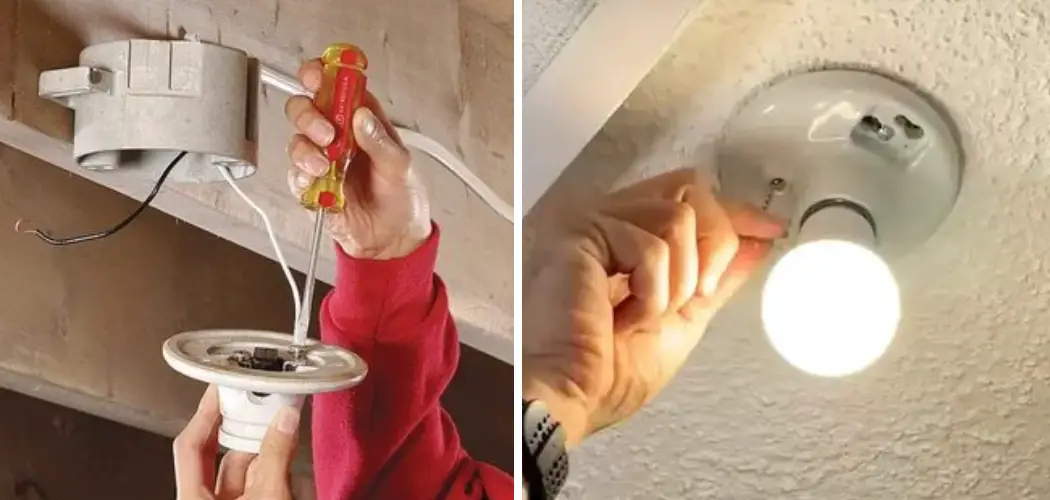
Installing a pull chain light fixture is a simple home improvement project that can add convenience and a touch of charm to closets, basements, and other small spaces without a wall switch.
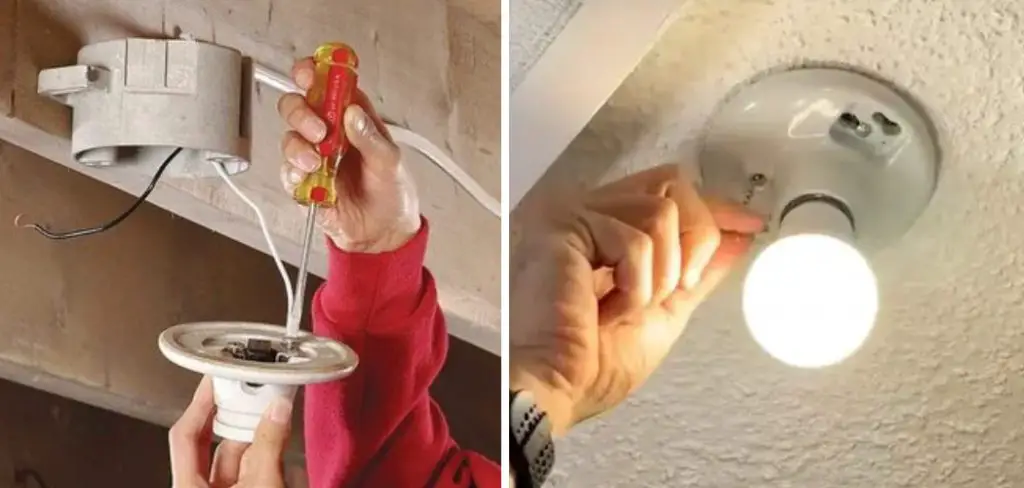
Not only is it a budget-friendly option, but mastering this skill will also give you the confidence to tackle more electrical work in the future.
In this guide, we’ll cover the step-by-step process of how to install a pull chain light fixture, the tools you’ll need, and safety precautions to ensure your new light fixture is installed properly and safely.
What is a Pull Chain Light Fixture?
A pull chain light fixture is a type of light fixture that can be turned on and off by pulling a chain attached to the base or body of the fixture.
These fixtures are typically found in areas without a wall switch, such as closets, basements, or attics. You can also find pull chain light fixtures in ceiling fans, where the chain controls the fan and light separately. But for the purpose of this guide, we’ll focus on installing a standalone pull chain light fixture.
Tools You’ll Need
Before you begin installing your pull chain light fixture, make sure you have all the necessary tools on hand. Here’s a list of what you’ll need:
Screwdriver (Flathead or Phillips)
A screwdriver is a must-have tool for any DIY project, and installing a pull chain light fixture is no exception. Most fixtures will come with screws that require either a flathead or Phillips head screwdriver. Make sure you have both types on hand to avoid any setbacks during the installation process.
Wire Strippers
Wire strippers are used to remove the insulation from the ends of the electrical wires. This will allow you to connect the wires properly and safely. You can purchase wire strippers at any hardware store or online.
Wire Nuts
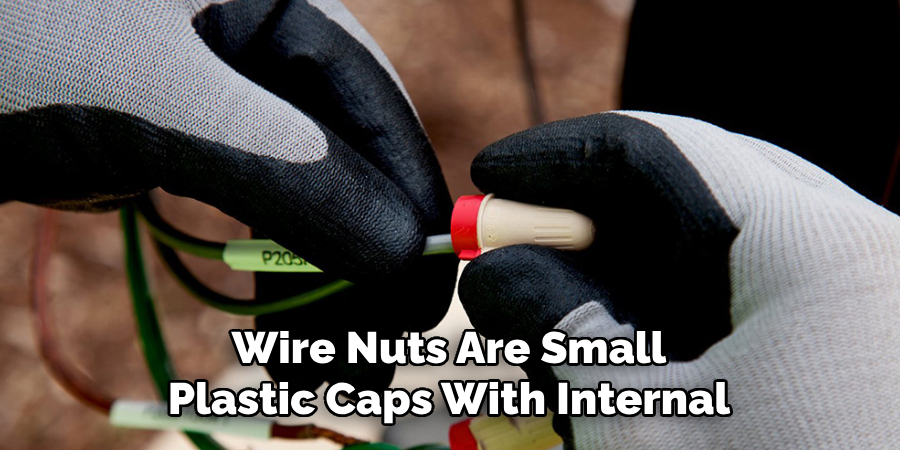
Wire nuts are small plastic caps with internal threads that are used to connect two or more electrical wires together. They come in different sizes for different gauge wires, so make sure you have the correct size for your project.
Voltage Tester
A voltage tester is used to test the electrical current in a wire or outlet. It’s an essential tool to ensure that the power is turned off before you begin working on the light fixture.
Step Stool or Ladder
Depending on where you’re installing your pull chain light fixture, you may need a step stool or ladder to reach the ceiling. Make sure you have a stable and secure platform to work from before starting the installation process.
Safety Precautions
Before we dive into the step-by-step process, it’s important to review some safety precautions when working with electrical fixtures:
Turn Off the Power:
Before beginning any electrical work, make sure to turn off the power at the circuit breaker. It’s also a good idea to use a voltage tester to ensure there is no electricity flowing through the wires before you start working.
Use Proper Safety Gear
Always wear safety glasses and gloves when working with electrical fixtures. This will protect your eyes and hands from any potential hazards.
Follow Manufacturer Instructions
Make sure to read and follow the manufacturer’s instructions for your specific light fixture. This will ensure that your installation is done correctly and safely.
11 Step-by-step Instructions on How to Install a Pull Chain Light Fixture
Step 1: Assessing the Installation Area
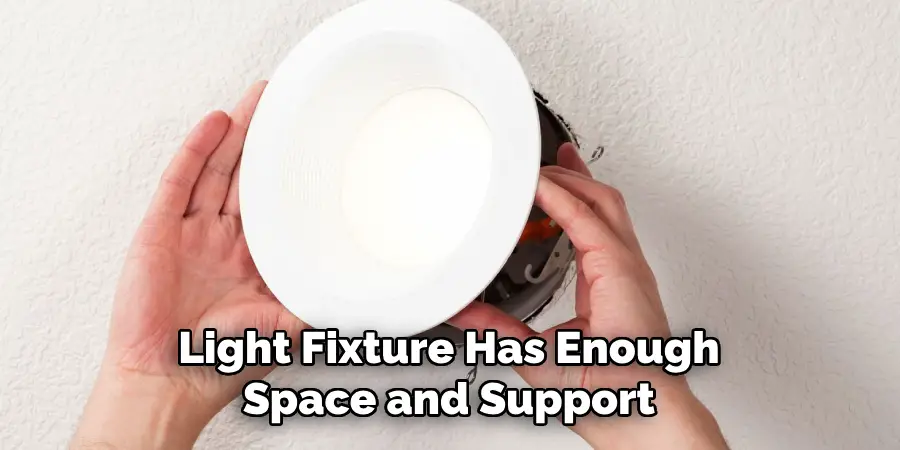
Before you begin, make sure the location where you want to install the pull chain light fixture has enough space and support. The ceiling should be able to hold the weight of the fixture, and there should also be enough room for proper wiring connections.
The location should also be away from any moisture or heat sources. It’s also important to make sure there is an electrical box in the ceiling that can support the weight of the fixture.
Step 2: Turn Off Power
Turn off power at the circuit breaker before you begin working on any electrical fixture. This will ensure your safety while installing the light fixture. But remember, it’s always a good idea to double-check with a voltage tester to make sure there is no electricity flowing through the wires.
You can never be too cautious when it comes to electricity. If you are unsure how to turn off the power, it’s best to consult a professional electrician. You can also turn off the main power to your house if you’re not confident in locating the circuit breaker.
Step 3: Remove the Old Fixture
If there is an existing light fixture in the area, remove it by unscrewing any screws or bolts that are holding it in place. Once removed, disconnect any wiring connections and remove the old fixture from the ceiling.
The process may vary depending on the type of fixture you have, so make sure to consult the manufacturer’s instructions if needed. It’s also a good idea to take a picture of the wiring connections before disconnecting so you have a reference for when you install the new fixture.
Step 4: Prepare Wires
Before connecting your new light fixture, strip about half an inch of insulation from each wire. This will expose the copper wires, which are necessary for making proper connections to the new fixture.
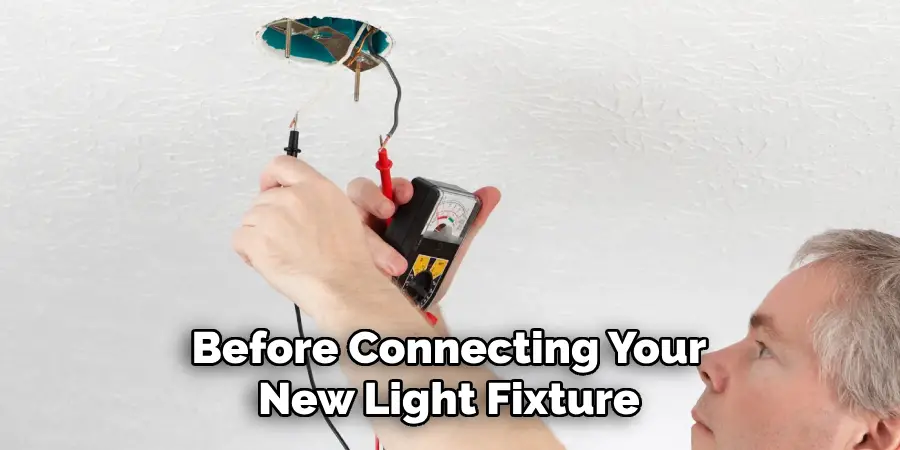
But be careful not to strip too much insulation, as this can cause electrical hazards. These exposed wires should be twisted together to prevent fraying. If your wires are not long enough, you may need to purchase wire extensions.
Step 5: Mount the Bracket
Most pull chain light fixtures come with a bracket that needs to be mounted on the ceiling. Use screws and a screwdriver to secure the bracket in place. Make sure it is flush against the ceiling and can hold the weight of the fixture.
Otherwise, your fixture may fall and cause damage. The bracket will also have a screw or hook to hold the chain in place, so make sure this is positioned correctly. It’s also a good idea to use a level to ensure the bracket is straight.
Step 6: Connect Wires
Take the prepared wires and connect them to the corresponding wires on the fixture. Most fixtures will have white or neutral wires, black or hot wires, and sometimes ground wires that need to be connected together.
You can use wire nuts to secure these connections in place. If your fixture has different colored wires, make sure to consult the manufacturer’s instructions for proper connections. The ground wire should be connected to the green or bare copper wire in the ceiling.
Step 7: Attach Fixture
Once the wires are connected, carefully tuck them into the electrical box in the ceiling. Then, line up the holes on your fixture with the screws on the mounting bracket and secure it in place using screws or bolts.
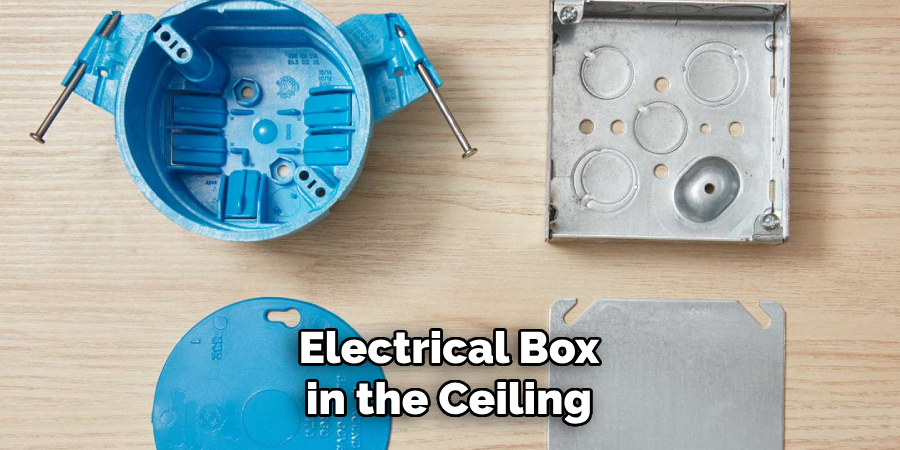
Make sure to tighten these properly to ensure the fixture is stable. Otherwise, it may hang or sway when using the pull chain. But be careful not to overtighten, as this can damage the fixture or cause it to hang unevenly.
Step 8: Install Light Bulbs
If your fixture doesn’t come with light bulbs, make sure to purchase the correct type and wattage for your specific fixture. Screw them into place and make sure they are secure.
It’s also a good idea to turn on the power at this point and test that the bulbs are working properly. If not, double-check your wiring connections and try again. You can also consult an electrician if you’re having trouble. But remember to turn off the power before making any adjustments.
Step 9: Add Cover or Shade
Some light fixtures may come with a cover or shade to diffuse the light. If yours does, make sure to attach it according to the manufacturer’s instructions. This may involve screwing it in place or simply snapping it onto the fixture.
But be careful not to break the cover or shade while attaching it. The cover or shade not only adds a decorative touch but also protects the bulbs and diffuses the light for a softer glow. If you don’t have a cover or shade, skip to the next step.
Step 10: Test Pull Chain
Now that your fixture is fully installed test the pull chain to make sure it’s working properly. Give it a gentle tug and make sure it turns the light on and off without any issues. If the chain is too long or short, you may need to adjust it by tying knots or using pliers to lengthen or shorten it.
But be careful not to leave the chain too long, as this can pose a safety hazard for children or pets. You can also consider adding a pull chain extension for easier access if needed. Once you’re satisfied with the functionality of the pull chain, your new light fixture is ready to use!
Step 11: Turn On Power and Enjoy
Once everything is in place and working properly, it’s safe to turn the power back on and enjoy your new pull chain light fixture. But remember to always use caution when working with electricity and consult a professional if you’re unsure about any step in the process.
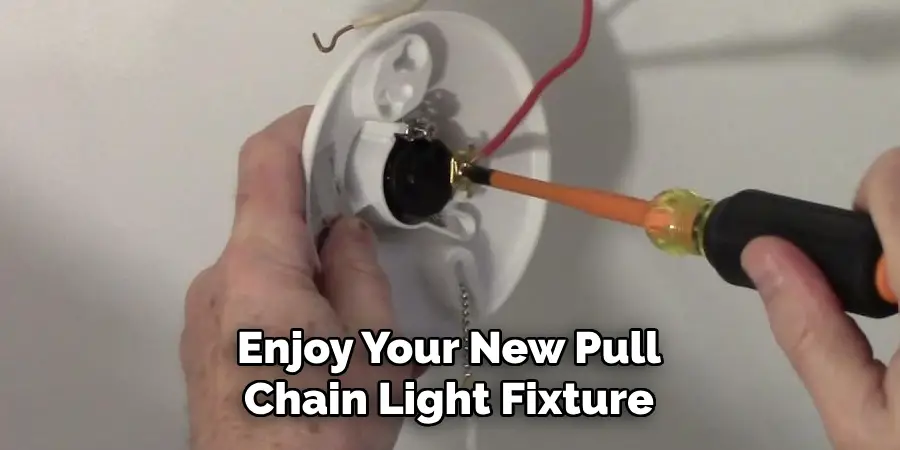
With proper installation and maintenance, your pull chain light fixture can provide convenience and style for years to come. So go ahead and flip that switch, or in this case, pull that chain and bask in the warm glow of your new light fixture! So go ahead and enhance your home’s lighting with a beautiful and functional pull chain light fixture.
Following these steps on how to install a pull chain light fixture will ensure a safe and successful installation process, allowing you to enjoy your new fixture without any worries.
And don’t forget to properly dispose of your old fixture or donate it if it’s still in good condition. With the combination of electrical knowledge and DIY skills, you can easily upgrade your home’s lighting with a pull chain light fixture.
Troubleshooting Tips and Common Issues
Installing a pull chain light fixture may seem like a simple task, but sometimes, things don’t go as planned. Here are some troubleshooting tips for common issues you may encounter during the installation process:
Light Doesn’t Turn on:
Check your wiring connections and make sure they are secure. If everything looks good, double-check that the power is turned on. If the light still doesn’t turn on, you may have a defective fixture and may need to contact the manufacturer for a replacement.
Chain is Stuck or Won’t Pull:
This could be due to an issue with the chain itself, such as being tangled or rusted. Try gently untangling it or using lubricant to loosen it up. If the chain is broken, you may need to replace it with a new one.
Fixture Hangs Unevenly:
This could be caused by uneven mounting or loose screws. Use a level to ensure the bracket is straight and tighten any loose screws to stabilize the fixture.
Light Flickers:
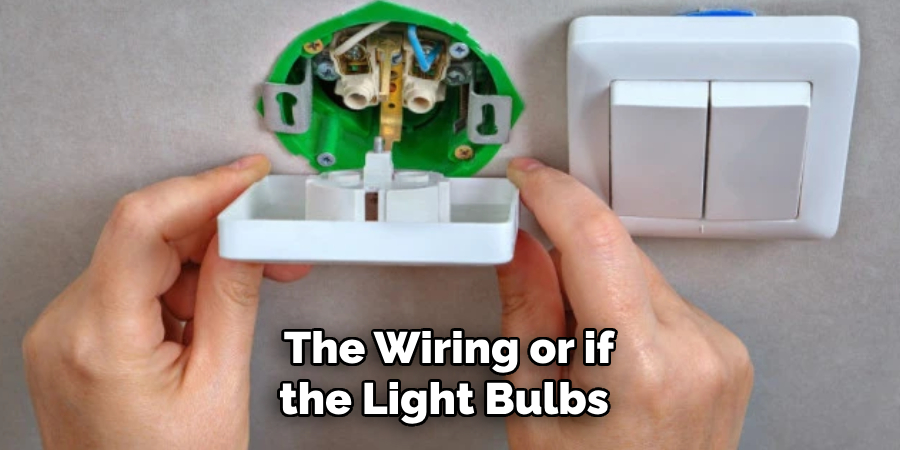
Flickering can occur if there is an issue with the wiring or if the light bulbs are not compatible with the fixture. Double-check your wiring connections and make sure you’re using the correct type of bulbs for your fixture.
Pull Chain Extension Doesn’t Work:
If you’ve added a pull chain extension but it’s not functioning properly, make sure it’s securely attached and that the chain is not getting caught on anything. You may also need to adjust the length of the chain or replace it with a longer one.
If these troubleshooting tips don’t solve your issue, it’s best to consult a professional electrician for assistance.
Maintenance and Care Guidelines
To ensure the longevity and safety of your pull chain light fixture, here are some maintenance and care guidelines to keep in mind:
- Regularly Dust or Wipe Down the Fixture to Prevent Build-up That Can Affect Its Appearance and Functionality.
- Check for Loose Screws or Any Signs of Wear and Tear, Such as Rust or Frayed Wires. Tighten or Replace as Needed.
- If You Notice Any Flickering or Other Issues With the Light, Turn Off the Power and Check for Loose Connections or Damaged Bulbs.
- Avoid Using Harsh Chemicals to Clean the Fixture, as This Can Damage the Finish or Parts of the Fixture.
- Keep an Eye on Children and Pets Around the Pull Chain, Making Sure It’s Not Within Reach for Them to Play With and Potentially Cause Harm.
Frequently Asked Questions
Q: Can I Install a Pull Chain Light Fixture on My Own?
A: As long as you have some basic knowledge of electrical wiring and follow the steps carefully, installing a pull chain light fixture can be a DIY project. However, it’s always recommended to consult a professional electrician if you’re unsure or uncomfortable with any step in the process. Electrical work can be dangerous if not done properly.
Q: What Type of Light Bulbs Should I Use?
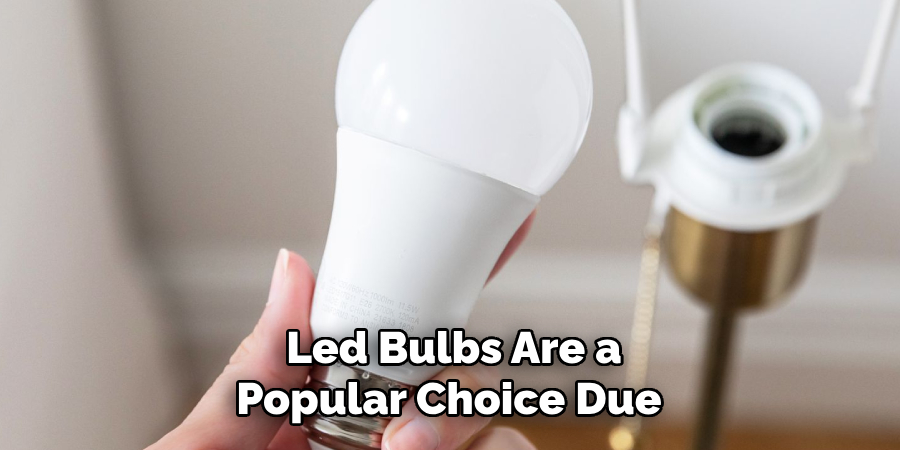
A: Make sure to check the manufacturer’s instructions for the specific type and wattage of light bulbs recommended for your fixture. Using incorrect bulbs can cause damage to the fixture or pose a safety hazard. LED bulbs are a popular choice due to their energy efficiency and long lifespan.
Q: Can I Adjust the Length of the Pull Chain?
A: If your pull chain is too long or short, you can adjust it by tying knots or using pliers to lengthen or shorten it. But make sure not to leave the chain too long, as this can be a safety hazard for children or pets. You can also consider using a pull chain extension for easier access if needed.
Q: Can I Add a Pull Chain to an Existing Light Fixture?
A: While it is possible to add a pull chain to an existing light fixture, it’s recommended that a professional electrician be consulted for this task. Electrical work can be dangerous and should only be done by someone with the proper training and tools. So, if you’re thinking of adding a pull chain to an existing fixture, it’s best to seek professional help for the installation process.
Conclusion
Installing a pull chain light fixture is certainly a task within reach for those with a bit of DIY spirit. By following the step-by-step instructions and adhering to safety protocols, you can create a functional and stylish lighting solution that enhances your space.
The simple addition of a pull chain light fixture not only illuminates dark areas but also imbues them with a classic feel. Whether for practicality or aesthetic appeal, this project is a shining example of how a small change can make a big difference.
Remember, if at any point you feel unsure, it’s best to consult with a professional electrician. Enjoy your new lighting and the satisfaction of having done it yourself! Thanks for reading this article on how to install a pull chain light fixture.

