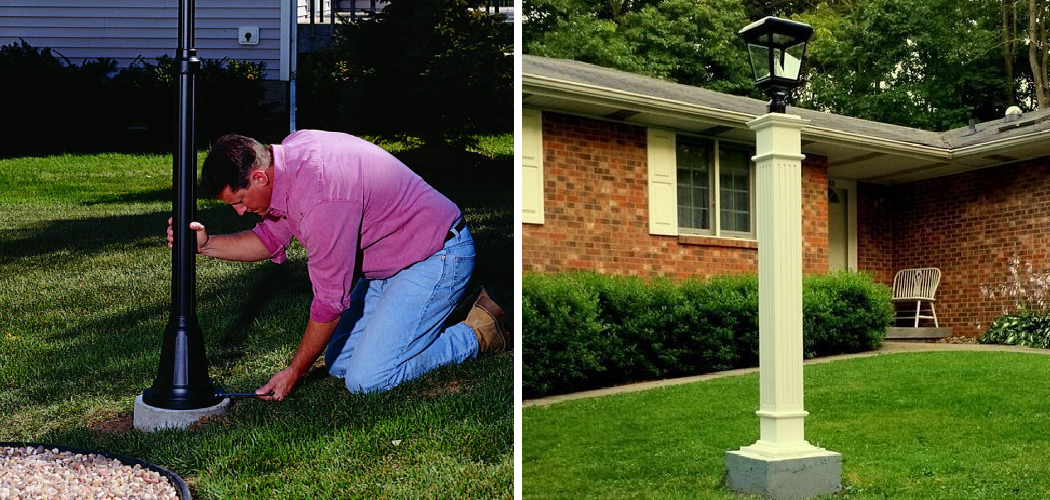
There are a number of reasons why it may be necessary for you to installing a post lamp. Post lamps, also known as post lights or lampposts, are a popular and practical choice for outdoor lighting. They can provide both aesthetic appeal and functional illumination to your yard, driveway, or walkway.
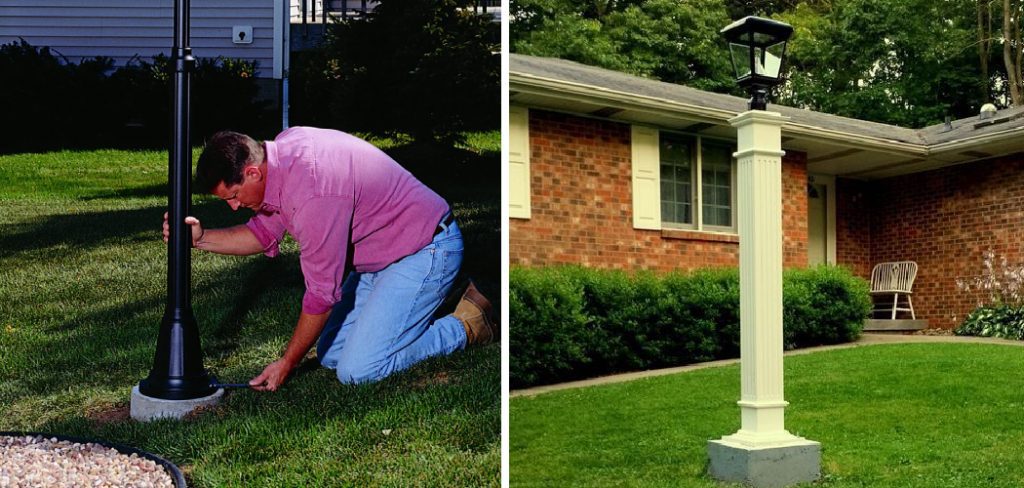
One reason you may need to install a post lamp is if you are building a new home or renovating your existing one. Post lamps can add curb appeal and enhance the overall look of your property, making them a popular addition to many homes.
Post lamps are a great addition to any outdoor space, providing both functional lighting and decorative appeal. They can be installed in various areas, such as along a driveway, walkway, or patio. While it may seem intimidating at first, installing a post lamp is actually quite simple and does not require professional assistance. In this blog post, You will learn in detail how to install a post lamp.
Tools You Will Need
- Post Lamp Fixture
- Post Lamp Bulb
- Hammer
- Screwdriver
- Wire Cutters
- Electrical Tape
- Pliers
- Outdoor Wire Nuts
- Silicone Caulk
Step-by-step Instructions for How to Install a Post Lamp
Step 1: Inspect the Post Lamp
Prior to installing your post lamp, you need to inspect all the components carefully. Make sure that the package contains all the necessary parts such as the post, base, electrical connections, light fixture and hardware.
Step 2: Select a Location
Choose an ideal location for your post lamp which is near a flat surface and in close proximity to an electrical outlet. Ensure that there are no obstacles like trees or bushes that may obstruct the light. Using a shovel, dig a hole at least 18 inches deep and wide enough to accommodate the base of your post lamp.

Step 3: Prepare the Base
Place the base of your post lamp into the hole and fill it with concrete. Make sure that the base is level and let the concrete set for at least 24 hours. While your base is setting, assemble the post by connecting each section using screws or bolts. Make sure that all sections are securely attached.
Step 4: Mount the Post
Once the concrete has set, mount the post onto the base. Use a level to make sure that the post is straight and adjust if necessary. Follow the instructions provided with your post lamp to connect the electrical wires. Make sure to turn off the power before connecting any wires for safety purposes.
Step 5: Attach the Light Fixture
Once the electrical connections are complete, attach the light fixture to the top of the post using screws or bolts. Turn on the power and test your post lamp to ensure that it is working properly. Make any necessary adjustments if needed.
Finally, secure your post lamp in place by tightening all hardware and making sure all connections are secure.
Safety Tips for How to Install a Post Lamp
- Before beginning any installation, make sure you have a clear and safe work area. Remove any debris or hazards that may cause you to trip or slip while working on the post lamp.
- Always read the instructions provided by the manufacturer before starting the installation process. This will ensure that you are using the correct tools and following the proper steps.
- Make sure to turn off the power supply to the area where you will be installing the post lamp. This will prevent any accidents or injuries.
- If working with electricity, make sure to wear protective gear such as rubber gloves and safety glasses. It is also recommended to use insulated tools.
- Use caution when handling the post lamp and its components. Some parts may be heavy or sharp, so handle them carefully to avoid any injuries.
- If the post lamp is being installed in a high traffic area, consider using reflective tape or markers on the post and light fixture for increased visibility and safety.
- It’s always best to have someone else assist you with the installation, especially when working with heavy or awkward components. This will help prevent accidents and make the process smoother.

In addition to these safety tips, it’s important to also consider the type of post lamp you are installing and its intended purpose. Some post lamps may require additional precautions or considerations, such as weatherproofing for outdoor use or proper grounding for electric models.
What Are Some Common Mistakes to Avoid While Installing a Post Lamp?
Installing a post lamp may seem like a simple task, but there are some common mistakes that people often make. These mistakes can lead to safety hazards, functionality issues, and overall dissatisfaction with the installation process. In this section, we will discuss some of the most common mistakes to avoid when installing a post lamp.
1. Not Checking Local Codes and Regulations
One of the biggest mistakes people make when installing a post lamp is not checking their local codes and regulations. Each city or municipality may have specific requirements for outdoor lighting, such as height restrictions, wiring guidelines, and permits. It is important to research and adhere to these codes to avoid any legal issues or fines.
2. Not Preparing the Site Properly
Another common mistake is not properly preparing the site where the post lamp will be installed. This includes clearing away any debris or obstacles, leveling the ground, and ensuring that there is proper drainage. Failing to do so can result in stability issues with the post lamp and potential damage to the surrounding area.
3. Not Using Proper Tools
Using improper tools or trying to cut corners by using household items for installation can lead to major problems. It is important to have the right tools for the job, such as a post hole digger, level, and wire strippers. Attempting to install a post lamp without these tools can result in an unstable or faulty installation.
4. Not Following Manufacturer’s Instructions
Each post lamp may have specific instructions for installation that must be followed for optimal safety and functionality. Not following these instructions may lead to issues such as incorrect wiring, improper placement of the lamp head, or potential fire hazards. Always be sure to thoroughly read and follow the manufacturer’s instructions before beginning installation.
5. Not Securing the Post Lamp Properly
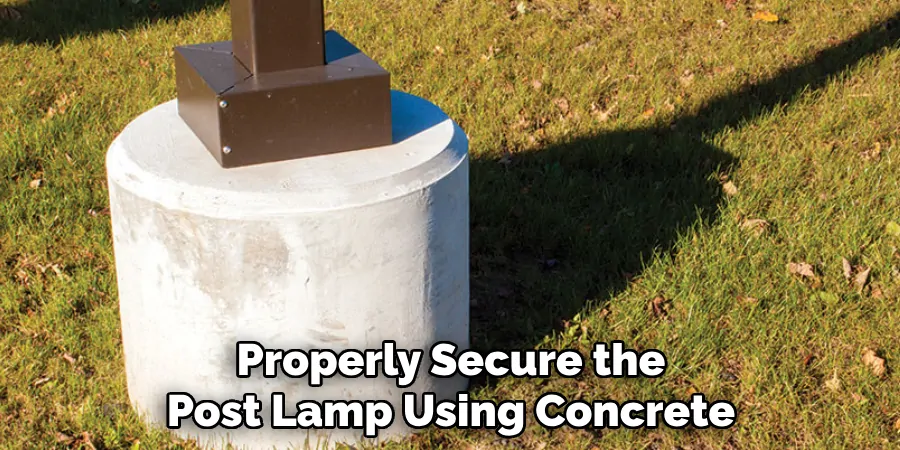
Another mistake that people often make is not securing the post lamp properly. This can result in a wobbly or unstable lamp, which can pose a safety risk. It is important to properly secure the post lamp using concrete or a secure mounting base, according to manufacturer’s instructions.
How Do You Maintain and Care for Your Post Lamp Once It’s Installed?
After successfully installing a post lamp, it is important to maintain and care for it in order to ensure its longevity and proper functionality. Below are some tips on how to properly take care of your installed post lamp:
1. Regular Cleaning
The first step in maintaining your post lamp is regular cleaning. Over time, dust, dirt, and other debris can accumulate on the lamp and its surrounding area. This can not only affect the aesthetic appeal of your lamp but also hinder its performance. Simply wiping down the lamp with a soft cloth or using a gentle cleaning solution can help keep it clean and in good condition.
2. Check for Loose Screws
As with any outdoor fixture, post lamps are exposed to changing weather conditions such as wind and rain. This can cause screws to loosen over time, which can lead to the lamp becoming unstable or even falling off. Make sure to regularly check for loose screws and tighten them as needed.
3. Inspect for Damage
It is important to inspect your post lamp for any signs of damage, such as cracks or rust, especially after extreme weather conditions. If you notice any damage, it is best to address it immediately to prevent further deterioration of your lamp.
4. Replace Bulbs
Post lamps typically use light bulbs that can last for a long time but will eventually need to be replaced. Check the manufacturer’s instructions on how often the bulbs should be replaced and make sure to do so accordingly. This will not only maintain the brightness of your lamp but also ensure its proper functioning.
5. Trim Surrounding Plants
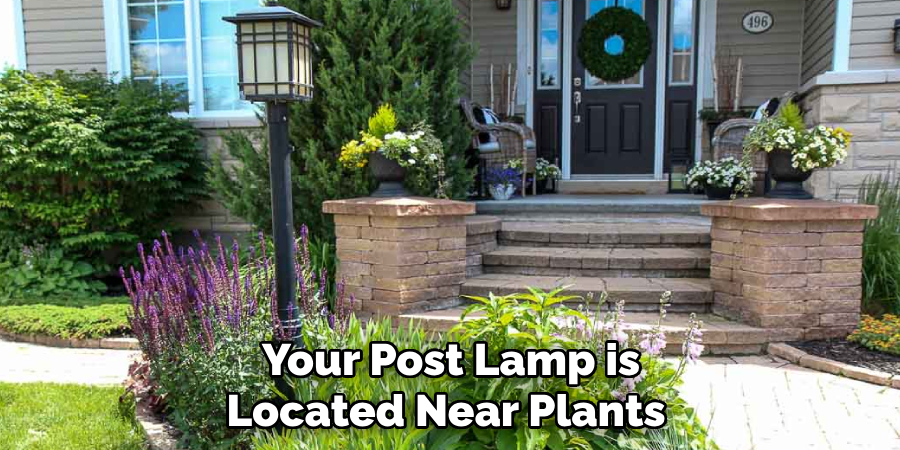
If your post lamp is located near plants or trees, make sure to regularly trim them to prevent any obstruction of light and potential damage to the lamp itself.
By following these simple maintenance tips, you can prolong the lifespan of your post lamp and enjoy its beauty and functionality for years to come. Remember, a well-maintained post lamp not only enhances the appearance of your outdoor space but also provides safety and security for you and your family.
Conclusion
In conclusion, installing a post lamp can be a simple and rewarding process. By following the steps outlined in this blog, you can easily add a beautiful and functional post lamp to your outdoor space. Not only does it provide additional lighting for your yard or garden, but it also adds a decorative touch that can enhance the overall aesthetic of your property.
Plus, with the cost-effective and environmentally friendly option of using solar-powered post lamps, you can save money and reduce your carbon footprint. Remember to always consult the manufacturer’s instructions for specific details and safety considerations.
And don’t hesitate to seek professional help if needed. I hope this article has been beneficial for learning how to install a post lamp. Make Sure the precautionary measures are followed chronologically.

