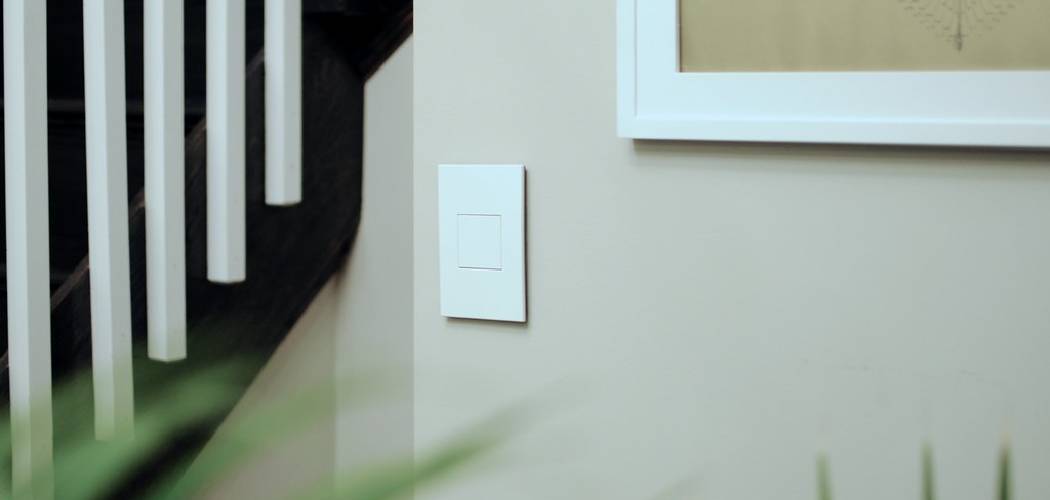
Light switches are essential for controlling illumination in our homes, but they don’t always complement our interior design vision. Unsightly switches can disrupt the flow of a beautifully decorated wall or create visual clutter in carefully curated spaces. Learning how to hide light switches allows you to maintain functionality while achieving a cleaner, more polished aesthetic.
Whether you’re dealing with outdated switch plates that clash with your modern decor or simply want to minimize visual distractions in your living space, there are numerous creative solutions available. From decorative covers to strategic placement behind artwork, hiding switches doesn’t require major electrical work or expensive renovations.
This comprehensive guide will walk you through practical techniques that anyone can implement, regardless of their DIY experience level. You’ll discover methods ranging from simple cover replacements to more elaborate concealment strategies that seamlessly integrate switches into your existing decor scheme.
Why Hiding Light Switches Matters
Modern interior design emphasizes clean lines and uncluttered surfaces, making visible switches feel outdated and disruptive. Professional designers often prioritize creating seamless wall surfaces that allow artwork, furniture, and architectural features to take center stage without competing with functional elements.
Hidden switches contribute to a more sophisticated and intentional design aesthetic. They help create the illusion of larger spaces by reducing visual noise and allowing the eye to flow naturally across surfaces. This approach is particularly valuable in smaller rooms where every design element significantly impacts the overall feeling of spaciousness and tranquility.
10 Step-by-Step Guide: How to Hide Light Switches
Step 1: Assess the Placement of the Switch
Begin by evaluating the location and frequency of use for each switch you want to conceal. High-traffic switches require accessible concealment methods, while rarely used controls can accommodate more elaborate hiding techniques.
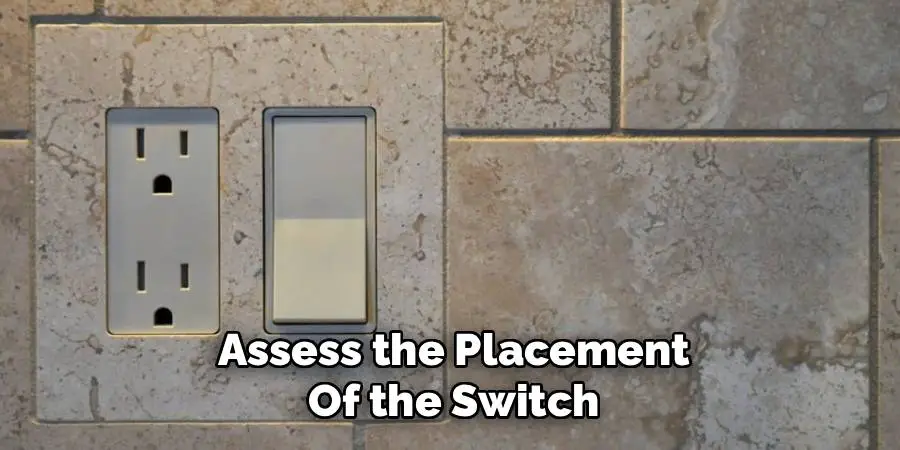
Consider the surrounding wall space and existing decor elements that could work with your concealment strategy. Take measurements and photographs to help plan your approach and ensure any decorative elements will fit properly around the switch area.
Step 2: Choose Decorative Switch Plates
Replace standard plastic switch plates with decorative alternatives that blend seamlessly with your wall color or design theme. Options include wooden plates that can be painted or stained, metallic finishes that coordinate with hardware, or textured plates that mimic wall surfaces. Custom-painted switch plates using the exact wall color create an almost invisible effect, while patterned plates can complement wallpaper or decorative wall treatments for subtle integration into the overall design scheme.
Step 3: Create a Gallery Wall for Switch Camouflage
Design a gallery wall arrangement that strategically incorporates switches within the layout. Position artwork, photographs, or decorative objects around switches so they become part of the overall composition rather than standalone elements. Use frames of varying sizes to create visual interest while naturally concealing switches between pieces. This technique works particularly well in hallways, living rooms, or anywhere you want to display multiple decorative items while maintaining switch accessibility.
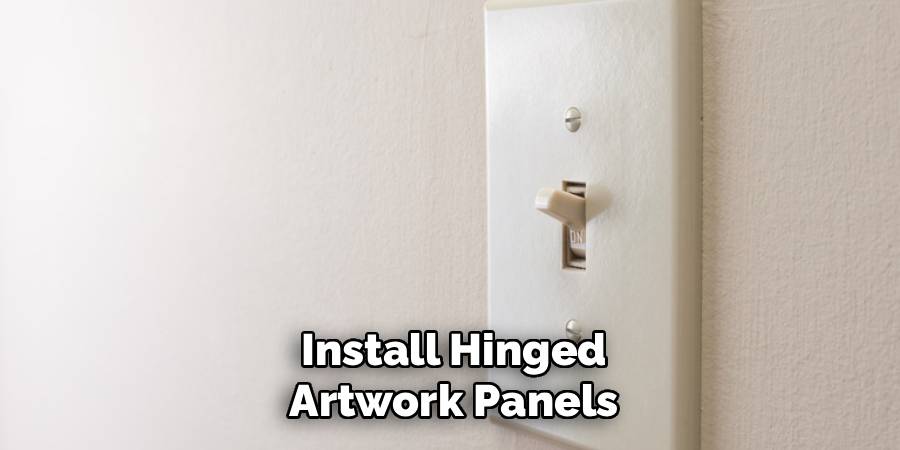
Step 4: Install Hinged Artwork Panels
Mount lightweight artwork or decorative panels on hinges that can swing open to reveal hidden switches underneath. This method provides complete concealment while maintaining easy access when needed. Choose artwork that complements your existing decor and ensure the hinges are sturdy enough to support repeated use. Position the hinged panel at an appropriate height and mark the switch location clearly on the back of the artwork for quick identification when access is required.
Step 5: Build Custom Wall Niches Around Switches
Create recessed wall niches that incorporate switches as functional elements within decorative displays. This technique works well with floating shelves, shadow boxes, or custom-built alcoves that house decorative objects alongside concealed switches. Plan the niche depth carefully to ensure switches remain easily accessible while being visually integrated into the display. Use consistent materials and finishes to create a cohesive look that appears intentionally designed rather than retrofitted.
Step 6: Use Furniture for Strategic Switch Concealment
Position furniture pieces to naturally block the view of light switches without impeding access. Tall bookcases, artwork easels, or decorative screens can effectively conceal switches while serving their primary functions. Ensure furniture placement allows for comfortable switch operation and doesn’t create awkward reaching situations. Consider the room’s traffic flow and ensure concealed switches remain intuitive to locate for family members and guests who need to operate the lights.
Step 7: Apply Textured Wall Treatments for Seamless Integration
Use textured wall treatments like wood paneling, stone veneer, or decorative wall coverings that can be carefully cut around switches to minimize their visual impact. These materials create depth and visual interest while helping switches blend into the overall wall surface.

Plan the installation carefully to ensure clean cuts around switch openings and consider how the texture will affect switch plate selection. Coordinate with existing architectural elements for a cohesive appearance throughout the room.
Step 8: Install Remote Control Switch Systems
Replace traditional switches with remote control systems that eliminate the need for visible wall switches entirely. These systems allow you to control lights from discrete handheld remotes or smartphone apps while removing switches from prominent wall locations. Consider battery life, signal range, and compatibility with existing light fixtures when selecting remote systems. Some systems allow you to relocate switches to less visible locations while maintaining traditional operation methods alongside remote capabilities.
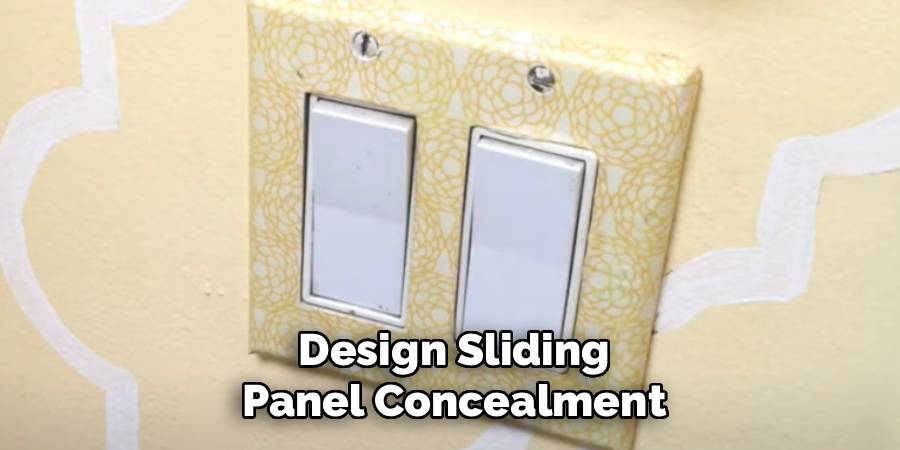
Step 9: Design Sliding Panel Concealment
Create sliding panels that cover switches when not in use but can be easily moved aside for access. This technique works well with modern or industrial design themes and can incorporate materials like wood, metal, or acrylic. Design panels to slide horizontally or vertically depending on the available wall space and surrounding decor. Ensure smooth operation with quality hardware and consider adding soft-close mechanisms for quiet operation and professional appearance.
Step 10: Implement Smart Home Integration for Invisible Control
Integrate switches into smart home systems that respond to voice commands, motion sensors, or automated schedules, reducing the need for manual switch operation. While physical switches remain for backup control, smart integration allows them to be positioned in less prominent locations or concealed more extensively. Research compatibility with existing smart home platforms and consider the learning curve for family members who will use the system regularly for optimal functionality and convenience.
Frequently Asked Questions (FAQs)
What Are The Safest Methods To Hide Light Switches?
The safest methods involve decorative covers, artwork placement, or furniture positioning that don’t require electrical modifications. Avoid covering switches with materials that could trap heat or interfere with proper operation. Always ensure switches remain accessible for emergency situations. If electrical work is needed, hire a licensed electrician to maintain safety standards and local code compliance.
Can I Hide Switches Without Affecting Their Functionality?
Yes, most concealment methods maintain full switch functionality while improving aesthetics. Decorative plates, hinged artwork, and strategic furniture placement allow normal operation while reducing visual impact. Smart home integration can actually enhance functionality by adding remote control and automation features. The key is choosing methods that prioritize both accessibility and concealment for practical daily use.
How Much Does It Cost To Hide Light Switches?
Costs vary significantly based on your chosen method. Simple solutions like decorative switch plates range from $5-25 per switch. Gallery wall arrangements might cost $50-200 depending on artwork choices. Custom installations or smart home systems can range from $100-500 per switch. DIY approaches generally cost less than professional installation but require more time and skill to achieve polished results.
Which Rooms Benefit Most From Hidden Switches?
Living rooms, dining rooms, and bedrooms benefit most from hidden switches since these spaces prioritize aesthetic appeal. Kitchens and bathrooms may require more accessible switches due to frequent use and safety considerations. Hallways and entryways can accommodate creative concealment since switches are used less frequently. Consider each room’s function and usage patterns when planning concealment strategies.
Do Hidden Switches Meet Building Code Requirements?
Most concealment methods meet building codes as long as switches remain accessible and properly marked. Decorative covers, artwork, and furniture placement typically don’t violate codes. However, completely sealing switches behind permanent installations may create code issues. Check local regulations and consult professionals for major modifications to ensure compliance with safety requirements and building standards.
Conclusion
Successfully mastering how to hide light switches transforms your living space from functional to sophisticated while maintaining the convenience of proper illumination control. The techniques outlined in this guide offer solutions for every skill level and budget, from simple decorative upgrades to comprehensive smart home integration.
Take time to plan your approach carefully, considering both daily functionality and long-term maintenance requirements. With patience and creativity, you can achieve professional-looking results that seamlessly integrate switches into your home’s design while preserving their essential functionality for years of beautiful, uncluttered living spaces.

