Transforming your living space with vibrant and energy-efficient lighting is made possible by hardwiring LED strips, a popular and versatile lighting solution. Whether you’re looking to enhance the ambiance of a room, add accent lighting, or create a customized lighting design, hardwiring LED strips offers a seamless and professional look.
In this comprehensive guide, we explore the step-by-step process of how to hard wire led strips, covering key aspects such as selecting the right LED strips, preparing the wiring, and ensuring a secure and durable installation.
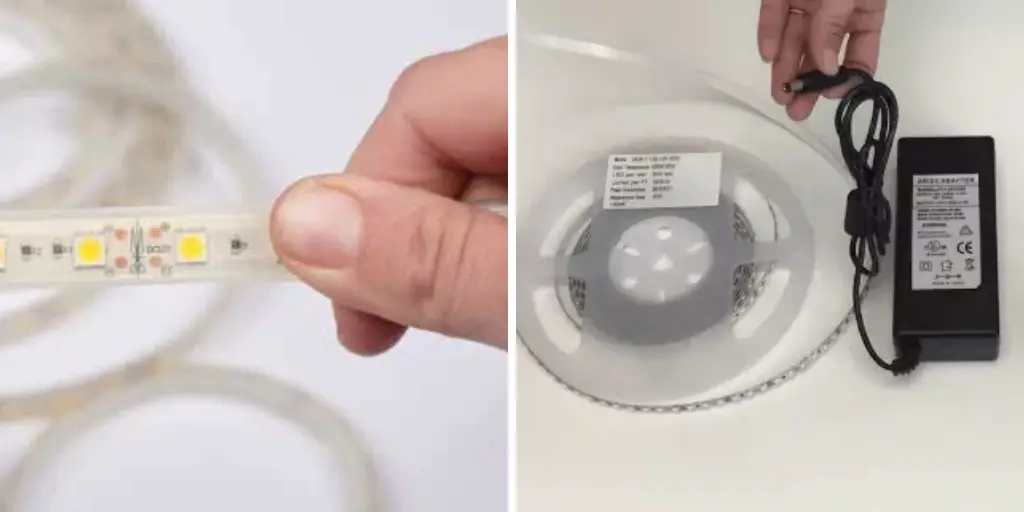
With the increasing popularity of LED technology, hardwiring LED strips has become an accessible and rewarding DIY project for homeowners. By following these instructions, you can unlock the full potential of LED strip lighting, bringing both functionality and aesthetics to your home with a polished and hardwired finish.
Different Applications for Hardwired LED Strip Installations
LED strips are becoming increasingly popular for their versatility, energy efficiency and ease of installation. Unlike traditional lighting sources, LED strips can be cut to any length and come in various colors, making them ideal for a variety of applications.
One common method of installing LED strips is through hardwiring, which involves directly connecting the strip to an electrical power source. This eliminates the need for a plug and allows for a cleaner, more permanent installation. In this document, we will explore some of the different applications for hardwired LED strip installations.
Under Cabinet Lighting
One popular application for hardwired LED strips is under cabinet lighting in kitchens and other areas with cabinets or shelves. This type of lighting provides both task lighting and ambiance, making it an ideal choice for food preparation areas. It also eliminates the need for additional outlets and cords, resulting in a more streamlined and clutter-free workspace.
Cove Lighting
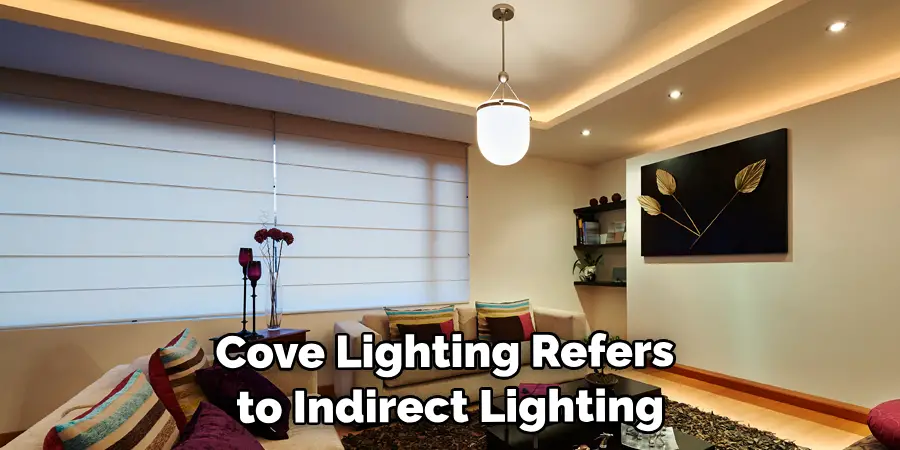
Cove lighting refers to indirect lighting fixtures that are installed along the upper perimeter of a room. This creates a soft, warm glow that adds depth and dimension to any space. Hardwired LED strips are an excellent choice for cove lighting as they can be seamlessly hidden behind molding or other architectural features, creating a clean and modern look.
Accent Lighting
Hardwired LED strips are also commonly used for accent lighting to highlight specific areas or objects in a room. This could include highlighting artwork on a wall, adding drama to a staircase, or creating a focal point in an outdoor space. With the ability to cut and connect LED strips, the possibilities for accent lighting are endless.
10 Methods How to Hard Wire Led Strips
1. Gather Your Supplies
The first step in hard-wiring LED strips is to gather all of the necessary supplies. You will need LED strips, a power supply, wire cutters, wire strippers, electrical tape, and a soldering iron with solder. Make sure that you have enough of each item for the length of LED strip that you are working with.
2. Measure and Cut Your Strip
Once you have gathered your supplies, you will need to measure and cut your LED strip to the desired length. When cutting the strip, be sure to leave at least a few inches of extra wire on both ends so that it can be connected to other components later on.
3. Strip the Wires
Once you have measured and cut the strips to size, you will need to strip the wires at each end of the strip using a wire stripper. This will expose the copper wiring inside of each wire which will be used for connecting them together later on.
4. Connect Your Power Supply
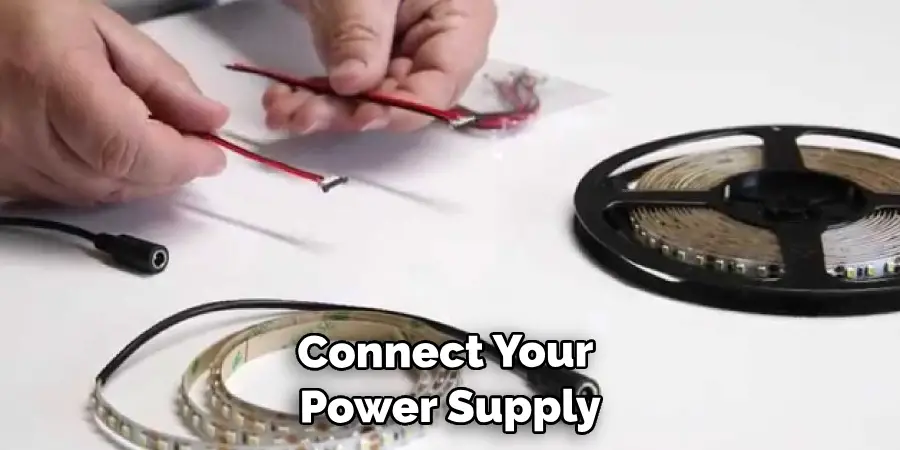
The next step is to connect your power supply to one end of the LED strip using electrical tape or solder depending on what type of connection your power supply requires. Make sure that all connections are secure before moving on to the next step.
5. Connect Your Strips Together
Now it’s time to connect your strips together by soldering them together at each end where they meet up with one another. Make sure that all connections are secure before moving on to the next step as loose connections can cause problems down the line when powering up your project.
6. Test Your Connection
Once all of your connections have been made, it’s time to test them out by plugging in your power supply and turning it on slowly until all of the lights come on evenly across all of your strips without any flickering or dimming in certain areas indicating a loose connection somewhere along the way.. If everything looks good then you can move onto mounting your strips into place permanently!
7. Mounting Your Strips
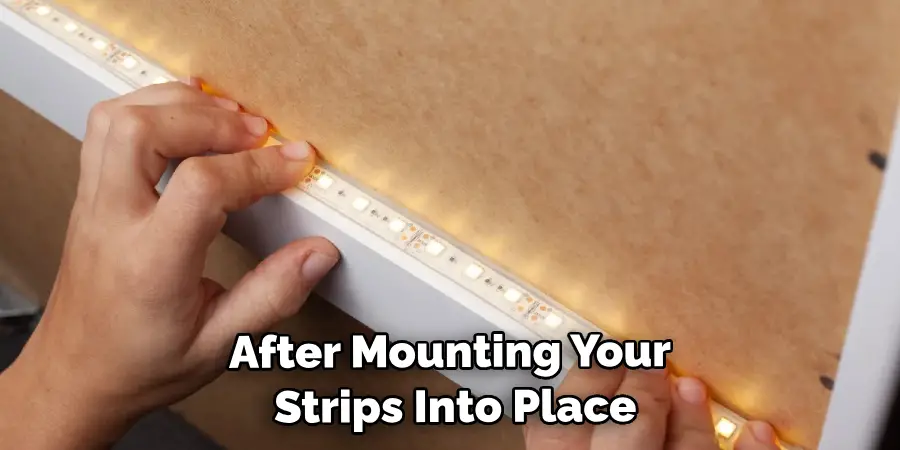
Now it’s time to mount your strips into place so that they don’t move around while in use or during transport if needed! There are several ways that this can be done depending on where you plan on placing them such as zip ties, adhesive foam tape, or magnets if needed! Just make sure that whatever method you choose is secure enough for its intended purpose before moving onto connecting everything else up!
8. Connecting Other Components
After mounting your strips into place it’s time to connect any other components such as switches or dimmers if needed! Depending on what type of components you are using there may be different methods for connecting them such as soldering or using electrical tape again but just make sure that everything is securely connected before testing out any further!
9. Testing Out Everything
Before powering up anything else it’s always best practice to double check all connections once more just in case something has come loose while mounting everything into place earlier or even during transportation if needed!
Once everything looks good then go ahead and turn everything back on slowly until all lights come back up evenly without any dimming or flickering again indicating a loose connection somewhere along the way!
10. Enjoy!
Congratulations! You have successfully hardwired an LED strip lighting system and now it’s time for everyone else around you enjoy its beauty safely without having any worries about anything coming undone anytime soon due too its strong construction from earlier steps taken while setting up this project from start till finish today!
Things to Consider When Hard Wiring LED Strips
As an alternative to using plug-in type power supplies, you may choose to hard wire your LED strips. Hard wiring involves connecting the LED strips directly to a power source without using any additional components or connectors. This can be a more permanent and secure method of powering your LEDs.
However, before attempting to hard wire your LED strips, there are some important things to consider. These include the voltage and current requirements of your LED strips, as well as the type of power source you will be using.
Voltage Requirements
LED strips typically operate at low voltages, with most options ranging from 5V to 24V. It is crucial to ensure that you are using the correct voltage for your specific LED strip model. Using a higher voltage than what is recommended can cause damage to your LED strip, while using a lower voltage may result in poor performance or no illumination at all.
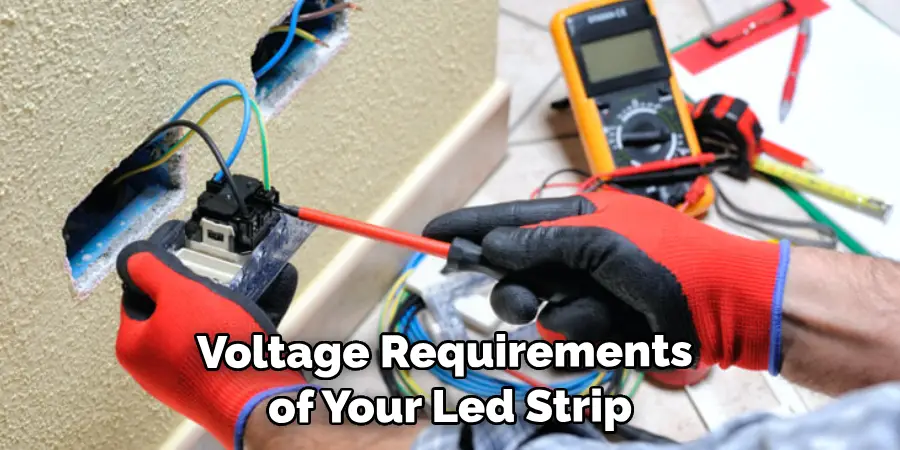
To determine the voltage requirements of your LED strips, refer to the product specifications provided by the manufacturer. This information should also be included in the packaging or user manual, and it is crucial to double-check before proceeding with the hard wiring process.
Current Requirements
In addition to voltage, it is also important to consider the current requirements of your LED strips. The amount of current needed will depend on the length and type of LED strip being used. If you are unsure about the current requirements, it is best to consult the manufacturer or a professional before proceeding with hard wiring.
Power Source
When hard wiring your LED strips, you will need to use an appropriate power source. This can include a wall outlet, battery pack, or dedicated power supply. Whichever option you choose, it is crucial to make sure that the voltage and current output of the power source matches the requirements of your LED strips.
Common Mistakes to Avoid When Hard Wiring LED Strips
When it comes to hard wiring LED strips, there are a few common mistakes that people tend to make. These mistakes can lead to problems with the installation or even damage to the LED strips themselves. To help you avoid these issues, we’ve compiled a list of some of the most common mistakes and how you can avoid them.
Not Checking the Voltage
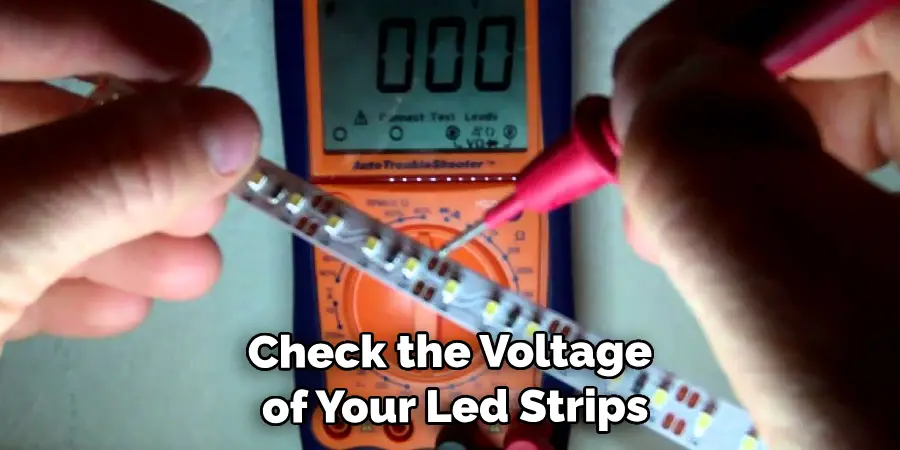
One of the most important things to consider when hard wiring LED strips is the voltage. LED strips typically come in either 12V or 24V, and it’s crucial to make sure that your power source matches the voltage of your LED strips. Using the wrong voltage can result in insufficient power or even damage to the LEDs.
To avoid this mistake, always check the voltage of your LED strips before connecting them to a power source. If you’re unsure, consult the manufacturer’s instructions or do some research online to ensure that you have the correct voltage.
Poor Soldering Technique
Soldering is a necessary skill when it comes to hard wiring LED strips. Unfortunately, many people make mistakes when soldering and end up with weak connections or even exposed wires. This can lead to inconsistent lighting or, in worst-case scenarios, electrical hazards.
To avoid this mistake, make sure to practice your soldering technique before attempting to hard wire LED strips. Use high-quality solder and a good quality soldering iron to ensure strong and reliable connections.
Conclusion
In conclusion, hard wiring LED strips is a great way to save money, conserve energy, and create a unique visual effect for your home. With a few simple steps, you can have LED light strips that last for decades. By following the tips outlined in this post, you’ll have a better understanding of how to hard wire led strips safely and efficiently.
Plus, knowing your options when it comes to customizing and installing your lights will give you that much more satisfaction when it’s all done. So why not get started now? With the right products and techniques, there’s no reason why you shouldn’t be able to easily hard wire led strips in your home and create an amazing atmosphere within minutes!

