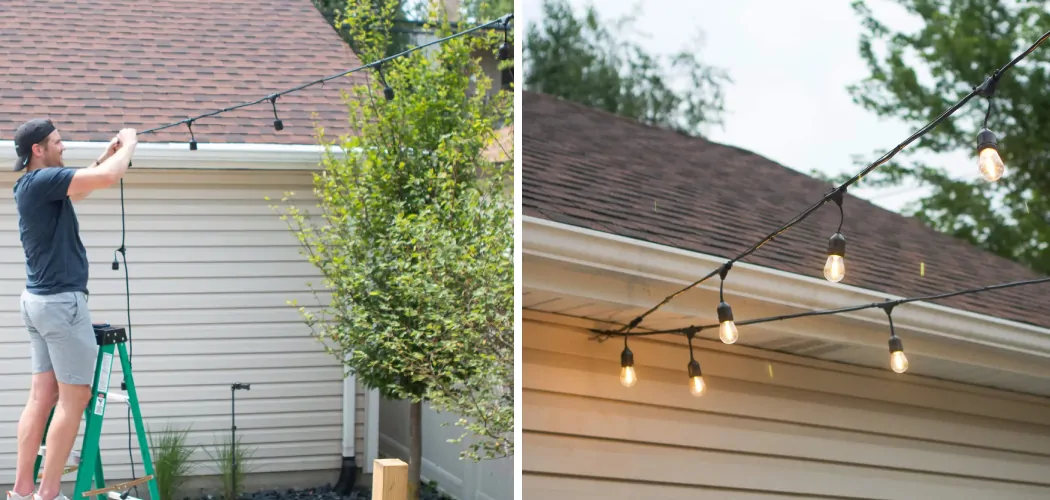
Illuminating your outdoor space with the warm glow of string lights adds an enchanting touch to your evenings. When it comes to hanging string lights, one might wonder about the feasibility of doing so on siding without causing damage or compromising the integrity of the structure. This article delves into the art of adorning your siding with string lights, offering a comprehensive guide to ensure both safety and aesthetics.
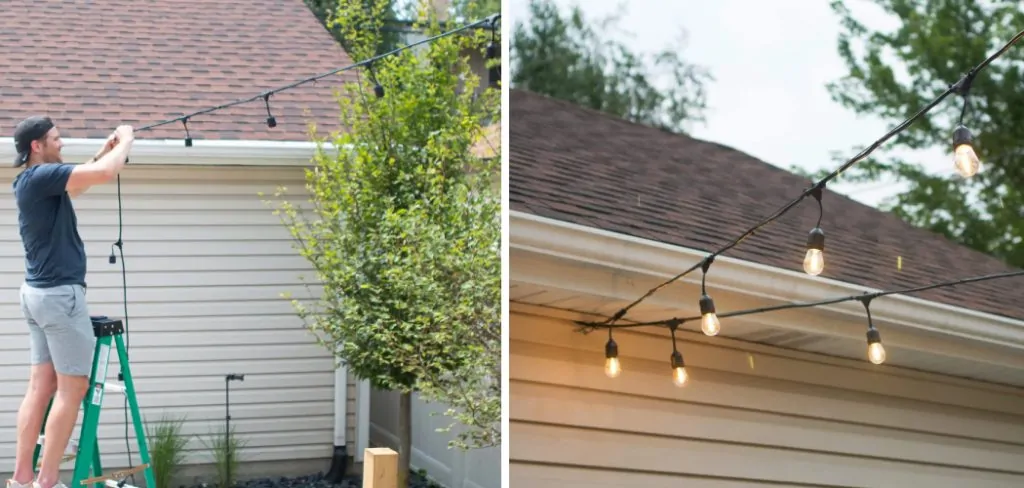
From selecting the appropriate hardware to positioning the lights strategically, this guide will walk you through step-by-step instructions on how to hang string lights on siding. Whether you’re aiming for a cozy backyard gathering or a serene ambiance for relaxation, these insights will empower you to transform your outdoor area into a captivating and inviting haven.
The Appeal of Using String Lights to Enhance Outdoor Spaces
Adding string lights to your outdoor space is an easy and cost-effective way to instantly brighten up the look of your siding. Whether you’re lighting up a patio, garden, balcony or porch, string lights can create a unique, welcoming atmosphere with minimal effort. From vintage Edison bulbs to modern LED strings, there are endless options for adding a soft, inviting touch to your space.
However, before you can begin enjoying the atmosphere that string lights add to your outdoor area, there are a few things you need to know about how to hang them correctly on siding. It’s important to make sure you use the right materials and take the appropriate steps when installing string lights on siding so they remain secure and the siding remains undamaged.
The Importance of Proper Installation
When it comes to hanging string lights on siding, proper installation is essential for safety. If done incorrectly, the lights can cause damage to your home’s exterior and be a fire hazard. This guide will walk you through the steps of how to hang string lights safely and securely on your siding.
Tools You’ll Need
To hang string lights on siding, you’ll need to gather some specific tools and materials. This includes:
- String Lights: Choose lights that are rated for outdoor use to withstand the weather conditions.
- Siding Clips: These are designed to grip onto your siding without causing damage.
- Measuring Tape: This will help you plan the layout of your lights.
- Ladder: A ladder will be necessary to reach your siding.
- Extension Cord: Depending on the placement of your lights, you may need an extension cord. Make sure it’s suitable for outdoor use.
Remember, safety should always be your first priority when working with electrical components and heights.
10 Steps How to Hang String Lights on Siding
Step 1: Embark with Precision – Plan and Measure
The journey begins with thoughtful planning. Take time to envision the layout of your string lights, considering the length of your siding and the atmosphere you wish to create. Measure accurately to determine the quantity of lights needed and the optimal spacing. Contemplate the proximity of power sources and whether an extension cord is necessary.
Step 2: Illuminate with Intention – Choose the Right String Lights
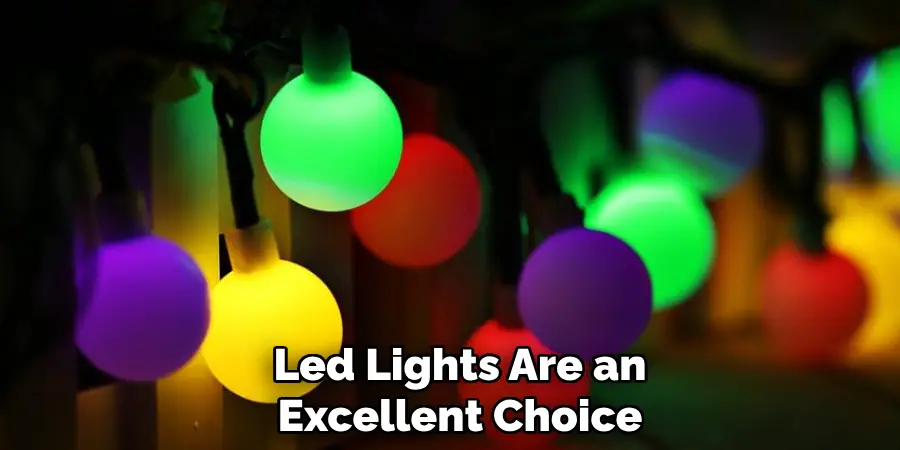
For a lasting outdoor arrangement, opt for string lights designed to withstand the elements. LED lights are an excellent choice due to their energy efficiency and lower heat emission, ensuring both safety and longevity.
Step 3: Assemble the Arsenal – Select Appropriate Hardware
Select hardware specifically designed for outdoor use. Choose from options such as screw hooks, adhesive clips, or light clips, ensuring they securely attach to your siding material without compromising its integrity.
Step 4: Prime the Canvas – Prepare the Area
Prepare the siding surface meticulously by clearing away dirt, dust, and debris. A clean surface guarantees the adhesive or attachment hardware adheres securely, ensuring a stable foundation for your lights.
Step 5: Sculpt the Vision – Decide on Positioning
Craft your vision by determining the starting and ending points of your light installation. Consider the trajectory you want the lights to take, whether it’s a straight line, a whimsical zigzag, or a contour-following arrangement. Picturing the pattern beforehand ensures a harmonious outcome.
Step 6: Artful Attachment – Attach Hardware
Carefully follow the instructions provided by the hardware manufacturer to attach the chosen components securely to your siding. For wooden siding, screw hooks offer a robust option, while adhesive clips cater to smooth surfaces. Attaining level positioning is crucial for both aesthetics and functionality.
Step 7: Weave the Magic – Hang the Lights
Embark on the journey of hanging your string lights, gracefully draping them over the installed hardware. If employing clips, ensure the light cord is nestled within the clip to prevent any undue stress on the wiring. Maintain a consistent spacing between lights, fostering visual equilibrium.
Step 8: Illuminate the Night – Test the Lights
Before fully committing to the setup, plug in the lights to verify their operational status. Testing ensures that any necessary adjustments can be made before the installation is finalized, saving you from later repositioning.
Step 9: Elegance in Stability – Secure the Lights
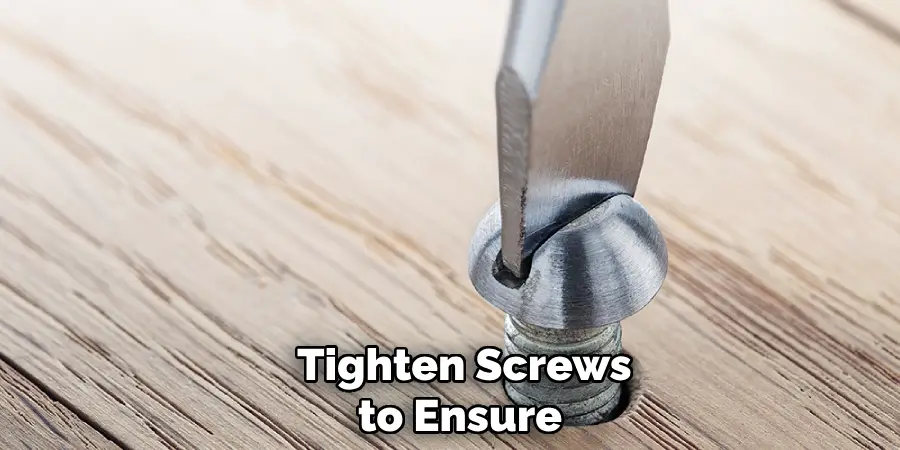
Fine-tune the position of the lights to your satisfaction before securing them in place. Gently adjust the hardware or, if applicable, tighten screws to ensure a taut yet not overly stretched appearance that avoids undue strain on the cords.
Step 10: Conceal with Craft – Conceal Cords (Optional)
Elevate the aesthetic allure by considering options to conceal cords. Strategically route them along existing features such as rain gutters or the edges of the siding. Utilize clips or adhesive cable organizers to maintain a tidy and polished appearance.
Some Common Mistakes to Avoid When Hanging String Lights on Siding
When it comes to hanging string lights on your siding, there are a few common mistakes that you should avoid in order to ensure that your job is secure and successful. Here we present some of the most common problems people run into when hanging string lights on siding:
- Not Using Enough Fasteners: When it comes to securing string lights against siding, the most important part is making sure that you use enough fasteners to keep them in place. Depending on how strong your siding material is, you may need more than one fastener for every foot of string lights.
- Using the Wrong Type of Screws: When installing string lights onto siding, it is important to make sure that you use the right type of screws. It is best to choose screws specifically designed for siding, such as those with a flat head or pan-head profile. Avoid using standard wood screws as they can cause damage to your siding.
- Not Keeping Enough Clearance between Lights and Siding: Make sure that you leave enough clearance between the string lights and the siding. If the string lights are too close, they can cause damage to or discoloration of the siding. It is recommended that you leave at least one-half inch clearance between the light and the siding.
- Using Nylon Cable Ties: Never use nylon cable ties when installing string lights onto siding as this can lead to serious damage. Instead, use a plastic zip tie or adhesive fastener designed specifically for siding.

Safety Precautions For Hanging String Lights on Siding
When it comes to hanging string lights on siding, safety should be your first priority. Before you begin, verify that the area where you’ll be working is free of debris. Make sure furniture is at least 10 feet away from where you will be attaching the string lights and that any power sources are turned off or disconnected. Additionally, keep a fire extinguisher nearby in case of any issues.
Next, you’ll need to prepare your materials for the job. Make sure that the power cord used with the string lights is rated for outdoor use and that it has a ground fault circuit interrupter (GFCI). You will also need drill bits or screws depending on what type of siding you are attaching the lights to.
Now you’re ready to begin the installation process. First, decide on the design that you would like and mark it out on the wall with a pencil or chalk. Next, drill holes or use screws to attach clips for hanging your string lights.
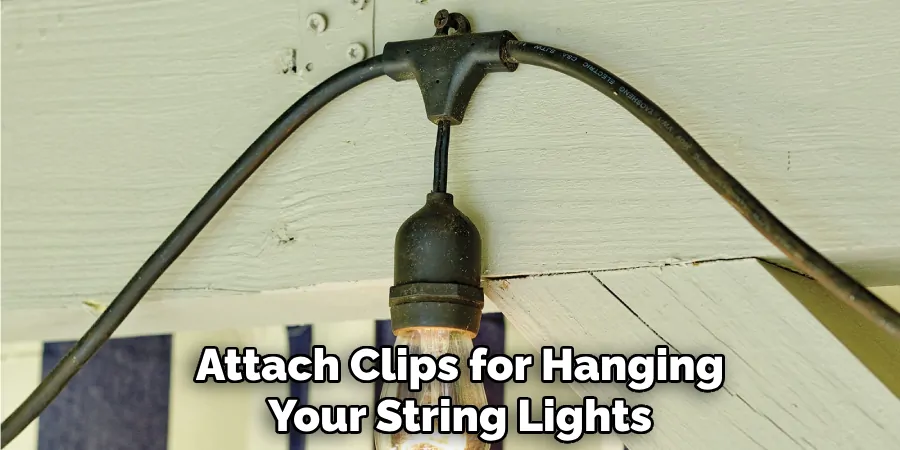
The number of clips you’ll need depends on how long and how wide your string light installation will be. Be sure to space the clips out evenly in order to ensure even lighting across the entire area. When attaching screws, make sure you pre-drill the holes with an appropriate drill bit so that you don’t damage your siding.
Conclusion
With the right approach, you can completely transform your outdoor space with string lights. If you want your lights to add fun and flair to your outdoor area, make sure to hang them on your siding in a way that keeps them secure while not compromising the aesthetics of the space.
To hang lights that won’t damage the siding, use plastic clips that will grip the edges of the siding while securing the wire.
Make sure when running wiring to connect outlets and fixtures that you run it along the top of each section.
Lastly, do what’s best for your home and test out different placements until you find something that looks great and works great for creating a unique atmosphere outdoors. Now that you know how to hang string lights on siding properly, get out there and bring some life to your outdoor spaces!

