Decorating your space with net lights is a simple yet effective way to create a warm and enchanting atmosphere. Whether you’re preparing for a festive celebration or looking to add a cozy ambiance to your home, hanging net lights on the ceiling can transform any room into an inviting haven.

This guide on how to hang net lights on ceiling will walk you through the necessary steps and tips to ensure your lights are securely and aesthetically installed, helping you achieve a professional and polished look with ease.
Why Choose Net Lights?
Before we delve into the steps on how to hang net lights on ceiling, let’s first understand what makes this type of light an ideal choice for your decorating needs.
Net lights are a versatile and convenient option as they come in ready-to-use designs that can easily be draped over any surface, including walls, windows, and ceilings. They also offer a beautiful twinkling effect that adds a touch of magic to any space. Moreover, their compact size allows you to cover large areas quickly and efficiently.
Materials Needed
To successfully hang net lights on your ceiling, you’ll need the following materials:
Net Lights:
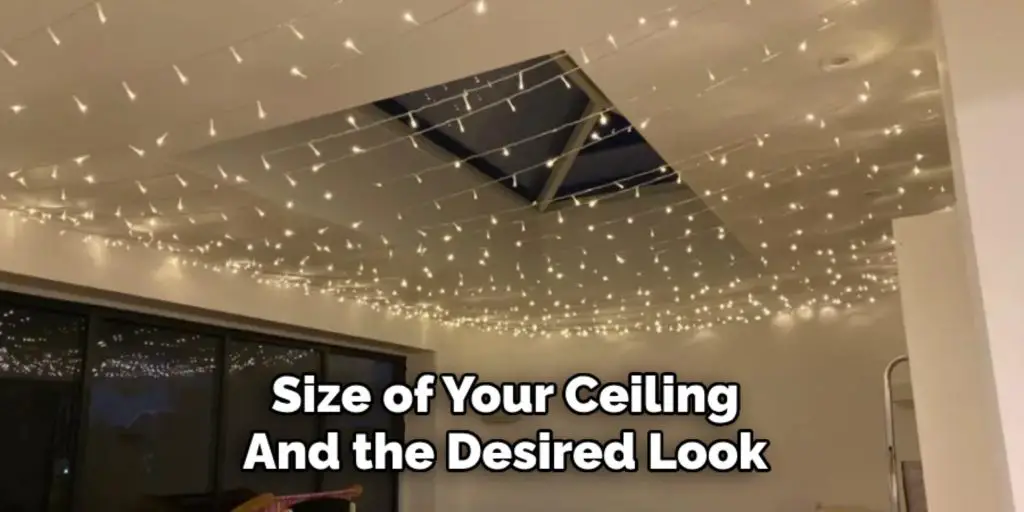
Choose high-quality lights with UL certification for safety purposes. The length and number of lights you’ll need will depend on the size of your ceiling and the desired look.
Hooks or adhesive clips:
These are used to secure the net lights to your ceiling. Ensure they are strong enough to hold the weight of the lights.
Ladder or step stool:
Since you’ll be working on a higher surface, having a ladder or step stool will make it easier for you to reach and hang the net lights.

8 Steps on How to Hang Net Lights on Ceiling
Step 1: Measure Your Ceiling
Begin by measuring the dimensions of your ceiling to determine how much space you need to cover with the net lights. Use a tape measure to record the length and width of the area where you’d like to hang the lights.
This will help you decide how many net light panels you’ll need and prevent any gaps or overlaps in your display. Proper measurements ensure an even distribution and a clean, professional look.
Step 2: Plan Your Layout
Once you have the measurements of your ceiling, plan the layout of your net lights. Decide how you want the lights to be arranged—whether you prefer a symmetrical grid pattern or a more relaxed, cascading style. Sketch out your plan on paper to visualize the final look, and mark the key points on your ceiling where the hooks or adhesive clips will be placed.
This step ensures that your lights are positioned correctly and evenly while avoiding any unnecessary adjustments during the installation process.
Step 3: Prep the Hooks or Adhesive Clips
Before attaching your net lights, prepare the hooks or adhesive clips that will secure them to the ceiling. If you are using adhesive clips, clean the surface of your ceiling where you’ll place them to ensure a strong bond.
Use a damp cloth to remove dust or dirt, and allow the surface to dry completely before proceeding. If you’re using screw-in hooks, carefully mark the spots where they will go and use a drill or screwdriver to install them securely.
Make sure to space the hooks or clips evenly according to your planned layout. Proper preparation of these anchoring tools will provide a stable foundation for your net lights and prevent them from falling over time.
Step 4: Hang the Net Lights
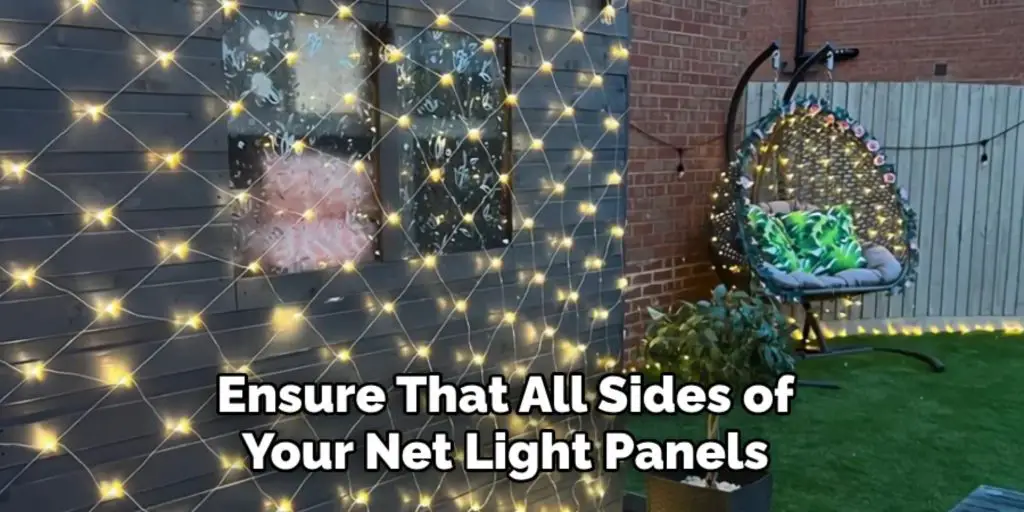
Working from one side of the ceiling to the other, carefully drape your net lights over the hooks or clips. Start at one end and unroll the lights as you move along to prevent tangles. Use caution when handling the lights, making sure not to pull or stretch them too much. For a neat display, ensure that all sides of your net light panels are equally distributed on each hook or clip.

It’s crucial to check the manufacturer’s instructions on how to connect multiple net light panels if needed. Some lights come with end-to-end connectors that allow you to easily string them together for longer displays.
Step 5: Secure the Lights
After hanging the net lights on the hooks or adhesive clips, take a moment to ensure that they are securely fastened. Gently press the adhesive clips to confirm they are firmly attached to the ceiling, or check that the hooks are holding the lights without sagging. If necessary, make adjustments to evenly distribute the weight of the lights across all attachment points.
For added stability, use zip ties or twist ties to secure sections of the lights to the hooks or clips, especially if you notice any loose areas. Confirm that the lights are taut but not over-stretched to avoid damaging the wiring. A secure installation not only enhances the appearance of your display but also ensures safety and longevity.
Step 6: Conceal the Wires
To create a seamless and tidy look, hide any visible wires by tucking them behind furniture or along the edges of your ceiling. You can also use adhesive cord clips to keep the wires in place. For more permanent installations, consider using a staple gun to secure the wires discreetly. Hiding the wires adds to the overall aesthetic appeal of your net light display.
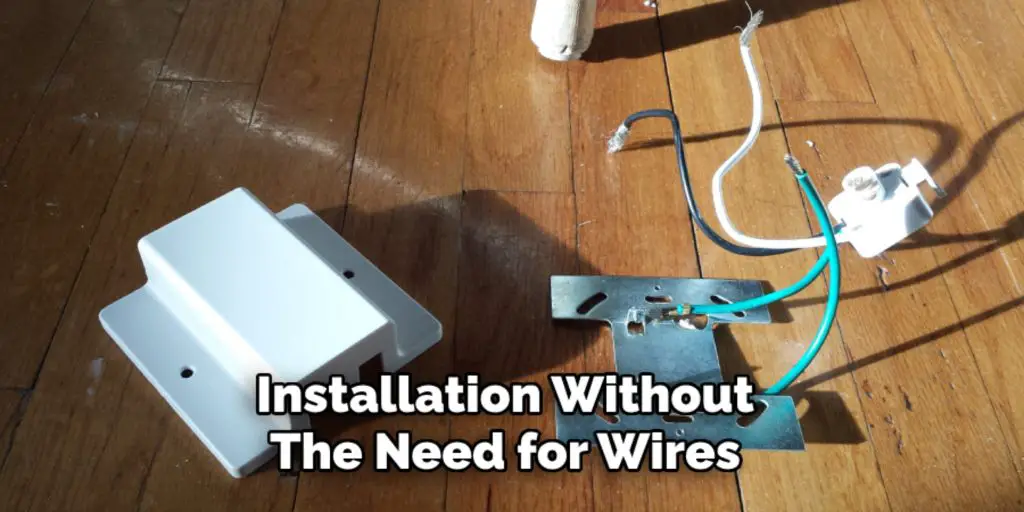
You can also use battery-operated net lights for a cleaner and more flexible installation without the need for wires or extension cords.

Step 7: Test the Lights
Before finalizing your installation, plug in your net lights to ensure they are working correctly. Turn on the lights and inspect their brightness, evenness, and overall appearance.
Look for any sections that may not be lit, as this could indicate a disconnected panel or a potential issue with the wiring. If you notice any problems, check the manufacturer’s instructions for troubleshooting or inspect the connections between light panels.
Confirm that the lights are securely in place and that the layout matches your intended design. Testing the lights at this stage ensures everything is functioning as expected before completing the setup.
Step 8: Enjoy Your Twinkling Ceiling!
Congratulations, you have successfully hung your net lights on the ceiling! Now, turn off the room’s main light and bask in the beautiful twinkling effect of your net lights. You can also add additional decorations such as fairy lights or paper lanterns, to create a whimsical and inviting atmosphere.
Following these steps on how to hang net lights on ceiling will ensure a hassle-free and professional-looking installation of net lights on your ceiling. With proper maintenance, your twinkling ceiling can bring warmth and charm to your home for many festive seasons to come!
Additional Tips
- If you are using extension cords, make sure they are safely concealed and do not cause any tripping hazards.
- For outdoor installations or areas that may be prone to moisture, consider using waterproof net light panels to prevent any damage.
- Incorporate a timer or remote control for your net lights to easily turn them on and off, saving you the hassle of manually plugging and unplugging them.
- To add more dimension to your display, consider hanging lightweight ornaments or decorations from the net light panels. Just make sure not to overload them with too much weight.
These additional tips can help enhance your net light display and make it easier for you to maintain and enjoy throughout the holiday season. With proper installation and maintenance, your twinkling ceiling will surely be the highlight of any gathering or celebration in your home.
Frequently Asked Questions
Q: Can I Use Net Lights on a Textured Ceiling?
A: It is not recommended to hang net lights on a textured ceiling as the texture may interfere with the hanging process and create an uneven appearance. It is best to use a smooth surface for better adhesion and stability.
Q: How Long Can I Keep My Net Lights Hanging?
A: With proper maintenance, net lights can last for multiple holiday seasons. However, it is recommended to inspect the lights each year before hanging them to ensure they are still in good condition and functioning properly.
Q: Can I Customize the Color of My Net Lights?
A: Yes, there are various color options available for net lights, including traditional white, warm white, multicolor, and even different shades of blue or red. Choose the option that best suits your desired aesthetic!

Conclusion
Hanging net lights on your ceiling is a simple yet effective way to transform any space into a stunning visual centerpiece. By following the steps outlined in this guide on how to hang net lights on ceiling, you can ensure a smooth and secure installation process while achieving an eye-catching display.
Whether you’re decorating for the holidays, hosting an event, or simply looking to enhance the ambiance of your home, net lights offer endless creative possibilities.
With proper care and maintenance, your twinkling lights can add warmth, charm, and delight to your environment for years to come. Now, it’s time to relax and enjoy the magical glow of your beautifully lit ceiling!

