When the holiday season arrives or you’re looking to add a festive touch to your home, hanging lights on shingles can transform your space into a dazzling display of light and cheer. Whether it’s for Christmas, a special event, or simply to enhance your home’s exterior, mastering the art of hanging lights on shingles is key to achieving a professional and polished look. However, the process requires careful consideration and planning to ensure safety, efficiency, and a stunning end result.
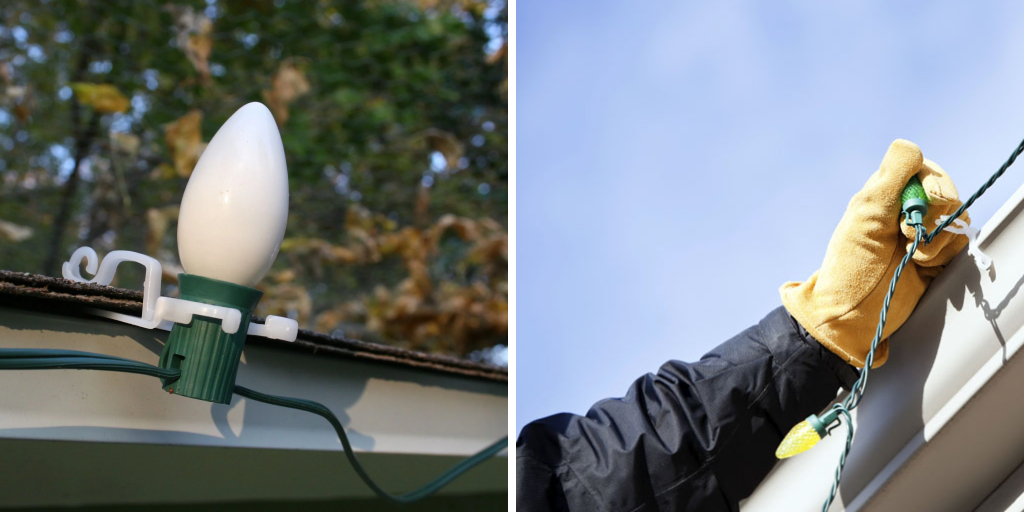
From choosing the right type of lights to selecting the appropriate clips or hooks, navigating the intricacies of shingle installation is essential. This guide will provide you with step-by-step instructions, practical tips, and creative ideas to help you illuminate your home with style while keeping your shingles intact and your holiday spirit bright. Get ready to turn your house into a beacon of joy and warmth with the following insights on how to hang lights on shingles.
Importance of Hanging Lights on Shingles
When it comes to decorating your house during the holiday season, hanging lights on shingles can add a touch of magic and make your home stand out. This is why knowing how to hang lights on shingles is crucial, as it can prevent any damage to your roof while still creating a beautiful and festive display.
Shingles are one of the most common types of roofing material and are designed to protect your home from the elements. They are made up of individual overlapping pieces that form a barrier against water, wind, and other weather conditions. However, while shingles are durable, they can be delicate if not handled properly.
Hanging lights on shingles incorrectly can cause damage such as cracking or breaking them, leading to potential leaks and costly repairs. Not only that, but the added weight of lights and decorations can also put stress on your shingles, especially if they are already damaged or old. This is why it’s essential to learn how to hang lights on shingles correctly to avoid any potential damage.
Additionally, knowing how to hang lights on shingles can also help with efficiency and safety. By using the proper techniques, you can ensure that your lights are secure and won’t easily fall or get tangled. This not only saves time but also reduces the risk of accidents or injuries while decorating.
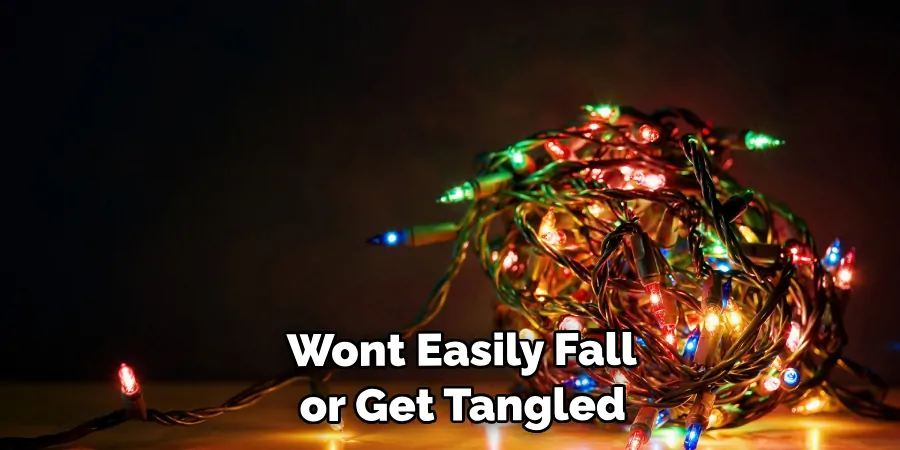
Furthermore, proper shingle hanging techniques can also help with the overall appearance of your display. By evenly spacing and securing lights on your roof’s surface, you can create a seamless and professional-looking decoration that will impress your neighbors and passersby.
10 Methods How to Hang Lights on Shingles
1. Use a Ladder
The first step in hanging lights on shingles is to use a ladder to access the roof. Make sure that the ladder is stable and secure before climbing up, and ensure that someone can spot you from the ground for safety. Once you’re up on the roof, make sure to wear gloves and secure your footing before proceeding with the next steps.
2. Measure Length of Lights
Next, measure out the length of lights that you need to hang on your shingles. This will help ensure that you don’t end up with too much or too little when it comes time to hang them. Make sure to account for any extra slack that you may need at each end for tying off or attaching clips.
3. Attach Clips or Hooks
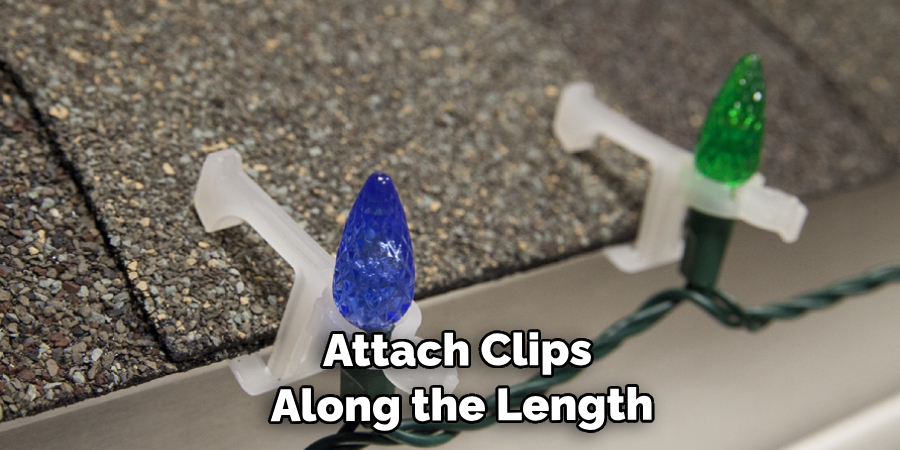
Once you have measured out your lights, attach clips or hooks along the length of them at regular intervals. This will help keep them in place once they are hung on the shingles and also make it easier to adjust their position if necessary. Depending on what type of lights you are using, there may be specific clips or hooks available for purchase that are designed specifically for this purpose.
4. Secure Lights with Nails
Next, use nails to secure the lights onto your shingles at each clip or hook point along their length. Make sure not to drive the nails in too deep as this could cause damage to your roofing materials and potentially create a leak risk down the line. It can also help to use plastic washers between the nail head and light fixture for added security and protection against moisture damage over time.
5. Tie Off Ends of Lights
Once all of your lights have been secured with nails, tie off both ends by wrapping them around nearby objects such as chimneys or vent pipes as needed for stability and security against windy conditions outdoors. Make sure not to overtighten these knots as this could cause damage to both your lights and whatever object they are tied off to – just enough tension should be sufficient in most cases!
6. Connect Lights Together
Now it’s time to connect all of your individual light fixtures together into one continuous strand using extension cords or other wiring methods depending on what type of lighting system you are using (e..g LED vs incandescent). Make sure not to overload any circuits by connecting too many fixtures together – always check with an electrician if in doubt!
7. Test Lights Before Finishing
Before finishing up with installation, make sure to test out all of your lights one last time just to make sure everything is working properly before putting away all tools and materials used during the installation process – no one wants a surprise later when flipping switches!
8. Cover Wires With Shingle Tabs
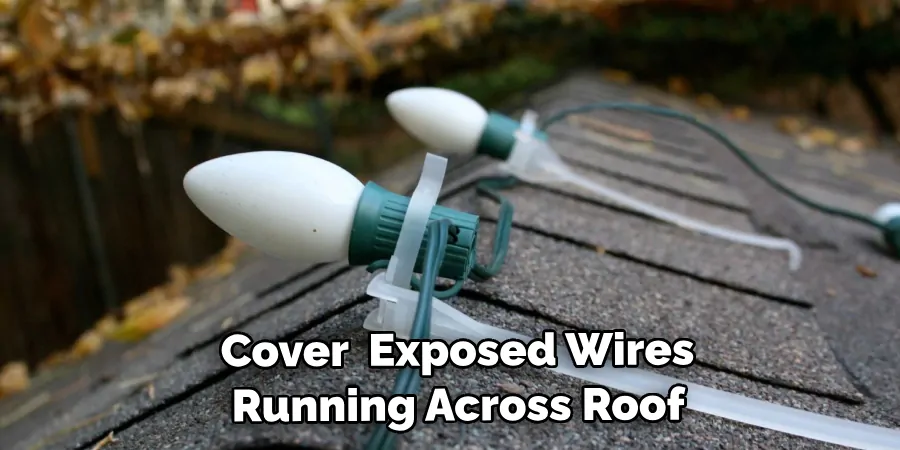
To finish up installation process, cover any exposed wires running across roof surface by tacking down shingle tabs over them – this will help keep them protected from weather elements outdoors while still allowing air flow underneath so no heat buildup occurs over time due to poor ventilation!
9. Put Away Tools & Clean Up Area
Once everything has been tested and installed properly, put away all tools used during the project, such as ladders, drills, hammers, etc., making sure not to leave anything behind on the roof surface that could potentially cause harm later down the road (e.g. e.g. stray nails). Also, take some time now to clean up the area below where the installation took place so no debris is left behind either!
10. Enjoy Your New Lighting System!
Last but certainly not least – enjoy your new lighting system! After going through the entire installation process from start to finish, now is the time to reap the rewards of hard work put into the project – sit back, relax, and admire the handiwork, knowing the job was done right on the first try!
Things to Consider When Hanging Christmas Lights
The holiday season is just around the corner, and one of the best ways to spread festive cheer is by hanging Christmas lights. Whether you want to create a winter wonderland in your front yard or add some sparkle to your home’s interior, hanging Christmas lights is an essential part of holiday decorating. However, before you start putting up those twinkling lights, there are a few important things to consider. In this guide, we’ll go over some key factors to keep in mind so you can safely and effectively hang your Christmas lights.
Checking Your Lights
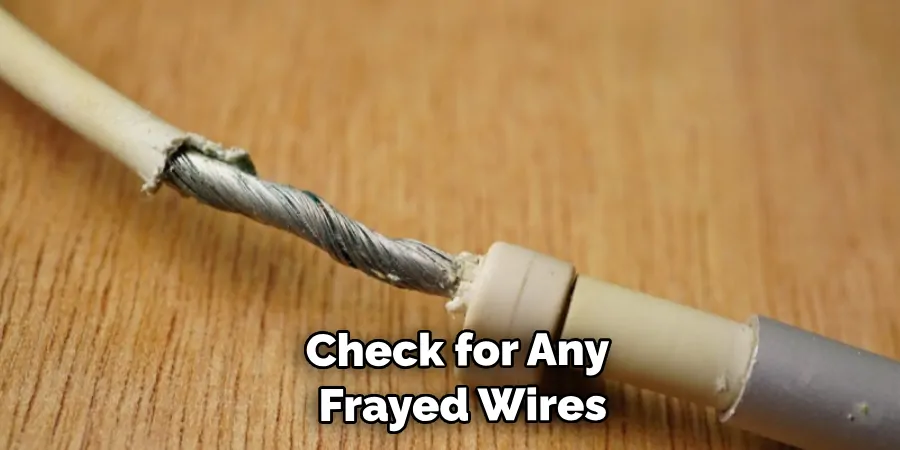
Before you start hanging your Christmas lights, it’s essential to ensure they are in good working condition. Check for any frayed wires, broken bulbs, or other damages that could potentially cause a fire or electrical shock. It’s also a good idea to test the lights beforehand to make sure they are functioning correctly.
Planning Your Layout
The next step is to plan out your light display. Consider where you want to hang the lights, whether it’s on your home’s exterior, in trees, or around windows and doors. Take measurements of the areas to determine how many lights you will need and where to place them. It’s also crucial to think about the power source for your lights and make sure you have enough outlets or extension cords available.
Choosing the Right Lights
There are various types of Christmas lights available, from traditional incandescent bulbs to energy-efficient LED lights. Take some time to research and choose the right lights for your display. LED lights are a popular choice as they last longer, use less energy, and are more durable than traditional lights. However, they can be more expensive upfront.
Safety Measures
Safety should always be a top priority when hanging Christmas lights. Make sure to use a sturdy ladder and have someone hold it steady while you climb up. Also, avoid overloading outlets or extension cords and keep them away from wet areas to prevent electrical hazards. It’s also important to follow manufacturer instructions for your specific type of lights and only use them for their intended purpose.
Weather Conditions
Weather conditions can affect the safety and effectiveness of your Christmas lights. It’s crucial to check the forecast before hanging them up and avoid putting them up in heavy rain or snow. Also, make sure to use outdoor-rated lights for exterior displays and indoor lights for interior ones.
Conclusion
Hanging lights on shingles is a fantastic and relatively easy way to decorate the outside of your home. With just a few simple steps, you can have beautiful outdoor lights hung with minimal fuss.
You don’t need any special tools or expertise to do it correctly – all you need is some basic knowledge and the right supplies. By following these guidelines, you can decorate the outside of your home in no time at all! So go ahead and give yourself an early Christmas gift by learning how to hang lights on shingles this year! In doing so, you can easily improve your home’s appearance and make the whole neighborhood more festive for everyone this holiday season.

