Hanging a chandelier without wiring is an easy and cost-effective way to light up your home. You don’t have to worry about electrical codes or permits since you won’t switch circuits on or off. Plus, it’s easier than ever with the advent of battery-operated LED chandeliers that must be hung up and turned on for an instant glow.

Hanging a chandelier without wiring offers several advantages. Firstly, it eliminates hiring an electrician to conduct the wiring work, saving you money and time. Secondly, many plug-in chandeliers are designed with adjustable chains that allow them to be hung at any height, providing increased flexibility when decorating your space. Read this blog post to learn how to hang a chandelier without wiring.
Step-by-step Instructions for How to Hang a Chandelier Without Wiring
Step 1: Inspect the Area
Before installing the chandelier, make sure there is a solid base to mount it. Check that the ceiling or wall has no loose materials and can support the weight of a chandelier.
Step 2: Gather Your Materials
Gather the materials you need for installation, such as a chandelier, mounting hardware, and safety equipment. Read the instructions with your chandelier to determine what type of mounting hardware is suitable. Secure the mounting plate or bracket using appropriate wall anchors and screws. Make sure the mounting plate is level before continuing.
Step 3: Attach Your Chandelier to the Mounting Plate
Once your mounting plate is secure, attach your chandelier to it. Use the appropriate hardware that comes with your chandelier for a secure fit. Depending on the type of chandelier, you will need to either plug in its power cord or attach a battery pack. If using a battery pack, make sure to follow the instructions that come with it for proper installation and use.
Step 4: Install The Bulbs
Install the bulbs once your chandelier is attached to the mounting plate, and your power source is connected. Make sure to use bulbs that are compatible with your chandelier model. Carefully hang the chandelier from its mounting plate and check for any signs of instability or damage. Ensure all screws and hardware are tight to secure the chandelier.

Step 5: Double Check Your Installation
Double-check that your work was done properly once your chandelier is installed and hung. Look for any signs of damage or loose materials and ensure that the power source is connected properly.
Step 6: Turn on Your Chandelier and Enjoy
Finally, turn on your chandelier and bask in the cozy lighting provided by your new feature. Make sure to check the bulbs periodically for signs of wear or damage. Once you are done enjoying your chandelier, clean up any debris or materials that may have been left behind during the installation process.
With just a little bit of preparation and careful attention to detail, you’ll be able to get the look you want without having to worry about dealing with any complicated wiring.
Precautions for How to Hang a Chandelier Without Wiring
- Make sure the overhead support is secure and stable.
- Always wear safety glasses when working on the chandelier or its installation.
- Always use a proper ladder to reach any high places where wiring or mounting may be required.
- Read through the instruction manual carefully before beginning work on the chandelier.
- Measure twice and cut once when dealing with wiring or mounting materials.
- Use insulated tools to avoid electric shock or short circuits when cutting wires.
- Securely attach all fixtures before powering on the chandelier to prevent hazardous incidents.
Now that you know the basics, you can start hanging a chandelier without wiring. The first step is to choose a suitable location for your fixture. Make sure it has adequate space and is not located too close to any potential source of heat or moisture, as this could damage the wiring and light bulbs.
How Do You Secure the Mounting Hardware to Your Ceiling?
After you have chosen the ideal location for your chandelier, it’s time to secure the mounting hardware. Start by drilling four holes into the ceiling where you want to mount your chandelier. Then, use screws and anchors to secure a bracket or hanger plate onto the ceiling. Make sure each screw is tightly secured to stay put against your chandelier’s weight.

Finally, attach the mounting hardware to the bracket or hanger plate and use a level tool to ensure it is securely installed to the ceiling. Finally, you are now ready to hang your chandelier. Ensure all screws, wires, and other components are tightened before turning on power. Once everything is installed correctly, enjoy your new lighting fixture and the added beauty it brings to any room.
How Do You Connect the Power Source Safely and Correctly?
Once you’ve found the right spot for your chandelier, it’s time to figure out how to connect it safely and correctly. Knowing to hang a chandelier without wiring properly can come in handy.
You’ll need to understand how electrical current works to ensure your chandelier is wired correctly. Make sure that the wires you use are rated for the current you need, and connect them to avoid potential electrical hazards.
The best way to ensure your chandelier is safely connected is to hire a professional electrician. An electrician can assess your home’s wiring and advise you on the best action. They’ll also be able to properly install the chandelier to be securely mounted and connected safely.
If you don’t want to hire an electrician, there are some DIY solutions. There are products available that allow you to plug your chandelier directly into a wall outlet without using any wiring at all. These are great solutions for anyone wanting to hang a chandelier without worrying about wiring it in.
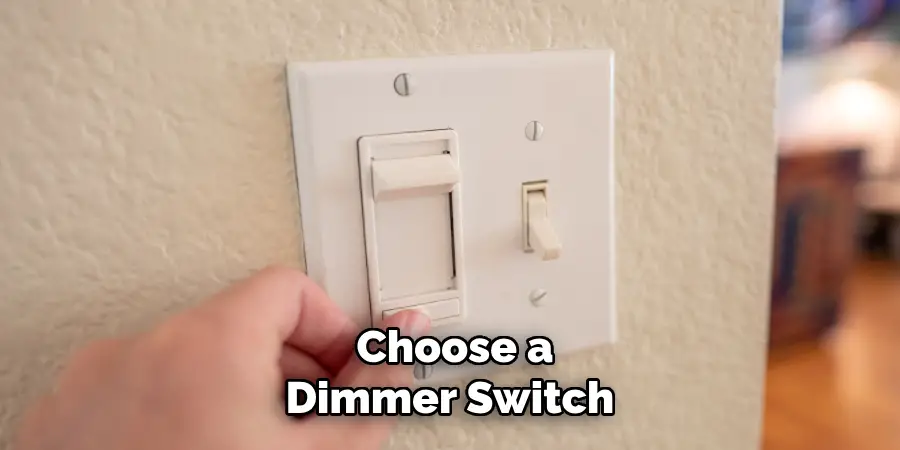
Can You Install a Dimmer Switch With Your Chandelier Without Wiring?
Yes! With today’s technology, you can easily install a dimmer switch without wiring. Installing a dimmer switch will allow you to adjust the brightness of your chandelier without ever having to climb up and down a ladder or mess with complicated wiring. Here is a step-by-step guide for how to hang your chandelier without wiring and install a dimmer switch:

- Install an AC power supply near the ceiling of the room. You can use an outlet box or a surface-mounted box if there is enough space for the chandelier’s base to fit inside.
- Connect the AC power supply to your chandelier’s wiring. Make sure the connections are secure, and there is no exposed wiring.
- Follow the manufacturer’s instructions to install your chandelier on the AC power supply.
- Attach a dimmer switch to the wall conveniently near the chandelier using mounting screws or adhesive strips (depending on what type of dimmer switch you have).
- Connect the dimmer switch to the chandelier’s wiring, ensuring all connections are secure.
- Turn on your power supply and test out your new dimmer switch.
With these easy steps, you’ll be able to hang a chandelier without wiring and have complete control over the brightness in your room.
What Are the Benefits of Installing a Chandelier Without Wiring?
Installing a chandelier without wiring can have many benefits, such as ease of installation and requiring no electrical work. You don’t need to worry about complicated wiring or dealing with electricians, you just need to find a spot in your ceiling to hang the chandelier. Additionally, hanging a chandelier without wiring requires no tools, and it takes minimal time to install.
Furthermore, when your chandelier is installed without wiring, you can have more control over the lighting in the room. You can easily choose a dimmer switch to adjust the light intensity according to your needs.

What Are Some Safety Considerations to Remember When Installing a Chandelier Without Wiring?
Regardless of your chosen method, there are some safety considerations to remember when installing a chandelier without wiring. If using an adhesive hook, attach it to a wall stud and the ceiling joist for added security. If using a picture rail hanger or swag kit, check that your light fixture is securely hung from the support.
You should also check the weight-bearing capacity of the support to ensure that it can handle your chandelier without buckling or giving way. Furthermore, ensure to install any wall switches or outlets at least 12 inches from the chandelier’s position for safety.
Conclusion
In conclusion, hanging a chandelier without wiring can be a simple and cost-effective way to bring elegant lighting into your home. Although it might require more time and effort than hardwiring, the result is worth the extra work.
With careful measurement and planning, you will be able to hang your new light fixture with ease. Don’t forget to measure twice before drilling; it will save you time and energy in the long run.
Finally, thoroughly read your chandelier’s instruction manual to ensure a safe installation. I hope this article has been beneficial for learning how to hang a chandelier without wiring. Make Sure the preventive measures are followed chronologically.

