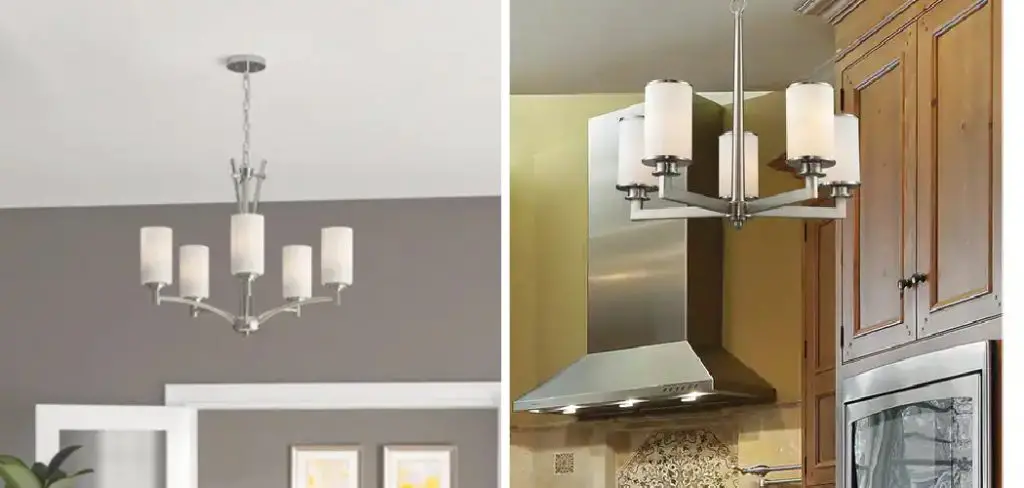
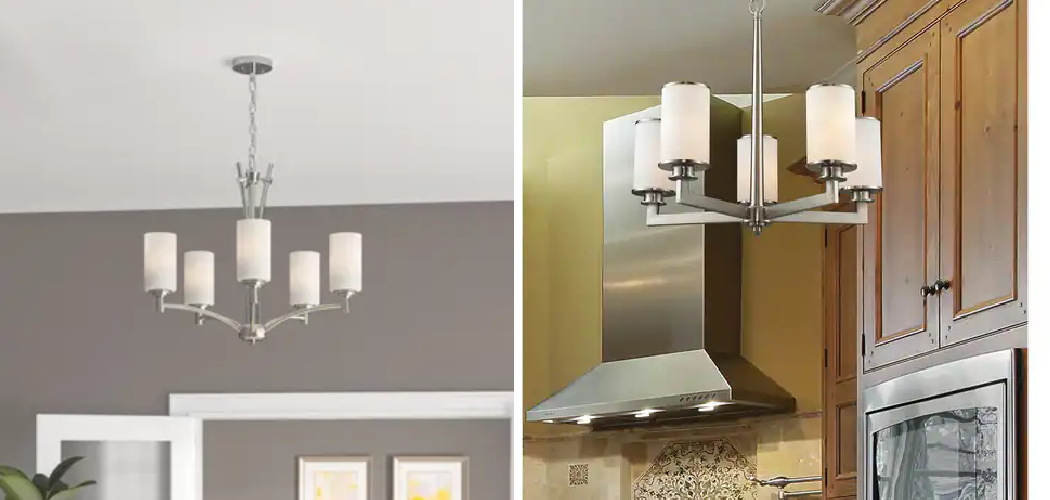
Are you looking to spruce up your dining room with a dramatic lighting display? Nothing says sophistication quite like installing a grand chandelier overhead. But if attempting such an undertaking is intimidating, fear not! We’ll show you how to hang a chandelier over a table and add some serious pizzazz to your décor.

This task may seem complex at first glance, but we’ll break down all the steps so anyone can complete it successfully with the correct tools and materials. Transform your like space into an inviting gathering spot in no time!
If you need more confidence in your DIY skills, hiring a professional electrician for this task may be best. However, with the right tools and following these simple steps, you can successfully install a chandelier over your table.
What Will You Need?
Before you get started, make sure you have the following tools and materials:
- Chandelier with all parts included
- Ladder or step stool
- Stud finder
- Measuring tape
- Pencil or marker
- Electric drill with appropriate bits for your ceiling type (wood, drywall, concrete)
Once you have everything ready, let’s get started on hanging your chandelier!
10 Easy Steps on How to Hang a Chandelier Over a Table
Step 1: Measure the Table and Ceiling
The first step in installing a chandelier over your table is to measure the size of your table and ceiling. You want to make sure that the chandelier will be centered above the table, so take note of the length and width of your table as well as its position in relation to any walls or windows. Then, use a measuring tape to find the center point of your ceiling directly above the table.

Step 2: Mark the Installation Spot
Once you’ve found the center point directly above your table, use a pencil or marker to mark this location on your ceiling. It’s crucial that this point is accurate as it will determine the location of your chandelier.
Double-check your measurements to ensure the spot is correctly centered over your table. If your ceiling is exceptionally high, you should use a ladder or step stool to reach this point. Always remember, safety comes first!
Step 3: Locate the Ceiling Joist
Use a stud finder to locate the ceiling joist closest to the marked spot. This joist will provide the support needed to hang your chandelier. Mark the joist’s location using a pencil or marker, ensuring it aligns with the center mark. If your ceiling is made of concrete, this step is optional, as concrete ceilings can support the chandelier’s weight without needing a joist.
Step 4: Drill the Mounting Hole
With your electric drill, create a mounting hole in the location marked on the ceiling joist. Ensure that the hole is big enough to fit the mounting hardware of your chandelier. If your ceiling is concrete, you may need a hammer drill with a masonry bit for this step. Remember to wear protective eyewear to prevent any debris from falling into your eyes.
Step 5: Install the Mounting Bracket
After drilling the hole, it’s time to install the mounting bracket for your chandelier. This bracket is usually included with the chandelier and is designed to securely support the fixture’s weight. Align the holes in the bracket with the hole you drilled in the ceiling joist (or concrete ceiling) and secure it using the appropriate screws. Ensure the bracket is securely fastened and leveled before moving to the next step.

Step 6: Wire the Chandelier
Now that the mounting bracket is in place, it’s time to wire your chandelier. This step can vary depending on the design of your chandelier and the wiring of your home, but generally, you’ll connect the chandelier’s wires to the house wires using wire nuts.
The house’s black (hot) wire should relate to the chandelier’s black or red wire, and the white (neutral) house wire should connect to the chandelier’s white wire. The house’s green or bare copper (ground) wire should relate to the chandelier’s green or bare copper wire.
Remember to turn off the electricity at the circuit breaker before wiring to avoid accidents. If you are not confident about this process, consider hiring a licensed electrician to do this part of the installation.
Step 7: Attach the Chandelier to the Mounting Bracket
Once the wiring is complete and secure, it’s time to attach your chandelier to the mounting bracket. This process might require extra hands due to the chandelier’s weight.
Carefully lift the chandelier and align the mounting holes in the canopy (the cover against the ceiling) with the holes in the mounting bracket. Insert the screws provided with the chandelier through these holes and tighten them until it is firmly attached to the ceiling. Be cautious not to overtighten the screws, as this could damage the canopy or the bracket.
Step 8: Adjust the Chandelier Height
Once your chandelier is securely fastened to the ceiling, it’s time to adjust the height. The proper height will depend on the size of your table and the height of your ceiling, but a good rule of thumb is to hang your chandelier 30-36 inches above the table surface for ceilings that are 8 feet high.
For each additional foot of ceiling height, increase the hanging height by 3 inches. Adjust the chain or cable of your chandelier to achieve the desired height, ensuring it’s centered over the table and at a height that provides optimal illumination without obstructing the view across the table.
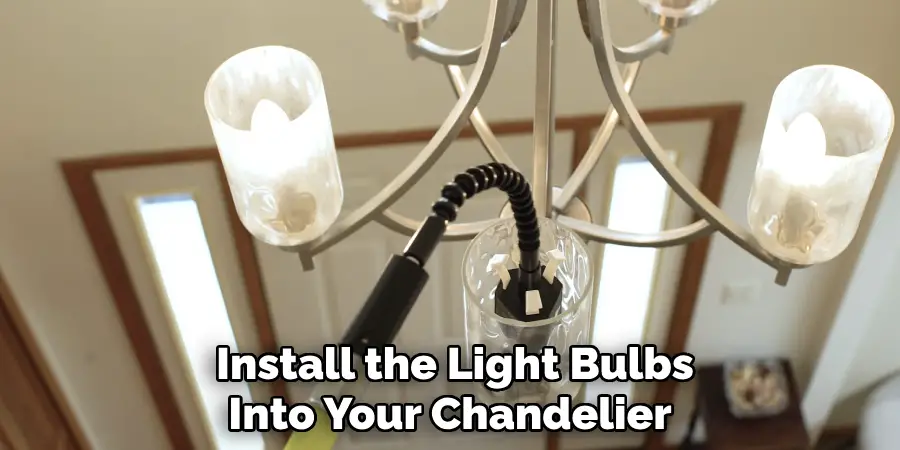
Step 9: Install the Light Bulbs
After adjusting the height, install the light bulbs into your chandelier. Make sure to use the appropriate type and wattage of bulb recommended by the chandelier manufacturer. Once the bulbs are installed, you can attach any remaining decorative elements, such as crystal drops or shades if your chandelier includes them.

Step 10: Turn the Power Back On and Test Your Chandelier
The final step is to turn the power back on at the circuit breaker and test your chandelier. Flip the switch to ensure that all the bulbs light up and the chandelier functions as it should. If everything works correctly, then congratulations! You’ve successfully hung a chandelier over your table. Enjoy the elegance and ambiance it brings to your dining area.
You can confidently hang a chandelier over your table by following these steps and taking the necessary safety precautions. Always consult a professional if you are unsure or uncomfortable with any part of the installation process.
5 Additional Tips and Tricks
- Measure Twice, Drill Once: Before drilling holes in your ceiling, double-check your measurements to ensure the chandelier is perfectly centered over your table. A measuring tape and a laser level can be beneficial in this process.
- Use Quality Tools: Be sure to use the tools you’ll need for this project. A good quality drill, stud finder, and screwdriver can make the process much smoother – and safer.
- Light Bulb Selection: Choosing the correct light bulbs for your chandelier is crucial for achieving the desired ambiance. Consider using dimmable bulbs to adjust the light intensity to create different moods for different occasions.
- Safety First: Always turn off the power at the circuit breaker before starting any electrical work. And remember, if you’re not entirely comfortable with any part of the process, it’s best to call a professional electrician.
- Regular Maintenance: Keep your chandelier looking its best by dusting and cleaning it. This will keep it shining and increase the life of your light bulbs and the chandelier itself.
With these tips and tricks in mind, you can confidently hang a chandelier over your table and add a touch of elegance to your dining area.
5 Things You Should Avoid
- Avoid Rushing the Process: Hanging a chandelier is not a task to be rushed. It requires precision in measuring, wiring, and positioning. Hurrying through these steps may lead to mistakes, which can be counterproductive and potentially hazardous.
- Do Not Overload Your Electrical Circuit: Ensure your circuit can handle the load of the new chandelier. Installing a fixture that requires more power than your circuit can supply can lead to electrical problems.
- Steer Clear of Incorrect Bulbs: Using the wrong type of bulbs can lead to overheating or poor illumination. Always use the bulb type and wattage recommended by the chandelier manufacturer.
- Remember Safety Precautions: Skipping safety precautions is a severe mistake. Always turn off the electric power at the circuit breaker before starting any electrical work. Wear protective goggles and gloves, and make sure your ladder is stable.
- Avoid Incorrect Height Placement: Hanging your chandelier too low can obstruct the view across the table, while hanging it too high may not provide adequate light. Stick to the guidelines provided for optimal placement.

By following these tips and avoiding common mistakes, you can successfully hang a chandelier over your table and elevate the look of your dining area.
Conclusion
To conclude, hanging a chandelier not only has the potential to enhance your space dramatically, but it could also be easy and enjoyable. With careful planning and attention to detail, you can select the perfect chandelier for your dining room table and have a beautiful ambiance in no time. You will also be able to enjoy your lighting choice for years to come- making it an investment worth making.
Hopefully, the article on how to hang a chandelier over a table has provided you with the knowledge and confidence to undertake this project.
So go ahead, consider artistic options, take measurements carefully, and then proudly hang your chandelier above your dining room table. You’ll be sure to love how it completes the look of your home!

