Are you looking to upgrade the look of your space with a beautiful ceiling medallion? From enhancing an elegant entranceway to adding visual interest and texture, ceiling medallions can be a great way to make a design statement. But before you can enjoy the beauty of this traditional architectural element in your own home, it’s important to know how to properly hang one!

In this blog post on how to hang a ceiling medallion, we’ll guide you through the step-by-step process for installing a ceiling medallion so that you can give any room in your home an impressive makeover without breaking the bank.
What is Medallion?
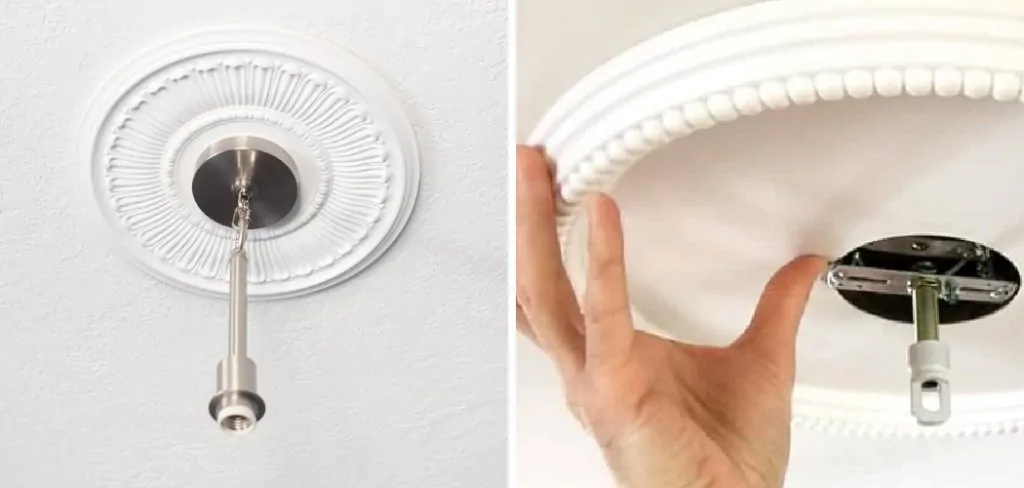
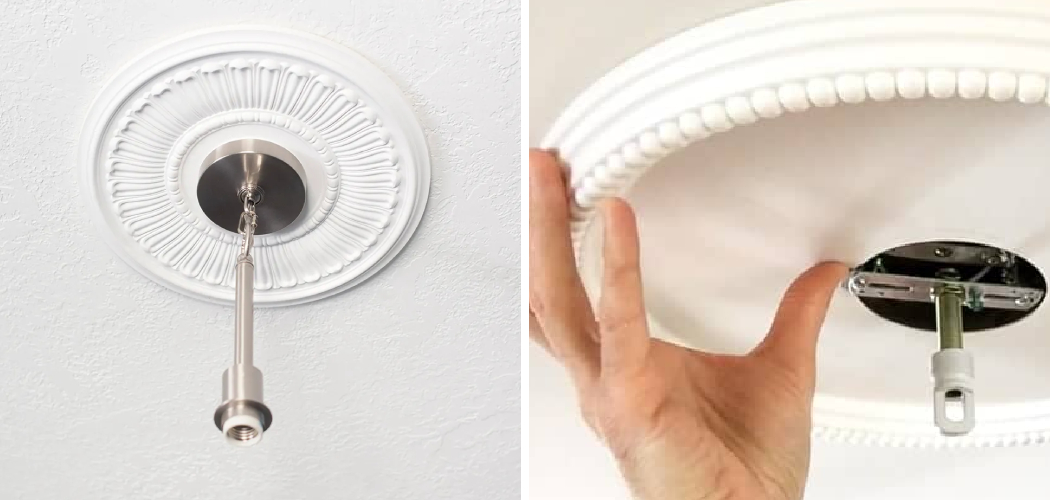
A medallion is an ornamental disc that can be used to decorate a ceiling or wall. It usually has an intricate design and ornate details and is often made from plaster, metal, wood, or other durable materials. Medallions are commonly used in restorations and remodel for homes as well as in commercial interiors.
Things to Consider Before Hanging a Ceiling Medallion
1. Size
Before you hang a ceiling medallion, there are some factors to consider. For example, the size of your medallion should be in proportion to the room, so it’s important to take measurements before you purchase one.
2. Type of Material
The material you choose for your ceiling medallion will also affect how it looks and how long it lasts. Plaster is a popular choice since it’s durable and easy to work with, while metal or wood can add texture and style.
3. Installation Method
Ceiling medallions are usually installed with a combination of screws, nails, and adhesive. Make sure you have the correct tools for the type of medallion you’re installing as well as a secure mounting surface.
Tools Needed
- Drill & bits
- Level
- Stud finder (optional)
- Pencil
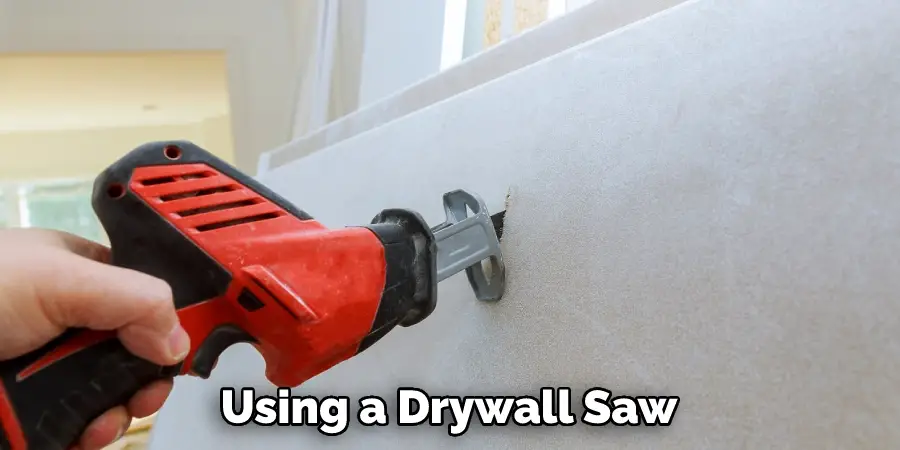
- Drywall saw, or hole saw kit for cutting the opening in the ceiling
- Hammer and nails
10 Instructions on How to Hang a Ceiling Medallion
1. Measurement
Measure the ceiling and decide on a location for your medallion. The right measurement will depend on the size of the room and other existing décor. Remember to take into account the height of the medallion and how it will look once installed.
2. Marking
Once you’ve decided on a location, use a pencil to mark the center of where you want to install your medallion. This will be the point from which all other measurements are made. While marking, make sure you double-check that the measurements are correct.
3. Cutting
Using a drywall saw, or a hole saw kit, cut out the center of the ceiling where you’ve marked your medallion’s location. Take extra care to ensure that the size and shape of the opening are accurate. Also, make sure to cover any exposed wood or drywall with tape to avoid splintering.

4. Installing
Once the opening is cut out, you can now install your medallion. Start by attaching it to the ceiling using screws and nails at each of the four corners. Make sure your screws are secure and that there’s enough space between the ceiling and your medallion.
5. Leveling
Now, use a level to make sure that your medallion is straight and at the right height. Adjust screws as necessary to ensure it’s level and secure. While you’re at it, make sure that the medallion is centered in the opening.
6. Adhesive
Once your medallion is level, apply adhesive to its back and sides for extra support. This will help keep everything in place and prevent any movement or shifting of the medallion over time. It is best to use a high-quality adhesive for this step.
7. Finish
Once the adhesive is dry, you can now finish your ceiling medallion. Depending on the type of material used for your medallion, you may need to paint or stain it to give it the desired look. Make sure you apply any treatments according to the manufacturer’s instructions.
8. Light Fixture
Finally, install the light fixture of your choice above the medallion and make sure it is securely mounted in place. If you choose to hang a chandelier, for example, use a small chain or cord to connect it to the ceiling studs.
9. Testing
Once everything is installed, it’s time to test your medallion and light fixture. Turn on the power and make sure all connections are secure. Check for any signs of wear or damage and make necessary adjustments as needed.
10. Maintenance
Periodically check your ceiling medallion for any signs of wear or damage, and make sure to keep it clean. Dust regularly and use a damp cloth for any spills or stains. With proper care, your ceiling medallion will remain beautiful for years to come.

By following these simple steps, you can easily install your own ceiling medallion and add style and elegance to your home. With the right tools and materials, you’ll be able to hang a ceiling medallion in no time!
8 Safety Measures to Take
1. Make sure that you have the right tools for the job. This includes a stud finder, power drill, and other tools needed to hang a ceiling medallion. If you do not have these tools, it is best to borrow them from a friend or purchase them from your local hardware store.
2. Wear protective eyewear and clothing when working with power tools or any other tool that could cause injury. Safety glasses should be worn at all times while handling the medallion. Protective clothing such as long sleeves and gloves, should be worn to protect against any potential injuries.
3. Read the instructions on the medallion carefully before you begin working with it. Make sure that you are familiar with all of the steps involved in hanging the medallion so that you can execute them correctly and safely.
4. Check to make sure that the ceiling is structurally sound. Before you begin hanging the medallion, make sure that the ceiling can support its weight. If not, consider installing a strong beam or other support structure to keep the medallion securely in place.
5. Know what type of fasteners to use for your ceiling medallion and how many are needed. Most medallions require two to three screws or nails, but be sure to check the instructions before you start drilling.
6. Do not hang the medallion without a spotter. It is important to have someone helping you while you are working with the ceiling medallion, as it can be quite heavy and difficult to maneuver into place.
7. Take the time to measure twice and drill once. Once you have determined the placement of your medallion, take the necessary measurements in order to ensure that it is level.
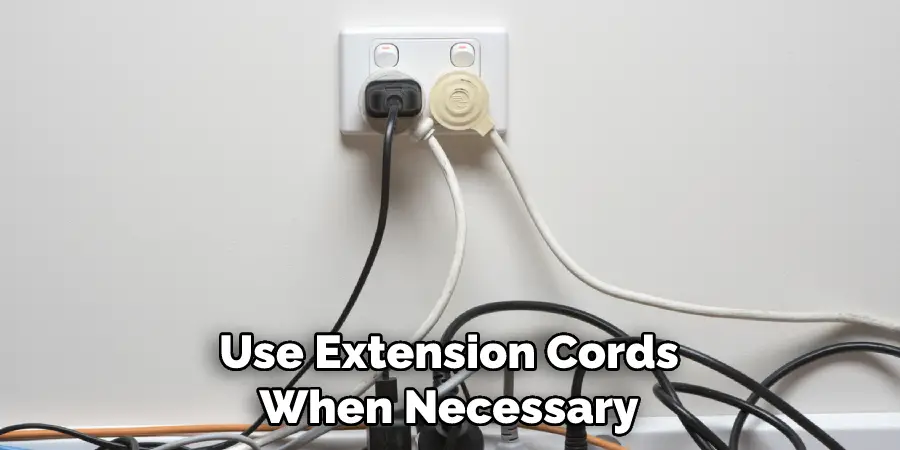
8. Use caution when working with power tools or any other tool used in hanging a ceiling medallion. Make sure that you are aware of your surroundings and know how to operate the tool correctly and safely. Also, use extension cords when necessary in order to avoid potential accidents. Following these tips can ensure that you hang your ceiling medallion correctly and safely.

6 Maintenance Tips
Hanging a ceiling medallion is an easy way to add charm and sophistication to any room. The right medallion can be the perfect finishing touch to your décor, but it’s important to make sure that you hang it correctly for optimal performance and beauty. Here are 6 maintenance tips for hanging a ceiling medallion:
1. Clean the ceiling before installation. Make sure to remove any dust, cobwebs, and other debris from the area where you’ll be hanging the medallion.
2. Measure twice, and cut once. You want to make sure that the medallion is properly centered in relation to the light fixture or other features it will be covering. Take your time and measure twice before cutting any holes.
3. Use a level to make sure the medallion is even and centered. This is especially important if you’re hanging a round medallion, as it will look off-center if not perfectly level. The level should be long enough to cover the entire medallion.
4. Use heavy-duty screws and anchors for installation. Your ceiling medallion will have a lot of weight, so it’s important to use the right type of screws and anchors that can handle the load.
5. Make sure you drill holes in the right places before attaching. Take your time and make sure you know exactly where the holes should be drilled for each screw or anchor.
6. Apply a sealer to prevent moisture damage. Moisture can cause discoloration, warping, and other unsightly damage, so it’s important to apply a protective sealer to protect the medallion from moisture. This will also help to keep it looking attractive for longer.

Following these steps can ensure that your ceiling medallion is hung correctly and looks beautiful in your home. A well-hung ceiling medallion adds an elegant touch to any room, so take the time to make sure it’s done right. With a little care and attention, your medallion will look great for years to come.
Conclusion
Hanging a ceiling medallion can appear to be an intimidating task. However, with the correct tools, some patience and the right technique, you will have the most exquisite finish for your room. With these simple steps and advice, you are now ready to give your home that added spark of beauty it deserves.
Whether you choose round or square ceiling medallions, it is sure to create an impression on anyone who visits your home. We hope these tips on how to hang a ceiling medallion have helped you on your quest to create a stunningly beautiful space filled with warmth and comfort that only ceiling medallions can bring about.
The world of interior design gives us endless possibilities for creativity; let’s make our home look great one step at a time!

