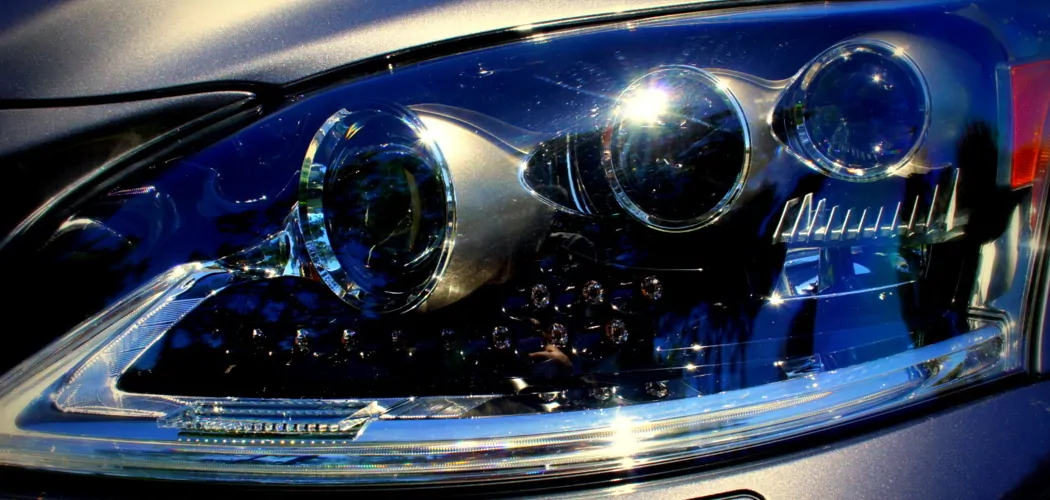
Over time, exposure to the elements can lead to a thin film developing on headlights, diminishing their brightness and clarity. This accumulation of grime, oxidation, and environmental contaminants not only affects the aesthetics but also compromises the effectiveness of your headlights. Restoring your headlights to their optimal condition doesn’t always require a professional touch; instead, it’s a task you can accomplish with a few simple steps.
This article serves as a comprehensive guide on how to get film off of headlights, offering practical methods and techniques to revive the clarity and luminosity of your vehicle’s headlights. From DIY cleaning solutions to polishing techniques, this guide empowers car owners to enhance visibility and ensure safer driving by addressing the common issue of filmy headlights.
The Importance of Maintaining Clear Headlights
Maintaining clear headlights is crucial for several reasons. Primarily, it enhances road safety by improving visibility during night-time or adverse weather conditions, allowing drivers to see the road ahead more clearly and to be better seen by other road users. Clear headlights also distribute light evenly, reducing glare that could potentially dazzle oncoming traffic.
Beyond safety, well-maintained headlights are essential for maintaining your vehicle’s value and avoiding potential legal issues, as in many regions, dim or obscured headlights can result in a vehicle failing its roadworthiness test. Therefore, regularly cleaning and restoring your headlights is not just a matter of cosmetic upkeep; it is an essential practice for safe and compliant driving.
The Issue of Film Buildup on Headlights
Film buildup on headlights is typically a gradual process that car owners may unintentionally overlook until it poses a significant impact on visibility. This filmy layer is primarily caused by oxidation, which occurs when the polycarbonate lens is exposed to UV light.
In addition, road debris, dirt, and chemicals from the atmosphere can adhere to the surface of headlights, further contributing to the issue. Addressing this problem as soon as it’s noticed is vital for maintaining the functionality of headlights and, consequently, for the safety of night-time driving.
Regular maintenance and proper care can prevent the film from becoming stubborn and hard to remove, which can eventually lead to the need for headlight replacement.
Understanding the Causes of Film Buildup
The underlying causes of film buildup on headlights are diverse and can be attributed to both environmental and man-made factors. Over time, the protective coating on the polycarbonate lens of the headlight can degrade, largely due to prolonged exposure to ultraviolet rays from the sun.
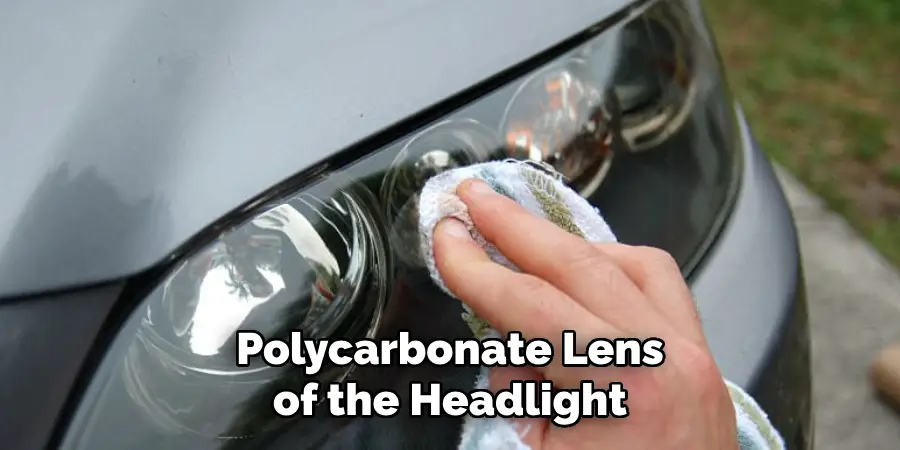
This degradation leads to the lens becoming dull and yellow, a process known as oxidation. The situation is exacerbated by the abrasion from dirt and sand particles while driving, especially at high speeds, which slowly erodes the surface. Chemicals from road salts, vehicular emissions, and car care products can also react with the headlight materials, accelerating the buildup of filmy residue.
Understanding these contributors is the first step in preventing and treating film on headlights effectively. Regular monitoring and early intervention can significantly prolong the clarity and functionality of your vehicle’s headlights.
Effects of Film Buildup on Headlight Performance and Aesthetics
The buildup of film on headlights can have a profound impact on both the performance of the headlights and the overall aesthetics of the vehicle. From a performance standpoint, the film can dramatically reduce the intensity of the headlights, leading to poorer visibility at night or in inclement weather, potentially increasing the risk of accidents.
The light emitted becomes diffused and scatters, failing to properly illuminate the road ahead. Aesthetically, foggy or yellowed headlights can make an otherwise well-maintained vehicle appear neglected, affecting both the curb appeal and resale value.
The contrast between clean bodywork and cloudy headlights is often stark, diminishing the visual appeal of the car. Therefore, keeping headlights clear is as much a function of safety as it is of preserving the beauty and value of the vehicle.
10 Methods How to Get Film off of Headlights
1. Soap and Water Cleaning:
Start with a basic soap and water cleaning method. Use a mild dish soap mixed with water to create a soapy solution. Apply it to the headlights using a soft sponge or cloth, scrubbing gently in circular motions. Rinse thoroughly with clean water and dry with a microfiber cloth.
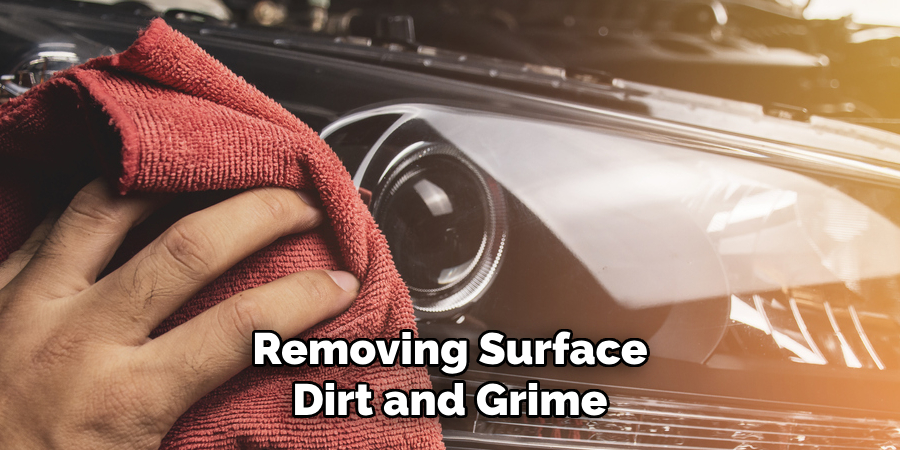
This method is effective for removing surface dirt and grime, but may not be enough to remove tougher stains. Although this method is safe for most headlights, it’s always best to test it on a small area first. To prevent any potential damage, avoid using abrasive sponges or harsh chemicals.
2. Toothpaste Polishing:
Toothpaste can serve as an effective abrasive agent for removing film from headlights. Apply a small amount of non-gel toothpaste to a damp cloth and rub it onto the headlights using circular motions. Rinse and wipe clean. Toothpaste helps eliminate surface imperfections and restores clarity. It also leaves a protective layer that helps prevent future fogging and yellowing.
In addition to headlights, toothpaste can also be used to remove scratches and scuff marks from household items such as dishes, glassware, and even CDs or DVDs. Simply apply a small amount of toothpaste to the affected area and rub gently with a soft cloth.
Rinse thoroughly and dry with a clean cloth. The toothpaste works as a mild abrasive, gently buffing away surface imperfections and leaving behind a shiny, polished surface.
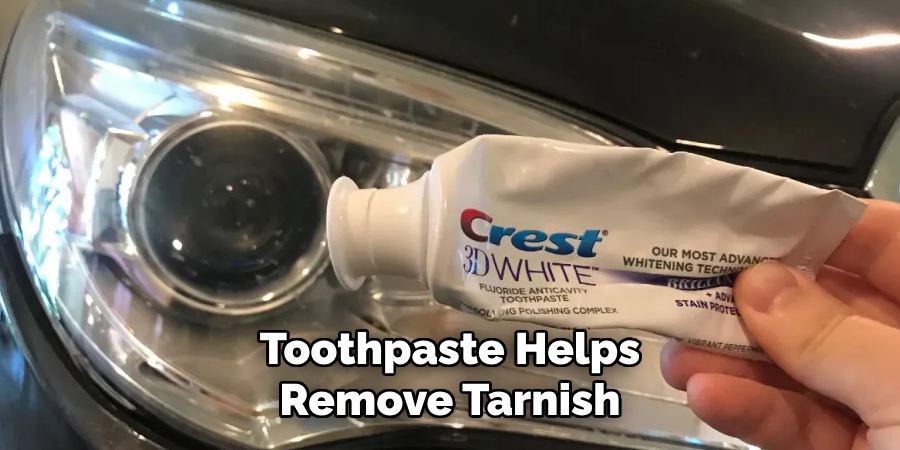
Moreover, toothpaste can also be used to polish silverware and jewelry. Apply a small amount of toothpaste to a soft-bristled toothbrush and gently scrub the item in circular motions. Rinse thoroughly and dry with a soft cloth. The toothpaste helps remove tarnish and restore shine to silverware and jewelry, making them look like new again.
3. Baking Soda Paste:
Create a paste by mixing baking soda with water. Apply this paste to the headlights using a soft cloth or sponge. Gently scrub the headlights in circular motions. Baking soda’s abrasive properties aid in removing film and oxidation. Rinse thoroughly and dry with a clean cloth.
Baking soda paste is a simple and affordable solution for cleaning and restoring headlights. Not only does it remove film and oxidation, but it also helps to brighten and polish the surface of the headlights.
To make a baking soda paste, start by mixing equal parts of baking soda and water in a small bowl. You can adjust the ratio based on how thick or thin you want the paste to be. For more stubborn grime and buildup, you can add a few drops of dish soap to the mixture for added cleaning power.
Using a soft cloth or sponge, apply the baking soda paste to the headlights. Be sure to cover the entire surface evenly. Then, gently scrub in circular motions, focusing on areas with heavy buildup or discoloration.
4. Vinegar Soak:
White vinegar is known for its cleaning properties and can help break down film on headlights. Soak a cloth in white vinegar and wipe the headlights. Allow the vinegar to sit for a few minutes before rinsing with water. This method is particularly effective for removing stubborn film.
White vinegar is also a great natural alternative to chemical-based cleaners. It is environmentally friendly and safe for use around children and pets. In addition to cleaning headlights, white vinegar can be used to clean mirrors, windows, and other glass surfaces.
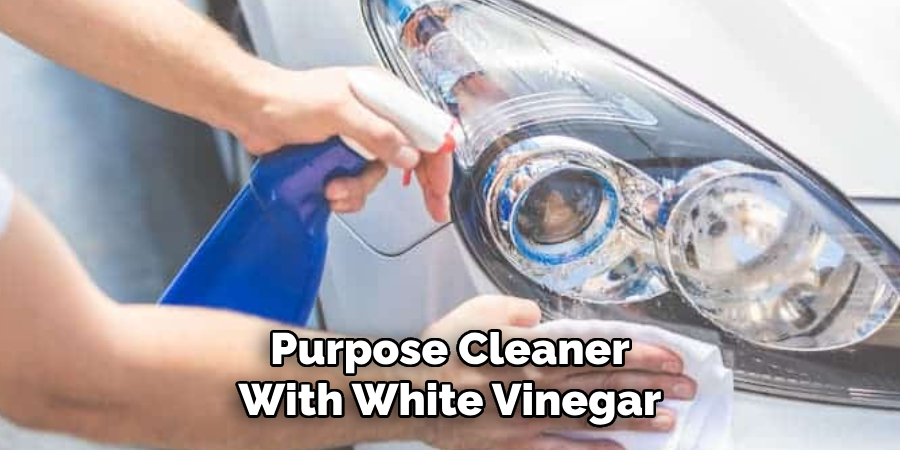
To make an all-purpose cleaner with white vinegar, mix equal parts of water and vinegar in a spray bottle. This solution can be used to clean countertops, floors, and even toilets. For tougher stains, you can add baking soda to the mixture for extra cleaning power.
Vinegar is also known for its ability to eliminate odors. If your car has a musty or unpleasant smell, place a bowl of white vinegar in the car overnight. The vinegar will absorb any lingering odors and leave your car smelling fresh.
5. Commercial Headlight Restoration Kits:
Consider using a commercial headlight restoration kit, which typically includes polishing compounds, sandpaper, and UV sealants. Follow the kit’s instructions carefully, as these products are designed specifically for headlight restoration and can provide long-lasting results. Some kits may also include a drill attachment for easier sanding. These kits are generally affordable and can be found at most auto parts stores.
In addition to commercial headlight restoration kits, there are also DIY solutions that can be made using household products. For example, toothpaste has been known to work well as a polishing compound for headlights due to its mild abrasive properties.
Baking soda and vinegar can also be used to remove yellowing on headlights. However, these DIY solutions may not provide as long-lasting results as commercial kits.
It is important to note that headlight restoration kits are only effective for mild cases of cloudiness or yellowing. If your headlights are severely damaged or have cracks, it may be best to seek professional help or consider replacing the headlights altogether. It is also important to regularly clean and maintain your headlights to prevent them from becoming cloudy again.
6. Rubbing Compound Application:
Automotive rubbing compounds are formulated to remove oxidation and surface imperfections. Apply a small amount of rubbing compound to a clean, soft cloth and buff the headlights using circular motions. Wipe off the excess compound and inspect the results. Repeat if necessary.
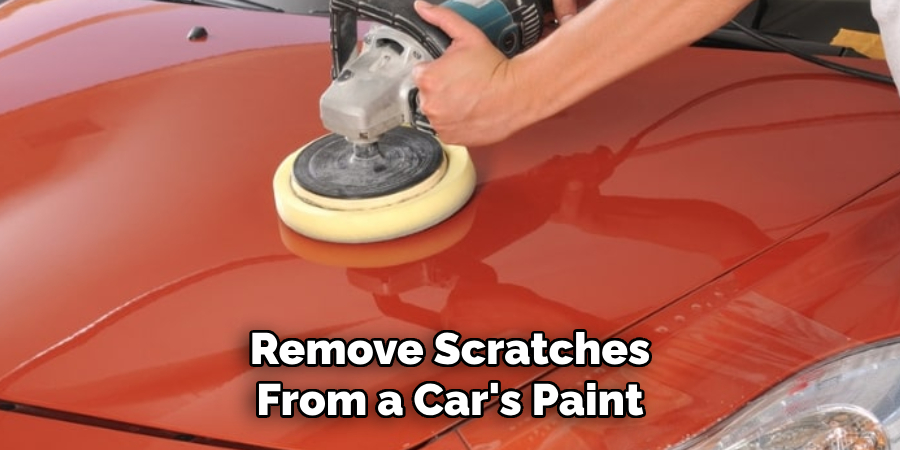
Rubbing compound can also be used to remove scratches from a car’s paint. Again, apply a small amount of the rubbing compound to a clean cloth and gently rub it onto the scratched area. Use circular motions and be sure not to apply too much pressure. Once done, wipe off the excess compound and inspect the results. If necessary, repeat the process until satisfied with the results.
In addition to using rubbing compound on headlights and scratches, it can also be used to restore faded or dull paint. Using the same process as described above, apply a small amount of rubbing compound to a clean cloth and gently buff it onto the faded paint. This will help remove any surface imperfections and bring back the shine of your car’s paint.
7. UV Sealant Application:
After cleaning and polishing the headlights, apply a UV sealant to protect them from future oxidation and film buildup. UV sealants act as a barrier against sunlight, ensuring prolonged clarity. Follow the product instructions for proper application and curing times. It is recommended to apply two coats of UV sealant for maximum protection.
However, it is important to note that UV sealants may not provide a permanent solution. Over time, the sealant will wear off and the headlights will require reapplication. To maintain the clarity of your headlights, it is recommended to regularly clean and reapply the sealant every 6-12 months.
In addition to UV sealants, there are also other protective coatings available in the market such as ceramic coatings. These coatings provide even longer-lasting protection and can withstand harsh weather conditions. However, they may also require a professional application and can be more expensive than UV sealants.
8. Sanding Technique:
For more severe cases of film buildup and oxidation, wet sanding can be an effective method. Use fine-grit sandpaper (around 1000 to 2000 grit) with water and gently sand the headlights in a circular motion. Follow up with polishing to restore clarity and shine.
Wet sanding should only be used as a last resort, as it can potentially damage the headlight if not done correctly. Make sure to thoroughly clean the headlight before and after wet sanding to avoid any debris or dirt getting caught in the sandpaper.
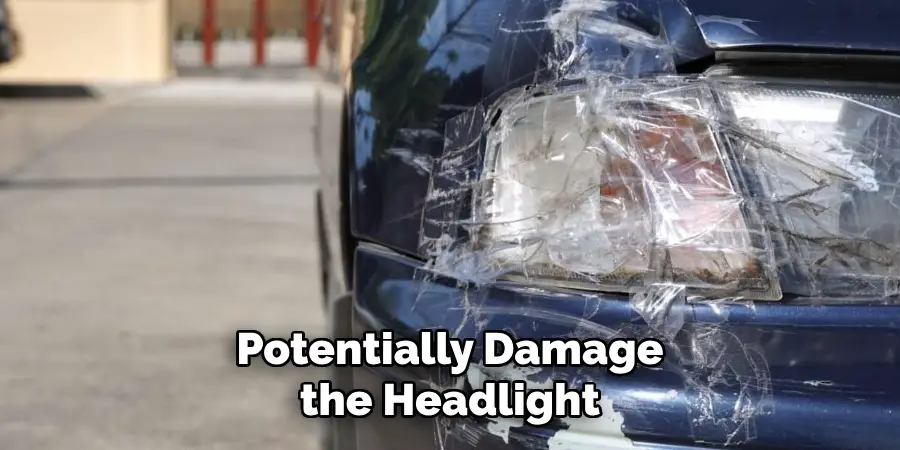
Additionally, using too coarse of a grit or applying too much pressure while sanding can lead to scratches or uneven surfaces on the headlight. Always start with a gentle hand and gradually increase pressure if needed.
Another important aspect to consider when sanding is the type of material used for the headlights. Some headlights are made of plastic while others may have a protective coating that can be easily damaged by sanding.
It’s crucial to research and understand the specific type of material your headlights are made of before attempting any sanding technique.
9. Plastic Polish Application:
Specialty plastic polishes designed for headlights can help remove film and restore shine. Apply the polish according to the product instructions, using a soft cloth or applicator pad. Buff the headlights until the polish is evenly distributed and the film is removed. Repeat as necessary for heavily oxidized headlights.
There are also DIY options for plastic polish, such as using toothpaste or baking soda mixed with water. These can be effective in removing light film from headlights and restoring shine. However, it is important to note that these methods may not produce the same results as specialty plastic polishes.
In addition to polishing, it is recommended to apply a protective coating to the headlights after cleaning and removing film. This will help to prevent future oxidation and maintain the shine of the headlights.
10. Professional Restoration Services:
If the film on your headlights is persistent and none of the DIY methods seem to provide the desired results, consider seeking professional headlight restoration services. Automotive detailers or specialized restoration shops often have the expertise and equipment to address more challenging cases of film and oxidation.
Headlight restoration services typically involve a thorough cleaning of the headlight surface, followed by wet sanding and polishing to remove the damaged layer and restore clarity. Some professionals may also use a UV-resistant clear coat to protect the headlights from future damage.
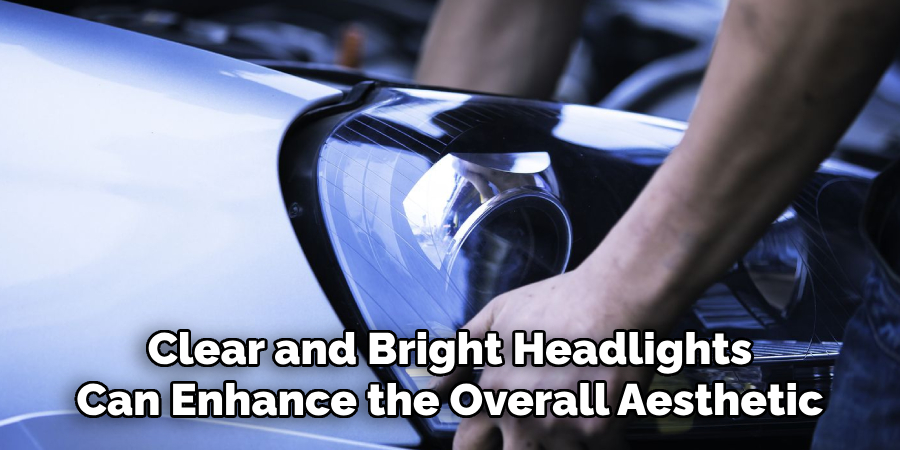
In addition to restoring clarity, professional headlight restoration can also improve the overall appearance of your vehicle. Cloudy or yellowed headlights can make a car look older and less well-maintained, while clear and bright headlights can enhance the overall aesthetic.
Finalizing the Cleaning Process
After the completion of either the DIY cleaning or professional restoration, it’s vital to take preventive measures to prolong the clarity of your headlights. It’s recommended to regularly wash your vehicle, including the headlights, to prevent dirt and chemicals from building up. Applying a UV protectant product can act as a barrier against sun damage and oxidation.
It is equally important to inspect your headlights regularly for signs of wear or damage and address these issues promptly to maintain optimal visibility and safety on the road. Remember, well-maintained headlights not only contribute to the aesthetic value of your car but also ensure a safer driving experience.
Conclusion
In conclusion, maintaining clear headlights is essential for ensuring optimal visibility and safety while driving. Removing film buildup from headlights requires a systematic approach involving assessment, preparation, and the use of appropriate cleaning materials.
By understanding the causes of film buildup and assessing the severity of the issue, vehicle owners can effectively restore clarity and brightness to their headlights.
Following the outlined steps, including proper cleaning and polishing techniques, helps eliminate oxidation, dirt, and UV damage that contribute to film buildup. Additionally, implementing regular maintenance practices and protective measures can prolong the clarity and functionality of headlights over time. Thanks for reading, and we hope this has given you some inspiration on how to get film off of headlights!

