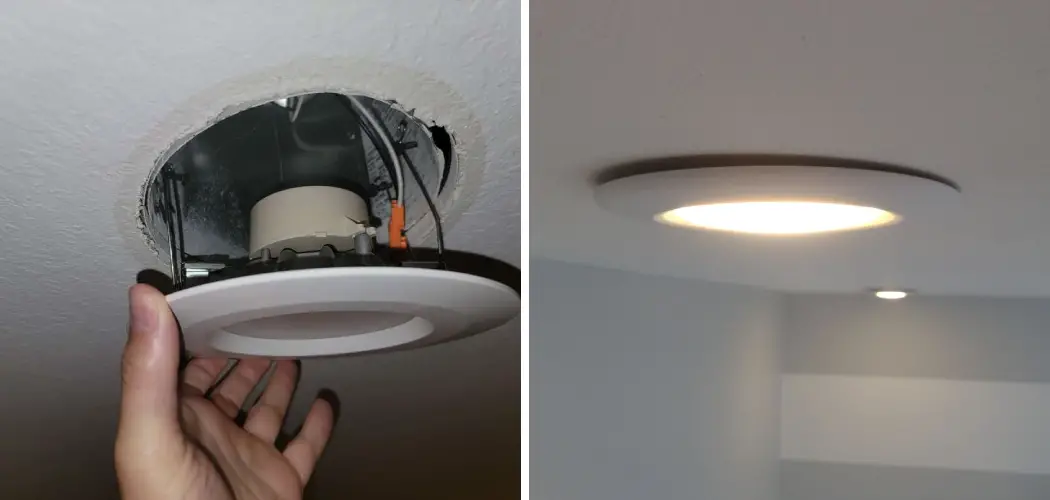
If you’ve ever stepped into a room and noticed that the lighting feels a bit dull or lacking in depth, then this blog post is for you. Recessed lighting has become a popular choice for homeowners looking to bring a modern and sleek look to their spaces. However, like any lighting fixture, recessed lighting can encounter problems that hinder its performance and create a less than ideal ambiance.
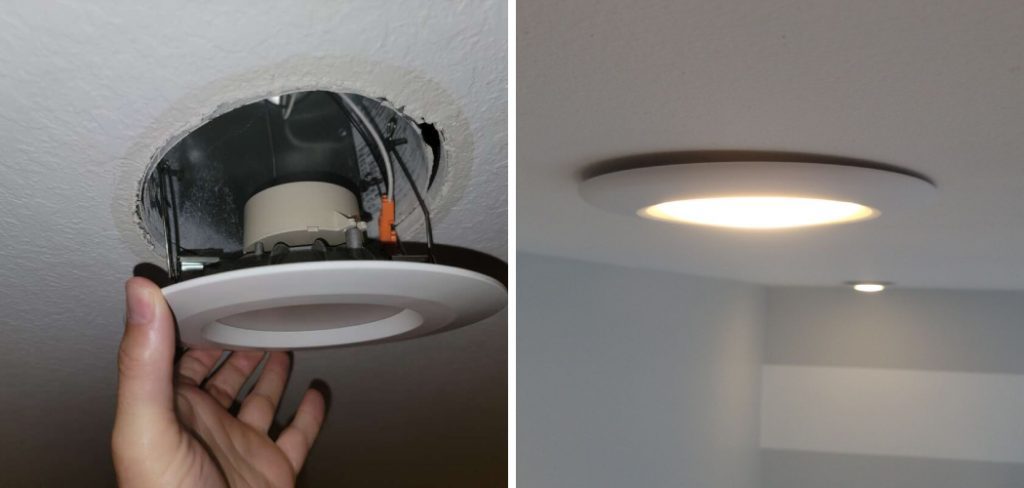
But fear not! In this comprehensive guide on how to fix recessed lighting, we will dive deep into the world of recessed lighting, exploring the common issues that plague these fixtures and providing you with expert tips and tricks on how to fix them.
So, whether you’re a DIY enthusiast or simply someone looking to brighten up their space, get ready to shed some light on your recessed lighting woes and learn how to bring back that vibrant and captivating glow. Let’s get started!
Why is It Important to Fix Recessed Lighting?
1 . To Ensure Proper Lighting
Recessed lighting is an important aspect of any home or office. It provides overhead lighting and can also be used for accent lighting, creating a warm and inviting atmosphere. Therefore, it is essential to fix recessed lighting as soon as possible to ensure proper lighting in your space.
2 . To Prevent Electric Hazards
Malfunctioning recessed lighting can pose a serious risk of electric hazards such as short circuits or even electrical fires. This is especially dangerous if the recessed lighting is located in a high traffic area or near flammable materials. By fixing recessed lighting, you can prevent any potential dangers and ensure the safety of your home or office.
3 . To Maintain Aesthetics
In addition to providing functional lighting, recessed lighting can also enhance the overall aesthetics of a space. A broken or malfunctioning recessed light can ruin the visual appeal of a room and create an uninviting atmosphere. By fixing recessed lighting, you can maintain the beauty and ambiance of your space.
4 . To Save Money
Fixing recessed lighting may seem like an unnecessary expense, but it can actually save you money in the long run. A malfunctioning recessed light can lead to higher electricity bills due to increased energy consumption or even cause damage to other electrical components in your home. By fixing recessed lighting promptly, you can avoid these additional expenses and save money in the process.
5 . To Increase Property Value
Properly functioning recessed lighting can also add value to your property. When potential buyers or renters view your space, they will not only appreciate the functional lighting but also see it as a well-maintained and cared for property. This can increase the perceived value of your home or office and potentially lead to a higher selling or rental price.
How to Fix Recessed Lighting in 6 Easy Steps
Step 1: Turn Off the Power
Before you begin any work on your recessed lighting, make sure to turn off the power to that particular circuit. You can do this by flipping the corresponding switch in your electrical panel or unplugging any lamps or appliances connected to that circuit.
Step 2: Remove the Bulb and Trim
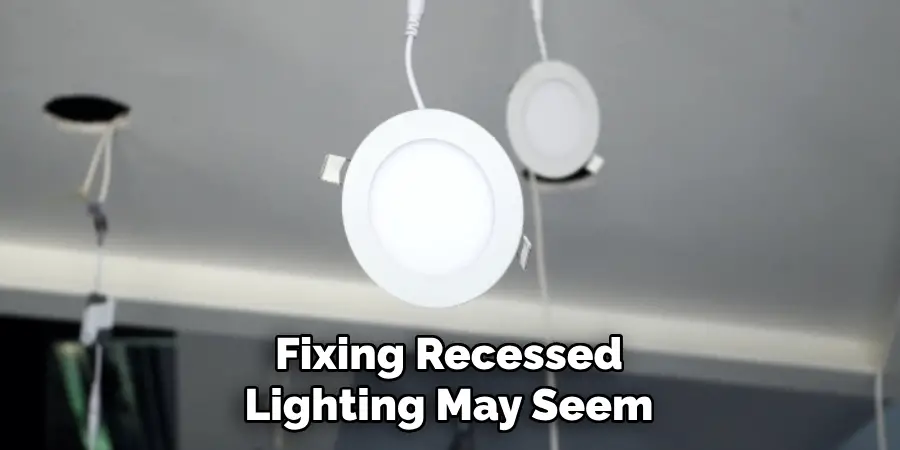
Once you have turned off the power, remove the bulb from the recessed lighting fixture. Then, remove the trim by unscrewing any screws or gently pulling it off. Also, remove the housing if it is attached to the trim.
Step 3: Check for Loose Wires
Inspect the wires inside the recessed lighting fixture to make sure they are not loose or damaged. If you do find any loose wires, tighten them with a screwdriver or replace them if necessary. Also, check for any signs of damage such as frayed wires or burn marks.
Step 4: Adjust the Socket Height
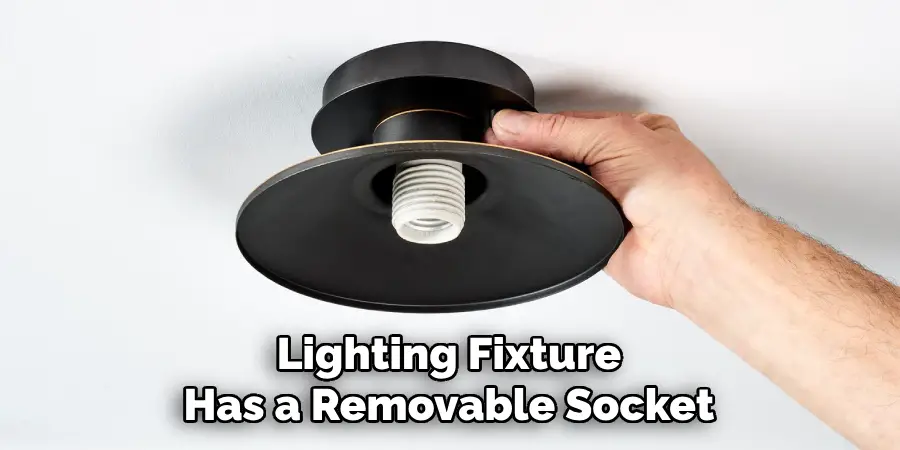
If your recessed lighting fixture has a removable socket, make sure it is adjusted to the proper height. The socket should be level with the trim so that it sits flush against the ceiling when installed.
Step 5: Replace or Install New Trim
If the trim on your recessed lighting fixture is damaged, replace it with a new one. Make sure to match the size and style of the existing trim for a seamless appearance. If you are installing new recessed lighting, make sure to choose a trim that fits your desired look and complements your home’s decor.
Step 6: Reinstall Bulb and Test
Once the new trim is installed, replace the housing (if removed) and screw in the bulb. Turn the power back on and test the recessed lighting to ensure it is working properly. If there are any issues, double check the steps above or consult a professional for assistance.
Additional Tips for Maintaining Recessed Lighting
1 . Do Not Use Cast Iron
If you’re thinking of using cast iron for your recessed lighting, think again! While it may seem like a durable and long-lasting material, it is prone to rust and corrosion. This can lead to unsightly stains on your ceiling over time. Instead, opt for aluminum or stainless steel housing for your recessed lighting fixtures.
2 . Regularly Check for Loose Connections
To ensure that your recessed lighting is functioning properly, it is important to regularly check for loose connections. Over time, vibrations from everyday use can cause wiring connections to become loose or disconnected. This can not only affect the functionality of your lights but also pose a safety hazard.
3 . Keep an Eye on Bulbs and Trim
Just like regular light fixtures, recessed lighting bulbs and trim can also wear out over time. Make sure to check these components regularly and replace them as needed. This will not only improve the look of your lights but also ensure that they are functioning efficiently.
4 . Use LED Bulbs
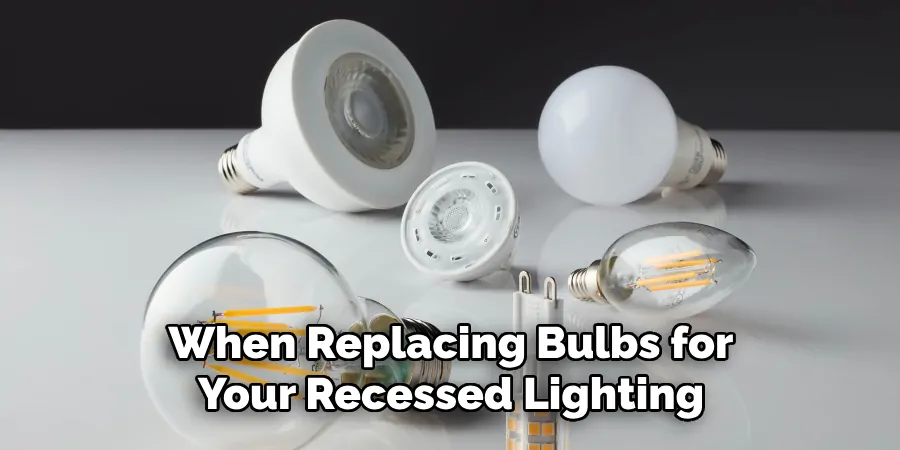
When replacing bulbs for your recessed lighting, opt for LED bulbs instead of traditional incandescent ones. LED bulbs are more energy-efficient, have a longer lifespan, and emit less heat. This not only saves you money in the long run but also reduces the risk of overheating and potential fire hazards.
5 . Avoid Overloading Circuits
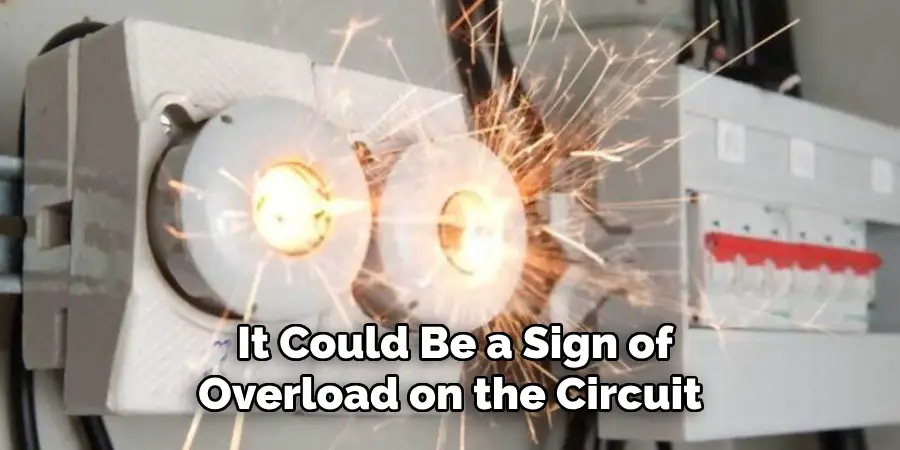
It may be tempting to add more recessed lighting fixtures than recommended for a room, but this can lead to overloading circuits. This can cause flickering lights, blown fuses, and even electrical fires. Make sure to follow the recommended number of fixtures per circuit for your safety and the longevity of your recessed lighting.
Frequently Asked Questions
What Precautions Should I Take Before Fixing Recessed Lighting?
Before starting to fix your recessed lighting, make sure that the power is switched off. This will prevent you from getting electrocuted while working on your lights.
How Can I Change a Bulb in Recessed Lighting?
- Turn off the light at the switch.
- Wait for the bulb and fixture to cool down.
- Remove the trim or lens cover from the recessed light with a flat head screwdriver.
- Unscrew the bulb from its socket by twisting it counterclockwise.
- Install your new bulb and make sure it is securely in place.
- Put back the lens cover or trim and turn on the power to test if the new bulb is working.
How Can I Troubleshoot Recessed Lights That Don’t Turn On?
- Check if the power is turned on at the switch.
- Ensure that the bulb is properly screwed in and not burned out.
- Test the socket by using a different light bulb.
- If the socket appears to be damaged, replace it with a new one.
- If the light still doesn’t turn on, check the wiring connections in the junction box and make sure they are secure.
- If you’re not comfortable working with electricity, consult a professional electrician.
Can I Install LED Bulbs in Recessed Lighting?
Yes, you can install LED bulbs in recessed lighting. They are energy-efficient and have a longer lifespan compared to traditional incandescent or fluorescent bulbs. However, make sure to check the compatibility of your recessed light fixture with LED bulbs before purchasing them.
How Do I Fix Flickering Lights in Recessed Lighting?
- Ensure that the bulb is properly screwed in and not loose.
- Check for any damaged wiring connections in the junction box and repair them if necessary.
- If using LED bulbs, make sure they are compatible with your recessed light fixture.
- If none of these solutions work, it could be a sign of overload on the circuit and you may need to consult an electrician to upgrade your electrical system. Additionally, dimmer switches can also cause flickering in LED lights, so make sure to use a compatible dimmer switch.
Conclusion
In conclusion, recessed lighting is a great way to create atmosphere in any area of your home. With the right tools and the right know-how you can easily fix your recessed lights safely and successfully. Make sure you follow proper safety procedures and always use experienced electricians for more complex or hazardous lighting jobs.
Now you know how to fix recessed lighting! You now have the knowledge to feel empowered when it comes to taking on the challenge of fixing recessed lights yourself! So go forth, stay safe as you take control of your lighting needs today!

