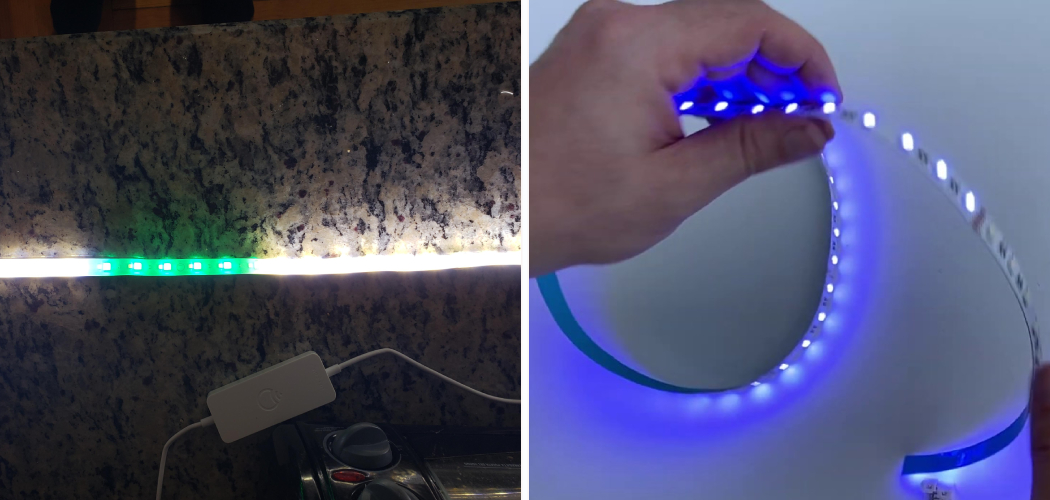
Are you dealing with discolored or flickering LED lights? Are you seeing yellow, white, or greenish discoloration in your LED lights? Has your living room become too dark because of dead bulb spots, and is the atmosphere in your home feeling somewhat disconnected from its former glory? Don’t buy a new set of bulbs just yet! Worried that the quality of light is not what it used to be? Don’t fret just yet!
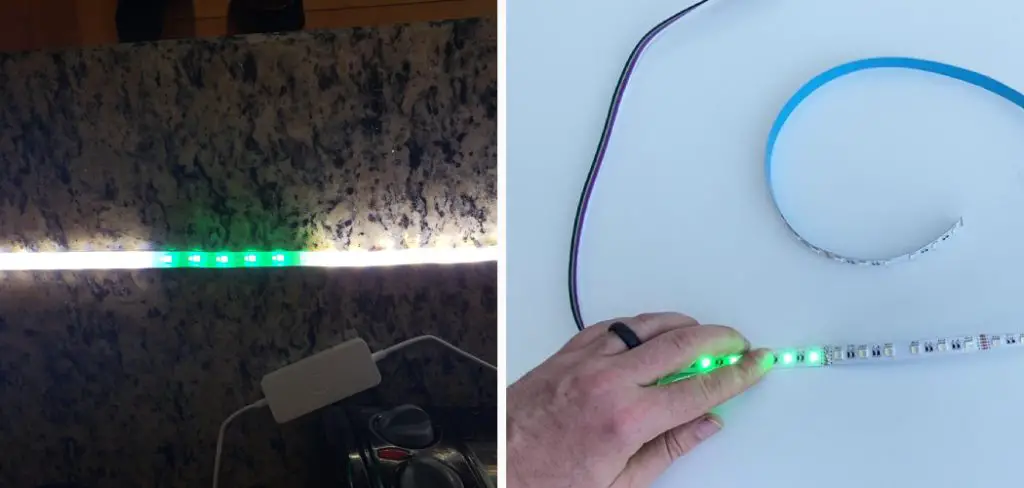
In this blog post, we’re here to help with a step-by-step guide on how to fix discolored led lights. We’ll discuss signs that indicate your lights could be going bad and when it’s time to replace them altogether. Let’s get started by discovering how color discrepancies can arise from faulty lighting sources as well as external factors.
What Causes Discoloration in Led Lights?
There are several factors that can cause discoloration in LED lights. Here are a few of the most common:
1. Light Source Quality
Poor-quality bulbs or lights can emit inconsistent and low-quality light, which may cause discoloration. This is especially true when they’re exposed to extreme temperature changes or if they don’t have proper ventilation.
2. External Factors
External factors such as dust and moisture can also contribute to the discoloration of LED lights. Dust particles that accumulate on the bulbs or in the fixture can cause dullness or a yellowish hue, while moisture can block light from escaping outwards, resulting in dimmer than normal lighting.
3. Aging Bulbs
As LED lights age, they can become weaker and emit much lower quality light, which can cause the discoloration you’re seeing in your home.
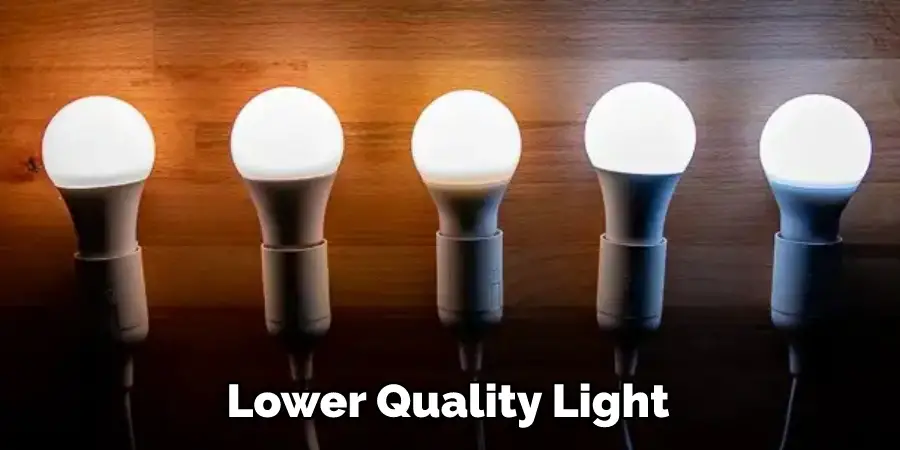
If you’ve identified any of the previously mentioned causes as the reason for your discoloration, then it’s time to start fixing your LED lights.
Can You Fix Discolored Led Lights?
Fortunately, fixing discolored LED lights is not overly complicated and can be done with a few simple steps. You just need to take the time to properly inspect and clean your LEDs and then make sure they are correctly functioning. Gather all the tools you need.
10 Tips on How to Fix Discolored Led Lights
1. Check the Bulbs
First, double-check that the bulbs you’re using are compatible with your LED lights. If they’re not, then it’s time to get new bulbs. Low-quality or incompatible bulbs will lead to discoloration and flickering of LED lights.
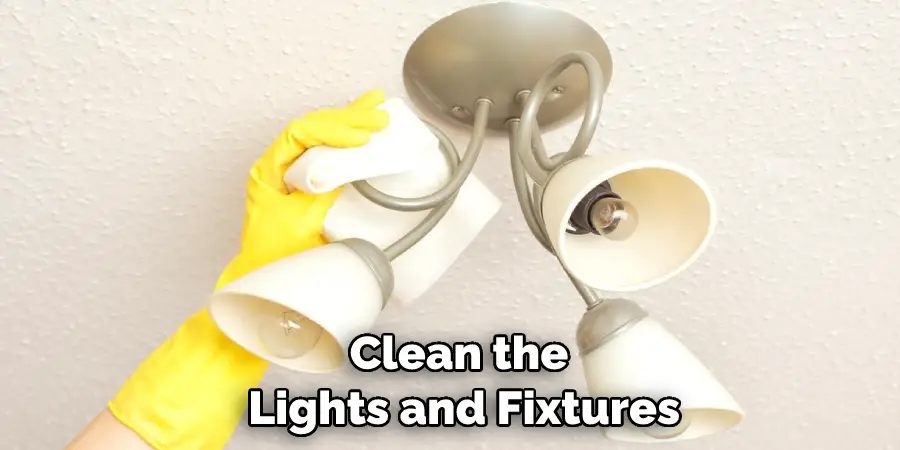
2. Clean the Lights & Fixture
If the bulbs are compatible, then it’s time to clean the lights and fixtures. Dust, dirt, and debris can accumulate on the fixtures and bulbs over time, so make sure to thoroughly clean them before doing anything else.
3. Check Voltage & Light Settings
An inadequate voltage or incorrect light settings can also cause discoloration. Make sure your voltage is set correctly, and the lights are on the right setting for optimal light output. Checking the voltage is easy, just use a multimeter.
4. Replace Aging Bulbs
If you’ve had the same bulbs up for years or they are simply too old, then it may be time to replace them altogether. Old bulbs will emit less light and can cause discoloration in your lights. Replace the bulbs with new ones if necessary.
5. Ensure Proper Ventilation
Make sure that the LED lights have proper ventilation, as this is essential for optimal light output. If your lights don’t have sufficient airflow or ventilation, then it can lead to discoloration and dimness in your lighting.
6. Adjust Color Temperature
The color temperature of LED lights can also be adjusted in order to achieve the desired hue. If you’re having trouble getting your lighting just right, then you should try adjusting the color temperature until it looks how you want.
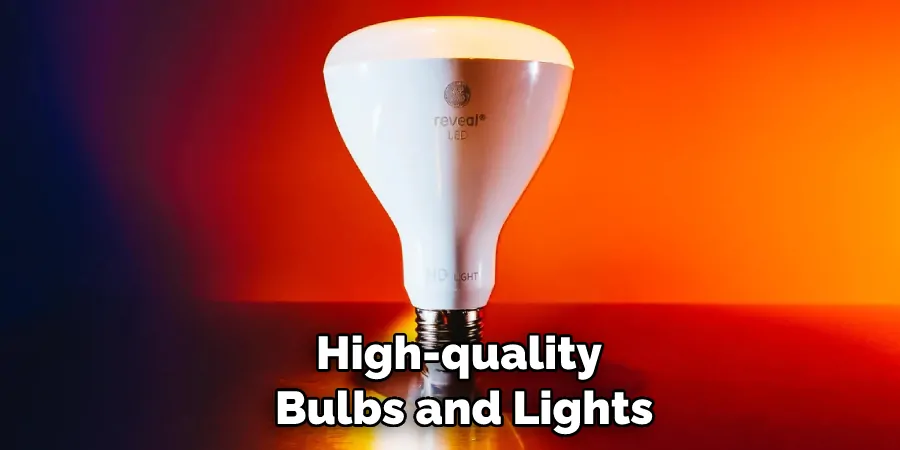
7. Use Quality Bulbs & Lights
It is important to use high-quality bulbs and lights in order to ensure consistent and reliable light output. Low-quality bulbs may not be able to handle extreme temperature changes or uneven voltage levels, which can lead to discoloration over time.
8. Check Wiring & Cables
Incorrect wiring and cables can also contribute to discoloration, so make sure everything is properly connected, and the wires are secure. If there are any loose connections, then it’s time to replace them before continuing on.
9. Change Light Angles
Sometimes all it takes is a slight adjustment of your LED lights in order to get the desired light output. Try adjusting the angle or direction of the lights, as this can make a huge difference in the overall lighting.
10. Use Reflectors
If you’re still having trouble getting your lights to look just right, then you may want to consider using reflectors. Reflectors are great for redirecting light and boosting the brightness of LEDs. They can also help to improve the color accuracy of LEDs.
By following these 10 simple steps, you should be able to fix any discoloration in your LED lights and have them look as good as new. You’ll also save money on energy costs by ensuring that the lights are functioning correctly and efficiently. So don’t wait any longer – start fixing those LEDs today!
8 Safety Precautions to Follow
1. Ensure your LED lights are unplugged from the power source before starting. Lights that are still plugged in can be dangerous to work on.
2. Inspect your LED light for any visible damage or signs of wear and tear. Make sure there is no broken wiring, fraying insulation, or loose connections before proceeding. It may cause further damage to the light if you proceed with a broken LED.
3. Put on safety goggles and gloves before getting started. This will protect your eyes from any flying particles or debris that may result during the repair process.

4. Check the color of your LED lights to determine if they are discolored due to a worn-out or damaged LED or if the color itself is off. If the color is off, you may need to adjust the settings or search for a replacement bulb.
5. Open up your LED light fixture and inspect any components that may be causing it to become discolored. This could include inspecting the wiring, looking for any loose connections, or testing the LED bulb itself.
6. If you find any damaged wiring or worn-out LED bulb, replace them with new ones of the same type and wattage. Make sure to double-check your connections before reassembling the fixture.
7. Test your LED light after replacing any components and make sure it is working properly before reconnecting it to the power source.
8. Lastly, always dispose of any damaged LED bulbs or components in a responsible and safe manner. Do not just throw them away, as they contain toxic materials that are hazardous to the environment.
By following these eight steps on how to fix discolored LED lights, you can easily restore your lighting system back to its original condition. Just remember to always stay safe by unplugging the power source before beginning and wearing safety goggles and gloves. Good luck!
5 Tips to Prevent Discoloration in Led Lights
1. Clean the Bulbs Regularly. Dust particles can cause discoloration or dimming of LED lights. To avoid this, make sure to clean the bulbs regularly with a soft cloth and some isopropyl alcohol. Dirt on the bulb’s surface can also lead to discoloration.
2. Install Heat Sinks. Led lights generate a lot of heat, and this is one of the primary causes of discoloration in led lights over time. To prevent this from happening, it’s important to install adequate heat sinks around the light fixtures.
3. Adjust the Temperature Settings. Excessively high or low temperatures can cause discoloration in LED lights, so it’s important to adjust the temperature settings of your lighting system accordingly.
4. Select High-Quality LED Lights. Buy LED lights from a reputable brand and make sure they are rated for the temperature and humidity of your environment. Low-quality LEDs can discolor more quickly and need to be replaced sooner.
5. Check the Voltage Levels. High voltage levels are one of the most common causes of discoloration in LED lights, so make sure you check the voltage settings regularly and adjust them as necessary. Doing this will help extend the lifespan of your LED lights.
Conclusion
As you can see, attempting to repair discolored LED lights is easier than it may seem. Taking the time to properly diagnose your problem and then following the steps suggested here will help you to get back up and running in no time. Plus, should discolorations continue to be an issue, there are still other options available. Investing in a dimmer switch specifically designed for LEDs could help regulate your lights’ intensity and keep them from fading.
Of course, purchasing LEDs with strong warranties could also be a smart move when dealing with discoloration. Ultimately, taking the time to find out what is causing your discoloration and having the proper tools and mindset to address the issue are key to getting your LED lighting fixed. So don’t be discouraged if you’re experiencing problems despite following these on how to fix discolored led lights. Simply take a breath and approach it from another angle!

