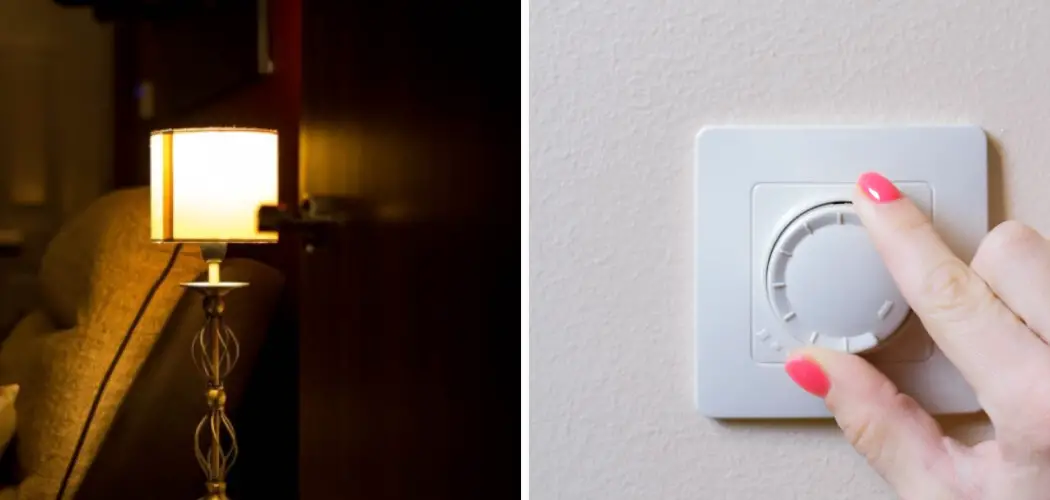
Do you wish you could get the perfect level of brightness in your home without using a dimmer? Are you looking for a way to set the mood with dimmed LED lights but don’t have a dimmer switch available? It’s easier than you might think to use your wall switches to achieve the same result without needing any extra hardware.

The good news is it doesn’t require rewiring or buying expensive parts; just manipulate the on-and-off response of your traditional wall switches. In this article, we will guide you through the different ways that you can adjust LED lights and customize their intensity for whatever ambiance or setting you’re looking for – all sans a dimmer switch. Read on and within no time, mastering the techniques on how to dim led lights without a dimmer to manipulate light output from LEDs will be second nature to you!
Why Do You Need a Dimmer?
First, let’s look at why it might be necessary to use a dimmer switch. When using incandescent lights, you can change the brightness of the light by lowering or increasing the voltage passing through the circuit. As electricity passes through an incandescent bulb, it produces heat and causes the filament inside to glow and produce light. By changing the amount of electricity, you’re able to control how bright the bulb is.
LED lights don’t work in quite the same way as traditional bulbs because they are driven by a current rather than voltage. Therefore, it’s important to know what kind of LED lights you have and what type of driver you need in order to successfully dim LED lights.
In most cases, you’ll need a dimmer switch to control the current and adjust the light output from LEDs. Dimmer switches also make it possible for you to create a wide range of lighting levels in your home, which is beneficial for creating the perfect ambiance or atmosphere in any room.
Can an Led Light Be Dimmed?
The short answer is yes, an LED light can be dimmed, but it’s important to note that the type of LED bulb and driver you choose will determine whether or not the light will dim properly. Most modern LED bulbs are designed to be “dimmable,” meaning that they have been specifically engineered to handle varying levels of current, allowing you to control their brightness.
In order to dim your LED lights successfully, it’s important to ensure that the driver is compatible with a traditional wall switch or a dedicated dimmer switch. If the bulb and driver are not compatible, then it won’t be possible to adjust their brightness without the use of a dimmer switch.
Can You Dim Led Lights Without a Dimmer?
The short answer is yes. With a few simple tweaks to your wall switches, you can easily dim LED lights without needing any additional hardware. You just need to manipulate the switch so that it turns the lights on and off at different intervals, effectively dimming them. You will need to be careful, however, as this technique can result in flickering. To avoid this, you’ll want to make sure that the off time is at least twice as long as the on time.
Required Items
The items you’ll need to dim LED lights without a dimmer switch include:
- Wall switches
- Screwdriver
- Volt meter (optional)
10 Steps on How to Dim Led Lights Without a Dimmer
Step 1: Locate the Switch
Locate the wall switches in the circuit for your LED lights. It’s important to make sure that you’re working with the correct switch, as this is what will control the dimming of your LED lights. LED lights can be powered by a single switch or multiple switches.
Step 2: Identify How the Switch is Wired
Once you’ve identified the correct switch, you’ll need to identify how it’s wired. If you’re not sure, consult an electrician or use a volt meter to test it. The wiring of the wall switch will determine the method that you use for dimming LED lights without a dimmer.
Step 3: Change How the Switch Works
If the wall switch is wired in a single-pole configuration, you can change how it works by installing a time delay relay. This will cause the switch to turn on and off at different intervals, effectively dimming the LED lights. If the wall switch is wired in a three-way or four-way configuration, then you can use a low-voltage relay to control the intensity of the LED lights.
Step 4: Install Time Delay Relay (if Needed)
If you need to install a time delay relay, be sure that it’s rated for the correct voltage and current. Carefully follow the manufacturer’s instructions to ensure that it’s installed properly. Installing a time delay relay is a relatively simple process and should only take a few minutes.
Step 5: Install Low Voltage Relay (if Needed)
If you need to install a low-voltage relay, it will typically require two wires from the wall switch to be connected to terminals on the relay. Follow the manufacturer’s instructions carefully to ensure that it’s installed correctly.
Step 6: Adjust the Settings
Once you’ve installed the time delay relay or low voltage relay, you can adjust its settings to achieve the desired level of dimming for your LED lights. How you do this will depend on the type of relay that you’re using and its manufacturer’s instructions.
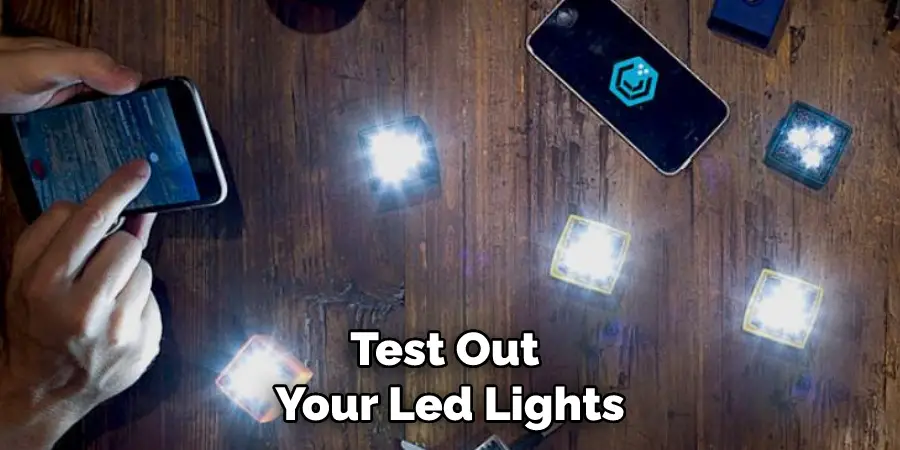
Step 7: Test the Lights
Once all of the settings are adjusted, you can test out your LED lights to see if they’re working properly. If everything looks good and there are no flickering or other issues, then you’ve successfully dimmed your LED lights without a dimmer!
Step 8: Secure the Wiring
Once you’re satisfied with how your LED lights are dimming, be sure to secure the wiring back into place and make sure that it won’t be damaged by any movement. The wiring should be tucked away and sealed properly to prevent any issues.
Step 9: Clean Up the Workspace
Make sure that you clean up your workspace after the installation and wiring are complete. This will help ensure that everything remains safe and secure in the future. The workspace should be free of debris and wires that could potentially cause issues.
Step 10: Enjoy Your Dimmed LED Lights!
Now you can enjoy your dimmed LED lights without the need for a dimmer switch! With this method, you can easily control the brightness levels in any room or area of your home. It’s an easy and cost-effective way to save energy and money while adding a nice touch of ambiance.
7 Safety Precautions to Follow
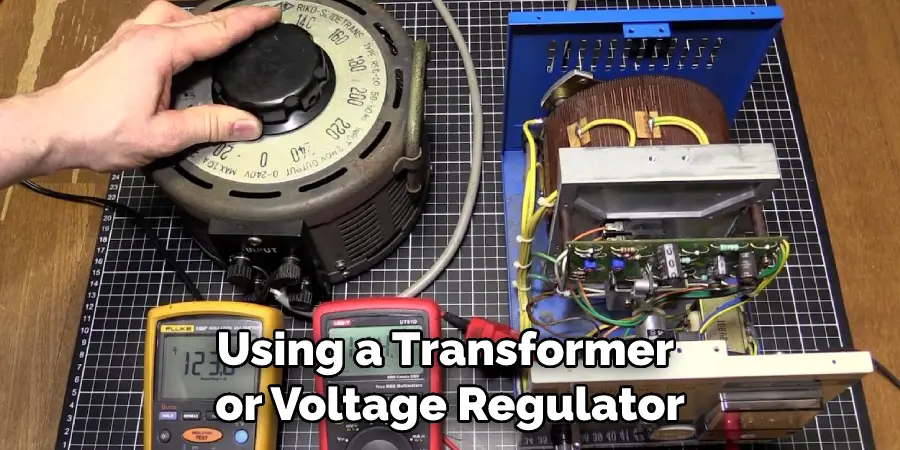
1. Never attempt to dim LED lights without using a transformer or voltage regulator. Attempting to do so could cause a hazardous situation, such as an electric shock or fire. Be careful to use a transformer or voltage regulator with the correct wattage rating.
2. Never touch any of the wirings while you are dimming LED lights. Be sure that all wiring is properly insulated and away from areas where people can come into contact with it.
3. Always turn off the power to the circuit before attempting to dim your LED lights. This is essential to prevent any accidents or injuries. Remember to also unplug the transformer or voltage regulator before performing any adjustments.
4. When dimming LED lights, use an adjustable power supply or dimmer switch to provide a smooth transition from bright to dark. This prevents sudden changes in light intensity that can cause the LEDs to flicker and other problems with their operation.
5. Always wear eye protection when dimming LED lights. The intense light can cause eye damage if you look directly at it, even for short periods of time.
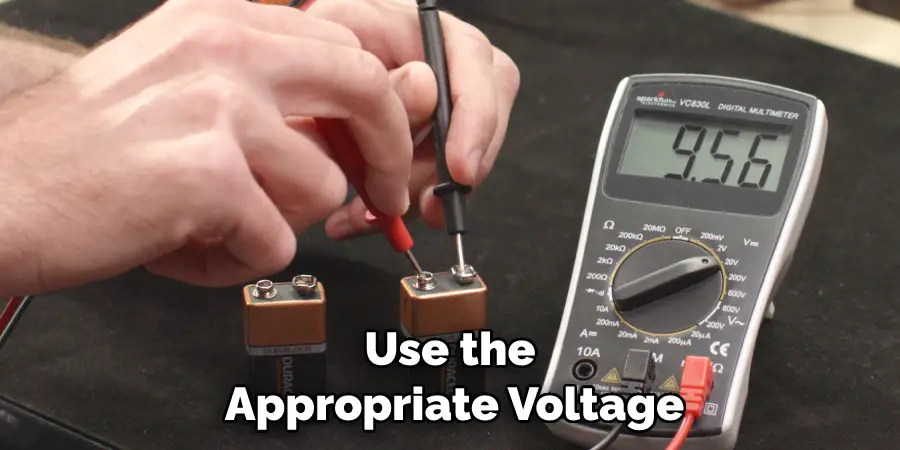
6. Be sure to use the appropriate voltage and wattage ratings indicated on the product packaging or instructions. Failure to do so could result in a malfunction or fire hazard.
7. When connecting the dimmer switch to the LED lights, make sure that the wiring is secure and cannot come loose. If you are unsure of the proper connections, contact a qualified electrician for assistance. Following these safety precautions will help ensure your dimmed LED lights operate without any issues.
Conclusion
Dimming LED lights without a dimmer is an easy and affordable project that anyone can do. Not only is it cost-effective, but it will also help conserve energy by providing the desired level of lighting in any room. With these tips, you’ll be able to enjoy brighter or moodier settings in your space depending on the time of day, event, or occasion. We hope this article was helpful in demonstrating how installing a 3-way switch on your existing light fixtures can help create a more efficient and beautiful home environment.
In addition to switching out the bulbs for LEDs, installing a 3-way switch can go a long way in making your home more energy-efficient while increasing the level of ambiance to give you the look and feel of luxury living at an economical price. So now that you know how to dim led lights without a dimmer, take some time and explore simple ways you can start reducing your carbon footprint today!

