The holiday season is often accompanied by the joy of decorating, with Christmas lights being a central element in creating a festive atmosphere. However, dealing with Christmas lights that are partially or completely out can quickly turn into a source of frustration.
This common issue often stems from a single faulty bulb disrupting the entire string, a situation prevalent in series-wired lights where one bad bulb breaks the circuit. Such occurrences can dampen the holiday spirit, leaving sections of lights dark and uninviting.
This article serves as a comprehensive guide on how to find bad bulb on Christmas lights, aiming to assist you in efficiently identifying and replacing defective bulbs. By following the steps outlined here, you can restore your lights to their full, sparkling glory, ensuring your decorations shine bright throughout the season.
Understanding Christmas Light Wiring
How Christmas Lights Are Wired
Christmas lights are primarily wired in two configurations: series and parallel. In series wiring, the bulbs are connected one after the other in a single line. This means that when one bulb fails, the circuit can break, resulting in the entire string going dark. This is why identifying the faulty bulb in a series-wired strand is crucial for restoring its function. On the other hand, parallel wiring has each bulb connected independently to the power source. As a result, if one bulb goes out, the rest remain lit, allowing for easier maintenance and troubleshooting.
Common Types of Christmas Lights
Among the most popular Christmas lights are traditional incandescent, LED, and mini lights. Incandescent lights often utilize series wiring, making them vulnerable to entire string outages due to single bulb failures. However, LED lights have enhanced durability and often feature parallel wiring, reducing the impact of an individual bulb failure.
Mini lights, commonly used for decorations, can contain either type of wiring but are more prone to series configurations. Each type has distinct advantages and considerations, particularly regarding how they handle bulb failures and the ease of troubleshooting. Understanding these differences aids in maintaining your holiday display’s brilliance.
Preparing for Troubleshooting
Safety First
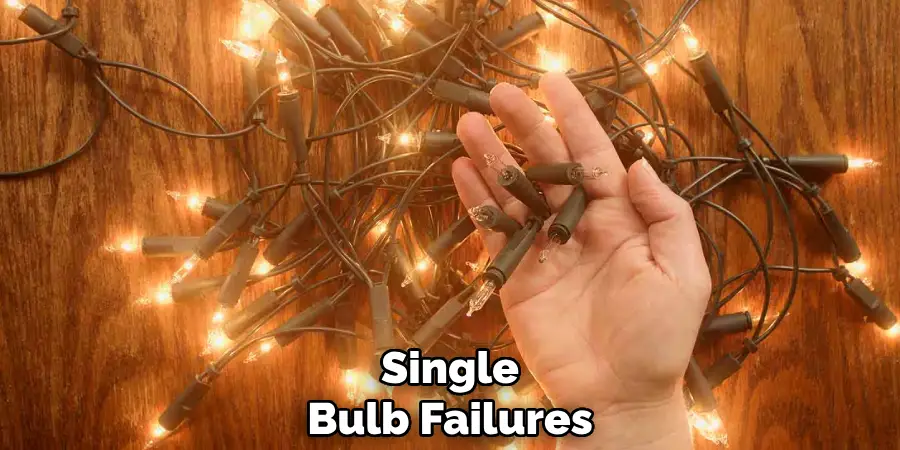
When preparing to troubleshoot Christmas lights, prioritizing safety is crucial to prevent accidents and ensure a smooth repair process. Always unplug the lights before beginning any inspection or repair to eliminate the risk of electrical shock. Wearing gloves is recommended to protect your hands if you need to handle broken bulbs or any sharp components.
Gathering Necessary Tools
The right tools can significantly ease the troubleshooting and bulb replacement process. Here are some essential items:
- Replacement bulbs: Ensure that the bulbs match the original type used in your light strand for compatibility and optimal performance.
- Multimeter (optional): Useful for testing electrical connections and determining the functionality of non-visible wiring components.
- Flashlight: Helps provide better visibility, particularly in dimly lit areas, so you can see connections and bulbs clearly while working.
How to Find Bad Bulb on Christmas Lights: Visual Inspection
Initial Examination
Conducting a thorough visual inspection is a crucial first step in diagnosing issues with your Christmas lights. Begin by systematically examining the entire length of the light string, paying close attention to any bulbs that are out, dim, or flickering. These can be signs of a faulty bulb or a potential issue in the wiring. During this process, also look for visible signs of damage, such as broken glass or melted plastic, which might indicate deeper electrical issues.
Inspecting Bulb Sockets
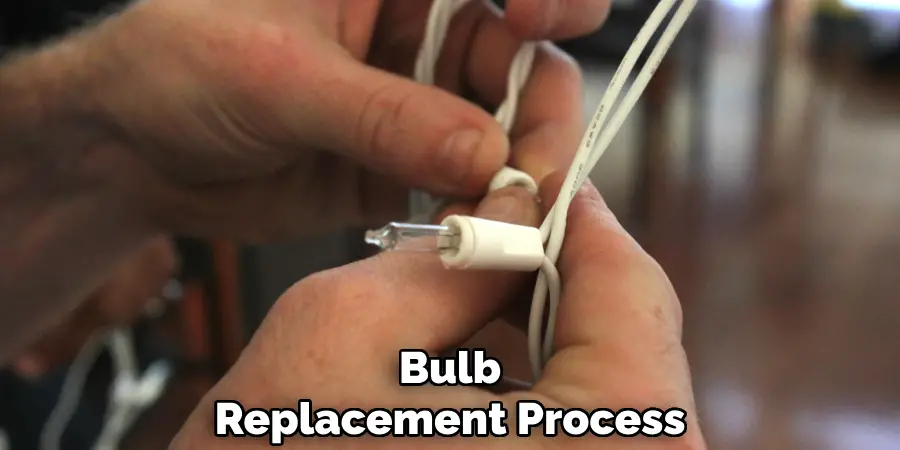
The bulb sockets are integral to maintaining full connectivity and function of your Christmas lights. Carefully remove each bulb from its socket and inspect it for any signs of corrosion, debris, or damage. Using a soft cloth or a small brush can effectively clean out debris and corrosion, which in turn can promote better connectivity. A clean socket ensures that the bulbs fit snugly and make optimal contact with the electrical wires.
Checking for Loose Connections
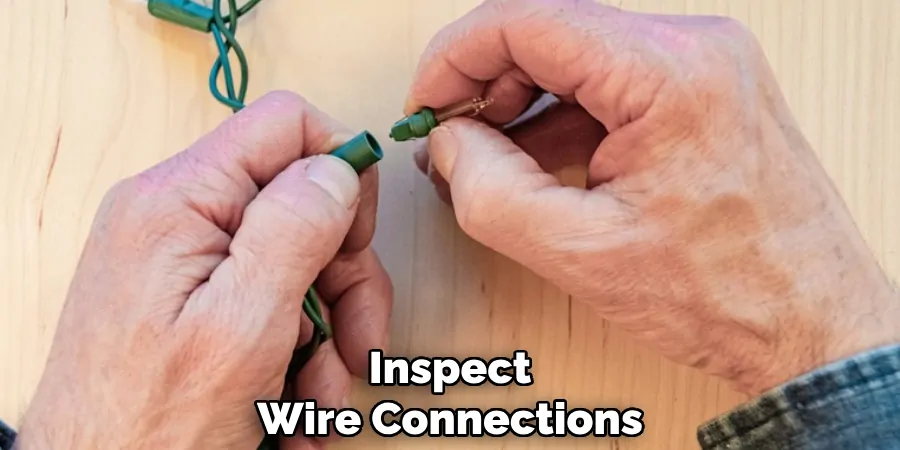
For your Christmas lights to work properly, all bulb connections must be secure. Gently wiggle each bulb to check for looseness and ensure they are seated correctly within their sockets. Tighten any that are loose to promote a steadier current flow. Additionally, inspect the wire connections and connectors for any fraying or damage. Frayed wires can lead to inconsistent lighting and be a fire hazard. If you spot any such issues, consider replacing the affected parts or the entire string to prevent further issues. Proper connection ensures that your lights illuminate as intended, keeping your holiday display cheerful and hassle-free.
How to Find Bad Bulb on Christmas Lights: Testing Bulbs Individually
Testing each bulb individually effectively identifies and resolves issues in a string of Christmas lights. You can use a couple of methods to test bulbs: a known working replacement bulb or a multimeter (if available). Below is a step-by-step guide for both approaches:
Using a Replacement Bulb
- Identify Suspect Bulbs: Start by focusing on the section with dim or non-functional bulbs. Pinpoint the bulbs that need testing.
- Remove the Bulb: Carefully remove a suspect bulb from its socket by gently twisting and pulling it out.
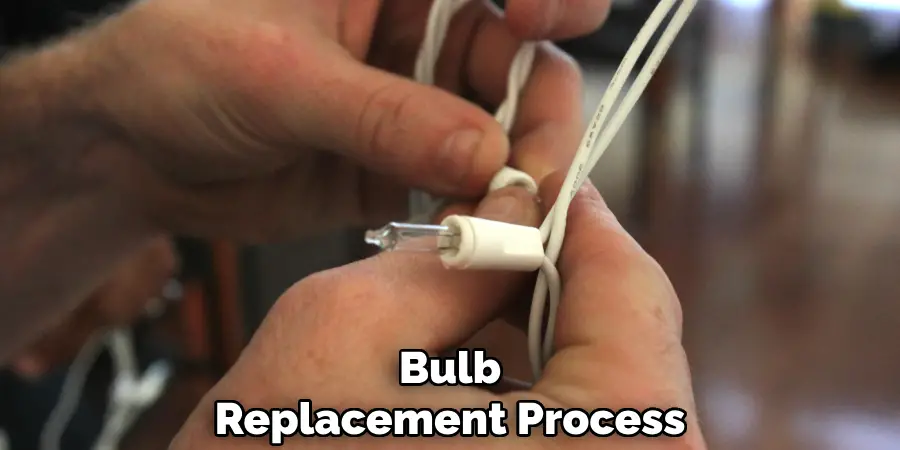
- Insert a Replacement Bulb: Take a known working bulb—ideally from another functional light strand—and insert it into the empty socket.
- Test the String: Plug the lights back in. Observe if the previously dark section lights up, indicating the replaced bulb was defective.
- Repeat as Needed: If the section remains unlit, test other suspect bulbs with the replacement bulb until the issue is resolved.
Using a Multimeter (if applicable)
- Set the Multimeter: Adjust the multimeter to the continuity setting, which typically looks like a sound wave symbol.
- Remove the Bulb: Carefully take out the bulb to be tested from its socket.
- Test the Bulb: Place one probe on each base contact of the bulb. Listen for a beep or look for a reading on the multimeter display—both signals confirm a functioning bulb. No sound or reading indicates a faulty bulb.
- Proceed with Testing: Continue testing each bulb with the multimeter to isolate any bad ones.
Marking or Replacing Bad Bulbs
- Marking Bad Bulbs: For efficient tracking, use a small piece of tape or marker to clearly indicate bulbs that are confirmed defective.
- Immediate Replacement: Replace bad bulbs immediately with working ones to restore full functionality to the string.
- Keep a Record: If you cannot immediately replace all bulbs, keep a list of defective ones for future replacement. This ensures readiness ahead of the next holiday season and maintains the longevity of your light displays.
You can maintain a vibrant and fully operational holiday light display by systematically testing and addressing faulty bulbs.
Inspecting the Fuses
Locating the Fuse Box
The fuse box for your Christmas light string is typically located near the plug, built into the male end of the power cord. To access it, look for a small door or compartment that can be carefully pried open using a small flat-head screwdriver or your fingernail. Inside, you will find the fuses regulating the electrical current passing through your light string.
Checking the Fuses
- Remove the Fuse Cover: Gently open the fuse compartment cover and take out the fuses for examination.
- Examine the Fuses: With a close eye, inspect each fuse for visible signs of damage, such as broken wires or a burned-out appearance, which indicates that the fuse has failed.
- Replace Faulty Fuses: If any fuses are defective, replace them with new fuses of the same type and rating specified by the manufacturer. This information is usually in the fuse box or the manufacturer’s manual. Ensure that the replacement fuses match the originals to maintain electrical safety and functionality.
Re-testing the Lights
After successfully replacing any faulty fuses, close the fuse compartment securely. Plug your Christmas lights back into the power outlet and observe their operation. Ensuring that all bulbs and fuses are functional should allow your lights to illuminate properly. If issues persist, additional defects may be elsewhere in the string, requiring further investigation. This process helps ensure a consistently bright and cheerful holiday display.
Frequently Asked Questions
1. What Should I Do if My Christmas Lights Keep Blowing Fuses?
If your Christmas lights frequently blow fuses, it could indicate overloading, meaning too many light strands are connected to one outlet. First, reduce the number of strands connected in series or try plugging them into another outlet to distribute the load. Ensure all fuses are of the correct type and rating as specified by the manufacturer. Double-check for any visible damage or exposed wires that might cause short circuits, and address those issues immediately.
2. How Can I Prevent My Bulbs From Burning Out Quickly?
Avoid leaving your lights on for extended periods to prolong their lifespan. Consider using a timer to automate when your lights turn on and off, reducing strain. Ensure that all sockets are clean and moisture-free, as debris or oxidation can cause poor connectivity and excess heat buildup, leading to premature burnout. LED bulbs are another effective way to ensure longevity without sacrificing brightness or decorative quality.
3. Is It Safe to Use Christmas Lights Outdoors?
Outdoor lighting is safe when using lights rated for outdoor use, as they are designed to withstand exposure to the elements. Always check the packaging or the manufacturer’s label to confirm their suitability for outdoor conditions. Use appropriate outdoor extension cords and ensure all connections remain dry. Regularly inspect for any signs of wear or damage, such as cracked casings or frayed wires, to maintain safety and functionality for your outdoor displays.
Conclusion
Successfully troubleshooting holiday lights requires a systematic approach to identifying and replacing faulty bulbs. Inspect bulb sockets for debris and corrosion, which can affect connectivity. Check for loose connections by gently manipulating each bulb. If these preliminary checks do not resolve the issue, consider testing bulbs individually using a replacement bulb or a multimeter. Knowing how to find bad bulb on Christmas lights is crucial in maintaining their functionality.
Additionally, inspecting the fuses for any signs of damage and replacing them as necessary ensures the electrical system is safe and operational. Regular maintenance is vital to keep your holiday decorations pristine, minimizing potential hazards or failures. Embrace the festive season with confidence, displaying beautifully lit decorations by addressing any issues promptly. Following these steps, you can ensure your holiday lights shine brightly, bringing joy and cheer to all who see them.

