String lights have become a staple in home decor, outdoor spaces, and events due to their ability to create a warm and inviting ambiance. These versatile lights are popular for everything from patios and bedrooms to weddings and holiday displays, offering a touch of charm to any setting. However, there are times when you might want to adjust their brightness.

Learning how to dim string lights can help you create a softer, cozier atmosphere perfect for relaxing or setting the mood. Additionally, dimming string lights can save energy and extend the lifespan of the bulbs, making them more cost-effective in the long run. This article will provide a step-by-step guide to safely and effectively dim string lights using different methods, ensuring that your lighting setup not only enhances any space but also meets your specific preferences and needs.
Understanding String Light Types
When it comes to dimming string lights, understanding the type of lights you have is crucial. The two most common types of string lights are incandescent and LED, each with unique characteristics that affect their dimmability.
Types of String Lights
- Incandescent String Lights: Known for their traditional warm glow, incandescent string lights are typically the easiest to dim. These lights work with most standard dimmers, allowing for simple adjustments to their brightness. However, they consume more energy compared to other types of lights and may have a shorter lifespan.
- LED String Lights: LED lights are significantly more energy-efficient and long-lasting. However, not all LED string lights are inherently dimmable. If dimming is essential, ensure to purchase models labeled explicitly as dimmable. Additionally, LEDs may require a compatible dimmer switch designed for their technology.
Dimmability Considerations
Not all string lights are designed to be dimmed. Before adjusting the brightness, it’s essential to check the product label or consult the manufacturer’s details to confirm if dimming is supported. For LED string lights, the dimming process may differ depending on the dimmer and the specific LED model. Unlike incandescent lamps, which generally adapt easily to dimmers, LED lights often need more precise equipment for effective dimming. Understanding these differences ensures you select the right tools and achieve optimal lighting results for your space.
Materials and Tools Needed
Basic Supplies
- Compatible dimmer switch (plug-in or inline model).
- Extension cords (if needed).
- Remote control dimmer (optional for wireless control).
- Smart plugs or smart light controllers (for app-based dimming).
- Screwdriver (for installing hardwired dimmers if applicable).
Safety Equipment
- Gloves (optional).
- Voltage tester (if working with wired lights).
How to Dim String Lights: Using a Plug-in Dimmer Switch
A plug-in dimmer switch is a simple and effective way to control the brightness of your string lights without complex installation. Follow these steps to set up and use a plug-in dimmer switch effectively:
Step 1: Choosing the Right Dimmer
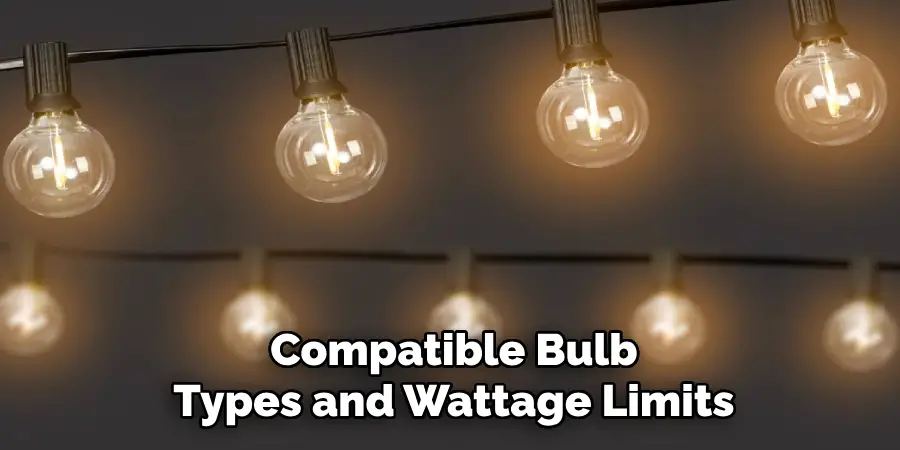
Start by ensuring the dimmer switch is compatible with your string lights. Different dimmers are designed for either LED or incandescent lights, so select one that matches your type of light for optimal performance. Most packaging will specify the compatible bulb types and wattage limits.
Step 2: Connecting the Lights
Connect the string lights to the dimmer switch by inserting the light plug into the dimmer’s input socket. Once connected, plug the dimmer into a standard wall outlet. Ensure all connections are secure to prevent them from disconnecting during use.
Step 3: Adjusting Brightness
Once everything is plugged in, use the built-in controls on the dimmer switch to adjust brightness levels. Whether it has a dial, buttons, or a slide control, you can set the lighting intensity to match any ambiance. Experiment to find the perfect brightness for your space or occasion.
Benefits of Plug-in Dimmers
Plug-in dimmers offer several advantages, including easy installation that doesn’t require wiring or electrical expertise. They are highly portable, allowing you to use them with different sets of lights or in various areas. Additionally, they provide a quick and hassle-free way to enhance the mood and energy efficiency of your lighting setup.
Using Smart Plugs and Smart Controllers
Step 1: Setting Up a Smart Plug
To begin, connect your string lights to a smart plug and ensure it is securely inserted into a power outlet. Next, pair the smart plug with your home Wi-Fi network through the corresponding smartphone app, such as Alexa, Google Home, or another supported platform. Follow the app’s step-by-step instructions to sync the device and ensure proper connectivity for seamless operation.
Step 2: Using the App or Voice Commands
Once set up, the smart plug enables you to control the brightness of your string lights effortlessly. Use the app to adjust the lighting directly from your smartphone, eliminating the need for physical switches. Alternatively, if your smart plug is compatible with a voice assistant, you can dim, brighten, or even switch off the lights entirely with simple voice commands like “Alexa, dim the lights to 50%.”
Step 3: Creating Schedules and Scenes
Take customization to the next level by automating your dimming preferences. Use the app to create schedules for specific times of the day when you want the lights to dim or brighten. You can also set mood-enhancing scenes for different occasions—whether it’s a cozy evening, a vibrant party, or a serene reading nook—all at the push of a button or a voice prompt.
Advantages
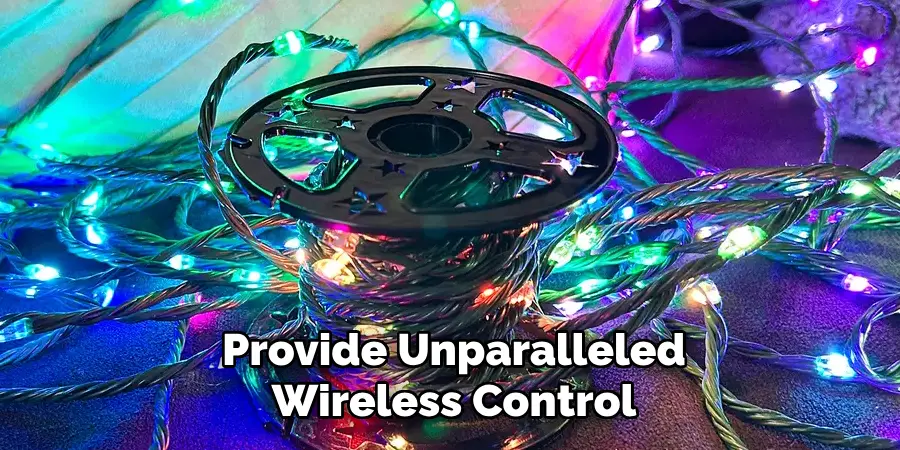
Smart plugs and controllers provide unparalleled wireless control and convenience. They allow you to program custom lighting scenes, monitor energy usage, and reduce electricity consumption. With these devices, achieving the perfect lighting for any moment has never been easier or more efficient!
Installing an Inline Dimmer (Hardwired Option)
Step 1: Safety First
Before beginning the installation, ensure all safety precautions are in place. Unplug the lights and verify that no current is flowing to avoid any risk of electric shock or damage during the process.
Step 2: Wiring the Inline Dimmer
Carefully cut the string light’s cord, but only if it’s safe and appropriate for your specific setup. Use a wire stripper to strip the insulation from the ends of the wires. Follow the instructions provided in the dimmer switch’s manual to connect the wires to the inline dimmer. Double-check all connections to ensure they are secure and properly aligned.
Step 3: Testing the Setup
Once the wiring is complete, plug the lights back in and test the dimming functionality. Adjust the settings to confirm that everything works as expected before proceeding with the final installation. Make any necessary adjustments if issues arise.
When to Use
An inline dimmer is ideal for permanent lighting setups where plug-in dimmers or smart plugs are impractical. This option provides more stability and a professional finish, making it a superior choice for long-term installations in areas such as patios, dining spaces, or work zones.
Alternative Methods for Dimming
Using Light-Diffusing Materials
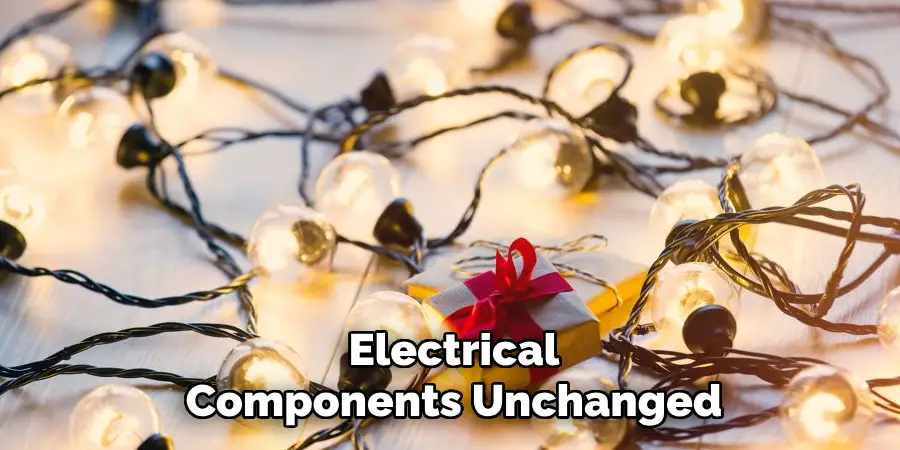
One effective way to reduce the intensity of string lights is by using light-diffusing materials. Covering the lights with sheer fabrics, frosted films, or specialized light-diffusing covers can soften the brightness, creating a more ambient glow. This method is beneficial for decorative setups, as it adds a pleasing aesthetic while leaving the electrical components unchanged.
Spacing and Placement
The arrangement of your lights can also significantly influence how bright they appear. Increasing the distance between the lights and the surfaces they illuminate reduces direct glare and creates a naturally dimmer effect. Strategically placing your lights farther apart or higher up can help achieve the desired brightness level subtly and effectively, without the need for additional hardware.
Adding a Dimmer Cord or Adapter
For certain types of string lights, pre-made dimmer cords or adapters provide a quick and convenient solution.
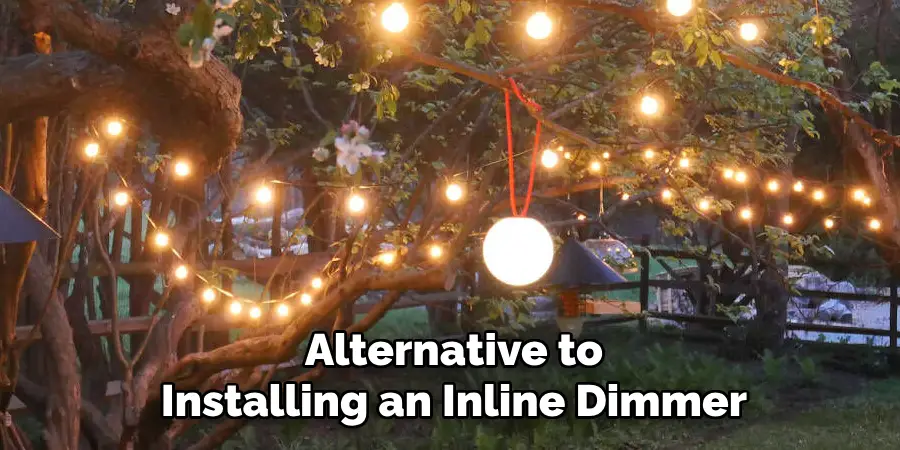
These devices can be easily connected between the lights and their power source, allowing you to control brightness levels with minimal effort. This approach is versatile, cost-effective, and requires no technical expertise, making it an excellent alternative to installing an inline dimmer.
Conclusion
When exploring how to dim string lights, there are several effective options to consider. Plug-in dimmers and smart plugs offer user-friendly, modern solutions, while inline dimmers provide a more permanent alternative.
For those who enjoy hands-on projects, DIY methods can be a creative approach. Regardless of the method you choose, always check the compatibility of your string lights with the dimming device and prioritize safety when handling electrical setups. Ultimately, selecting the easiest and safest method that aligns with your string lights and intended use will ensure both convenience and peace of mind.

