Cutting LED rope lights can seem daunting, but with the right tools and knowledge, it is a straightforward task that can greatly enhance your lighting projects. LED rope lights are versatile and widely used for decorative accents in both residential and commercial spaces. Whether you’re looking to illuminate a hallway, set a mood in the living room, or create an eye-catching display, knowing how to properly cut and customize these lights is essential.
This guide on how to cut led rope lights will provide you with step-by-step instructions to safely and effectively cut LED rope lights to fit your specific needs, ensuring a professional and polished look every time.
Why Cut LED Rope Lights?
LED rope lights come in standard lengths, typically ranging from 16 to 100 feet. However, not every space or project requires the full length of rope light, and cutting them allows for more customization and flexibility. Additionally, cutting LED rope lights can help save on energy costs by only using the necessary amount of lighting.
It’s important to note that cutting LED rope lights does not damage or affect their functionality. As long as the proper steps are followed, your cut light will continue to work just as well as before.
Tools You Will Need
Before starting the cutting process, make sure you have all the necessary tools:
Led Rope Lights:
This one may seem obvious, but make sure you have the LED rope lights you want to cut on hand. Make sure they are powered off and unplugged before cutting.
Measuring Tape:
A measuring tape will come in handy for marking where you want to make your cuts and ensuring accuracy.
Sharp Scissors or Utility Knife:
You can use sharp scissors or a utility knife to cut led rope lights. However, if using a utility knife, ensure that the blade is sharp and be careful not to damage the wires inside the light.
Wire Cutters:
Wire cutters are essential for cleanly cutting through the copper wires inside the rope light without damaging them.
Electrical Tape:
Electrical tape will be used to seal the end of your cut rope light and prevent any exposed wires.
Optional: Heat Shrink Tubing:
For a more professional finish, you can use heat shrink tubing to cover the exposed wires after cutting. This will provide added protection and create a seamless look.
8 Step-by-step Instructions on How to Cut Led Rope Lights
Step 1: Determine Cutting Points
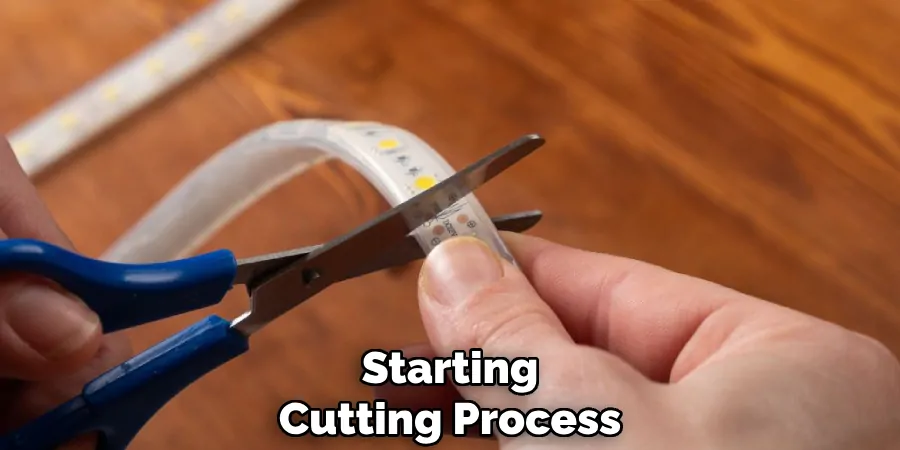
To begin, you need to identify the appropriate cutting points on your LED rope lights. Most LED rope lights have predetermined cutting intervals, which are typically marked on the light casing with a dotted line, scissor icon, or some form of indication.
These cutting points are usually spaced every few inches to a foot, depending on the manufacturer and model. It is crucial to ensure you only cut at these designated points; cutting elsewhere can damage the rope light and render sections non-functional. Use your measuring tape to measure the length you need and locate the nearest cutting mark on the rope light that meets your requirements.
Step 2: Mark Your Cutting Points
Once you’ve determined the cutting points on your LED rope lights, it’s important to clearly mark these points to ensure precise cutting. Use a fine-tip marker or pen to draw a line at the designated cutting mark. This will help you maintain visibility of where you need to make the cut, especially if you are working in a dimly lit area or handling multiple sections of rope lights.
Accurate marking reduces the risk of cutting in the wrong place, which could lead to damage or uneven lengths. Double-check your measurements before proceeding to ensure the cutting points align with your project requirements.
Step 3: Cut the LED Rope Lights
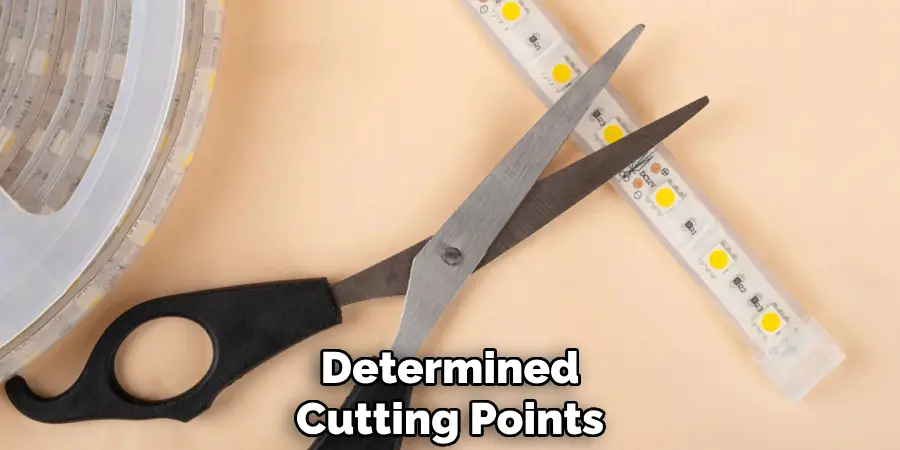
Now that you have your cutting points marked, it’s time to cut the LED rope lights. Using sharp scissors or a utility knife, carefully cut through the outer plastic casing along the designated cutting mark. Avoid applying too much pressure, as this can damage the wires inside and cause them to short-circuit.
Once you have made an incision on one side of the casing, gently bend and snap off the section at the marking point. Then, repeat this process for any additional sections you need to remove.
Step 4: Inspect and Test Your Cut Ends
After making your cuts, inspect both ends of your newly cut rope light section. Make sure the wires are still intact and that there is no visible damage. If there is any fraying or exposed wiring, trim it carefully with wire cutters.
Next, plug in your rope light to test if it still works. If you notice any issues, such as flickering lights or non-functioning sections, double-check your cuts and ensure all connections are secure.
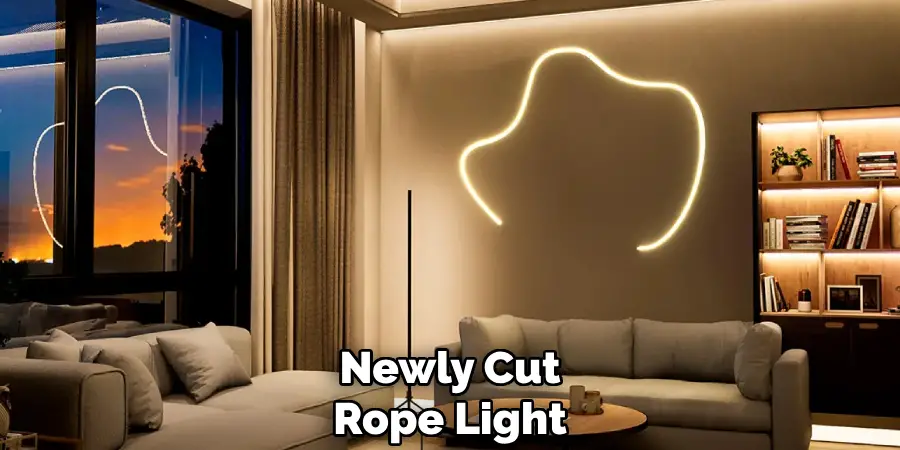
Step 5: Seal Cut Ends with Electrical Tape
To prevent any exposed wires and ensure safety, use electrical tape to seal off both ends of your cut rope light section. Start by wrapping a few layers of tape around one end while applying gentle pressure to make sure the tape sticks well. Repeat this process for the other end. This will also help keep your cut ends from fraying and provide added protection against moisture.
The electrical tape can also act as a temporary measure if you need to make any additional adjustments to the length of your cut rope lights.
Step 6: Optional – Use Heat Shrink Tubing
If you want an even more professional finish, you can use heat shrink tubing instead of electrical tape. This transparent plastic tubing shrinks when heated and creates a tight seal around the cut ends, providing added protection and creating a seamless look.
To use heat shrink tubing, slide it over the cut end before sealing it with electrical tape. Then, using a heat gun or hairdryer, apply heat evenly along the length of the tubing until it shrinks and seals around the wires.
Step 7: Repeat Steps for Other Sections
If you have additional sections of LED rope lights that need cutting, repeat the previous steps for each section. Begin by determining the appropriate cutting points using the manufacturer’s guidelines and marking these cutting points accurately. Ensure each section is cut precisely and inspected thoroughly to confirm the integrity of the wires.
Don’t forget to test each newly cut section by plugging them in to ensure they light up properly. Finish by sealing the cut ends with electrical tape or heat shrink tubing for a secure and professional finish. By following these steps for every section, you can customize your LED rope lights effectively to fit your space or project needs.
Step 8: Install Your Cut Rope Lights
Once all your desired sections have been cut and tested, it’s time to install them into your project. Whether you are using the rope lights for accent lighting or as a source of illumination, make sure they are securely fastened and connected to a power source.
Congratulations! You now know how to cut LED rope lights like a pro. With these simple steps on you can easily customize your lighting solutions and create dazzling effects for any occasion. Remember to always handle and cut your LED rope lights with care to ensure their functionality and longevity. Happy cutting!
Frequently Asked Questions
Q: Can Led Rope Lights Be Cut?
A: Yes, most LED rope lights can be cut at designated cutting points. Attempting to cut elsewhere may damage the light and render it non-functional. It is crucial to follow the manufacturer’s guidelines and take proper precautions when cutting LED rope lights.
Q: What Tools Do I Need to Cut LED Rope Lights?
A: You will need a measuring tape, sharp scissors or utility knife, wire cutters, fine-tip marker or pen, electrical tape (or heat shrink tubing), and a heat gun or hairdryer (for heat shrink tubing). Having these tools on hand will help you accurately measure and cut your rope lights with precision.
Q: Can I Reconnect Cut Sections of LED Rope Lights?
A: Yes, it is possible to reconnect cut sections of LED rope lights using connectors specifically designed for this purpose. However, keep in mind that repeatedly reconnecting and cutting LED rope lights can weaken the wires and affect their functionality. It is best to plan your cuts carefully and avoid frequent reconnections.
Q: Can I Cut LED Rope Lights to Specific Lengths?
A: Yes, by following the manufacturer’s guidelines and accurately marking your cutting points, you can cut LED rope lights to specific lengths according to your project needs. Just remember to test each section after cutting to ensure they are functional before installation.
Conclusion
In summary, cutting and customizing LED rope lights can enhance your lighting projects by offering tailored fit and unique design options. By following the outlined steps on how to cut led rope lights, using the right tools, and adhering to manufacturer guidelines, you can safely and efficiently modify your rope lights. Whether for home decor, events, or creative installations, the versatility of LED rope lights allows for endless possibilities.
Always remember to handle the materials with care, conduct thorough testing, and ensure all connections are secure to maintain the lights’ functionality and longevity. With these tips and techniques, you can confidently create stunning lighting effects that match your vision and project needs.

