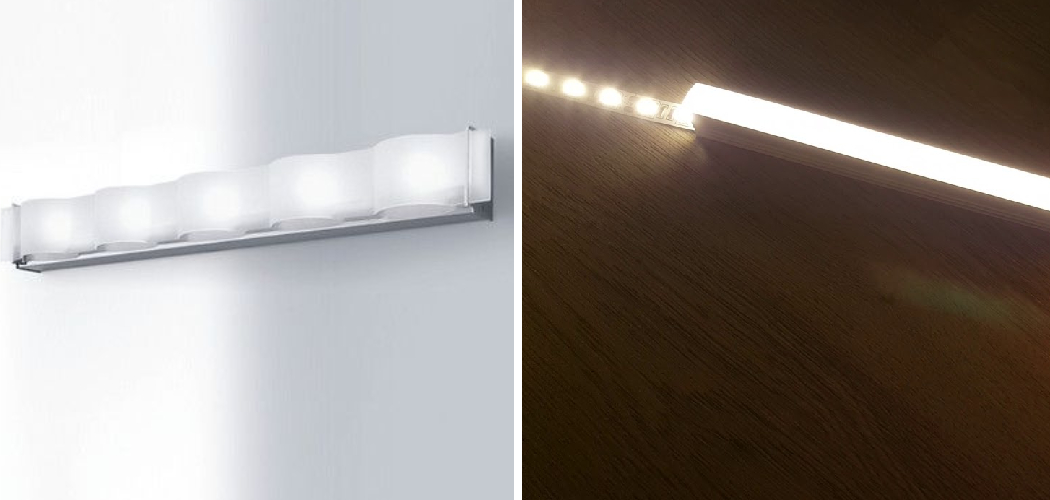
If you’re looking to add some ambiance and style to your room, covering a strip light can be a great way to achieve this. Strip lights are versatile and commonly used as under-cabinet lighting, in closets, or even on stairways. But the exposed LED bulbs can give off harsh lighting that may not be ideal for certain areas.
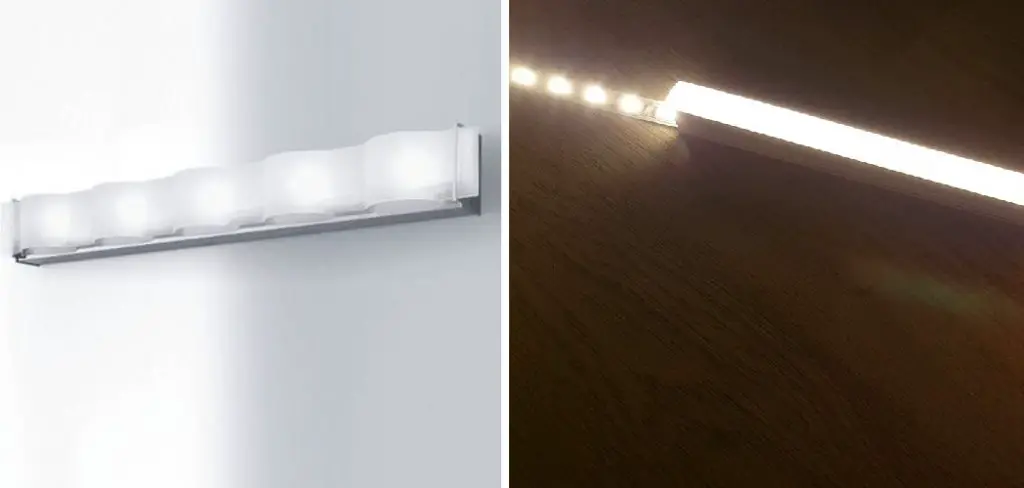
Covering a strip light is not only an aesthetic choice, but it also has practical benefits. It can help diffuse the light and create a softer glow, preventing any glare or harsh shadows. Additionally, covering the strip light can protect the LED bulbs from dust and damage, prolonging their lifespan. The main purpose of a strip light is to provide bright and uniform lighting in a specific area. In this blog post, You will learn in detail how to cover a strip light.
Tools You Will Need
- Measuring Tape
- Scissors
- Utility Knife
- Stapler and Staples
- Double-Sided Tape or Glue
- Wire Connectors (Optional)
- Wire Nuts (Optional)
- Cable Ties (Optional)
- Drill (Optional)
- Screws (Optional)
Step-by-step Instructions for How to Cover a Strip Light
Step 1: Inspect the Strip Light
Before you begin covering your strip light, it’s essential to inspect it and ensure that everything is in working order. Check for any exposed wires or damaged parts that may need to be replaced before proceeding.
Step 2: Choose a Covering Material
The first step in covering a strip light is to select the material you will use to cover it. There are several options available, including fabric, paper, and plastic. Consider the purpose of your strip light and choose a covering material that will serve its function while also complementing your decor.
Step 3: Measure the Length of Your Strip Light
Using a measuring tape, determine the length of your strip light. This measurement will help you accurately cut the covering material to fit over the light. Using scissors or a craft knife, carefully cut your covering material to match the length of your strip light. If necessary, you can also cut the material into smaller sections to cover individual parts of the light.

Step 4: Prepare Adhesive
Depending on the type of covering material you have chosen, you may need to use adhesive to secure it in place. Follow the instructions on the adhesive product carefully to ensure proper application. Using a brush or your fingers, apply the adhesive evenly along the back of the covering material. Make sure there is enough adhesive to hold the material firmly in place.
Step 5: Carefully Place Covering Material on Strip Light
Starting at one end of the strip light, carefully place the covering material over it. Smooth out any wrinkles or bubbles as you go to ensure a clean and even finish. Depending on the type of adhesive used, give it enough time to dry completely before moving on to the next step. Follow the instructions on the adhesive product for the recommended drying time.
Step 6: Trim Excess Material
Once the adhesive is dry, use a craft knife or scissors to trim any excess material that may be hanging over the edges of your strip light. This will give it a neat and professional finish. After completing all the steps, test your strip light to ensure that it is functioning properly. If you encounter any issues, go back and double-check your work, making any necessary adjustments.
By following these simple steps, you can effectively cover your strip light and give it a new and improved look. Remember to always prioritize safety when working with electricity and to carefully follow instructions for any adhesive or cutting tools used.
Safety Tips for How to Cover a Strip Light
- As compared to traditional incandescent or fluorescent lights, LED strip lights generate significantly less heat and are less likely to cause a fire when covered. They also have a longer lifespan and consume less energy, making them an ideal choice for covering.
- Before covering your strip light, make sure to check if the LEDs are waterproof or not. If not, it is best to avoid covering them as moisture can lead to short circuits and damage the lights.
- Always ensure that the strip light is turned off and unplugged before covering it. This ensures your safety and prevents any electrical hazards.
- Use high-quality materials such as aluminum channels or heat-resistant plastics when making a cover for your strip light. This helps in dissipating any excess heat generated by the light and keeps it from overheating.
- When designing a cover, make sure to leave enough space for ventilation. Proper ventilation prevents overheating of the LED strip lights and prolongs their lifespan.
- Avoid using non-transparent materials such as paper or cardboard to cover your strip lights, as they can block the light and affect its brightness.
- If you are using self-adhesive strip lights, avoid covering them with a material that leaves behind a sticky residue when removed. This can damage the LED strip lights and make it difficult to replace them in the future.
In addition to these safety tips, it is important to regularly clean and maintain your strip lights, especially if they are covered. This helps in preventing dust and debris build-up which can affect the performance of the lights.
How Can You Make Sure the Covering is Fire-resistant and Safe to Use With a Strip Light?
One important consideration when covering a strip light is ensuring that the material used is fire-resistant and safe to use with electrical equipment. This is especially important if you are using the strip light for extended periods of time or in areas where there may be flammable materials present.
To make sure your cover is fire-resistant, it’s best to use materials that have been tested and certified to meet fire safety standards.
One popular option is using a PVC or polypropylene material, which are both known for their fire-resistant properties. You can also use materials such as fiberglass mesh or silicone-coated fabrics, which have been specifically designed for covering strip lights.
In addition to being fire-resistant, it’s important to ensure that the material you choose is safe to use with electrical equipment. This means that it should not be highly conductive and should not produce static electricity, which can potentially damage the strip light and create a safety hazard.
What Type of Adhesive or Fastening Method Should You Use to Secure the Covering on the Strip Light?
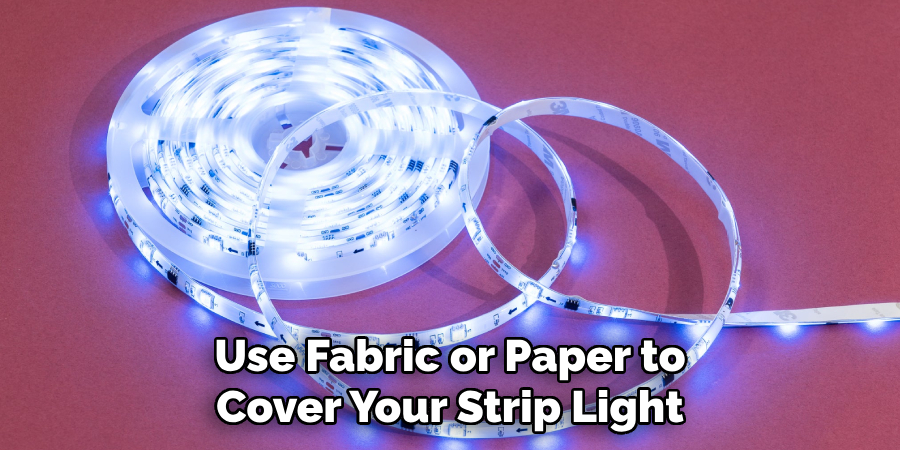
Many people choose to cover their strip lights with fabric or paper in order to create a softer and more diffused lighting effect. However, before proceeding, it is important to determine whether these materials are suitable for your specific needs. One key consideration is the durability of the covering material.
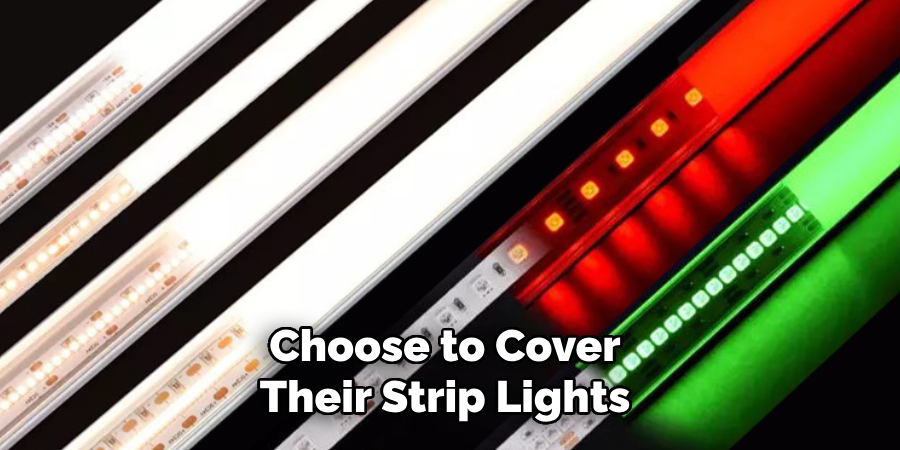
While fabric and paper can provide a temporary solution, they may not hold up well over time. If you are looking for a more long-term solution, consider using something that is more durable and resistant to wear and tear.
Another factor to consider is the adhesive or fastening method used to secure the covering on the strip light. While fabric and paper can be easily attached with tape or glue, they may not hold up well if exposed to heat from the lights.
In this case, it may be necessary to use a more specialized adhesive that can withstand high temperatures. Additionally, some strip lights come with their own diffuser covers that are specifically designed for the light. These covers are often made of plastic or acrylic and can provide both durability and heat resistance.
Can You Paint or Decorate the Covering Material to Match Your Personal Style or Decor?
The answer is yes, you can definitely paint or decorate the covering material of your strip light to match your personal style or decor. This is one of the biggest advantages of using a strip light – its versatility. There are various ways in which you can personalize the coverings of your strip lights.
You can use spray paint, acrylic paint, fabric, paper or even washi tape to decorate the coverings. Before starting, make sure to clean the covering material properly and let it dry completely.
For painting, you can use a primer first to ensure better adhesion of the paint. Then, choose your desired color or design and carefully apply it onto the covering material. You may need multiple coats for a solid finish, so be patient and let each layer dry completely before applying the next.
If you prefer a more textured look, you can use fabric or paper to cover your strip light. Simply cut the fabric or paper into strips and carefully glue them onto the covering material. Make sure to smooth out any air bubbles or wrinkles for a neat finish.
Conclusion
In conclusion, covering a strip light is a simple and effective way to add customization to your lighting. Not only can you choose from various methods such as painting, using fabric or paper, or even washi tape, but you also have the freedom to match it with your personal style and decor. However, like any project, there are a few disadvantages to consider.
For example, some coverings may not be heat-resistant and could pose a safety hazard. Additionally, some coverings may affect the brightness or quality of the light. Despite these drawbacks, with proper preparation and caution, covering your strip light can easily transform the look of any room. I hope reading this post has helped you learn how to cover a strip light. Make sure the safety precautions are carried out in the order listed.

