Are you tired of watching movies or playing video games on a plain TV screen? Do you want to elevate your viewing experience and create an immersive atmosphere in your living room? If so, connecting Govee lights to your television is the perfect solution.
How to connect govee lights to TV is a fantastic way to elevate your home entertainment experience. With their vibrant colors and dynamic lighting effects, Govee lights can transform your TV setup into an immersive and visually captivating space. Whether you’re watching movies, playing video games, or simply setting the mood, syncing Govee lights with your TV adds a new level of ambiance.
This guide will walk you through the step-by-step process for easily connecting and configuring your Govee lights, ensuring you get the most out of this innovative lighting solution.
What Are the Benefits of Syncing Govee Lights with Your TV?
- Enhanced Viewing Experience: By syncing your Govee lights with your TV, you can create a more immersive and engaging viewing experience. The dynamic lighting effects add depth and dimension to the on-screen content, making it feel more lifelike.
- Mood Setting: With Govee lights, you can customize the colors and brightness levels according to your mood or preference. This adds a layer of personalization to your TV setup, allowing you to set the perfect ambiance for any occasion.
- Reduced Eye Strain: Many modern TVs emit blue light, which can cause eye strain and fatigue. Using Govee lights, you can adjust the color temperature to a warmer tone, which is easier on the eyes. This can help reduce eye strain and make for a more comfortable viewing experience.
- Smart Control: Govee lights can be controlled through various methods, such as remote control, voice commands, or even through an app on your smartphone. This adds convenience and ease of use to your TV setup, allowing you to quickly adjust the lighting without getting up from your seat.
What Will You Need?
To set up Govee lights for your TV, you will need the following:
- A set of Govee LED lights
- A compatible power source (USB or AC adapter)
- A remote control (if not using a smartphone app)
- A smartphone with the Govee app installed (optional but recommended for full functionality)
10 Easy Steps on How to Connect Govee Lights to TV
Step 1. Unbox and Inspect Your Govee LED Lights
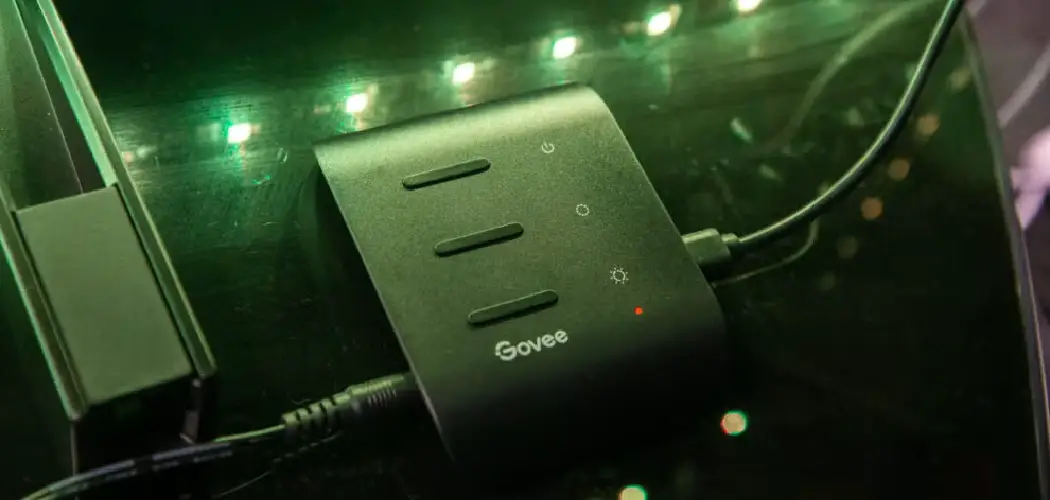
Carefully unbox your Govee LED lights and ensure all the components are included in the package. Typically, you should find the LED strip, a power adapter or USB cable, any necessary connectors, and a remote control (if applicable). Inspect the LED strip for any physical damage or defects before proceeding. Verifying that all parts are intact will save you time and ensure a smooth setup process.
Step 2. Clean the Back of Your TV
Before installing the LED strip, preparing the surface to ensure proper adhesion is essential. Use a clean, dry cloth to remove dust, dirt, or grease from the back of your TV. For stubborn spots, slightly dampen the fabric with a mild cleaning solution, but make sure the surface is dehydrated before continuing. A clean surface will help the adhesive backing on the LED strip stick securely and prevent it from peeling over time.
Step 3. Measure and Plan Placement
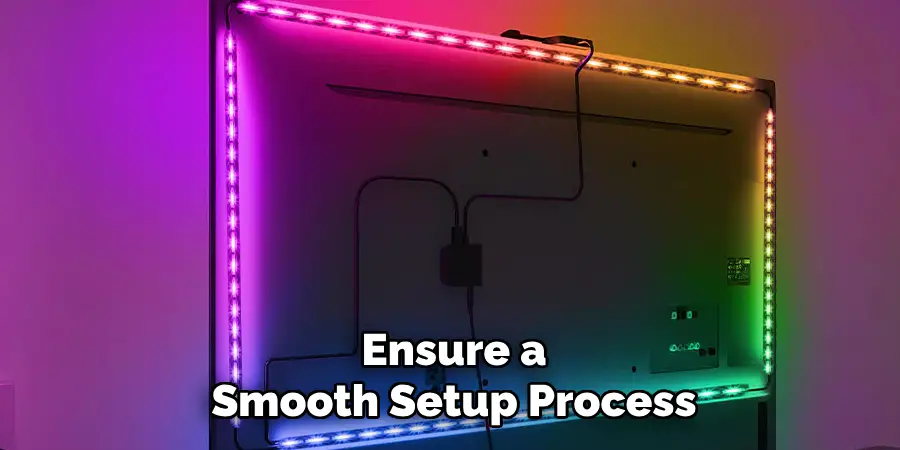
Take measurements of the back of your TV to determine the required length of the LED strip. Start by identifying the areas where you want to place the strip, typically along the edges or specific sections, to create an even glow. Use a measuring tape to record the dimensions and ensure enough LED strip cover the desired areas. Consider any bends or angles you must make, and plan the placement accordingly to avoid cutting or damaging the strip unnecessarily. Laying out the LED strip in advance helps ensure a smooth and efficient installation.
Step 4. Attach the LED Strip to the TV
Start by peeling off the adhesive backing from the LED strip. Carefully press the strip onto the back of your TV, following the placement plan you established earlier. By applying consistent pressure, the strip adheres firmly, especially around corners or bends. Be cautious not to stretch or damage the strip during this process. If the adhesive isn’t strong enough for your TV’s surface, consider using additional clips or mounting brackets for extra support. Once the strip is securely attached, double-check that it’s properly aligned and positioned to achieve the desired lighting effect.
Step 5. Connect the Power Source
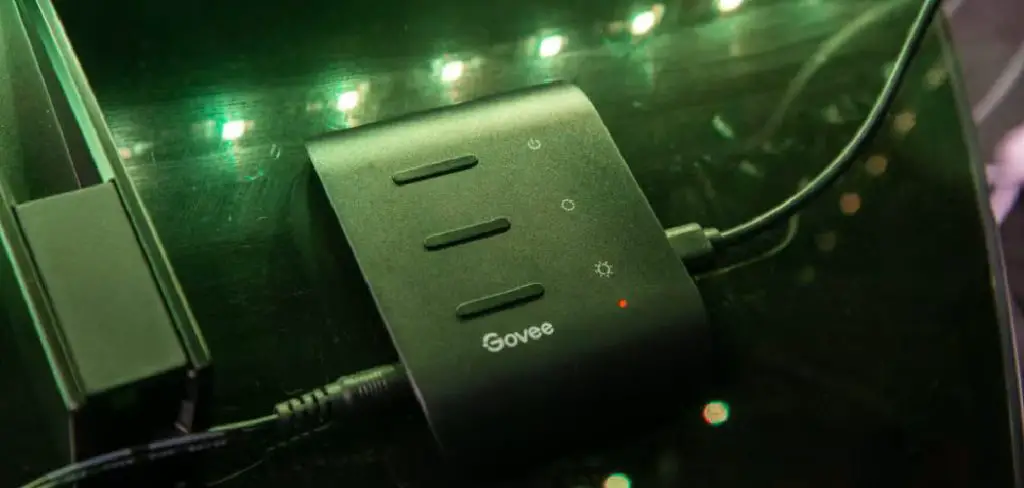
Locate the power cable provided with your LED strip lights and connect it to the designated connector on the strip. Ensure the connection is secure to prevent any interruptions in power. Next, plug the other end of the power cable into a compatible outlet or USB port, depending on the power source required by your LED lights. If your LED strip includes a power adapter, ensure it is also properly connected. Once powered, turn on the LED strip using the switch, remote, or app, and test to confirm it lights up correctly. Adjust the brightness or colors to ensure your setup functions as expected.
Step 6. Download the Govee App
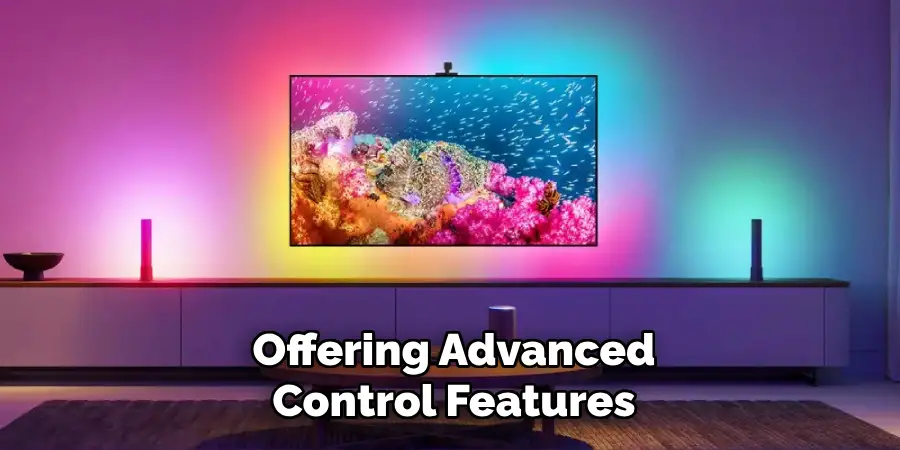
If your LED strip lights are compatible with the Govee app, you can enhance your experience by downloading it. Start by visiting the App Store on iOS devices or the Google Play Store on Android devices. Search for “Govee Home” and download the app onto your smartphone or tablet. Once installed, open the app and follow the on-screen instructions to create an account or log in. Afterward, pair your LED strip with the app as guided. The app allows you to customize colors, set timers, adjust brightness, and even sync the lights to music, offering advanced control features for your LED setup.
Step 7. Pair the Lights to the Govee App
To pair your LED lights to the Govee App, start by ensuring that the lights are correctly connected to a power source and turned on. Open the Govee App on your device, and tap on the “+” icon in the top right corner to add a new device.
Locate your LED light model from the list or use the search function to find it quickly. Follow the on-screen prompts to connect the lights via Bluetooth or Wi-Fi, depending on the model. Once successfully paired, the app will confirm the connection, and you’ll have full access to control your lights directly from your smartphone. If any issues arise during pairing, consult the troubleshooting section in the app or refer to the user manual for your LED lights.
Step 8. Adjust Light Settings via the App or Remote
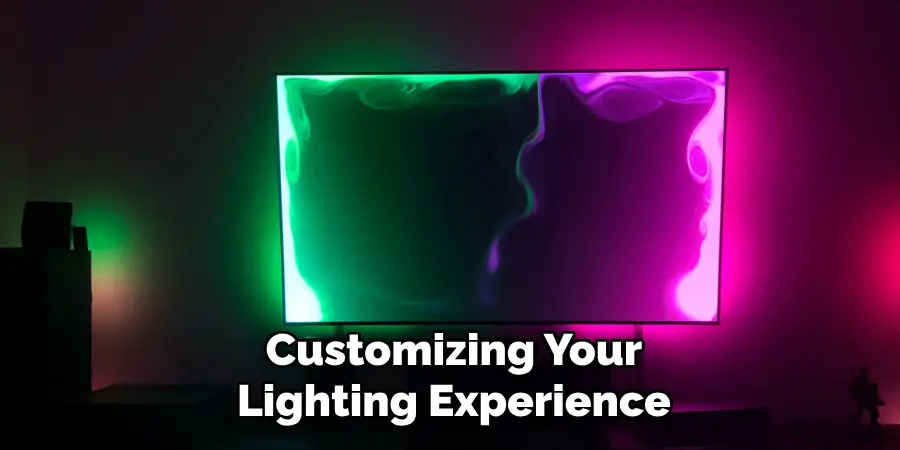
After pairing your LED lights with the app or connecting the remote, you can begin customizing your lighting experience. Open the app or use the remote control to explore the available settings. Adjust the brightness levels to suit your environment or choose from various colors to match your mood or décor.
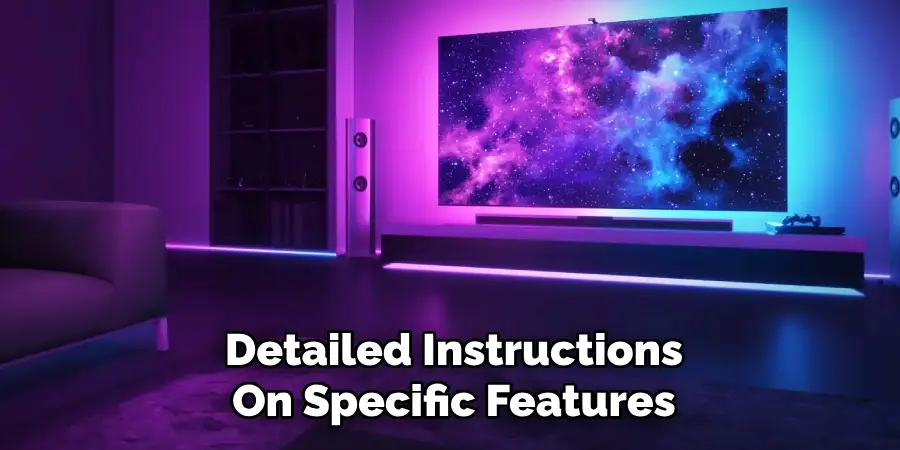
Many apps also allow you to create light schedules, set timers, or sync your lights with music for an immersive experience. Experiment with dynamic lighting modes such as fading, pulsing, or strobe effects to enhance your space further. For a more straightforward approach, the remote provides quick access to essential functions like switching colors or dimming the lights with ease. Refer to the app guide or remote manual for detailed instructions on specific features.
Step 9. Test Your Setup
Once your lights are installed and configured, it’s time to test your setup to ensure everything works as intended. Start by turning the lights on and cycling through the different colors, brightness levels, and modes to check for responsiveness. If you’re using an app, test features like timers, schedules, and syncing with music to confirm they function correctly.
Ensure all areas of your space are evenly illuminated and no light strip sections are damaged or unresponsive. Troubleshoot any issues by reviewing the app settings or double-checking connections. A successful test will confirm that your smart lighting setup is ready to transform your space!
Step 10. Enjoy Your Upgraded TV Experience
Now that your innovative lighting system is fully installed and tested, it’s time to sit back and enjoy your upgraded TV experience. The synchronized lighting will enhance your viewing sessions, creating an immersive atmosphere whether you’re watching movies, gaming, or simply relaxing with your favorite show.
Experiment with different lighting modes and colors to suit your mood or the content on screen. Your space is now designed to impress, combining functionality and aesthetics to elevate entertainment to the next level.
Following the steps outlined in this guide, you can easily upgrade your TV setup and transform your viewing experience.
Conclusion
How to connect govee lights to TV is a straightforward process that can dramatically enhance your viewing experience.
By carefully following the setup instructions, such as attaching the LED strip to your TV, connecting it to the Govee app, and syncing the lights to your device, you’ll create a vibrant, dynamic environment that complements whatever you’re watching. Remember to ensure proper placement of the lights and troubleshoot any connection issues by checking your Wi-Fi network or the app’s settings.
Once completed, your Govee lights will transform your entertainment space, adding both ambiance and excitement to every moment.

