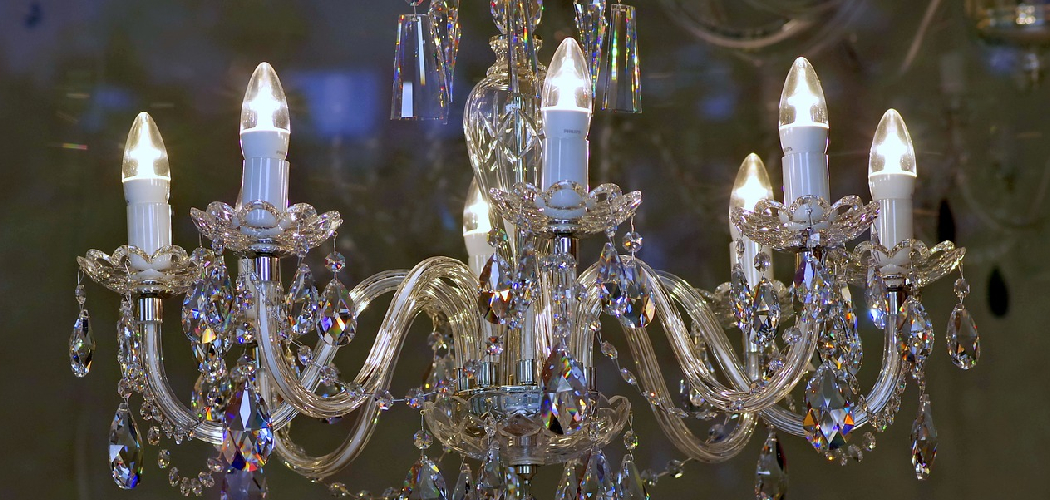
Knowing how to change light bulbs in a chandelier is an important skill for any homeowner. Chandeliers are often the centerpieces of a room, providing both task and ambient lighting, so it’s important to ensure they’re always working correctly. Fortunately, changing the bulbs isn’t difficult—all you need is the right tools and a little bit of patience.
Changing light bulbs in a chandelier can bring several advantages to your home. First, it allows you to customize the lighting in any room. You are no longer limited by what comes with a fixture; instead, you can find exactly the type of bulb, wattage, and color that fits your needs. In addition, changing out a burned-out bulb is much easier when a chandelier is involved.
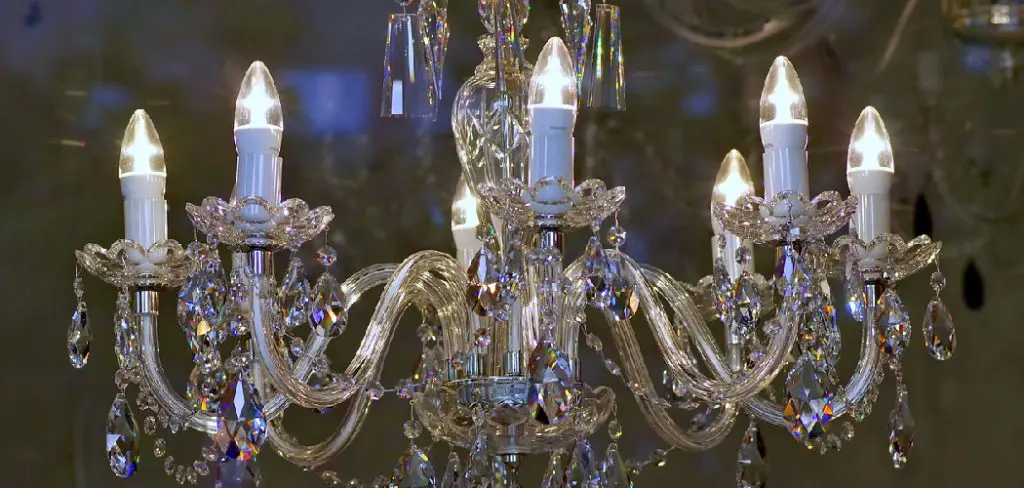
You don’t have to take down the entire fixture, just the portion of it that contains the bulb you need to replace. In this blog post, You will learn in detail how to change light bulbs in chandelier.
Step by Step Processes for How to Change Light Bulbs in Chandelier
Step 1: Inspect the Chandelier
Before changing the light bulbs in a chandelier, inspecting and becoming familiar with the fixture is important. Determine how many lights need to be changed and note where they are located within the chandelier. Make sure that all of the bulbs are compatible with each other, as using different wattages may create an imbalance or pose a risk.
Step 2: Turn Off the Electricity
To ensure safety, turn off the electricity to the chandelier before attempting to remove or replace any light bulbs. This can be done by flipping the breaker switch on a circuit box for the appropriate room. If you do not know which corresponds with your fixture, go through each until the power is off.
Step 3: Remove Bulbs Carefully
Using an appropriate tool such as needle-nose pliers, very carefully remove each bulb from its base by turning it counterclockwise and pulling it out. Be careful not to yank on the wires, as this could damage them or cause a short circuit. Once the old light bulbs have been removed, you can install the new ones by carefully inserting them into the respective sockets and turning them clockwise until they are secure. Ensure not to force them too far, as this could damage the wires or sockets.

Step 4: Turn the Power Back On
Once all of the new light bulbs are in place, turning the power back on is safe. Depending on your type of chandelier, you may need to push a button or switch to ensure that all of the lights are functioning properly. When the power is back on, check to ensure all the lights are functioning properly. Ensure that each bulb is illuminating and that no unusual patterns or dimming occur in any area.
Step 5: Adjust Bulb Height
Adjusting the height of the light bulbs may be necessary for proper illumination. You can unscrew the individual bulb holders and shift them to the desired position. Once all of the bulbs are in place, check that they are evenly distributed across the fixture. If there is an imbalance, make sure to adjust each bulb holder until a balanced look is achieved.
Step 6: Clean Off Dust and Grime
Cleaning off any dust or grime that may have accumulated on the chandelier will ensure that it is functioning properly. This can be done by wiping down each bulb holder with a soft, dry cloth. Once all of the steps above have been completed, you can enjoy your illuminated chandelier. Make sure to inspect it regularly for any signs of damage or wear and tear. If any problems are noticed, make sure to address them immediately in order to avoid further issues down the line.
By following the steps above, you can easily and safely change the light bulbs in your chandelier. Doing so will help to ensure that your fixture is always properly illuminated and looking its best.

Safety Tips for How to Change Light Bulbs in Chandelier
- Make sure to turn off the power to the chandelier before attempting any bulb replacement.
- Use a step ladder or other safe and stable platform if the bulbs are too high for you to reach safely.
- Wear safety glasses when handling lightbulbs, as they can get hot during use and break easily.
- Wear gloves to protect your hands from any potential shock or electric burn.
- Only handle the bulbs with dry hands to prevent electric shocks.
- Do not touch the glass parts of the lightbulbs; use a cloth when necessary.
- Dispose of used lightbulbs properly and recycle them when possible.
- Test the chandelier after replacing the bulbs to ensure everything is working properly and safely before turning it back on.
In conclusion, changing light bulbs in a chandelier should be done with caution and care as it can be dangerous if not handled correctly. Following these simple steps will help ensure that you are doing it safely and properly.
How Do You Locate the Light Bulbs in Your Chandelier?
Locating the light bulbs in your chandelier isn’t as difficult as it may seem. To begin, make sure you have the right tools at your disposal – a ladder, flashlight, and spare bulbs. If, by chance, you don’t know where your bulbs are located on the fixture, one good way to find out is to turn the chandelier on and look for the areas where light is being emitted. This will help you better understand where the bulbs are located.
Once you’ve determined the bulb locations, turn off the power switch or unplug your chandelier from its electrical source. It’s important to ensure the power source is turned off before doing any further work. Ensure the chandelier has cooled down completely if you’ve just switched it off. Now that you know where your bulbs are, carefully climb up your ladder and unscrew them from their sockets. When changing light bulbs in a chandelier, be sure to use bulbs that match the wattage of your original bulbs.

How Can You Ensure Your Safety When Changing Lightbulbs in a Chandelier?
Before you start to work on changing the light bulbs in your chandelier, it’s important to ensure that all safety precautions are taken. Here are some tips to help you:
- Before starting any work, ensure the power is turned off completely at the switch or circuit breaker. This will prevent an electric shock and potential injury.
- If necessary, have an assistant help you—especially for heavier chandeliers or hard-to-reach bulbs.
- Use caution when handling the hot bulbs, as they can become very hot during use and burn your skin if not handled properly.
- Wear safety goggles to protect your eyes from any shards of glass that may break off in the process.
- Use a step stool or ladder to reach higher light bulbs, if necessary. Make sure the stool or ladder is on a flat surface and stable before you climb up.
- If you are changing multiple bulbs at once, it’s best to change one bulb at a time and test the fixture before moving on to the next bulb.
- When handling a light socket or bulb, use caution not to bend or break any of its wires as this can cause an electric shock.
- Keep any tools you are using close at hand in case they become necessary during the process.
- Put new bulbs in the same way you removed them, ensuring to tighten each bulb is secure.
- Lastly, when finished, double-check your work and make sure all bulbs have been replaced correctly and the power is off at the switch or circuit breaker before leaving the area.
You can ensure that your chandelier is properly and safely maintained by taking these steps and following safety protocols.
How Can You Clean and Maintain the Glass Parts of Your Chandelier?
Glass parts of the chandelier should be cleaned and maintained regularly to ensure they are in good condition. Use a soft cloth with mild soap and water solution to clean the glass. Avoid using abrasive cleaners or scrubbing too hard, as this can damage the glass. Rinse off any soapy residue and ensure it is completely dry before replacing the bulbs. Depending on the type of glass, it may be possible to use a mild vinegar solution and a non-abrasive scrubbing pad to remove any remaining dirt or dust.
Alternatively, you can also use a vacuum cleaner with an attachment for delicate surfaces such as chandeliers.

You should also inspect the chandelier’s metal parts for any damage or rust. Use fine sandpaper to gently sand down any rust spots, and apply a clear lacquer or paint coat to protect them from further damage. Additionally, check that all wires are securely fastened in place and that none of them have been cut or frayed. A professional should do any repairs to ensure the safety and integrity of the chandelier.
How Can You Avoid Damaging the Wiring in Your Chandelier When Changing Light Bulbs?
When changing light bulbs in a chandelier, it is important to take care not to damage the wiring. Taking these steps can help you avoid any potential problems:
- Disconnect the power by switching off the circuit breaker or unplugging the chandelier from the wall outlet.
- Carefully remove the light bulb or bulbs you wish to replace. Most chandeliers have connecting wires for each bulb, so be sure to unscrew the bulb from its socket and gently pull it away from the fixture.
- When removing old light bulbs, inspect the wiring for any visible signs of wear and tear or damage. If you notice any, replacing the wiring before continuing is best.
- To install new light bulbs, start by using a clean cloth to dust off the base of the socket before inserting the new bulb. This helps prevent dust and dirt from shorting out your chandelier’s electrical system.
- When connecting wires to the new light bulb or bulbs, be sure to do so gently. Avoid twisting or tugging them too hard, as this can damage the wiring. Also, avoid over-tightening the screws when attaching wires to the light bulb base.

By taking these steps, you can help ensure that your chandelier’s wiring remains safe and secure when changing light bulbs.
How Should You Store Extra Light Bulbs for Your Chandelier So That They Remain in Good Condition?
If you have a chandelier with multiple light bulbs, storing any extra light bulbs that are not currently installed in the fixture is important. Storing them properly will ensure that they are in good condition when you need to replace a bulb on your chandelier. Here are some tips on how to store light bulbs for chandeliers:
- Store the light bulbs in a cool, dry place away from direct sunlight. Heat and UV rays can damage the glass of the bulbs and shorten their lifespan.
- If possible, store them in their original packaging, which should include information about wattage, voltage, and type of bulb. This will make it easier to find a replacement when you need one.
- Wrap the bulbs in tissue paper or bubble wrap before storing them in a box so they don’t come into contact with anything that could break the glass.
- Label the box, so you know what type of bulbs are stored inside, and check on them periodically to ensure they are still in good condition.

By following these tips, you can ensure that your extra light bulbs remain in good condition and are ready for replacement when needed.
Conclusion
In conclusion, changing light bulbs in a chandelier is not as difficult as it may seem. Anyone can do it with the right tools, safety precautions, and understanding of what type of bulb you need to replace. It’s also important to remember that chandeliers should be regularly maintained and cleaned in order to ensure proper operation and longevity.
Proper installation and maintenance will help to keep your chandelier looking good and operating as it should. I hope this article has been beneficial for learning how to change light bulbs in chandelier. Make Sure the precautionary measures are followed chronologically.

