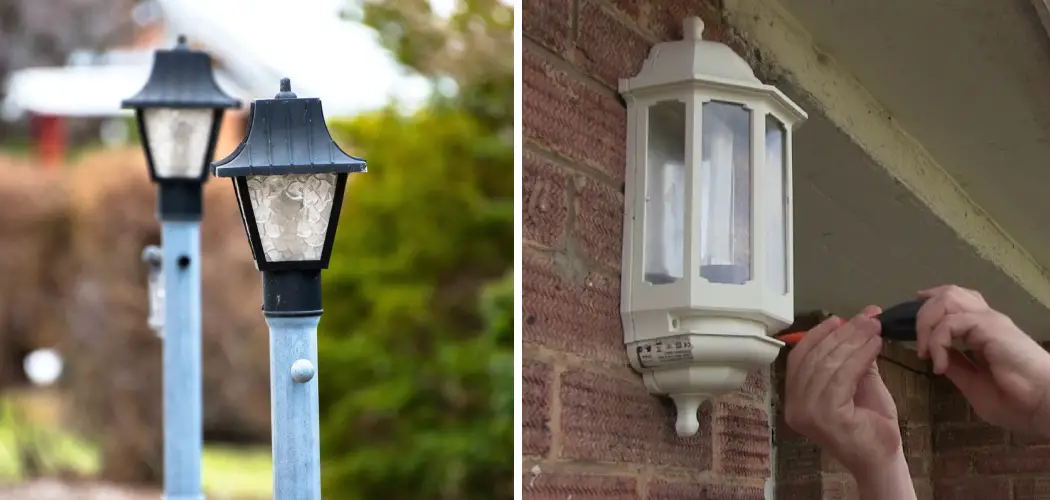
Are you looking to upgrade the lighting in your outdoor lamp post? Changing a light bulb in an outdoor lamp post may seem intimidating, but it’s quite easy. Here are the steps to follow when changing a light bulb in an outdoor lamp post.
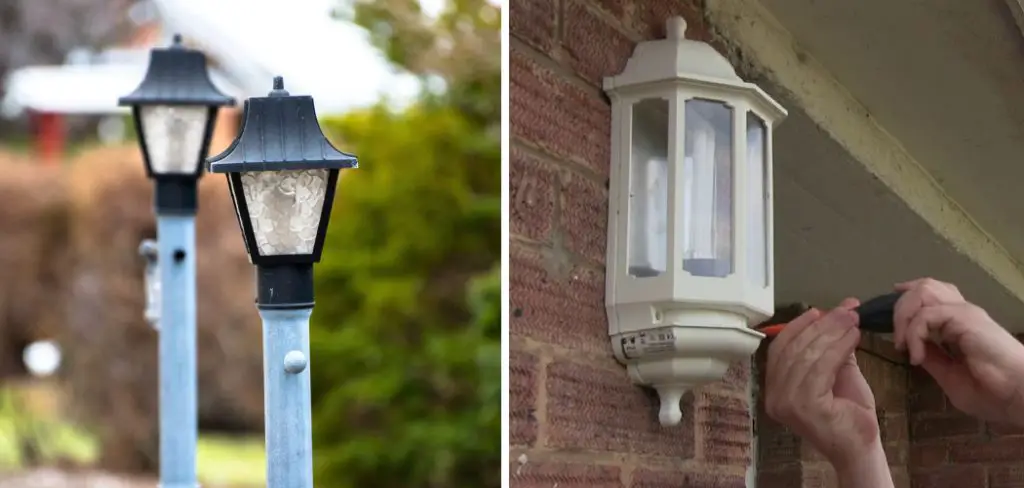
It’s not always easy to replace a lightbulb in an outdoor lamp post, but it doesn’t have to be a challenge! Whether you’re facing flickering lights or dealing with burned out bulbs due to increasing hours of darkness this winter, taking the time to learn how to change your outdoor lamp posts’ light bulbs can help you save energy and money.
In this blog post, we’ll discuss what tools you need, how best to approach the job safely and efficiently—and what pitfalls you should avoid. Read on for our instructions on how to change light bulb in outdoor lamp post.
What Will You Need?
Before you begin, make sure to have the following items on hand:
- A ladder or a step-stool (depending on the height of the lamp post)
- A replacement light bulb that matches the voltage and wattage of the existing one
- A glove for safety and a screwdriver or other tool to remove the outer cover of your light fixture (if applicable).
Once you’ve collected all these items, you can move on to the next step.
10 Easy Steps on How to Change Light Bulb in Outdoor Lamp Post
Step 1. Unplug the Outdoor Lamp Post:
Before you start to replace the lightbulb, make sure to turn off the power supply to your lamp post. Unplug any cords connected to it or switch off any circuit breakers that may be supplying power to the fixture. If you need clarification on the power source, then it’s best to contact a qualified electrician.
Step 2. Remove the Cover of the Light Fixture:
Depending on the type of outdoor lamp post you have, you will need either a screwdriver or other tool to remove the outer cover of your light fixture. Make sure not to force or twist anything while doing this, as it could damage your light fixture and create safety hazards. You can also check the manufacturer’s manual for instructions on removing the cover.
Step 3. Hold onto Old Light Bulb:
Once the cover is removed, hold onto the old light bulb with some gloves for safety reasons before discarding it into a proper disposal bin. Be careful not to touch light bulb metal parts as they can be very hot. Instead, use a cloth or another item to help you remove it.
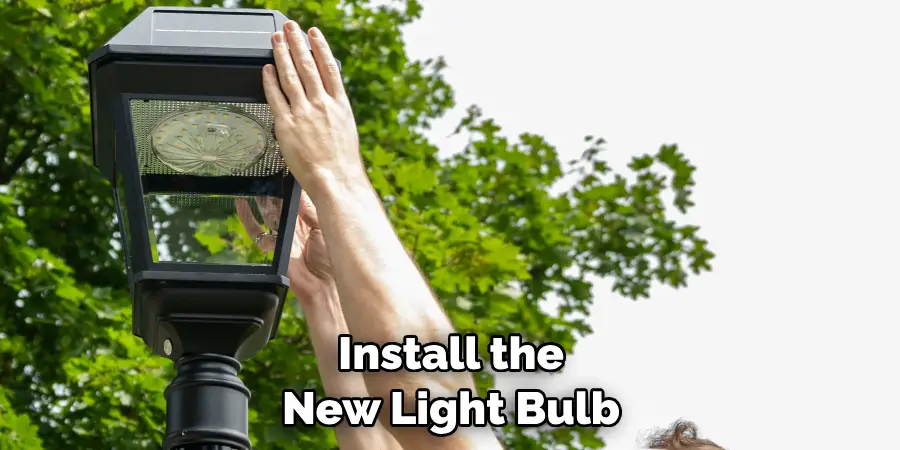
Step 4. Install New Light Bulb:
Install the new light bulb into the socket, ensuring it matches the voltage and wattage of the existing one. It may be necessary to refer to your user manual for instructions on properly installing your particular model of lamp post bulb. Remember that if there are any extra wire connections, you’ll need to attach them to the new light bulb before replacing them.
Step 5. Replace Light Fixture Cover:
Once you have installed the new lightbulb, replace the cover of your light fixture securely with any screws or tools that were removed in Step 2 above. Ensure none of the components are loose before moving on to the next step. Additionally, check that all connections are secure and that nothing obstructs or prevents the light from escaping.
Step 6. Plug Lamp Post Back Into Outlet:
Plug back in all cords connected to your lamp post or switch on any circuit breakers that may have been supplying power to the fixture. Use a voltage tester to make sure that the power is off before touching any of the components. Double check that the light bulb is securely installed and all connections are secure before turning on the power.
Step 7. Turn Lamp Post On:
Turn the lamp post on with its main switch and ensure the new light bulb works properly. If there is no power going through, double check your connections and ensure everything is secure before trying again. Another option is to refer back to the user manual for troubleshooting tips.
Step 8. Test Light Bulb:
Once you’ve turned the lamp post on, test out the new lightbulb by turning it off and back on multiple times to ensure that it works correctly. As a safety precaution, make sure to turn off the power before touching any of the components. Otherwise, you may risk an electric shock.
Step 9. Secure Any Loose Parts:
If there are any loose components in your outdoor lamp post, make sure to secure them with screws or glue, as this can create a safety hazard. Check for any loose wires or screws, and make sure to tighten them securely. This will help to avoid any unexpected electrical hazards.
Step 10. Clean Up Any Mess:
Once you’ve finalized all of the steps to change the light bulb in the outdoor lamp post, make sure to clean up any mess that may have been made during the process. This can include discarded packaging from your new lightbulb and any other materials used for installation. Remember, safety comes first!
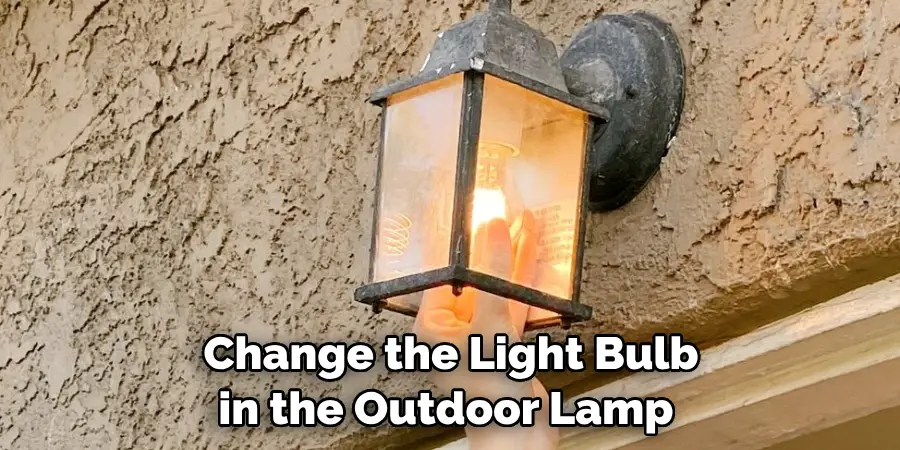
By following these ten simple steps, you can easily change the light bulb in your outdoor lamp post. Make sure to refer to your user manual for any other instructions or safety warnings that may be applicable. And always use caution when working with electricity!
5 Additional Tips and Tricks
1. When changing a light bulb in an outdoor lamp post, make sure to wear protective eyewear and gloves. This will help protect your eyes from UV rays and dust particles that may be present in the area.
2. Make sure you have the correct type of replacement bulb before beginning the job. Different types of bulbs require different wattages and sizes for compatibility with your outdoor lamp post.
3. To ensure a secure fit, it’s best to use pliers to tighten any screws or bolts on the fixture before inserting the new light bulb.
4. Once you’ve inserted the new light bulb into its socket, turn on the power switch at least once to test it and ensure everything works properly.
5. After completing the job, safely dispose of the old light bulb according to local waste and recycling regulations. This will help protect you and the environment from hazardous materials contained in these bulbs.
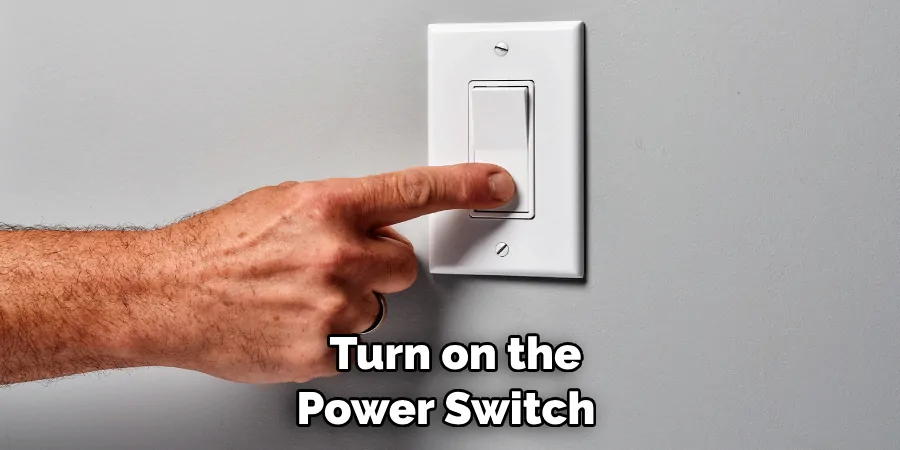
By following these tips and tricks, you can easily change a light bulb in an outdoor lamp post with confidence.
5 Things You Should Avoid
- Avoid using a higher wattage bulb than recommended for your outdoor lamp post. An incorrect wattage can increase the fire risk and damage to the fixture.
- Don’t attempt to remove the glass cover of the light bulb while it is still warm, as this could cause burns or other injuries.
- Don’t forget to turn off the power when changing bulbs in an outdoor lamp post. This will help prevent any shocks or electrocution from happening during the job.
- Never touch a light bulb without protective eyewear or gloves on, as they can become incredibly hot when lit and cause serious injury if touched with bare skin.
- Avoid inserting any foreign objects into the light bulb socket. This can cause a short circuit and damage the bulb and the fixture.
By avoiding these mistakes, you can easily change a light bulb in an outdoor lamp post. With some common sense and proper care, you’ll be able to get the job done quickly without sacrificing safety or quality.
How Do You Remove Outdoor Light Covers?
- Before removing an outdoor light cover, make sure to turn off the power switch at your circuit breaker box or fuse box.
- Depending on your fixture type, it may require a flathead or Phillips screwdriver to remove screws or bolts holding the cover in place.
- Carefully lift outwards on the cover to remove it from the fixture. You may need to use some force if any resistance is due to corrosion or dirt build-up over time.
- Once removed, clean away any dirt or debris blocking light output from the bulb itself before replacing the cover with the fixture.
- Finally, turn back on the power to ensure everything works correctly.

Following these steps, you can safely and easily remove outdoor light covers when necessary. Be cautious and wear protective gear such as gloves and eyewear when handling any electrical components. Taking the time to follow these simple guidelines will help protect both you and your property from harm.
Conclusion
How to change light bulb in outdoor lamp post may seem intimidating, but it shouldn’t be! With the right materials and tools, you can easily replace a burnt-out light bulb. After you’ve consulted your owner’s manual for instructions specific to your lamp post, safety first—remember to shut off the ideal circuit breaker before handling any electrical components.
While gathering necessary components, make sure you have the right type of tube or globe, depending on what’s installed. Then, remove all glass components carefully and dispose of the old bulb properly. Inserting the new bulb is as easy as screwing it in place and adding any additional compartments. Last but not least—turn the power back on by resetting your breaker switch.
With these steps, changing a light bulb in an outdoor lamp post should go smoothly so that even a beginner can do it without professional assistance or technical know-how!

