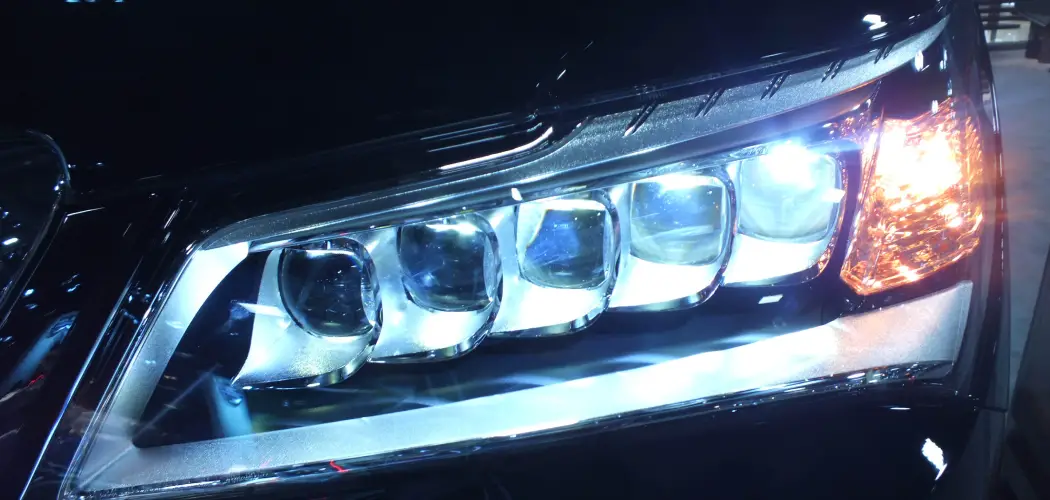
Functioning headlights are essential for driving safety, as they ensure proper visibility during nighttime and adverse weather conditions, thus preventing accidents. The Honda Pilot, known for its reliability and spacious interior, remains a popular choice among SUV enthusiasts. However, like any vehicle, it is not immune to headlight issues.
This article aims to provide a detailed, step-by-step guide on how to change a Honda Pilot headlight bulb, making the process straightforward even for those with minimal automotive experience. By following this guide, you can ensure your headlights are always in optimal condition, contributing to safer driving experiences. Understanding how to change honda pilot headlight can save you time and money and help maintain the excellent performance of your vehicle.
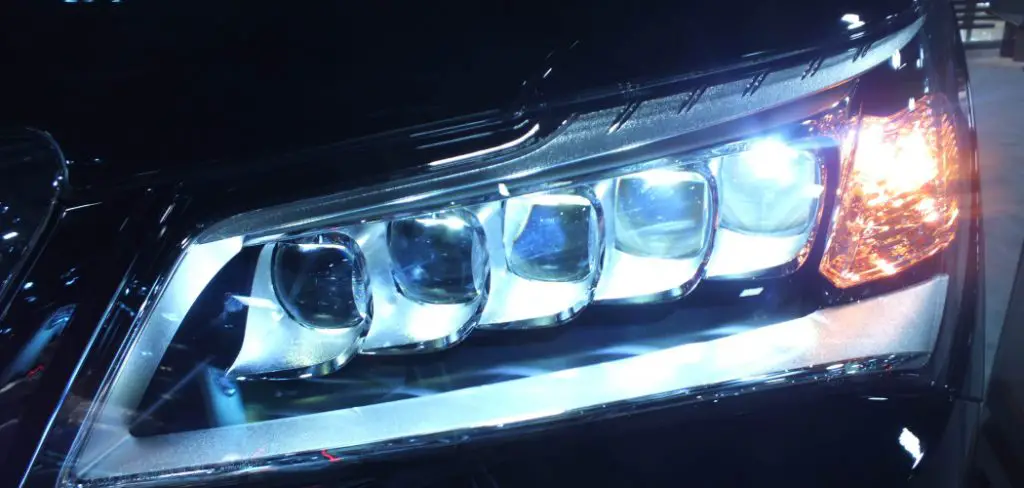
Understanding the Headlight System
Types of Headlight Bulbs
Honda Pilots are equipped with different types of headlight bulbs depending on the model year and trim. The three primary types of bulbs used are halogen, LED, and HID (High-Intensity Discharge) bulbs. Halogen bulbs are the most common and offer reliable performance with a decent lifespan.
LED bulbs are becoming increasingly popular due to their energy efficiency and longer lifespan. They also provide brighter illumination compared to halogens. HID bulbs, known for their intense brightness and longevity, are less common but offer superior visibility in low-light conditions. To identify the type of bulb your Honda Pilot uses, consult your vehicle’s manual or check the bulb type inscribed on the headlight housing.
Importance of Headlight Maintenance
Maintaining functional headlights is crucial as they significantly enhance visibility and safety during driving, especially at night and in poor weather conditions. Well-maintained headlights enable drivers to see obstacles, road signs, and other vehicles more clearly.
Signs indicating that a headlight bulb needs replacement include dimming light output, flickering, or complete burnout. Addressing these issues promptly prevents compromised visibility and potential accidents. Regular inspection and timely replacement of headlight bulbs ensure that your vehicle meets road safety standards and provides optimal illumination at all times.

Preparing for the Replacement
Gathering Necessary Tools and Materials
Before beginning the headlight replacement process, gathering all the necessary tools and materials is essential to ensure a smooth and efficient operation. The tools required for this job typically include:
- A Pair of Gloves: to prevent oils from your skin from transferring to the new bulb.
- A Flathead or Phillips Screwdriver: depending on the type of screws used in your vehicle.
- Replacement Bulb: ensure that the bulb type matches your Honda Pilot model specifications.
- A Soft Cloth or Towel: to place loose parts on and protect the vehicle’s surfaces.
It is crucial to use the correct type of replacement bulb suited for your Honda Pilot model. Using the wrong bulb type can result in improper fitment, suboptimal lighting performance, and potential damage to the headlight assembly.
Safety Precautions
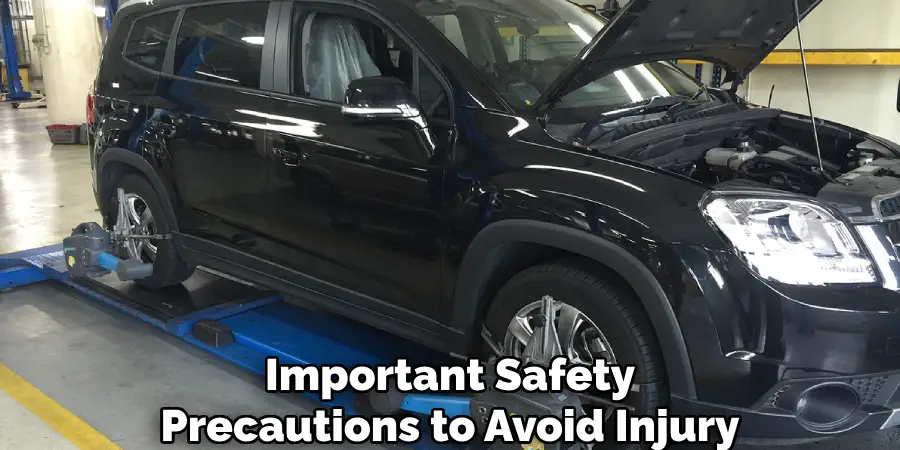
Safety should always be a priority when performing any vehicle maintenance. Follow these important safety precautions to avoid injury and ensure a successful headlight replacement:
- Ensure the Vehicle is Turned Off: Turn off the ignition and remove the key to prevent any accidental power surges or movements.
- Allow the Headlights to Cool: Headlights can become extremely hot during use. To avoid burns, let the headlights cool down completely.
- Disconnect the Battery: To prevent electrical shock, disconnect the negative terminal of the vehicle’s battery. This step ensures all electrical circuits are de-energized, reducing the risk of electrical injury.
By carefully preparing and adhering to these safety precautions, you can confidently change your Honda Pilot headlight, ensuring a successful and safe replacement process.
Accessing the Headlight Assembly
Opening the Hood
To start the headlight replacement process, you first need to open the hood of your Honda Pilot. Follow these step-by-step instructions to open the hood safely and locate the headlight assembly:
- Locate the hood release lever: Inside the vehicle, find the hood release lever, typically located under the dashboard on the driver’s side.
- Pull the hood release lever: This action will open the hood slightly.
- Move to the front of the vehicle: Once outside, locate the secondary hood release latch situated under the front center of the hood.
- Release the secondary latch: Reach under the hood and feel for the latch. Slide it to the side or lift it (depending on the model) to fully release the hood.
- Lift the hood: Carefully lift the hood and secure it with the prop rod if necessary, ensuring it is stable and won’t fall while you work.
With the hood open, you can now easily see the headlight assembly located near the front corners of the engine compartment on both sides.
Removing the Headlight Cover
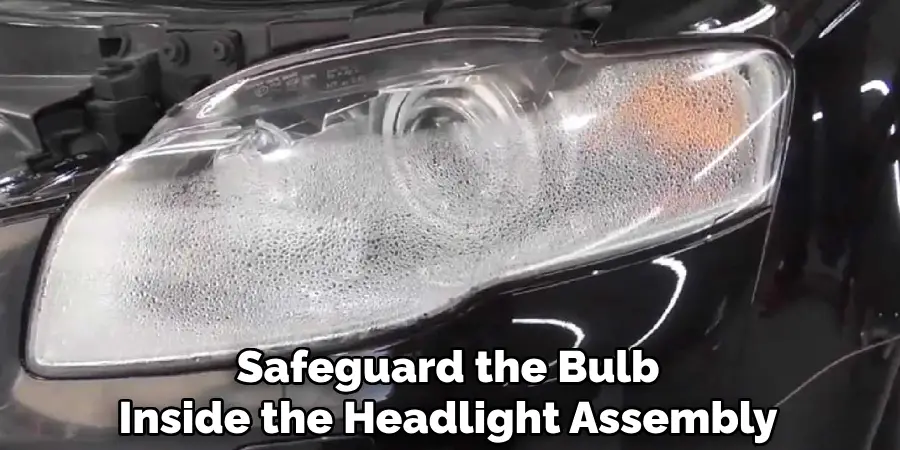
Accessing the headlight bulb involves removing any covers or protective panels that safeguard the bulb inside the headlight assembly. Follow these detailed steps to remove the headlight cover without causing any damage:
- Locate the headlight cover: Identify the plastic or rubber cover that protects the rear of the headlight assembly.
- Remove any screws or clips: Depending on your model, you may encounter screws, clips, or fasteners. Use a flathead or Phillips screwdriver to remove screws. For clips, gently press or pull the appropriate tabs to release them.
- Handle with care: When removing clips, avoid using excessive force to prevent breaking them. Use a soft cloth to place the removed screws and clips to ensure you don’t lose any small parts.
- Detach the cover: After removing all fasteners, carefully pull off the headlight cover to reveal the bulb and socket. If the cover is stuck, check for any missed screws or clips.
By following these steps, you can access the headlight bulb without damaging any components, ensuring a smooth continuation of the replacement process.
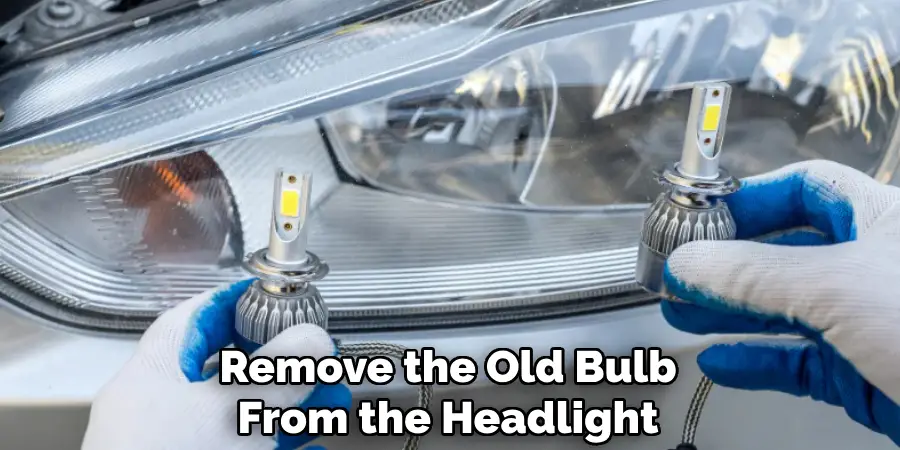
How to Change Honda Pilot Headlight: Removing the Old Bulb
Disconnecting the Power Connector
Before removing the old bulb, you need to disconnect the electrical connector attached to it. Follow these instructions for safely disconnecting the power connector:
- Identify the power connector: Locate the electrical connector on the back of the headlight bulb socket.
- Inspect the connector: Check if there are any locking tabs or clips securing it.
- Depress the locking tab: If your connector has a locking tab, gently press it down to release the connector.
- Pull the connector away from the bulb: Firmly but gently pull the connector straight back to disconnect it from the bulb. Be careful not to yank or twist the wires to avoid damaging them.
- Examine the wires: After removing the connector, inspect the wires for any signs of damage. The insulation may need repair or replacement to ensure proper functionality if it is cracked or frayed.
By carefully disconnecting the power connector, you can prevent damage to both the electrical system and the bulb socket.
Removing the Bulb
Once the power connector is safely disconnected, you can remove the old bulb from the headlight assembly. Follow this step-by-step guide to ensure safe and proper removal:
- Identify the bulb fastening mechanism: Depending on your vehicle model, the bulb may be held in place by screws, clips, or a twist-lock mechanism.
- Remove any screws or clips: If there are screws or clips, use the appropriate tool to remove them. Place the screws or clips in a safe location, such as a soft cloth or towel.
- Twist or unclip the bulb: If your bulb is secured by a twist-lock mechanism, rotate it counterclockwise until it unlocks. For clip-fastened bulbs, gently press the clip to release the bulb.
- Extract the bulb: Carefully pull the old bulb out of the socket. Hold it by the base to avoid touching the glass with your fingers.
- Inspect the old bulb: Examine the old bulb for any signs of damage or contamination. If the bulb is intact, dispose of it according to local regulations. If it is broken, handle it with extra caution to avoid injury.
By following these steps, you can safely remove the old bulb from your Honda Pilot, ensuring that you’re ready for the next step in the headlight replacement process.
How to Change Honda Pilot Headlight: Installing the New Bulb
Handling the New Bulb Properly
When installing the new bulb, it’s crucial to handle it carefully to avoid any potential damage. Here are a few tips to ensure you handle the bulb properly:
Importance of wearing gloves: Wear a pair of clean gloves to prevent oils from your skin from coming into contact with the bulb. The oils can create hot spots on the bulb’s surface, leading to premature failure.
Tips for handling the new bulb without touching the glass: If gloves are not available, use a clean cloth or paper towel to handle the bulb. Always hold the bulb by its base and avoid touching the glass part.
Inserting the New Bulb
To insert the new bulb into the headlight assembly, follow these step-by-step instructions:
- Align the bulb with the socket: Carefully insert the new bulb into it, aligning it according to the headlight assembly’s design. Ensure that the bulb fits snugly without forcing it.
- Twist or secure the bulb: If your vehicle uses a twist-lock mechanism, rotate the bulb clockwise until it locks into place. For bulbs secured with clips, position the bulb correctly and then snap the clip into place.
- Ensure the bulb is securely fastened and properly aligned: Double-check that the new bulb is firmly in place and properly aligned within the headlight assembly. This step helps avoid misalignment issues that could affect the beam pattern.
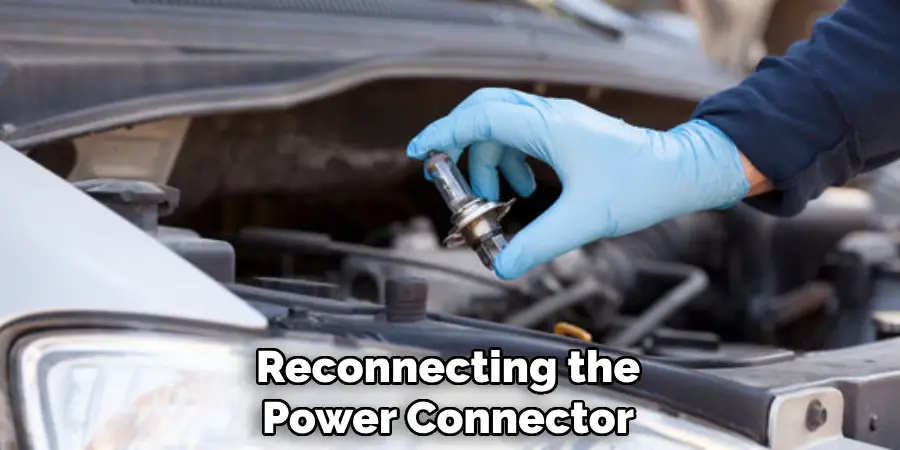
Reconnecting the Power Connector
After the new bulb is securely installed, reconnect the electrical connector following these instructions:
- Reattach the connector: Align the power connector with the bulb’s socket and gently push it until it clicks or snaps into place. Ensure the connection is firm to avoid any electrical issues.
- Inspect the connection: Give a gentle tug on the connector to confirm it’s securely attached. A loose connection can lead to intermittent or non-functional headlights.
By adhering to these guidelines, you’ll ensure that the new headlight bulb is properly installed and ready to use, restoring optimal visibility for your Honda Pilot.
Reassembling and Testing
Replacing Covers and Panels
After successfully installing the new bulb and reconnecting the power connector, it’s time to reassemble any covers or panels removed during the process. Follow these steps for a seamless reattachment:
- Align the cover with the assembly: Position the cover or panel in its original place, ensuring it aligns correctly with the headlight assembly.
- Secure with clips and screws: Gently press any clips back into their slots until you hear them snap into place. For screws, use the appropriate screwdriver to tighten them securely. Remember to check for any hidden screws or clips before proceeding.
- Double-check securement: Once all clips and screws are in place, give the cover another check to confirm it’s securely attached. A loose cover can cause rattles, reduce the headlight’s effectiveness, or even come off while driving.
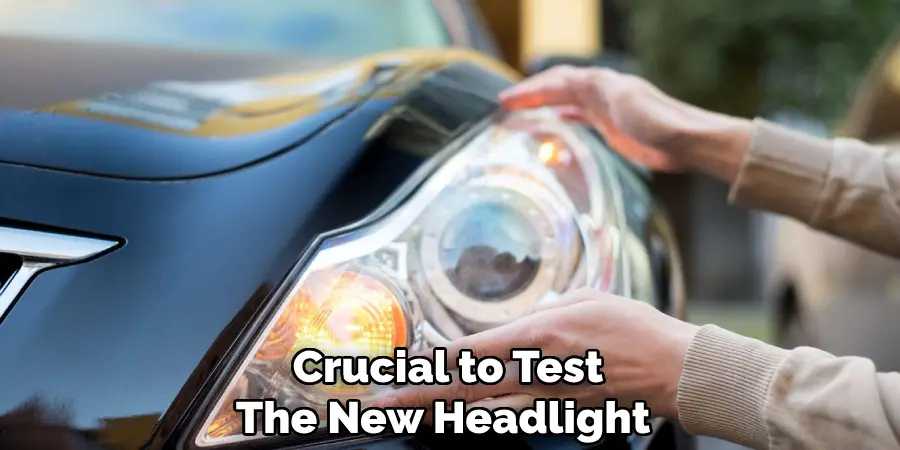
Testing the New Headlight
With everything reassembled, it’s crucial to test the new headlight to ensure it functions correctly:
- Activate the headlights: Turn the vehicle’s ignition on and switch on the headlights. Observe if the new bulb lights up and functions as expected.
- Check for proper illumination: Stand in front of the vehicle and verify the brightness and alignment of the headlight beam. Pay attention to any noticeable differences in brightness or positioning when compared to the other headlight.
- Adjust alignment if necessary: If the new headlight appears misaligned, use the headlight adjustment screws to fine-tune the alignment. Refer to your vehicle’s manual for specific instructions on adjusting the headlight aim.
You’ll ensure optimal visibility and safety for your Honda Pilot driving experience by thoroughly reassembling and testing the new headlight.
Troubleshooting Common Issues
Bulb Not Lighting Up
If the new bulb doesn’t light up, consider the following possible causes and solutions:
- Faulty connection: Ensure the power connector is securely attached to the bulb socket. A loose connection can prevent the bulb from receiving power.
- Blown fuse: Check the vehicle’s fuse box for any blown fuses related to the headlights and replace if necessary.
- Defective bulb: Sometimes, even new bulbs can be defective. Try swapping the bulb with another known working bulb to rule this out.
- Wiring issues: Inspect the wiring for any signs of damage or corrosion and repair or replace as needed.
Flickering or Dim Light
If the new bulb is flickering or appears dim, troubleshoot with these steps:
- Check the connections: Ensure the power connector is firmly in place and corrosion-free.
- Voltage issues: Use a multimeter to check the voltage at the bulb socket. Inadequate voltage can cause flickering or dimming.
- Inspect the bulb: Verify that the bulb is correctly seated in the socket and not loosely fitted.
By addressing these common issues, you can ensure the proper functioning of your new headlight bulb.
Conclusion
Recapping the process for changing a Honda Pilot headlight bulb, we began with preparation, gathering the necessary tools, and turning off the vehicle. Next, we accessed the headlight assembly by removing any obstructing covers or panels. We then removed the old bulb by disconnecting the power connector and releasing it from its socket. The new bulb was installed by securely fitting it into the assembly and reconnecting the power connector. Finally, we tested the new headlight for proper illumination and adjusted the alignment as needed.
Properly functioning headlights are crucial for safe driving, especially at night or in adverse weather conditions. Following this guide carefully ensures a successful replacement, restoring optimal visibility and safety for your Honda Pilot.
Regular headlight maintenance helps prevent potential hazards caused by poor visibility. By staying proactive with checks and cleanings and keeping spare bulbs on hand, you ensure reliable lighting and a safer driving experience. Thanks for reading our blog post about how to change honda pilot headlight.

