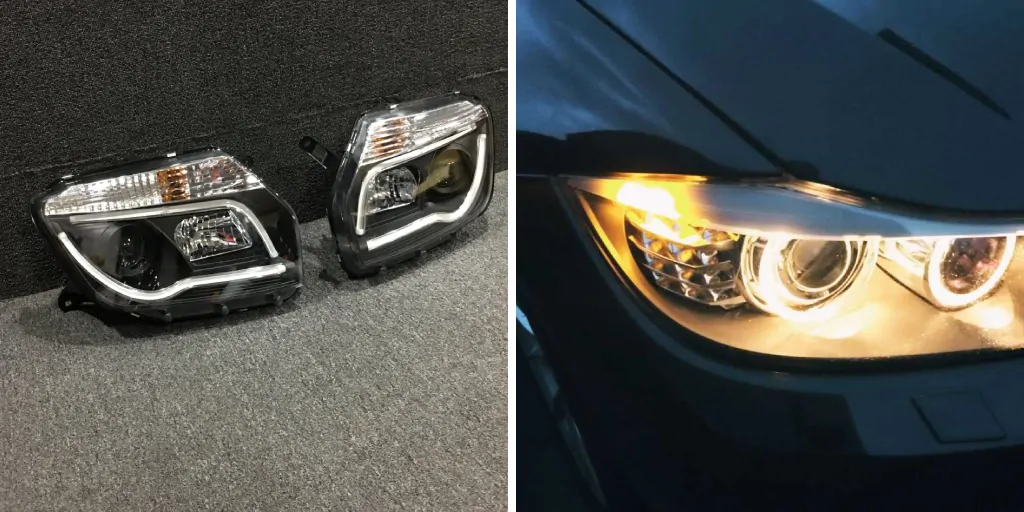
Adjusting your projector headlights may seem daunting, but it is a simple and important process that every car owner should know how to do. Properly adjusted headlights not only improve visibility while driving at night but also ensure that you are not blinding other drivers on the road. This can greatly enhance safety for both you and others on the road.

The main advantage of adjusting your projector headlights is improved visibility. This is especially important when driving at night or in adverse weather conditions. Properly aligned headlights can greatly improve your ability to see the road and any potential hazards that may be present. You can find step-by-step instructions on how to adjust projector headlights left and right in this blog article.
Step by Step Processes for How to Adjust Projector Headlights Left and Right
Step 1: Inspect the Headlights
Inspecting the headlights before adjusting them will help you know what type of adjustment is needed. You can check if the lens is dirty, cracked, or hazy, which may affect visibility and require cleaning or replacement.
Step 2: Check Your Vehicle’s Manual
Before starting any adjustments on your projector headlights, it’s important to read your vehicle’s manual. This will provide specific instructions and precautions for your particular make and model of vehicle. Park your vehicle on a flat surface facing a wall or garage door. This will allow you to see the projected light pattern without obstructions clearly.
Step 3: Measure the Distance Between Headlights
Using a measuring tape, measure the distance between the center of each headlight. This will help you ensure that both headlights are adjusted to the same level. Turn on your headlights and check if they are properly aligned. The cutoff line should be straight and parallel to the ground, with no glare or light spilling over to one side.
Step 4: Adjust Vertical Alignment
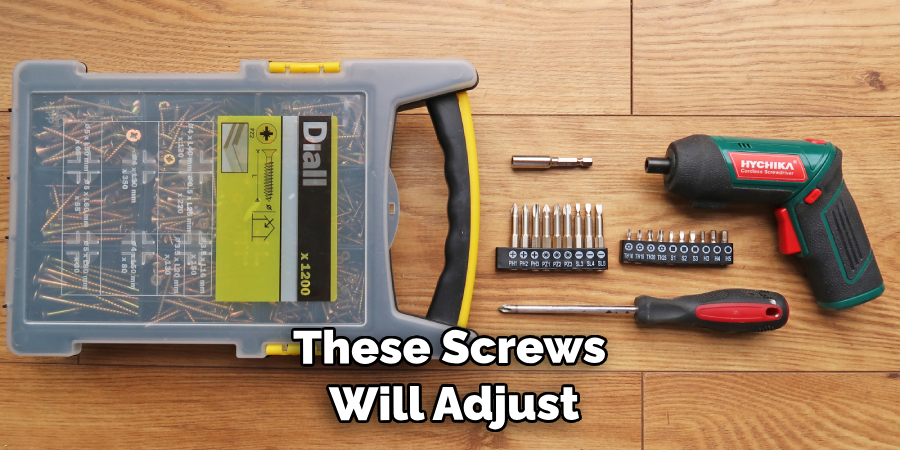
Using a screwdriver, locate the vertical adjustment screws on your projector headlights. Turn them clockwise or counterclockwise to adjust the vertical alignment of the beam. Similarly, use a screwdriver to locate the horizontal adjustment screws on your headlights. Turning these screws will adjust the horizontal alignment of the light beam.

Step 5: Test the Adjustment
After making any adjustments, turn on your headlights and test them by shining them against the wall. Ensure the light is evenly distributed and no glare or light spills over to one side. If needed, make small adjustments to fine-tune the alignment. This may require multiple attempts until you achieve the desired light pattern and distribution.
Step 6: Secure Screws and Test Drive
Once you are satisfied with the alignment, secure all the adjustment screws in place. Take your vehicle for a test drive to ensure that the headlights are working properly and providing optimal visibility on the road.
By following these simple steps, you can easily adjust your projector headlights and improve the overall driving experience. Regularly inspecting and adjusting your headlights is important for safe driving and ensuring the best possible visibility while on the road.
Precautions for How to Adjust Projector Headlights Left and Right
- Always make sure your projector headlights are properly mounted. They should be securely attached to the vehicle and positioned correctly.
- Check for any obstructions in front of your headlights before making any adjustments. This includes dirt, debris, or other objects that may obstruct the light beam.
- It is important to adjust your headlights when it is dark outside and you can clearly see the light beams. This will ensure accurate and proper alignment.
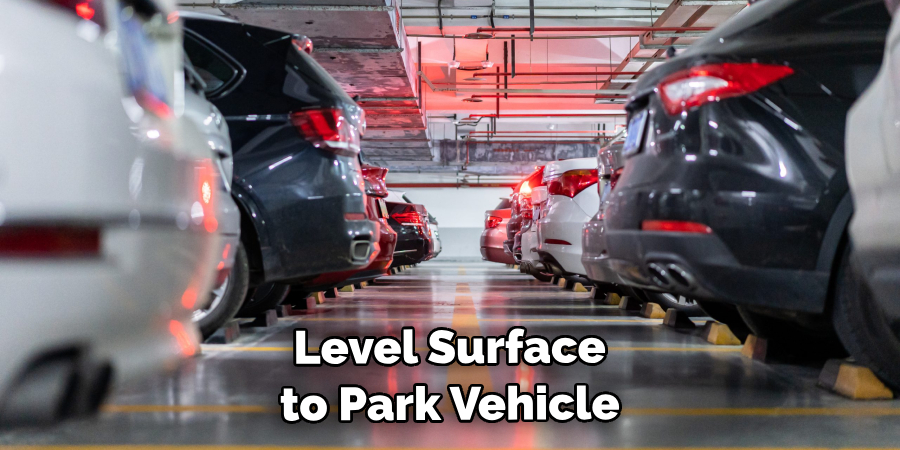
- Use a level surface to park your vehicle and make adjustments. This will provide an even ground for the headlights to be aligned correctly.
- When adjusting, make sure to follow the manufacturer’s instructions. Each vehicle may have different specifications for headlight adjustment.
- Be cautious when handling the headlight adjustment screws, as they can easily break or strip. Use the appropriate tools and be gentle with the adjustments.
- If you are uncomfortable or unsure about adjusting your projector headlights, seek professional help. It is better to have it done correctly rather than risking improper alignment.

Following these precautions, you can ensure that your projector headlights are properly adjusted and provide optimal driving visibility. Remember always to prioritize safety when making any adjustments to your vehicle.
Are There Any Common Signs That Indicate Your Projector Headlights May Be Misaligned?
One of the most common signs that your projector headlights may be misaligned is when you notice a difference in the beam pattern. If your headlights are properly aligned, you should see a distinct cutoff line between the bright and dim areas of the beam. However, if they are misaligned, this cutoff line will appear uneven or slanted. Another sign to look out for is when your headlights seem to be pointing in different directions. When properly aligned, both headlights should be aimed at the same spot on the wall or garage door. If you notice that one headlight is higher or lower than the other, this could indicate a misalignment issue.
You may also notice that your projector headlights are not providing enough illumination on the road. This can happen if the headlights are not aimed at the correct angle, causing them to point either too high or too low. This can greatly affect your visibility while driving and increase the risk of accidents. In addition, misaligned projector headlights can also cause glare for oncoming drivers. If your headlights are pointing too high or off to one side, they can create a blinding effect for other drivers on the road. This can be dangerous and may lead to accidents or driver distraction.
How Often Should You Check and Readjust the Alignment of Your Projector Headlights?
In order to keep your projector headlights functioning at their best, it is important to check and readjust the alignment on a regular basis. If you frequently drive in rough or uneven terrain, your projector headlights may become misaligned more quickly than if you primarily drive on smooth roads. This is because the constant bumps and vibrations can cause the headlights to shift out of alignment.

Additionally, if you often use your vehicle for off-roading or towing, the added weight and stress on the suspension can also affect headlight alignment. Another important factor to consider is the type of headlight your vehicle has. Some projector headlights, such as LED or HID, may require less frequent adjustments than halogen headlights. This is because they are designed to have a longer lifespan and retain their alignment better.
Is It Recommended to Hire a Professional for Adjusting Your Projector Headlights or Can You Do It Yourself?
While it is possible to adjust your projector headlights yourself, it is highly recommended to hire a professional for this task. Not only do they have the necessary training and experience, but they also have the proper equipment and tools needed for precise adjustments.
Adjusting headlight alignment can be a complex and delicate process, depending on the make and model of your vehicle. Any small mistake during the adjustment can result in uneven or incorrect alignment, which can affect the visibility and safety of your headlights while driving. A professional will also be able to detect any underlying issues with your headlight assembly and make necessary repairs.
In addition to ensuring proper alignment, hiring a professional can save you time and hassle. Instead of spending hours trying to adjust the headlights yourself, you can simply leave it to the experts and have peace of mind knowing that the job is done correctly.
Are There Any Specific Instructions or Tips for Adjusting Projector Headlights on a Particular Make and Model of Vehicle?
Adjusting projector headlights on a specific vehicle make and model may require following certain instructions or tips to ensure proper installation. Here are some general guidelines that can help you adjust projector headlights on most vehicles:
1. Gather all the Necessary Tools and Equipment
Before starting the adjustment process, ensure you have all the required tools, such as a Phillips screwdriver, masking tape, and a measuring tape. It is also recommended that you have a friend assist you during the process.

2. Park Your Vehicle on a Level Surface
In order to get accurate results, it is important to park your vehicle on a flat and level ground. This will allow you to adjust the headlights without any interference from uneven surfaces properly.
3. Check the Alignment of Your Headlights
Before making any adjustments, it is crucial to check the alignment of your headlights. Turn on your headlights and observe the beam pattern on a flat wall or garage door. The low beams should be aimed straight ahead and slightly down, while the high ones should be angled upwards.
4. Locate the Adjustment Screws
Most projector headlights have two adjustment screws – one for horizontal adjustment and the other for vertical adjustment. These screws are usually located on the back of the headlight assembly or under the hood.
5. Use Masking Tape to Mark Reference Points
To ensure that your headlights are properly aligned, use masking tape to mark a horizontal and vertical line on the wall in front of your vehicle. These lines will serve as reference points during the adjustment process.
6. Adjust the Horizontal Alignment
Using a Phillips screwdriver, turn the horizontal adjustment screw to adjust the side-to-side alignment of your headlights. This will ensure that the light beams are aimed straight ahead.
7. Adjust the Vertical Alignment
To adjust the up and down angle of your headlights, use a Phillips screwdriver to turn the vertical adjustment screw. Make sure to follow your vehicle’s manual to determine the correct angle for your specific make and model.
8. Test and Re-adjust if Necessary
Once you have made the adjustments, turn on your headlights again to see if they are properly aligned. If not, repeat the process until you achieve the desired results.

9. Secure the Adjustment Screws
After you have successfully adjusted your projector headlights, make sure to tighten the adjustment screws to secure them in place.
Following these instructions can help you properly adjust your projector headlights on most vehicles. However, it is important to note that certain makes and models may have different procedures or additional steps for adjusting their specific headlights.
Conclusion
In conclusion, adjusting the headlights of your projector is a simple process that can greatly improve your visibility and safety while driving at night. By following these steps, you can easily adjust the projection angle and direction to ensure optimal lighting on both the left and right sides of your vehicle. Additionally, it is important to regularly check and adjust your projector headlights as they may become misaligned due to vibrations or wear and tear. This will not only improve your driving experience but also prevent blinding other drivers on the road.
Furthermore, it is always recommended to consult your vehicle’s manual for specific instructions and guidelines when adjusting projector headlights.

