Adjusting the headlights on your vehicle is an essential task to ensure safety on the road, not just for you but also for oncoming traffic. Morimoto headlights are renowned for their quality and superior lighting performance, but like all headlights, they must be aimed correctly to provide the best visibility.
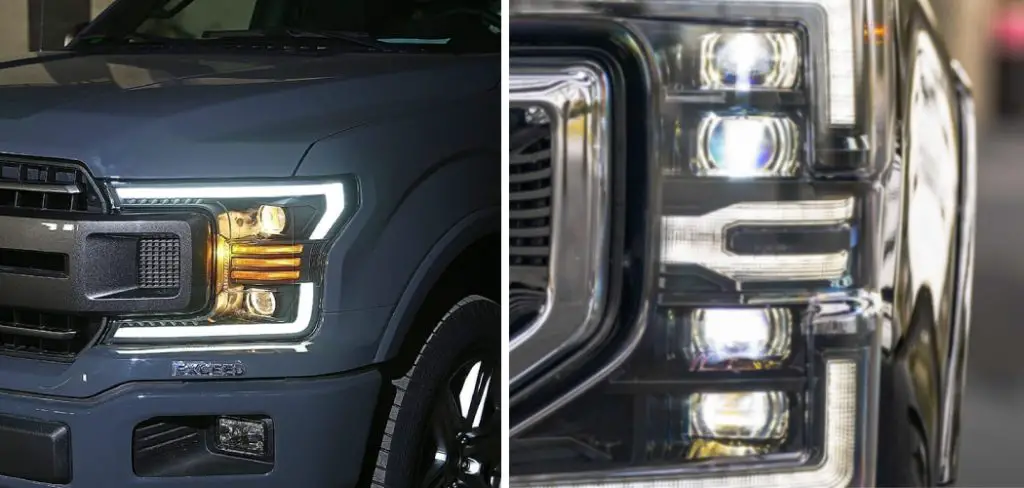
This guide provides a step-by-step process to accurately adjust your Morimoto headlights to optimize your vehicle’s lighting efficiency and ensure you are compliant with road safety regulations.
Whether you’re an experienced DIY enthusiast or a first-time headlight adjuster, this guide on how to adjust morimoto headlights will give you all the information you need to complete the task quickly and correctly.
What is a Headlight Adjustment?
A headlight adjustment is the process of aligning your vehicle’s headlights with an appropriate angle to provide the best lighting coverage and visibility for both you and other drivers.
Over time, headlights can become misaligned due to various factors, such as changes in the vehicle’s weight distribution or wear and tear on suspension components. It is essential to regularly check and adjust your headlights to ensure they are functioning correctly and not posing any safety risks.
Why Adjust Your Morimoto Headlights?
Morimoto headlights have a reputation for being some of the best aftermarket headlights on the market, offering superior lighting performance and durability. However, even the best headlights need to be adjusted to ensure optimal performance.
If your Morimoto headlights are not aligned correctly, you may experience decreased visibility while driving at night or in adverse weather conditions. Incorrectly aimed headlights can also blind oncoming drivers, posing a significant safety hazard.
Necessary Materials
Before you begin the headlight adjustment process, it is essential to gather all the necessary materials. These include:
A Measuring Tape or Ruler:
You will need a measuring tape or ruler to measure the distance between your vehicle’s headlights and a flat surface.

A Screwdriver:
Depending on your specific vehicle model, you may need either a Phillips or flathead screwdriver to adjust the headlight’s vertical and horizontal aim.
Tape:
Tape can be used to mark the correct aim points on the wall o
10 Step-by-step Guidelines on How to Adjust Morimoto Headlights
Step 1: Prepare your Vehicle
Start by parking your vehicle on a flat, level surface about 25 feet away from a wall or garage door. Make sure the surface is well-lit and that there is enough space to work around your vehicle. The surface should also be wide enough to allow for the full extension of your vehicle’s headlights.
If your vehicle has an automatic headlight leveling system, make sure it is turned off before beginning the adjustment process. You may also need to remove any obstructions or covers from the headlights. The owner’s manual for your specific vehicle model will provide detailed instructions on how to do this.
Step 2: Measure the Distance
Using a measuring tape or ruler, measure the distance between your vehicle’s headlights and the ground. Write down this measurement as you will need it later in the process. It is crucial to have accurate measurements for a successful headlight adjustment.
But, if you don’t have a measuring tape, the general rule is to park your vehicle about 25 feet away from the wall. You can also use a ruler or estimate the distance visually. It may not be as accurate, but it can give you a rough estimate. You can always fine-tune the aim later.
Step 3: Mark the Vertical Centerline

Place a small strip of tape vertically in the center of each headlight. This line will serve as your reference point for vertical adjustment. The tape should be placed in the center of the headlight from top to bottom. But if your headlights have built-in vertical adjustment screws, you can skip this step.
Although, it is still beneficial to mark the centerline as a reference point. It is also a good idea to turn on your headlights at this point to see where they are currently aimed. You may also want to turn on your high beams to see how they are aimed and make appropriate adjustments.
Step 4: Measure the Distance from the Centerline
Using your measuring tape or ruler, measure the distance between the centerline and the ground. This measurement should be the same as the one you wrote down earlier. If it is not, adjust the headlights until they are at the correct height.
You can do this by turning the built-in vertical adjustment screws or using a screwdriver to turn the adjustment screws on the headlight housing. The correct height may vary depending on your specific vehicle model, but it is usually around 2 to 3 inches below the horizontal centerline of the headlight.
Step 5: Mark the Horizontal Centerline
Place another strip of tape horizontally across each headlight lens, intersecting with the vertical centerline. This line will serve as your reference point for horizontal adjustment. The tape should be placed in the center of the headlight from left to right.

Again, if your headlights have built-in horizontal adjustment screws, you can skip this step. However, it is still useful to mark the centerline for reference. The horizontal centerline should be parallel to the ground. The headlights should also be at the same height from the ground. It is best to use a ruler or level to ensure accuracy.
Step 6: Measure the Distance from the Centerline
Using your measuring tape or ruler, measure the distance between the centerline and a flat surface directly in front of the headlight. This measurement should be around 2 to 3 inches less than the first measurement you took in step two. If it is not, adjust the headlights until they are at the correct angle.
This can be done by turning the built-in horizontal adjustment screws or using a screwdriver to turn the adjustment screws on the headlight housing. You may need to adjust both headlights individually. It is essential to have both headlights aimed at the same angle to avoid uneven lighting.
Step 7: Check for Evenness
After adjusting the vertical and horizontal aim of your headlights, it is essential to make sure they are even. To do this, turn on your headlights and observe the beam pattern on the wall or flat surface in front of your vehicle. Both beams should have a distinct cutoff line that is straight.
The cutoff line should also be at the same height on both headlights. If they are not even, continue to adjust until they are. If you are unable to achieve evenness, it may be a sign of an underlying issue that needs to be addressed by a professional. The cutoff line on the wall or flat surface should also be parallel to the ground.
Step 8: Test on a Flat Surface
Before taking your vehicle out on the road, it is advisable to test the headlight aim on a flat surface. This can be done in an empty parking lot or driveway. Park your vehicle about 25 feet away from a flat surface, turn on your headlights, and observe the beam pattern.
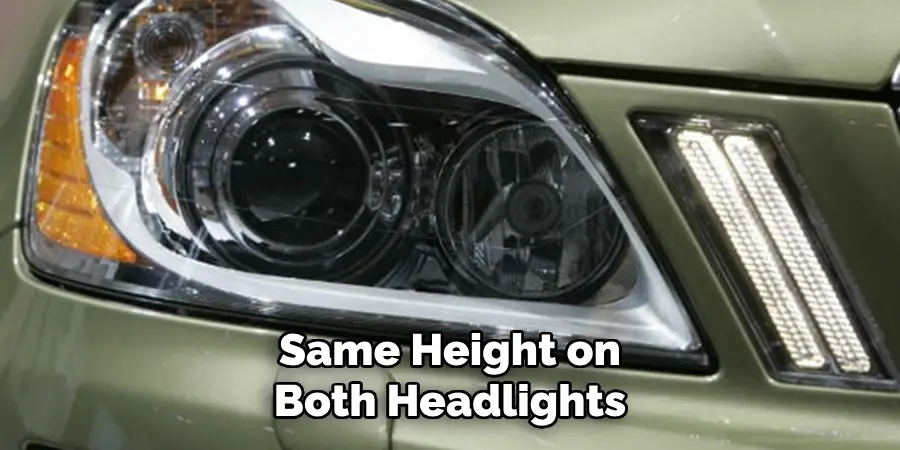
It should have a distinct cutoff line that is straight and at the same height on both headlights. The cutoff line should also be parallel to the ground. There should also be no blinding or glare coming from the headlights. If everything looks good, you are ready to take your vehicle out on the road. The proper aim of your headlights is crucial for safe driving at night, so it is important to regularly check and adjust them if necessary.
Step 9: Adjust as Needed
If you notice any issues with the headlight aim, such as unevenness or a crooked cutoff line, go back and adjust again. It may take a few tries to get it perfectly aligned, so don’t get discouraged if it’s not perfect on your first attempt. Continue to make small adjustments until you are satisfied with the headlight aim.
It is also a good idea to re-measure the distance between your headlights and the ground periodically to ensure they stay at the correct height. It is normal for headlights to become misaligned over time, so it is essential to regularly check and adjust them as needed.
Step 10: Regular Maintenance
It is essential to regularly check and adjust your headlight aim, as it can change over time due to wear and tear on the vehicle. It is also a good idea to do this after any major repairs or replacements that may affect the headlight aim.

Regular maintenance of your headlights can improve visibility and safety while driving, as well as prevent potential issues with other drivers on the road. It is also important to clean your headlights regularly, as dirt and debris can build up and affect the headlight’s aim.
By following these steps on how to adjust morimoto headlights, you can ensure that your headlights are properly aimed and functioning at their best. So, remember to regularly check and adjust your headlights for optimal performance on the road. Safe driving!
Do You Need to Use Professionals?
While it is possible to adjust your headlights yourself, some situations may call for the help of a professional. If you are unsure or uncomfortable with the process, it is always best to seek assistance from a mechanic or auto shop. Also, if you have recently had any front-end work done on your vehicle, such as replacing the headlight housing or bumper, it is recommended to have a professional adjust the headlights for you.
They have the necessary tools and knowledge to properly align your headlights. Additionally, if you are still experiencing issues with the headlight aim after following these steps, it may be a sign of a larger issue that requires professional attention. Don’t hesitate to seek help if needed for optimal performance and safety on the road.
How Much Could It Cost?
The cost of adjusting your headlights will vary depending on whether you do it yourself or seek professional help. If you choose to do it yourself, the only cost involved would be for any tools or supplies you may need, such as a measuring tape or screwdriver.
However, if you opt for professional assistance, the cost could range from $20-$100, depending on the mechanic or auto shop. It is always a good idea to shop around and compare prices before making a decision. Additionally, some repair shops may offer free headlight adjustments as part of their regular maintenance services. Overall, it is a relatively inexpensive process that can greatly improve safety and visibility while driving.
Testing and Verification
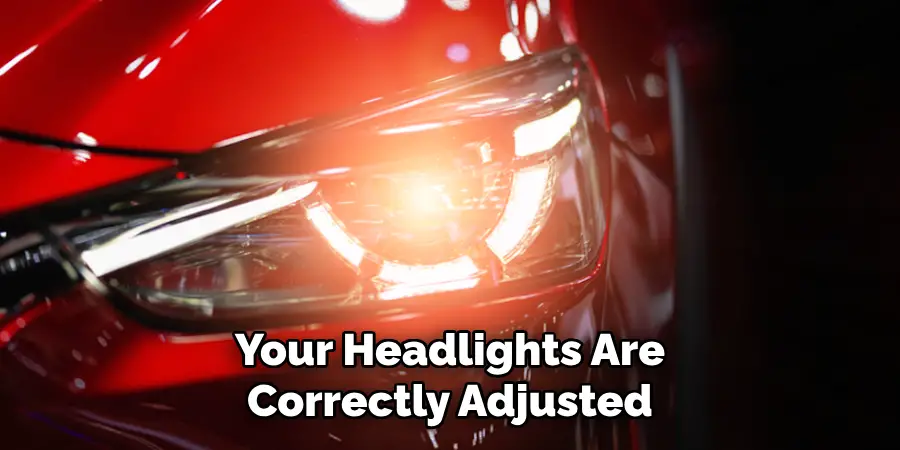
To ensure that your headlights are correctly adjusted, you can perform a simple test on the road. Find a flat and straight road with little to no traffic. Drive at night or in low light conditions with your headlights on and observe the beam pattern on the road. The beams should be evenly spread out without any blinding or glare coming from them.
If you notice any issues with the beam pattern, such as unevenness or excessive glare, you may need to re-adjust your headlights. You can also have a friend drive in front of you in another car to observe your headlight aim and provide feedback.
Regularly checking and adjusting your headlights can improve visibility while driving at night or in low light conditions and ensure the safety of yourself and others on the road. It is a simple and important maintenance task that should not be overlooked.
Additional Tips and Considerations
- Always make sure to properly secure and store any tools used during the adjustment process. This will prevent them from rolling around or potentially causing damage while driving.
- Make sure to follow your vehicle’s manual for specific instructions on adjusting headlights, as some models may have different methods.
- If you are unsure or uncomfortable with adjusting your headlights yourself, it is always best to seek professional assistance.
- It is also a good idea to regularly clean your headlights, as dirty or foggy lenses can affect the beam pattern and visibility on the road. Regularly checking and replacing bulbs is also important for optimal headlight performance.
- In some cases, it may be necessary to replace the entire headlight assembly if it is damaged or malfunctioning. Be sure to consult a professional if you are unsure or unable to do so yourself.
With these tips in mind, you can keep your headlights properly aimed and functioning for safe and enjoyable driving experiences. So remember to regularly check and adjust your headlights, and always prioritize safety on the road. Happy driving!
Troubleshooting Common Issues
If you are still experiencing issues after adjusting your headlights, here are some common problems and potential solutions to consider:
Uneven or Crooked Beam Pattern:
Check for any loose or damaged parts in the headlight assembly. If everything appears intact, try adjusting the headlights again.
Excessive Glare:
This may be caused by dirty or foggy lenses. Make sure to clean your headlights regularly, and consider using a headlight restoration kit if they are heavily fogged.
Headlights Not Turning On:
Check the connections of the bulbs and make sure they are properly secured. If they still do not turn on, you may need to replace the bulb or headlight assembly.
Headlights Flickering:
This could be a sign of a faulty electrical connection. Check the wiring and connections, and consider seeking professional assistance if needed.
If none of these solutions work, it is best to consult a professional for further diagnosis and repair. Remember, properly functioning headlights are crucial for safe driving, so do not ignore any persistent issues with your headlights.
Frequently Asked Questions
Q: Is It Necessary to Adjust My Headlights if I Have Never Done So Before?
A: Yes, it is important to regularly check and adjust your headlights for optimal performance on the road. It is normal for headlights to become misaligned over time due to wear and tear on the vehicle.

Q: Are There Any Special Tools Needed for Headlight Adjustment?
A: Typically, a screwdriver or socket wrench is all that is needed to adjust headlights. However, specific tools may be required depending on the make and model of your vehicle. Refer to your vehicle’s manual for more information.
Q: How Often Should I Adjust My Headlights?
A: It is recommended to adjust your headlights every 12 months or after any major repairs or replacements that may affect the headlight aim. However, it is always a good idea to periodically check and adjust them if necessary.
Q: Can I Adjust My Headlights Without a Helper?
A: While having someone else observe the beam pattern can be helpful, it is possible to adjust your headlights on your own by using a reflective surface to check the beam pattern. However, having an extra set of eyes can make it easier.
Conclusion
Properly adjusting your Morimoto headlights is crucial for maintaining optimal road safety and illumination.
By following this comprehensive guide, you can ensure that your headlights are aimed correctly, enhancing your night-time driving experience and keeping both you and other road users safe. Remember to check your adjustments in various driving conditions and to re-align when necessary to maintain the best visibility at all times.
With the right tools and a bit of patience, you’ll find that keeping your headlights in prime condition is a straightforward and rewarding aspect of vehicle maintenance. Thanks for reading this article on how to adjust morimoto headlights.

