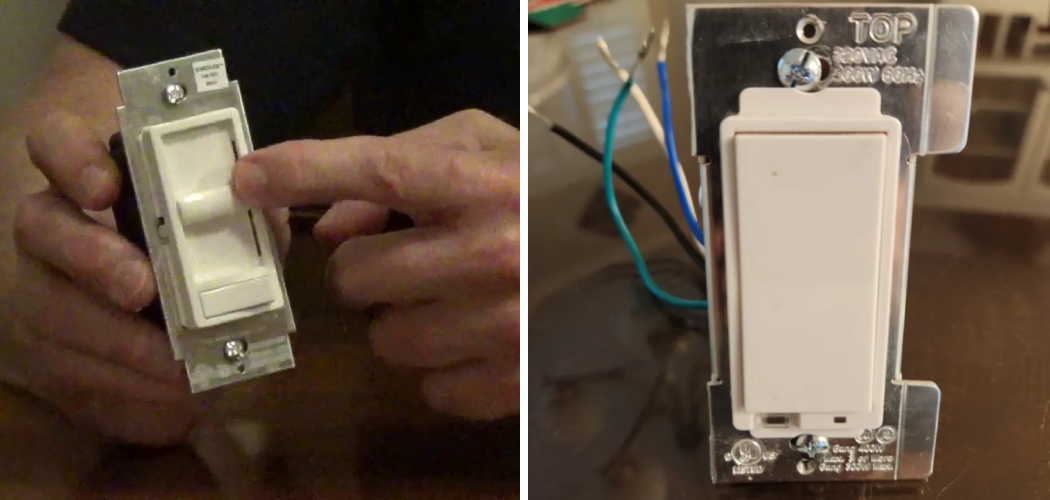
Are you tired of the same bright lights in your home every night? Do you want to be able to control the amount of light in any given room with ease? Then this article is for you! Installing a dimmer switch is an easy way to add ambiance and functionality to any room.
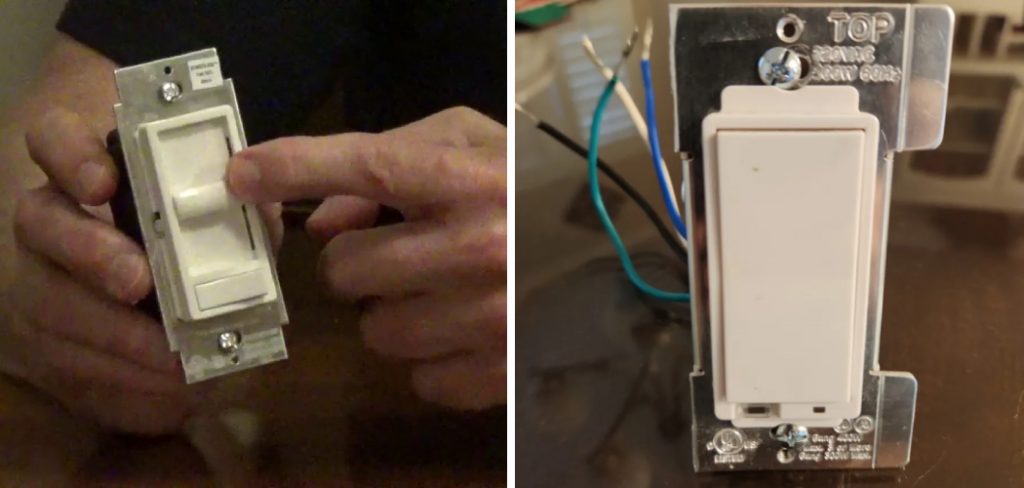
Here, we will provide step-by-step instructions on how to adjust dimmer switch, as well as discuss some common tips and tricks that will make it easier. Whether you’re just starting out or experienced with electrical projects, these helpful tips can help create a more comfortable atmosphere in no time.
Keep reading for everything you need to know about adjusting your dimmer switch!
Why Do I Need to Adjust My Dimmer Switch?
A dimmer switch allows you to control the brightness of your lights. This is especially useful for rooms like a bedroom, where you want a softer light in the evening before bed or during movie nights. It’s also great for dining areas, where you may want to set a romantic mood with lower lighting. It’s a versatile tool that can be used in any room to create the perfect ambiance. But first, you need to know how to adjust it!
Necessary Materials
Given below is the list of materials that you will require to adjust the dimmer switch:
- Dimmer Switch
- Screwdriver
- Voltage Tester
- Wire Cutter/stripper
- Electrical Tape (Optional)
10 Step-by-step Guidelines on How to Adjust Dimmer Switch
Step 1: Identify the Type of Dimmer Switch
There are several types of dimmer switches, such as sliding, rotary, and touch. Make sure to read the instructions manual that came with your dimmer switch or check online to determine which type you have. It is essential to know the type as different switches may have slightly different methods of adjustment.
Step 2: Turn off the Power Supply
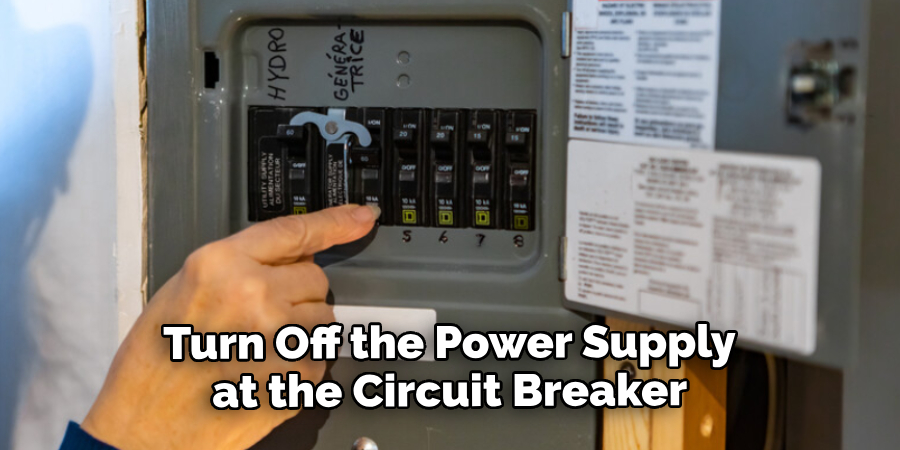
Before you begin any electrical work, ensure that you turn off the power supply at the circuit breaker. This will prevent any accidents and keep you safe while working on the dimmer switch. You can use a voltage tester to ensure the power is indeed off. It is always better to be safe than sorry. But, if you are not comfortable working with electricity, it is best to call a professional electrician.
Step 3: Remove the Faceplate and Switch
Use a screwdriver to remove the faceplate of the dimmer switch. Then, unscrew and remove the switch from its electrical box. It is essential to handle the switch carefully as it has live wires. You can use electrical tape to secure the wires and prevent them from touching each other. This will ensure your safety throughout the process. it is best to have someone hold the switch while you work on it.
Step 4: Identify Wires
You should see two wires coming out of the wall – one black and one white. The black wire is the hot wire, and the white wire is neutral. You may also see a ground wire, which is usually green or copper in color. Make sure to identify these wires as they are crucial for connecting the dimmer switch. But, if you are unsure about the wires and their correct placement, it is best to call a professional electrician.
Step 5: Disconnect Wires
Using a screwdriver, disconnect the wires from the switch by loosening the screws. Make sure to remember which color wire goes where as you will need to reconnect them later. Otherwise, you can use a pen and paper to jot down the wire placement. It is essential to be organized and careful throughout this process. You do not want to mix up the wires and cause a short circuit.
Step 6: Examine Dimmer Switch
Look at the back of your dimmer switch to see how it is wired. Some switches may have different colored wires, so make sure to follow the instructions manual or online guide for proper wiring. If your dimmer switch has a grounding wire, make sure to connect it to the ground wire from your wall. You can use a wire cutter or stripper to trim the wires for better connections.
Step 7: Adjust Dimmer Switch
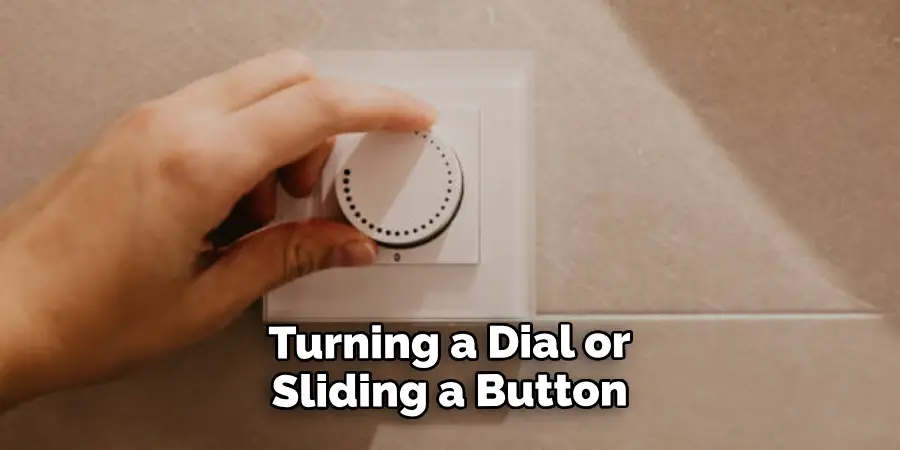
Once you have identified the correct wires and connections, adjust your dimmer switch according to the manufacturer’s instructions. This usually involves turning a dial or sliding a button to adjust the level of brightness. It is essential to follow the instructions carefully as improper adjustment can lead to damage or malfunction of the switch. It is also recommended to turn off the power supply again before making any further adjustments.
Step 8: Reconnect Wires
After you have adjusted the dimmer switch, reconnect the wires in their respective locations. Make sure they are securely connected and tighten the screws. Otherwise, you may face problems with the switch’s functionality. Also, make sure there are no exposed wires or loose connections. However, if you are unsure about any of the wiring processes, it is best to seek professional help. But, if you are confident about your work, move on to the next step.
Step 9: Test Dimmer Switch
Turn on the power supply and test your dimmer switch to ensure it is working correctly. Adjust the switch to see if the light dims and brightens according to your desired level. It is normal for the switch to make a slight buzzing sound, but if it becomes too loud, you may have made incorrect connections. If you face any issues, turn off the power supply and check your wiring again.
Step 10: Replace Faceplate and Enjoy
If everything is working as expected, replace the faceplate and screw it back on. Congratulations! You have successfully adjusted your dimmer switch, and now you can enjoy customized lighting in any room of your home. But, make sure to turn off the power supply again before replacing the faceplate. Safety comes first! It is also recommended to read the instruction manual or online guide for any additional tips on maintenance and troubleshooting.
Following these ten simple steps on how to adjust dimmer switch, you can easily adjust your dimmer switch and create the perfect atmosphere in your home. Remember to always prioritize safety and seek professional help if you are not comfortable working with electricity.
We hope this guide has been helpful, and happy dimmer switch adjusting! So, go ahead and give it a try. With a little bit of patience and caution, you can master the art of adjusting dimmer switches in no time.
Tips and Tricks
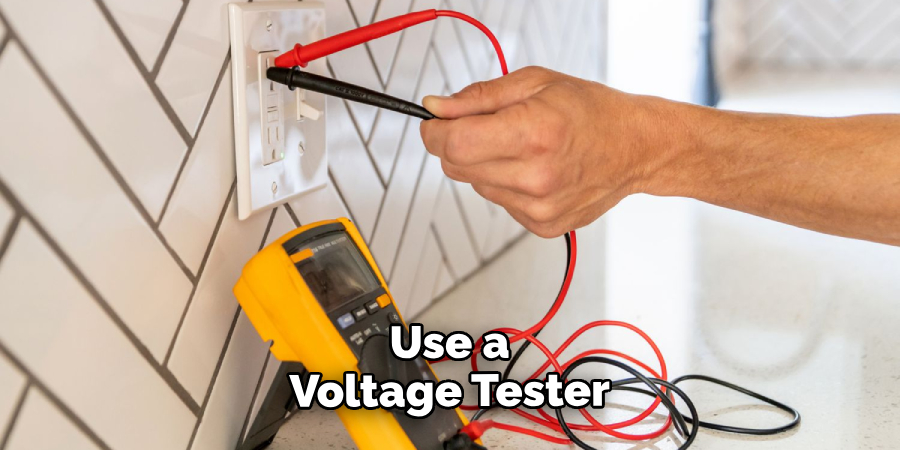
- Always Use a Voltage Tester Before Working on Any Electrical Project.
- Make Sure to Turn Off the Power Supply at the Circuit Breaker Before Starting Work.
- If You Are Unsure About Any Step, Consult an Electrician or Refer to Online Guides for Further Assistance.
- Be Gentle When Handling Wires to Avoid Damaging Them.
- Use Electrical Tape to Secure Any Loose Wires.
- If You Have a Touch Dimmer Switch, Make Sure to Clean the Sensor Regularly for Proper Functioning.
- For Better Accuracy, Adjust Your Dimmer Switch in Small Increments Until You Reach Your Desired Level of Brightness.
Frequently Asked Questions
Q1. Can I Use a Dimmer Switch on Any Type of Light?
Answer: No, not all lights are compatible with dimmer switches. Make sure to check the packaging or instructions manual for compatibility before purchasing. Otherwise, you may risk damaging the light or the switch.
Q2. Can I Adjust a Dimmer Switch Without Turning Off the Power Supply?
Answer: No, it is not safe to work on any electrical project without turning off the power supply. Always make sure to turn off the power at the circuit breaker before starting work.
Q3. Can I Use a Dimmer Switch on LED Lights?
Answer: Yes, there are dimmer switches specifically designed for LED lights. Make sure to check for compatibility before purchasing and follow the manufacturer’s instructions for proper installation.
Q4. Can I Adjust the Dimmer Switch Without Removing It From the Wall?
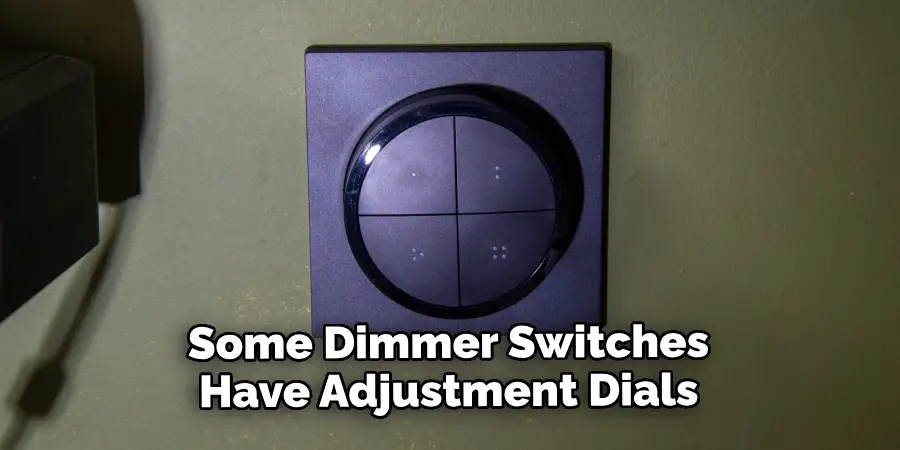
Answer: Yes, some dimmer switches have adjustment dials or buttons that can be accessed without removing the switch from the wall. Refer to your instructions manual for further guidance.
Conclusion
Congratulations on taking the time to adjust your dimmer switch! By following the step-by-step instructions in this blog post, you should now have a functional switch and an added sense of comfort knowing that you completed the task yourself.
While this is not a common DIY project, it is one way to save money and learn something new. You can consider yourself a master of light control now, and we hope that the light switch gives you joy rather than frustration in the future!
The real benefit of learning how to adjust dimmer switches is being able to feel more comfortable and confident in your own home—now that’s a great reward. We invite anyone who has further questions about adjusting their own dimmer switches or any other related DIY projects to reach out to our expert staff for help with another successful solution!

