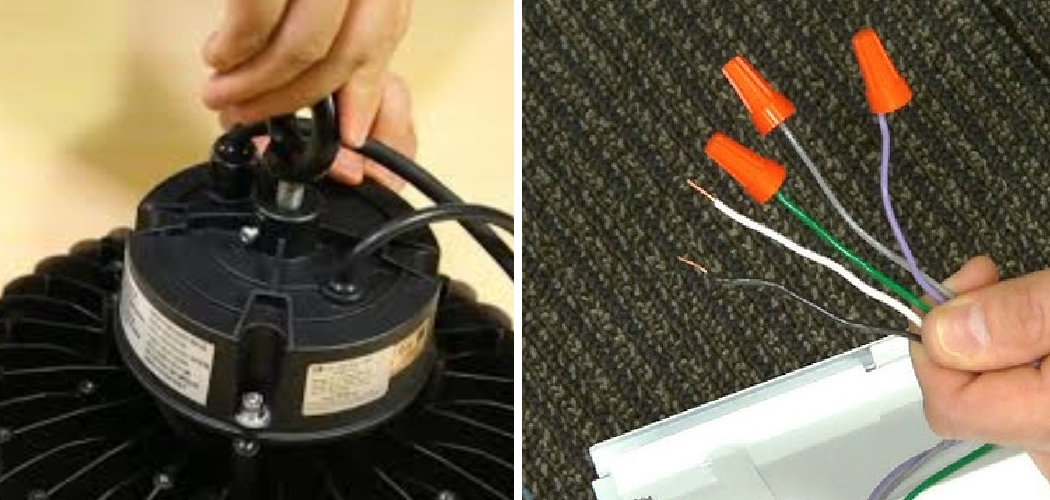
High bay LED lights are popular lighting solutions in commercial and industrial spaces due to their efficiency and brightness. Wiring these lights correctly is crucial to ensure optimal performance and safety. This guide will walk you through the essential steps for wiring high bay LED lights, providing a clear and comprehensive approach to the task.
From understanding the components involved to ensuring proper electrical connections, we will cover everything you need to know to successfully wire high bay LED lights and illuminate your workspace efficiently. By following these steps on how to wire high bay led lights, you’ll be able to set up your high bay LED lights effectively, providing a well-lit environment for your business or industrial facility.
Importance of Proper Wiring in High Bay LED Lights
Wiring is an essential aspect of installing high bay LED lights, as it directly affects the performance and safety of the lighting system. Proper wiring ensures that the lights operate efficiently and effectively, providing ample illumination for large spaces such as warehouses, factories, gymnasiums, and other industrial or commercial settings.
One of the primary reasons why proper wiring is crucial for high bay LED lights is to prevent any potential hazards, such as electrical shocks or fires. Faulty wiring can result in short circuits, overloading, and other electrical problems that could lead to accidents. This not only poses a danger to the occupants of the building but also risks damaging the property and disrupting operations.
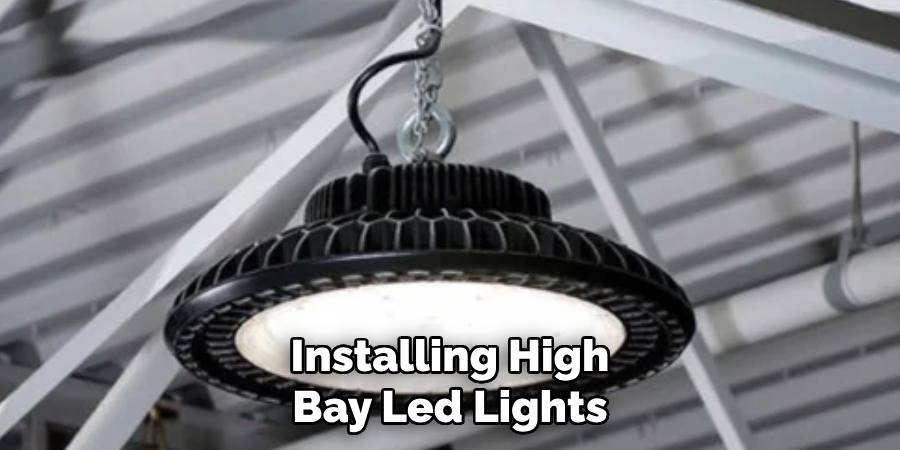
Moreover, proper wiring also helps to optimize the energy efficiency of high bay LED lights. When the wiring is done correctly, it ensures that there is minimal loss of electricity during transmission, resulting in less energy wastage and ultimately lower utility bills. This is especially significant for industrial settings where lighting accounts for a substantial portion of the overall energy consumption.
Proper wiring also plays a significant role in extending the lifespan of high bay LED lights. When the wiring is done correctly, it prevents any unnecessary strain on the lighting system, reducing wear and tear and increasing its durability. This means less frequent replacements and maintenance, saving both time and money in the long run.
10 Methods How to Wire High Bay Led Lights
1. Read the Installation Manual
Before attempting to wire high bay LED lights, it is important to read the installation manual that comes with the lights. The manual will provide detailed instructions on how to properly wire the lights as well as any safety precautions that should be taken. It is also important to make sure you have all of the necessary tools and supplies before beginning the wiring process.
2. Turn Off Power
Once you have read through the installation manual and gathered all of your tools and supplies, it is essential that you turn off all power to the area where you will be working. This includes turning off any circuit breakers or fuses that are connected to the circuit you will be working on. Failing to do so could result in serious injury or death if electricity were to come into contact with your body while wiring the lights.
In addition to turning off power to the area, it is important to double check that the electricity is indeed turned off. This can be done by using a voltage tester or consulting an electrician. It is always better to err on the side of caution when dealing with electricity.

3. Mount Lights
The next step in wiring high bay LED lights is mounting them in their desired locations. This can be done by attaching mounting brackets or clamps onto a ceiling joist or other support structure near where you want each light installed, then attaching each light fixture to its respective bracket or clamp using screws or bolts.
Make sure that each light fixture is securely attached before moving on to the next step. However, before mounting the lights, it is important to plan out their placement to ensure even and sufficient lighting coverage for your space.
4. Connect Wires
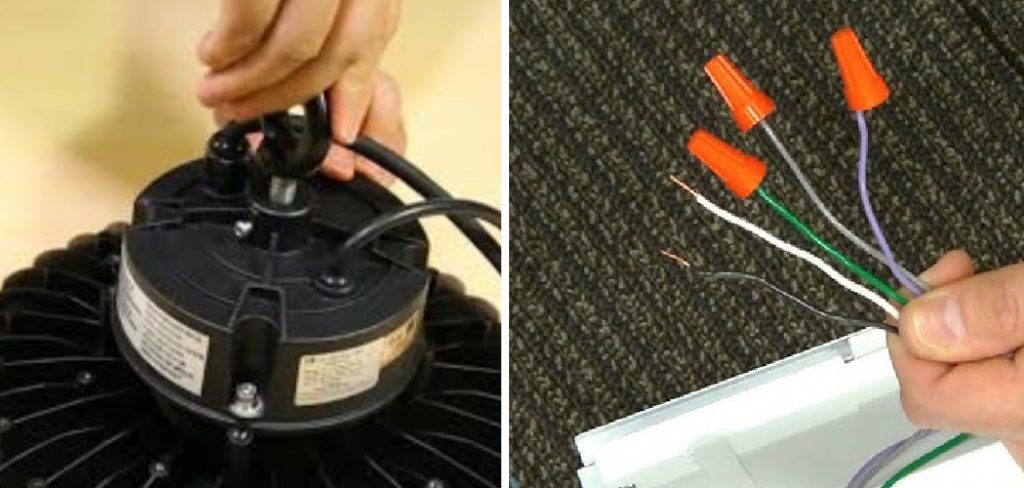
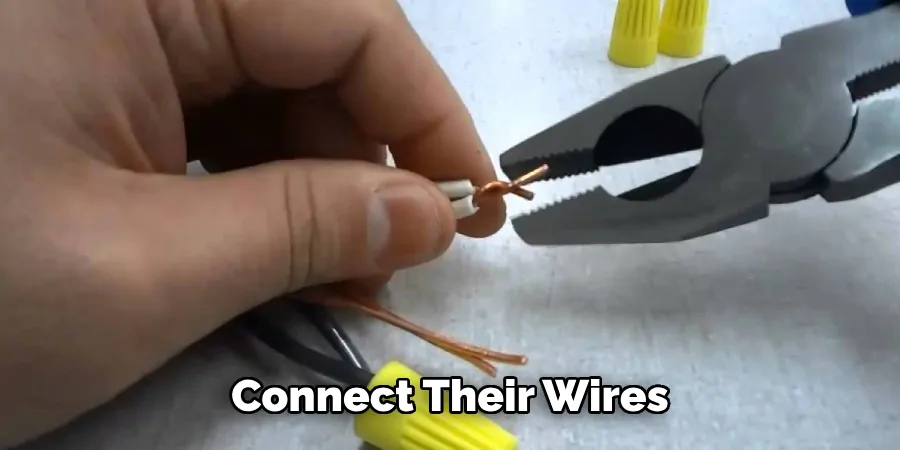
After mounting each of your high bay LED lights, connect their wires together according to their wiring diagram. This typically involves connecting a black wire from one light fixture to a black wire from another light fixture, then connecting a white wire from one light fixture to a white wire from another light fixture, and so on, until all of your fixtures are connected together in series (or parallel).
When connecting your wires, it is important to make sure that you are using the correct wire connectors and properly securing them. This will help prevent any loose connections or exposed wiring which can lead to electrical hazards. Additionally, be sure to follow all local and national electrical codes when wiring your high bay LED lights.
5. Install Junction Boxes
If needed, install junction boxes at various points along your lighting circuit in order to protect any exposed wires and facilitate easier troubleshooting should an issue arise down the road.
Junction boxes should be mounted securely onto a wall or ceiling surface and wired according to their respective diagrams before continuing with the next step. If you are unsure how to wire a junction box, refer to an electrician or consult online resources for step-by-step instructions.
6. Connect Ground Wire
Next, attach an appropriately sized ground wire between each of your junction boxes (if applicable) and connect it directly back into your main electrical panel’s ground bar or bus bar for safety purposes. Make sure that this connection is secure before moving on with your wiring project, as loose connections can cause dangerous arcs which could potentially start a fire if not addressed promptly.
Though most high bay LED fixtures do not require ground wires, it is important to follow safety guidelines and properly ground your electrical system when working with any type of lighting. Once you have completed this step, pat yourself on the back for a job well done and continue on to the next phase of wiring your high bay LED lights.
7. Connect Neutral Wire
Once your ground wires have been connected, connect neutral wires between each of your junction boxes (if applicable) and back into your main electrical panel’s neutral bar or bus bar for safety purposes as well as proper operation of your lighting system once powered up again later on down the road.
Again, make sure that these connections are tight in order to prevent any potential arcing issues from occurring later down the line due to loose connections over time from vibration/movement etc. within the building.
8. Install Wall Switches
In order for you to control when your high bay LED lights to turn on/off manually via wall switches located throughout different areas of your facility/building, etc. Install single pole switches at various points along with the lighting circuit where desired by connecting them between two of your junction boxes (if applicable) according to their respective diagrams/instructions provided by the manufacturer etc.
(i.e. You will find that most wall switches have a series of single and/or double pole wiring configurations shown on the back for your reference).
You may also opt to install dimmers in place of regular switches for added convenience and control over the light output. This can be particularly useful in settings where you want to adjust lighting levels based on different activities or events.
9. Connect Power Source
Once all other steps have been completed successfully (including double checking everything), connect the power source(s) such as an appropriately sized fuse(s) / breaker(s) back into the main electrical panel’s fuse box/breaker box, respectively according to listed specifications provided by the manufacturer, etc. This is done to ensure that the power source is properly connected and can provide electricity to the high bay LED lights.
10. Test System Before Use
Finally, after completing all previous steps successfully & double checking everything once again for good measure – test the system before use by turning switch(es) ON & OFF several times while observing proper operation & functionality of the system accordingly etc.
Before using the high bay LED lights in your workplace or site, it is important to perform a test to ensure that the system is functioning properly. This step might seem tedious, but it is crucial for the safety and efficiency of your lighting system.
Things to Consider When Wiring High Bay Led Lights
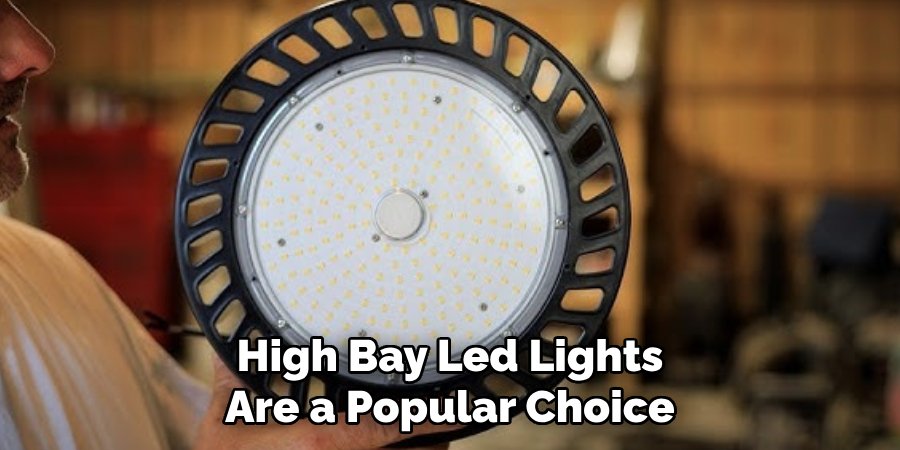
High bay LED lights are a popular choice for commercial and industrial spaces due to their energy efficiency, reliability, and long lifespan. However, proper wiring is crucial to ensure that these lights function optimally and safely. Here are some important factors to consider when wiring high bay LED lights.
Choose the Right Wiring Method
When installing high bay LED lights, it’s important to use the correct wiring method. The most common methods are conduit and cable tray, but your choice will ultimately depend on the specific needs of your space. Conduit is often preferred for its durability and ability to protect wires from moisture or other hazards. On the other hand, cable trays offer flexibility and ease of installation.
Understand Voltage Requirements
High bay LED lights come in various voltage options, such as 120V, 277V, or even higher. It’s crucial to understand the voltage requirements of your specific lights before wiring them. Using the wrong voltage can lead to overheating and may shorten the lifespan of your lights.
Consider Lighting Control Systems
To maximize energy efficiency and customize lighting settings, many high bay LED lights can be integrated into lighting control systems. These systems allow you to adjust light levels, set timers, and monitor energy usage. When wiring high bay lights, consider whether integrating them into a lighting control system would benefit your space.
Hire a Professional
Wiring high bay LED lights can be a complex process, especially for those without electrical experience. It’s always best to hire a professional electrician to ensure that the wiring is done safely and correctly. They can also provide valuable insight on the best wiring methods and ensure that all safety codes and regulations are met.

Conclusion
To sum it all up, wiring high bay LED lights is an incredibly simple and easy task. Whether you’re changing out old lighting fixtures for new LED lighting, or setting up a completely new system from scratch – you’ll find that wiring your led high bay lights is not only straightforward but should take no longer than an hour or two.
By following the steps outlined in this blog post and using the right supplies, you can be sure that your high bay LED lighting will be installed correctly to last for years to come. Now that you have a better understanding of how to wire high bay LED lights, why not try it out for yourself? Pick up any needed supplies and put your skills to good use – you’ll thank yourself later with bright and energy-efficient lighting!

